

I’ve recently picked up a new hobby – thanks to my Wife’s ingenuity 🙂 we signed up for an Archery class. It was so much fun, right after the class we went to the range next door, rented equipment and continued to shoot arrows for next couple of hours, until our arms got really tired – it’s a good workout!
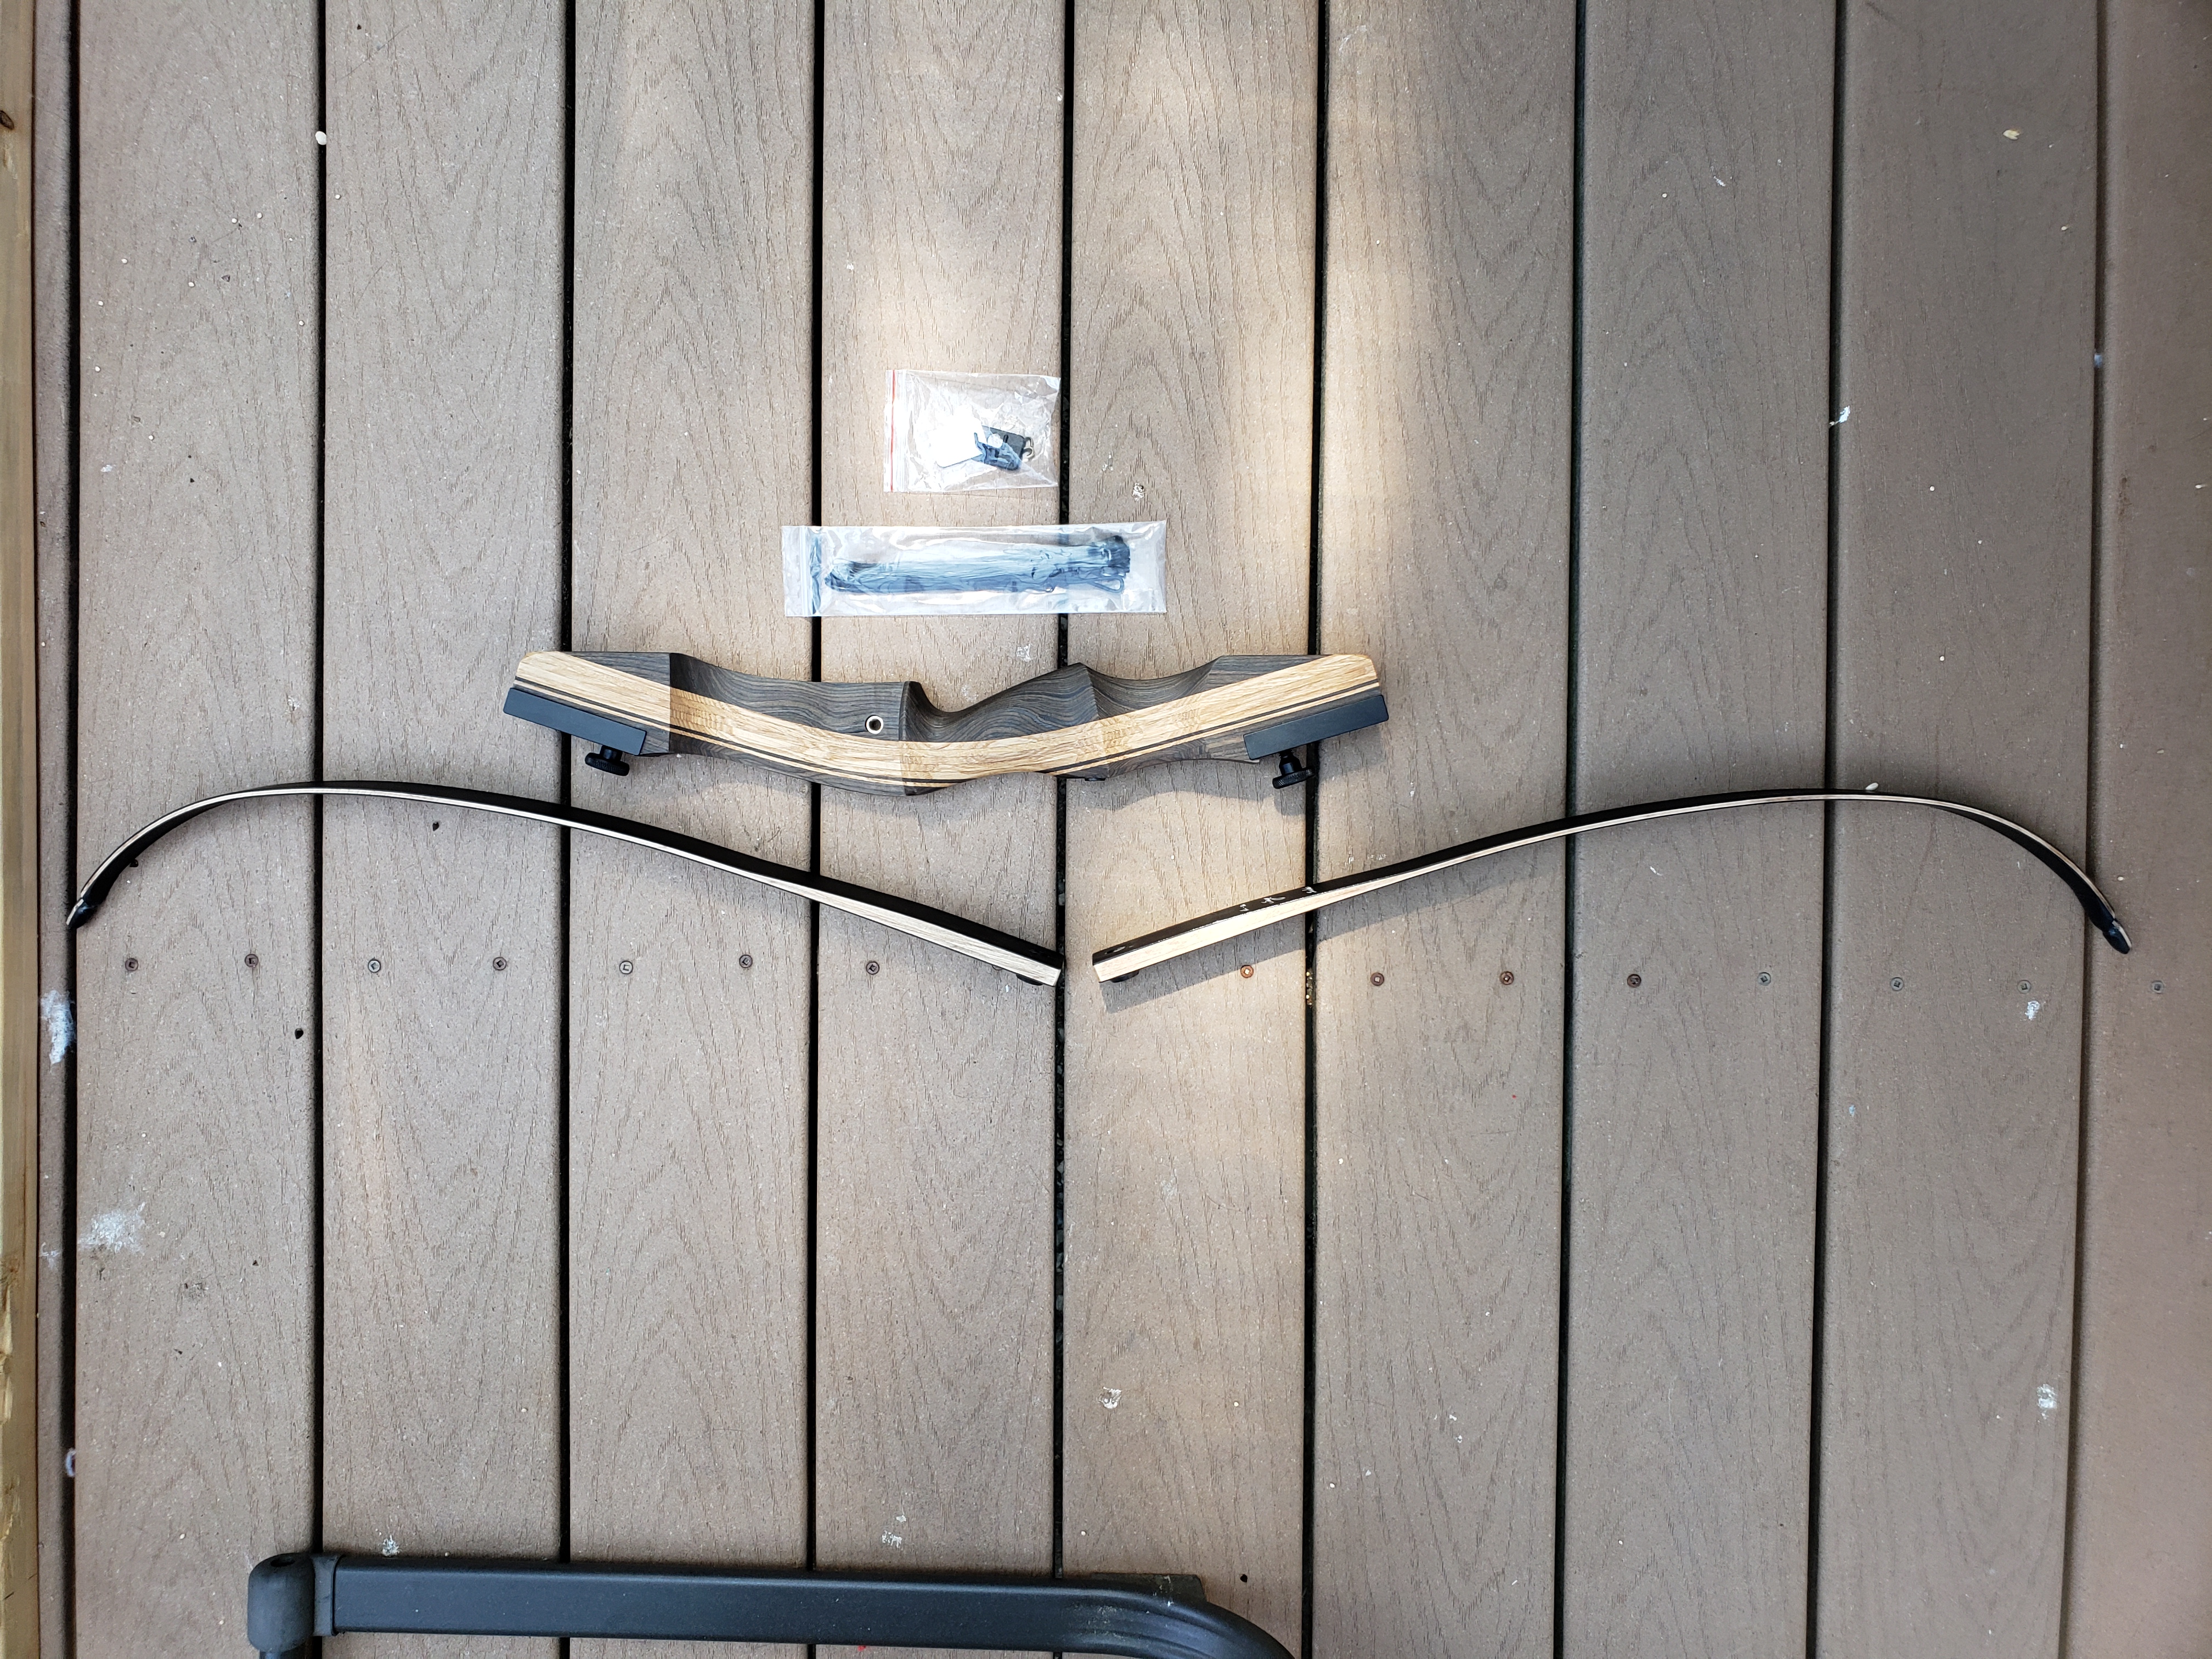
That lead to a quick online research, and we got our hands on great starting bows – Sammick Sage:

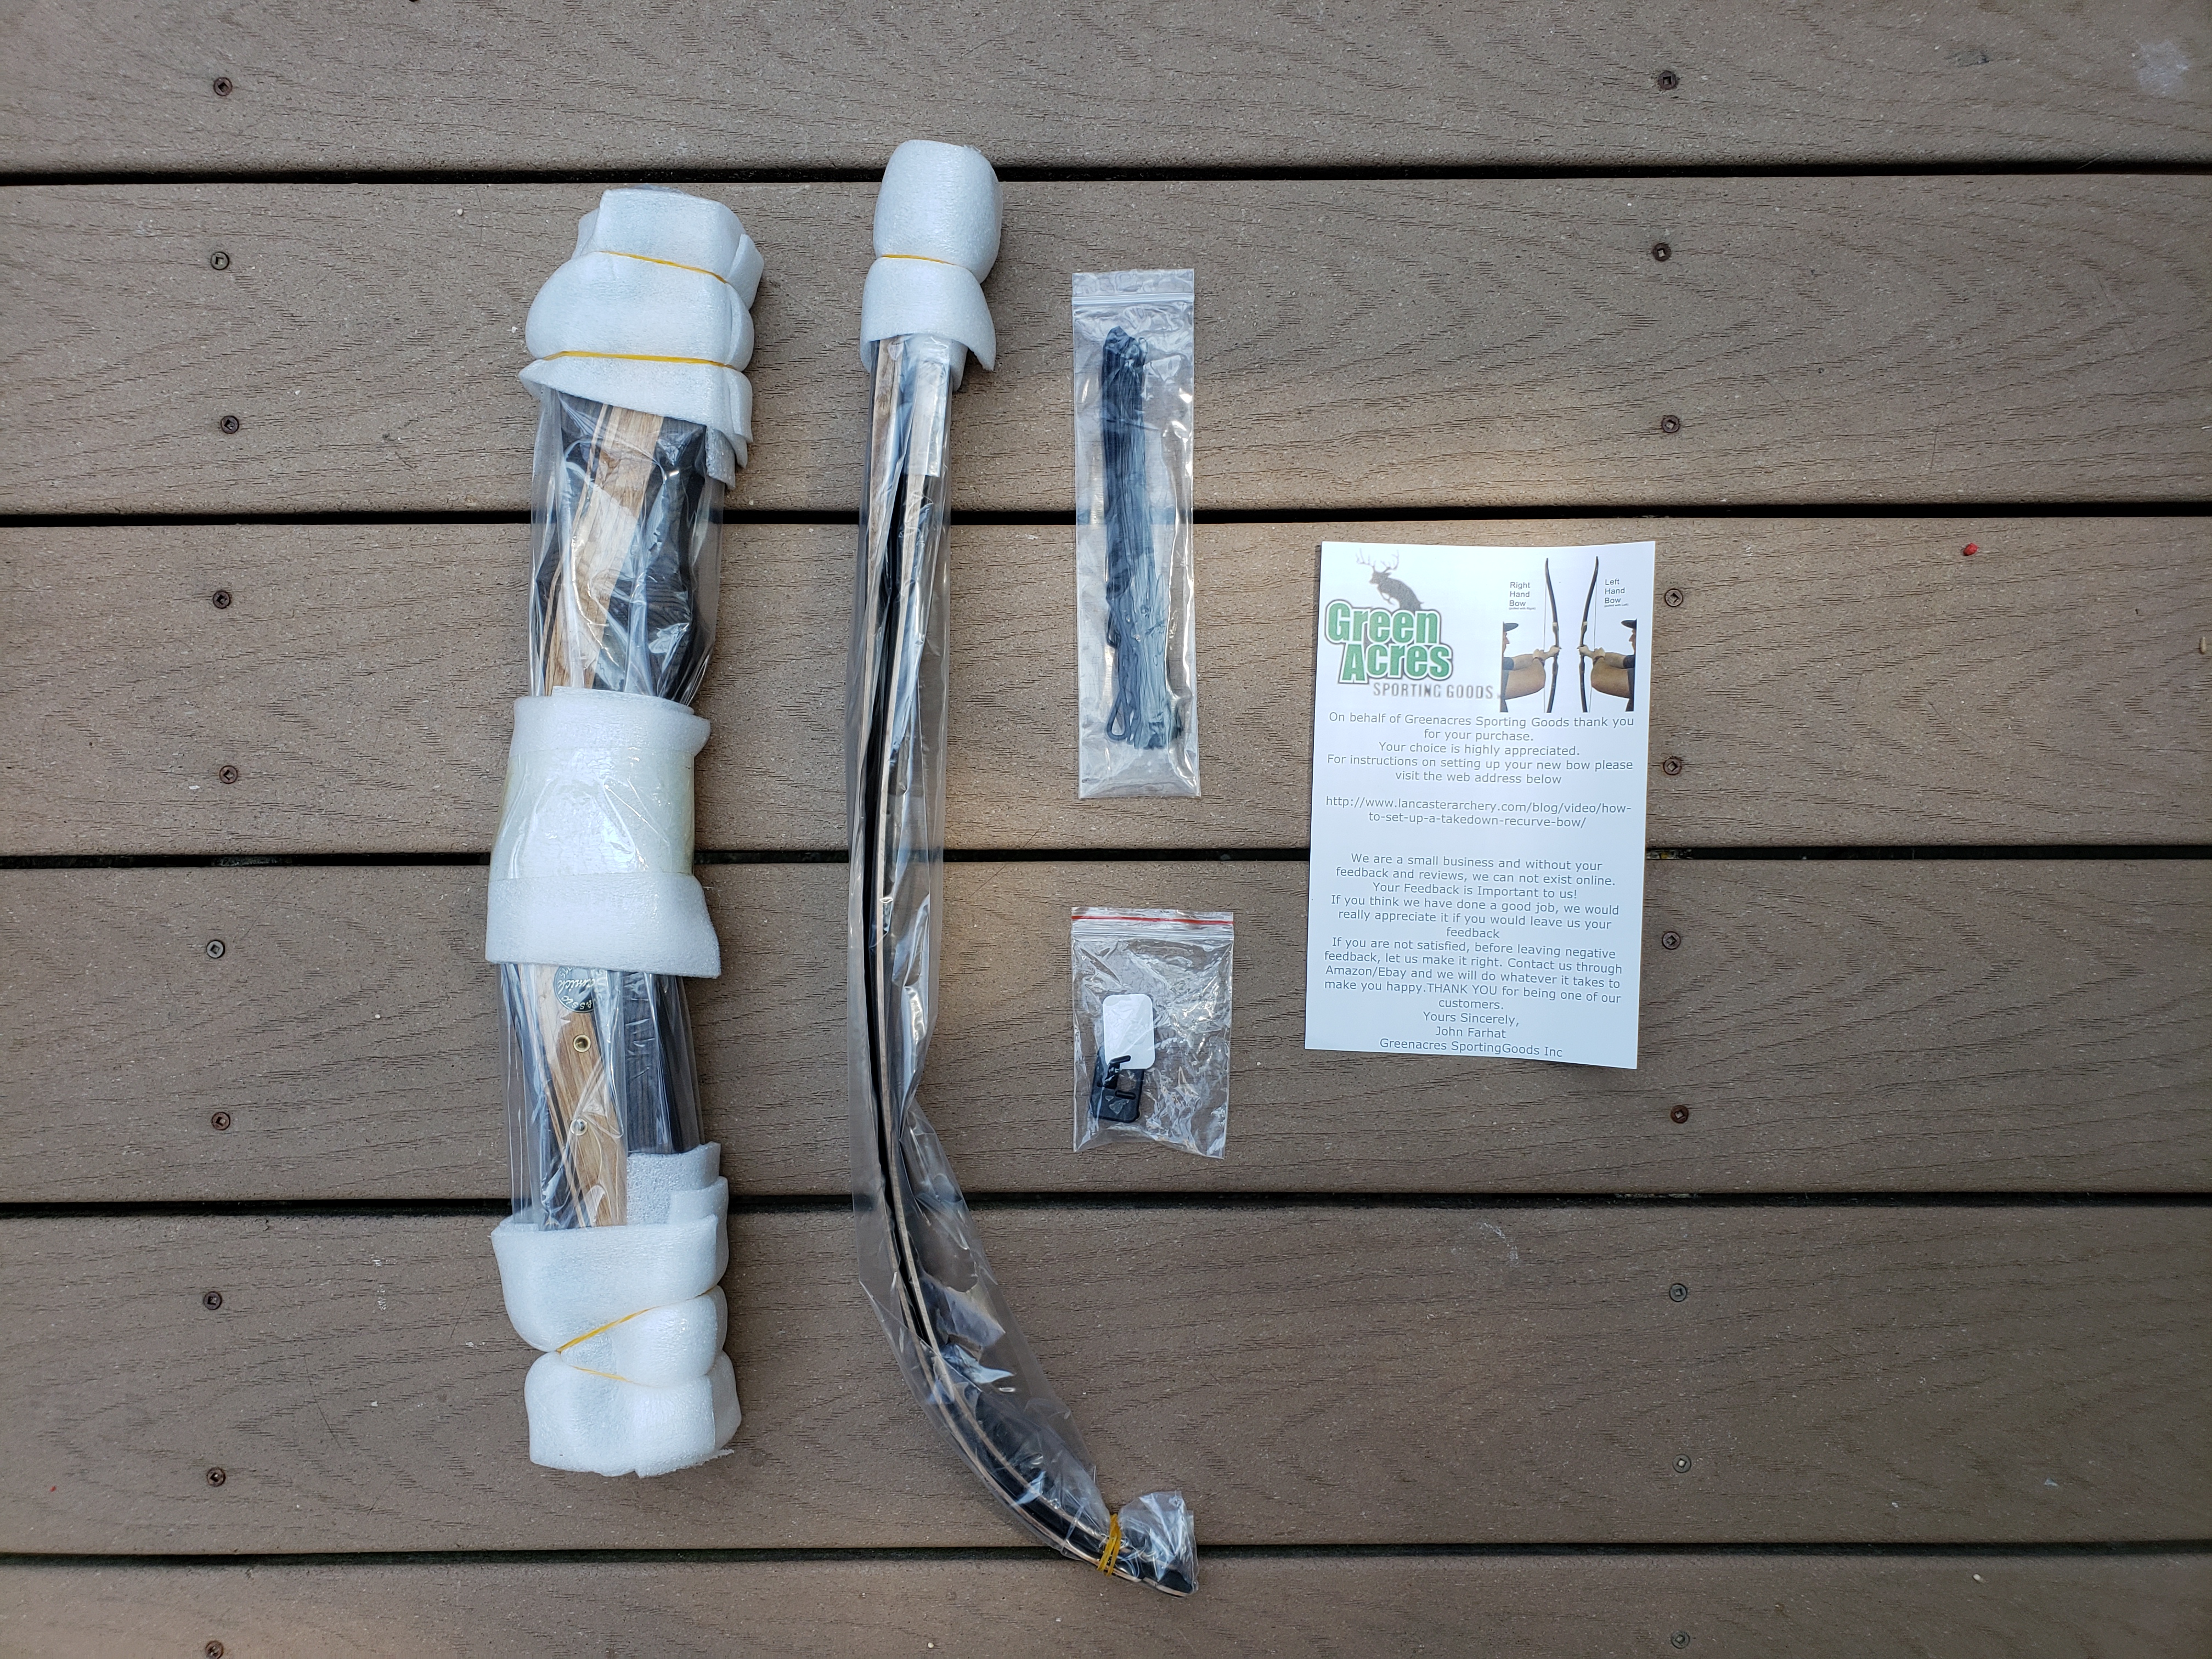
Here’s the equipment I’m using:
- Bow: Sammick Sage Recurve Takedown #35, Amazon, $120
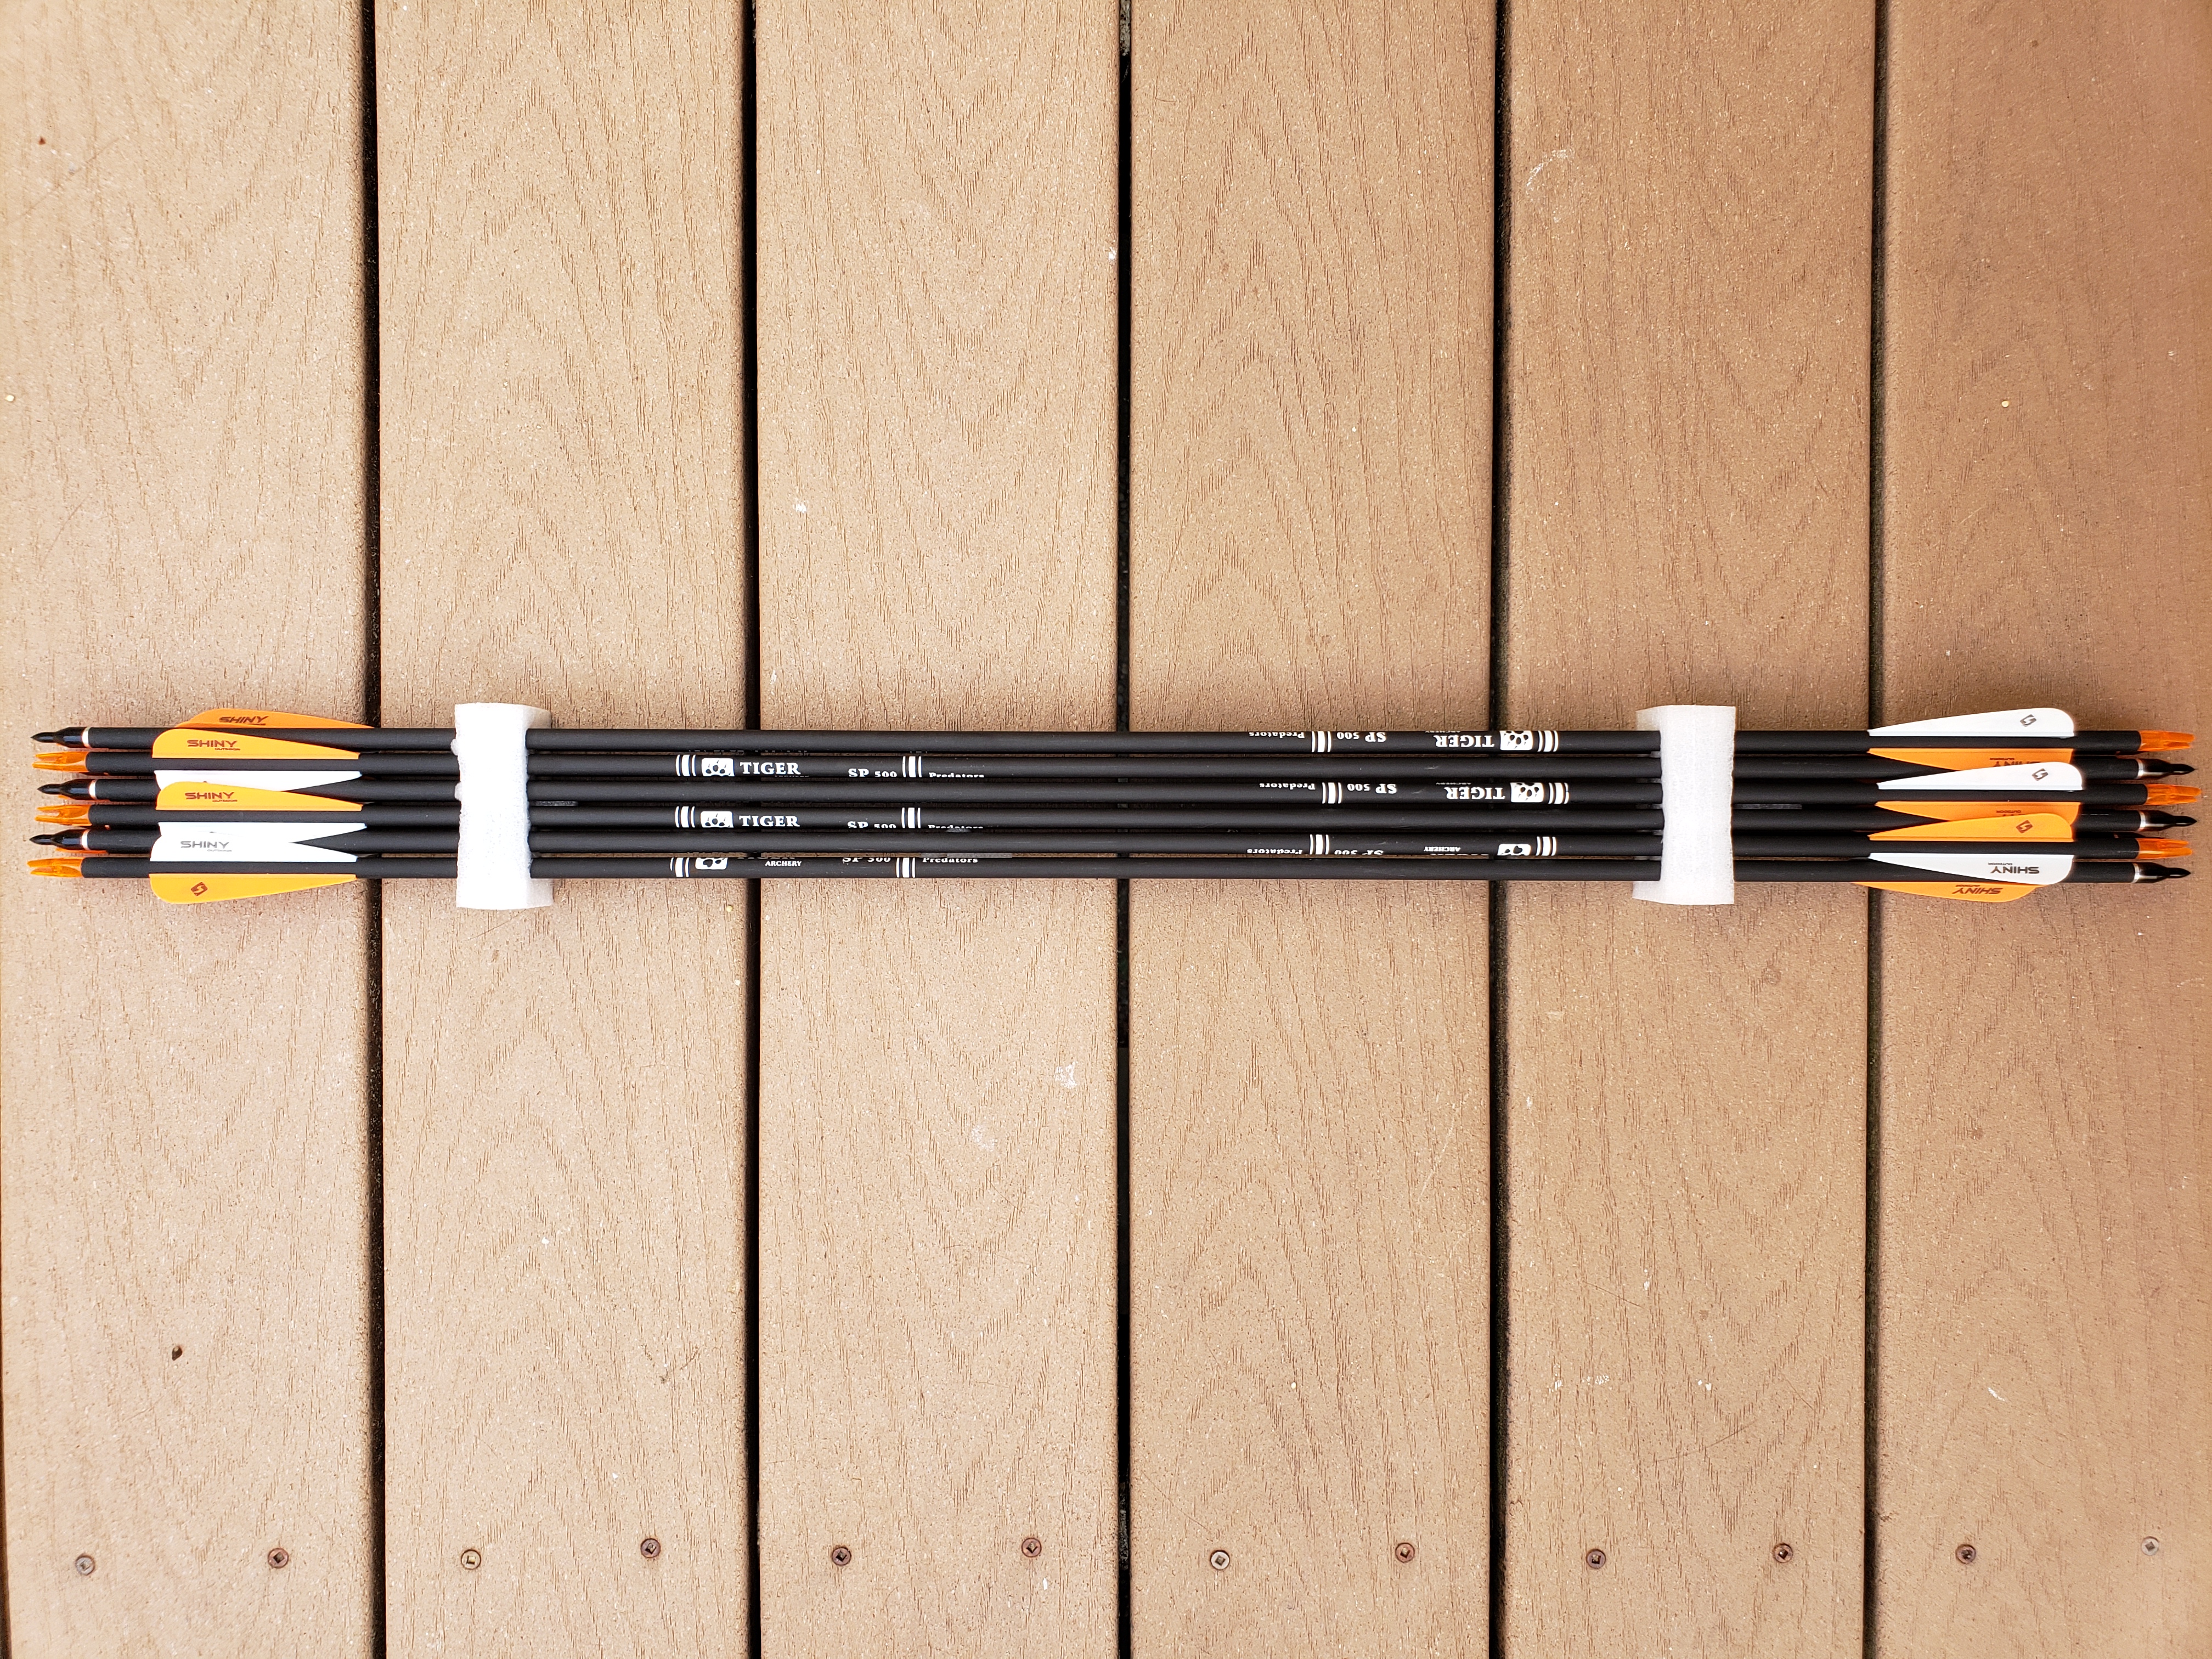
- Arrows: Tiger Archery 30 inch, Amazon, $40 for pack of 12
- Armguard: SAS 8″ with 3-strap buckles, Amazon, $16
- Quiver: SAS 3-tube quiver, Amazon, $26
- Glove: ArcheryMax 3-finger glove, Amazon, $16
- or Finger Tab: Cow leather finger tab, Amazon, $10
It’s a very pleasant hobby – one that gets you outside, facilitates focus, motivates you to improve. It’s easy to start, not at all expensive (at least until you come to realization that it’s something you really enjoy and want to invest more in), and makes for a fun family activity!
With the limitations currently in place (COVID-19), heading to range isn’t as viable of an option, so it’s even more important to be able to stay active and entertained while at home. And if you have a backyard, you should use it…
Design
I wanted for the design to be portable, so it can be moved to the side and clean up the space, or allow for the grass to be mowed. But also be sturdy, not fall under the impact from arrows, and last for a long time.
Keep in mind that it’s important to have a safe space behind your targets – you can use backdrop made e.g. from rubber horse stall mats, to make sure arrows don’t hit something they shouldn’t.
I made the design in Fusion 360 to plan and better illustrate it.
Drawing (including dimensions):

Renders:
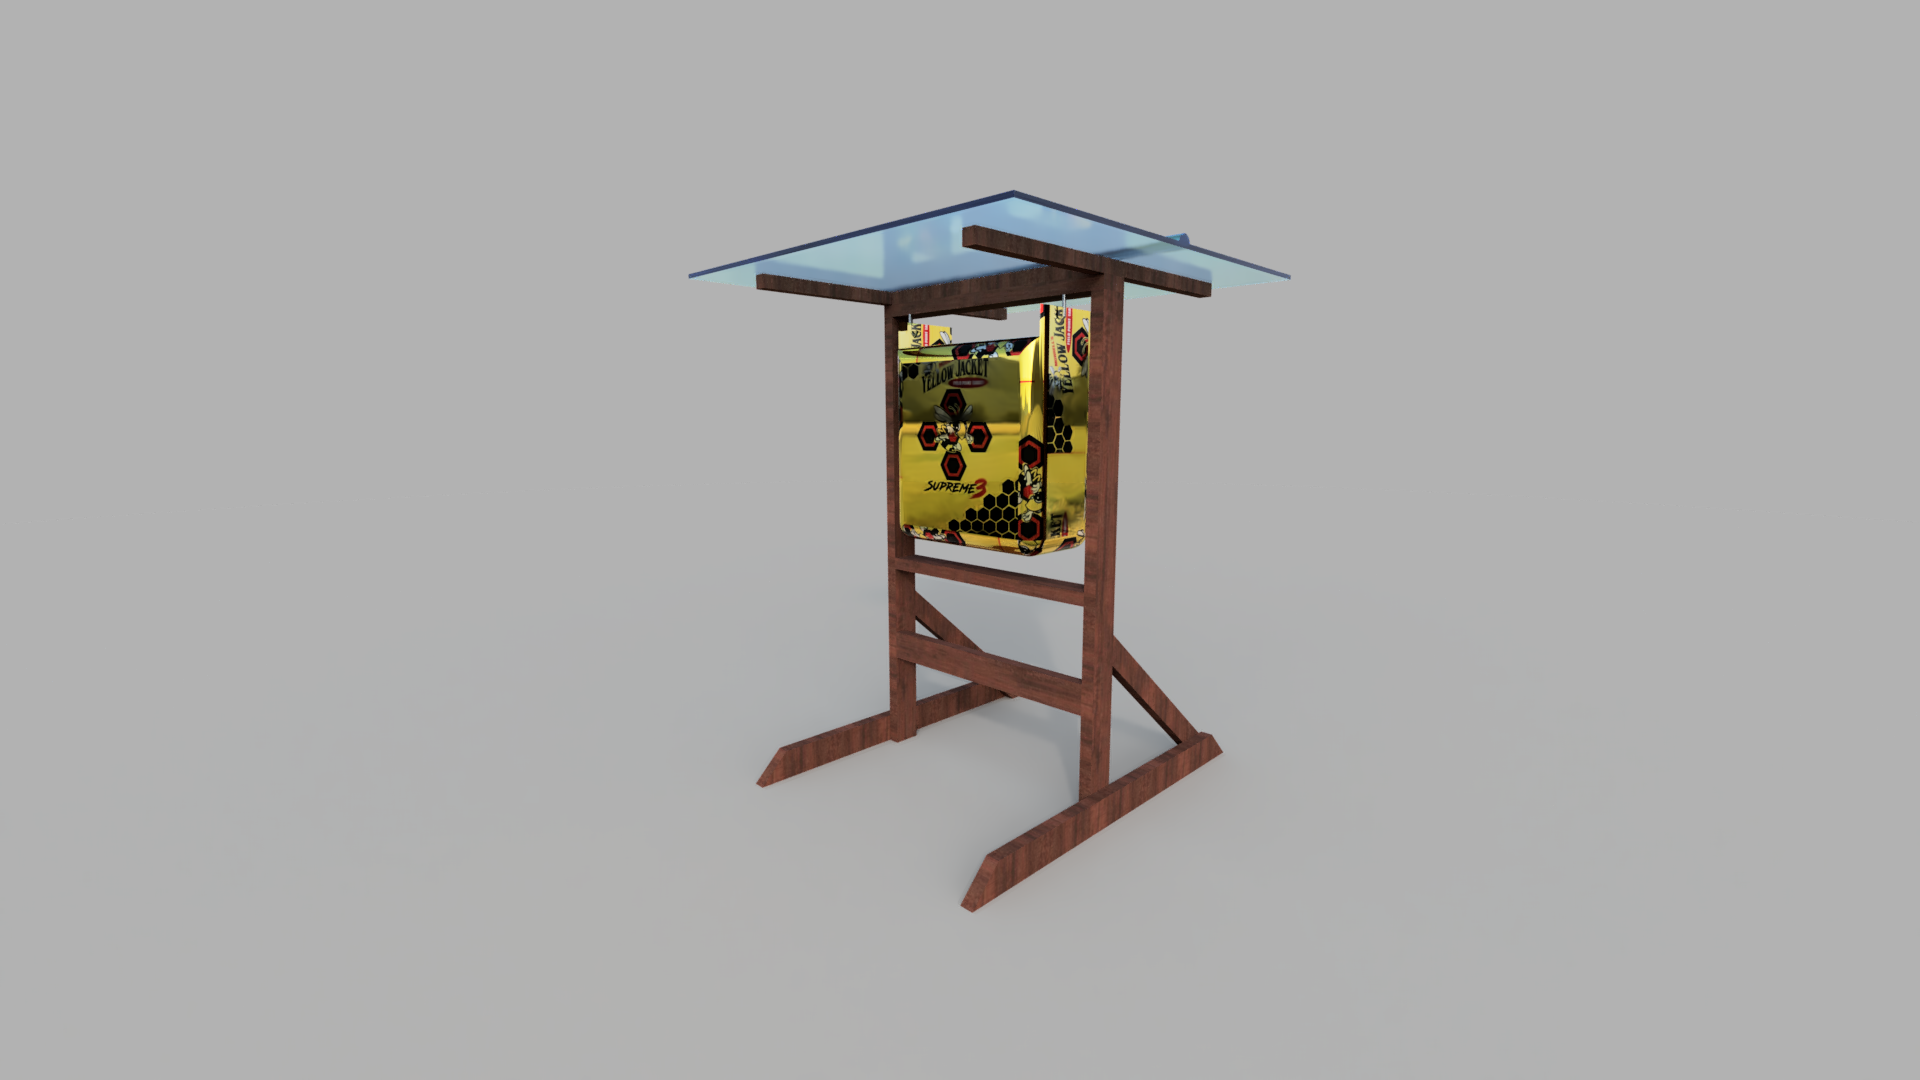
![]()
![]()
Turntable view:
Exploded view:
Alright, let’s build this thing!
Materials
All materials listed are for a single target. If you want to make 2 targets just as pictured in my photos, double most of the materials (you will have enough left-over screws from building the first one that you don’t have to order more of them).
| Product | Price | Purchase link | Description |
|---|---|---|---|
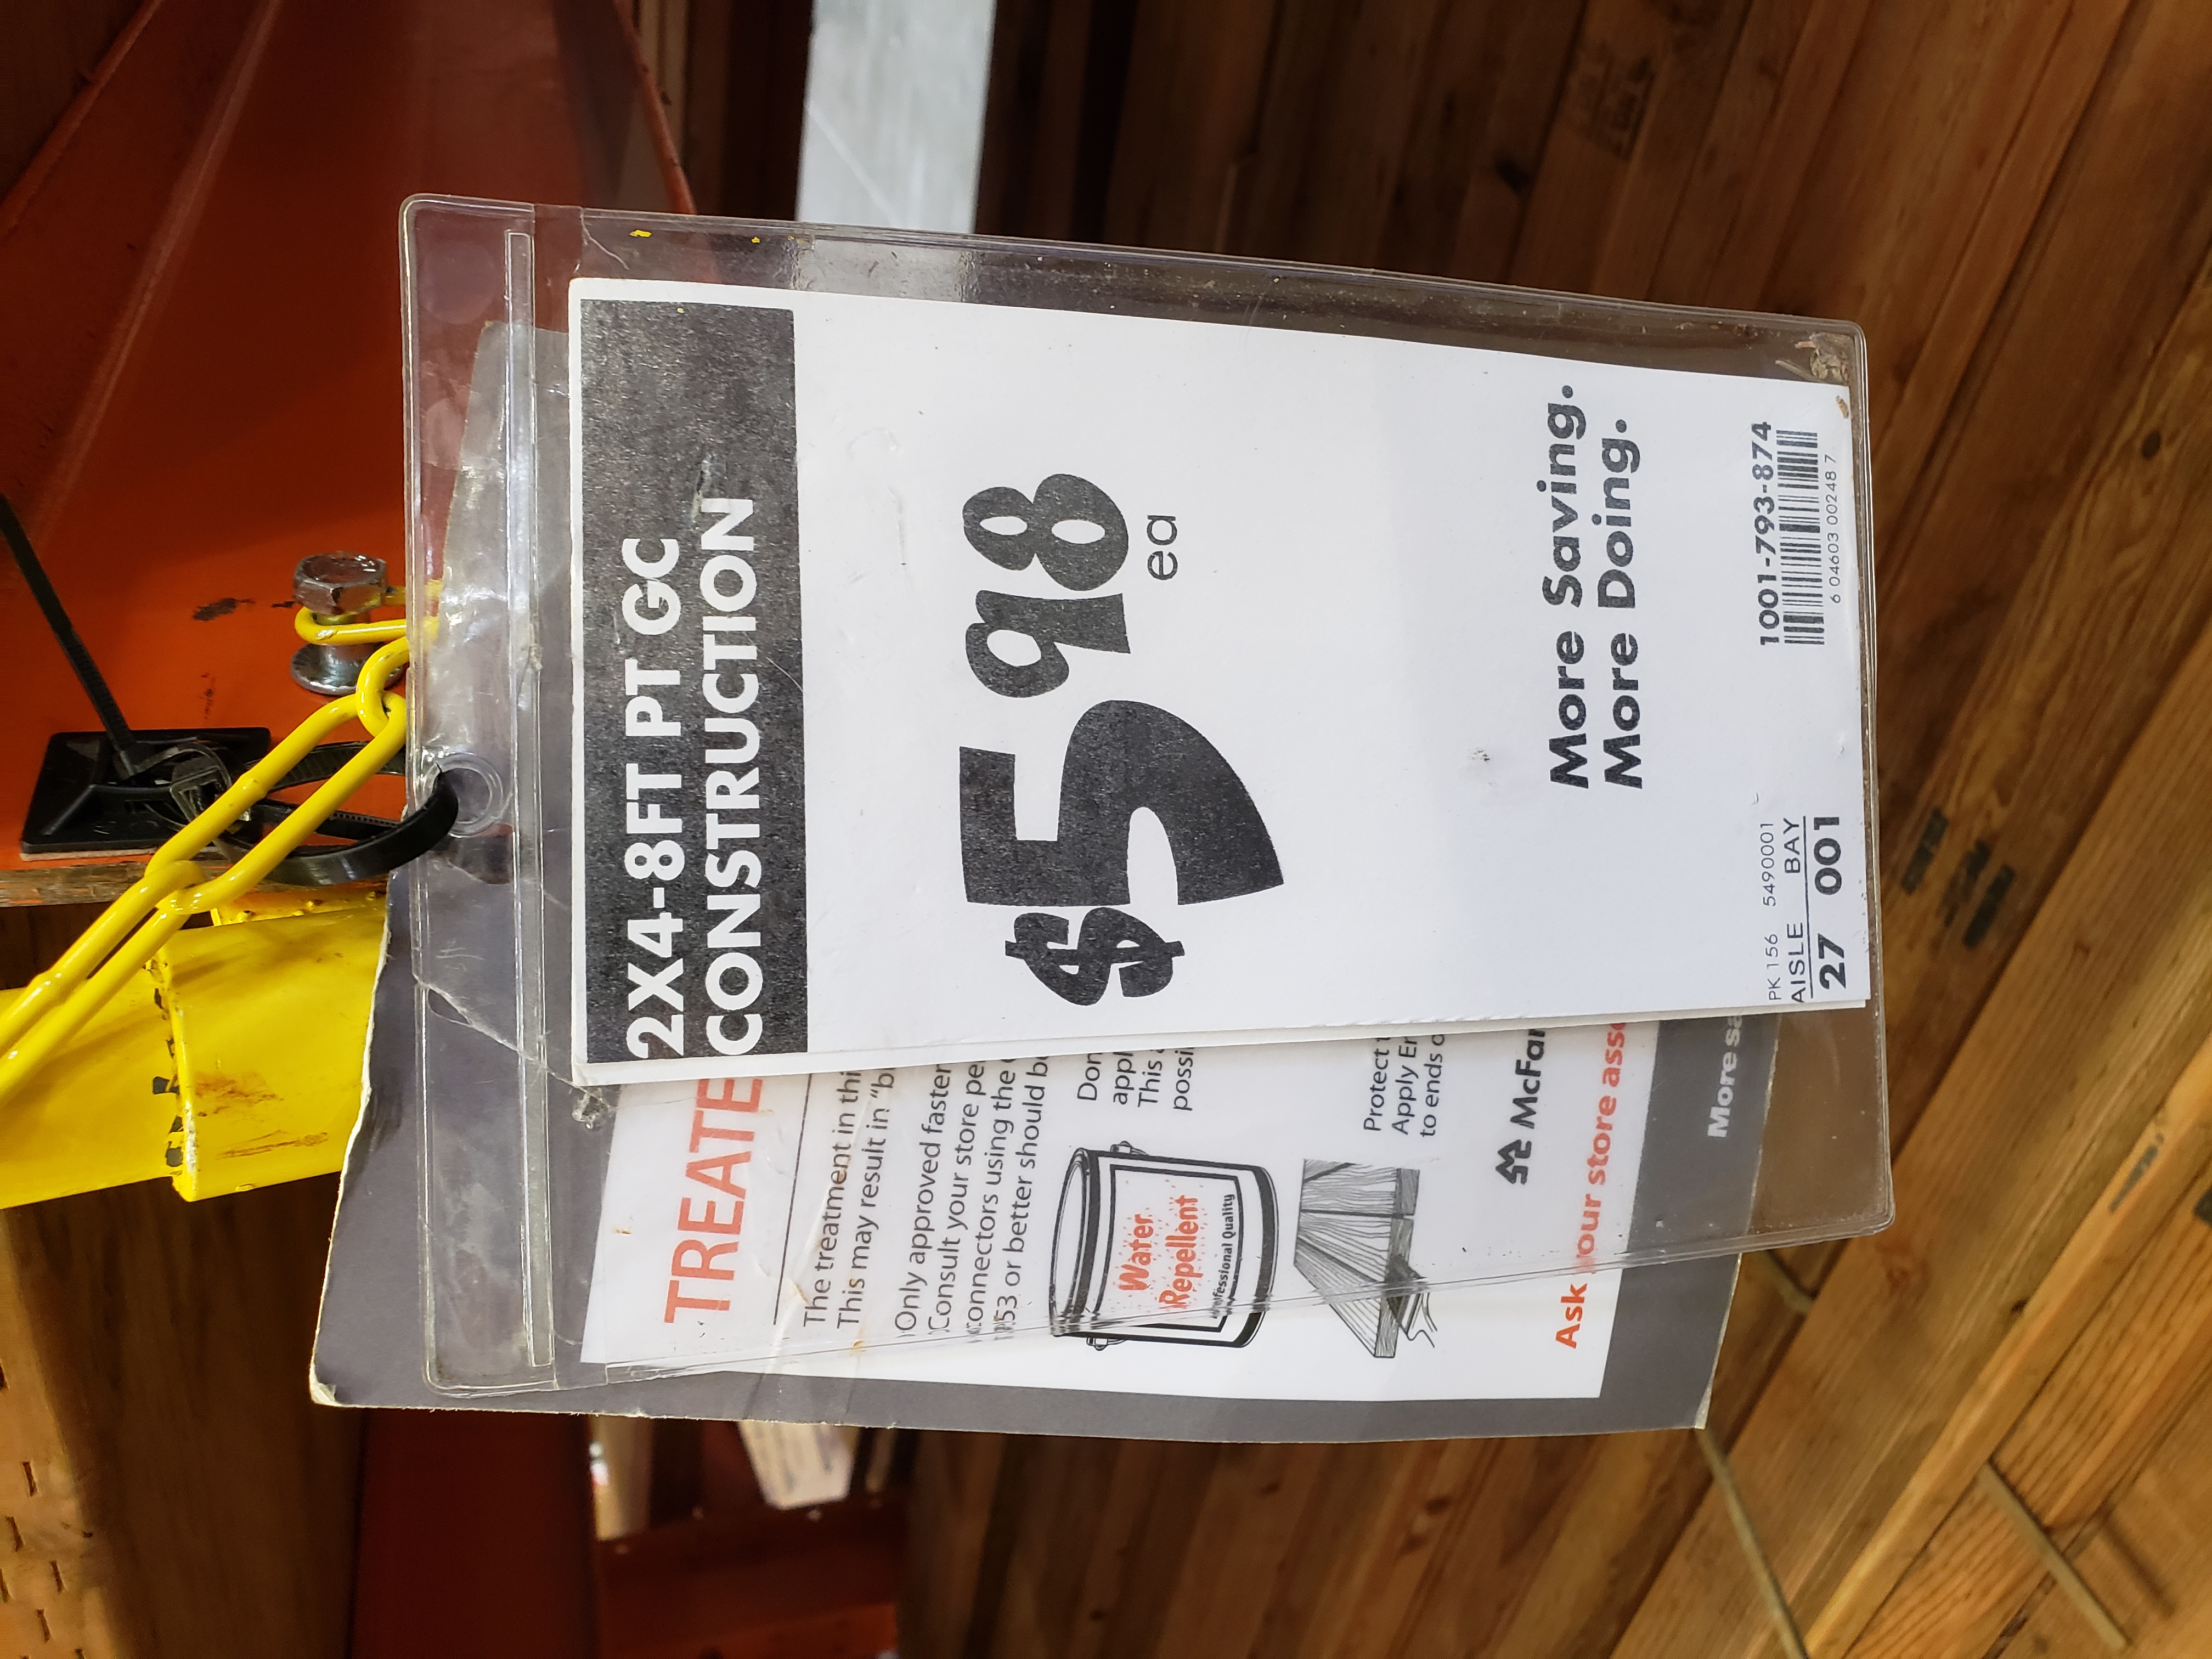
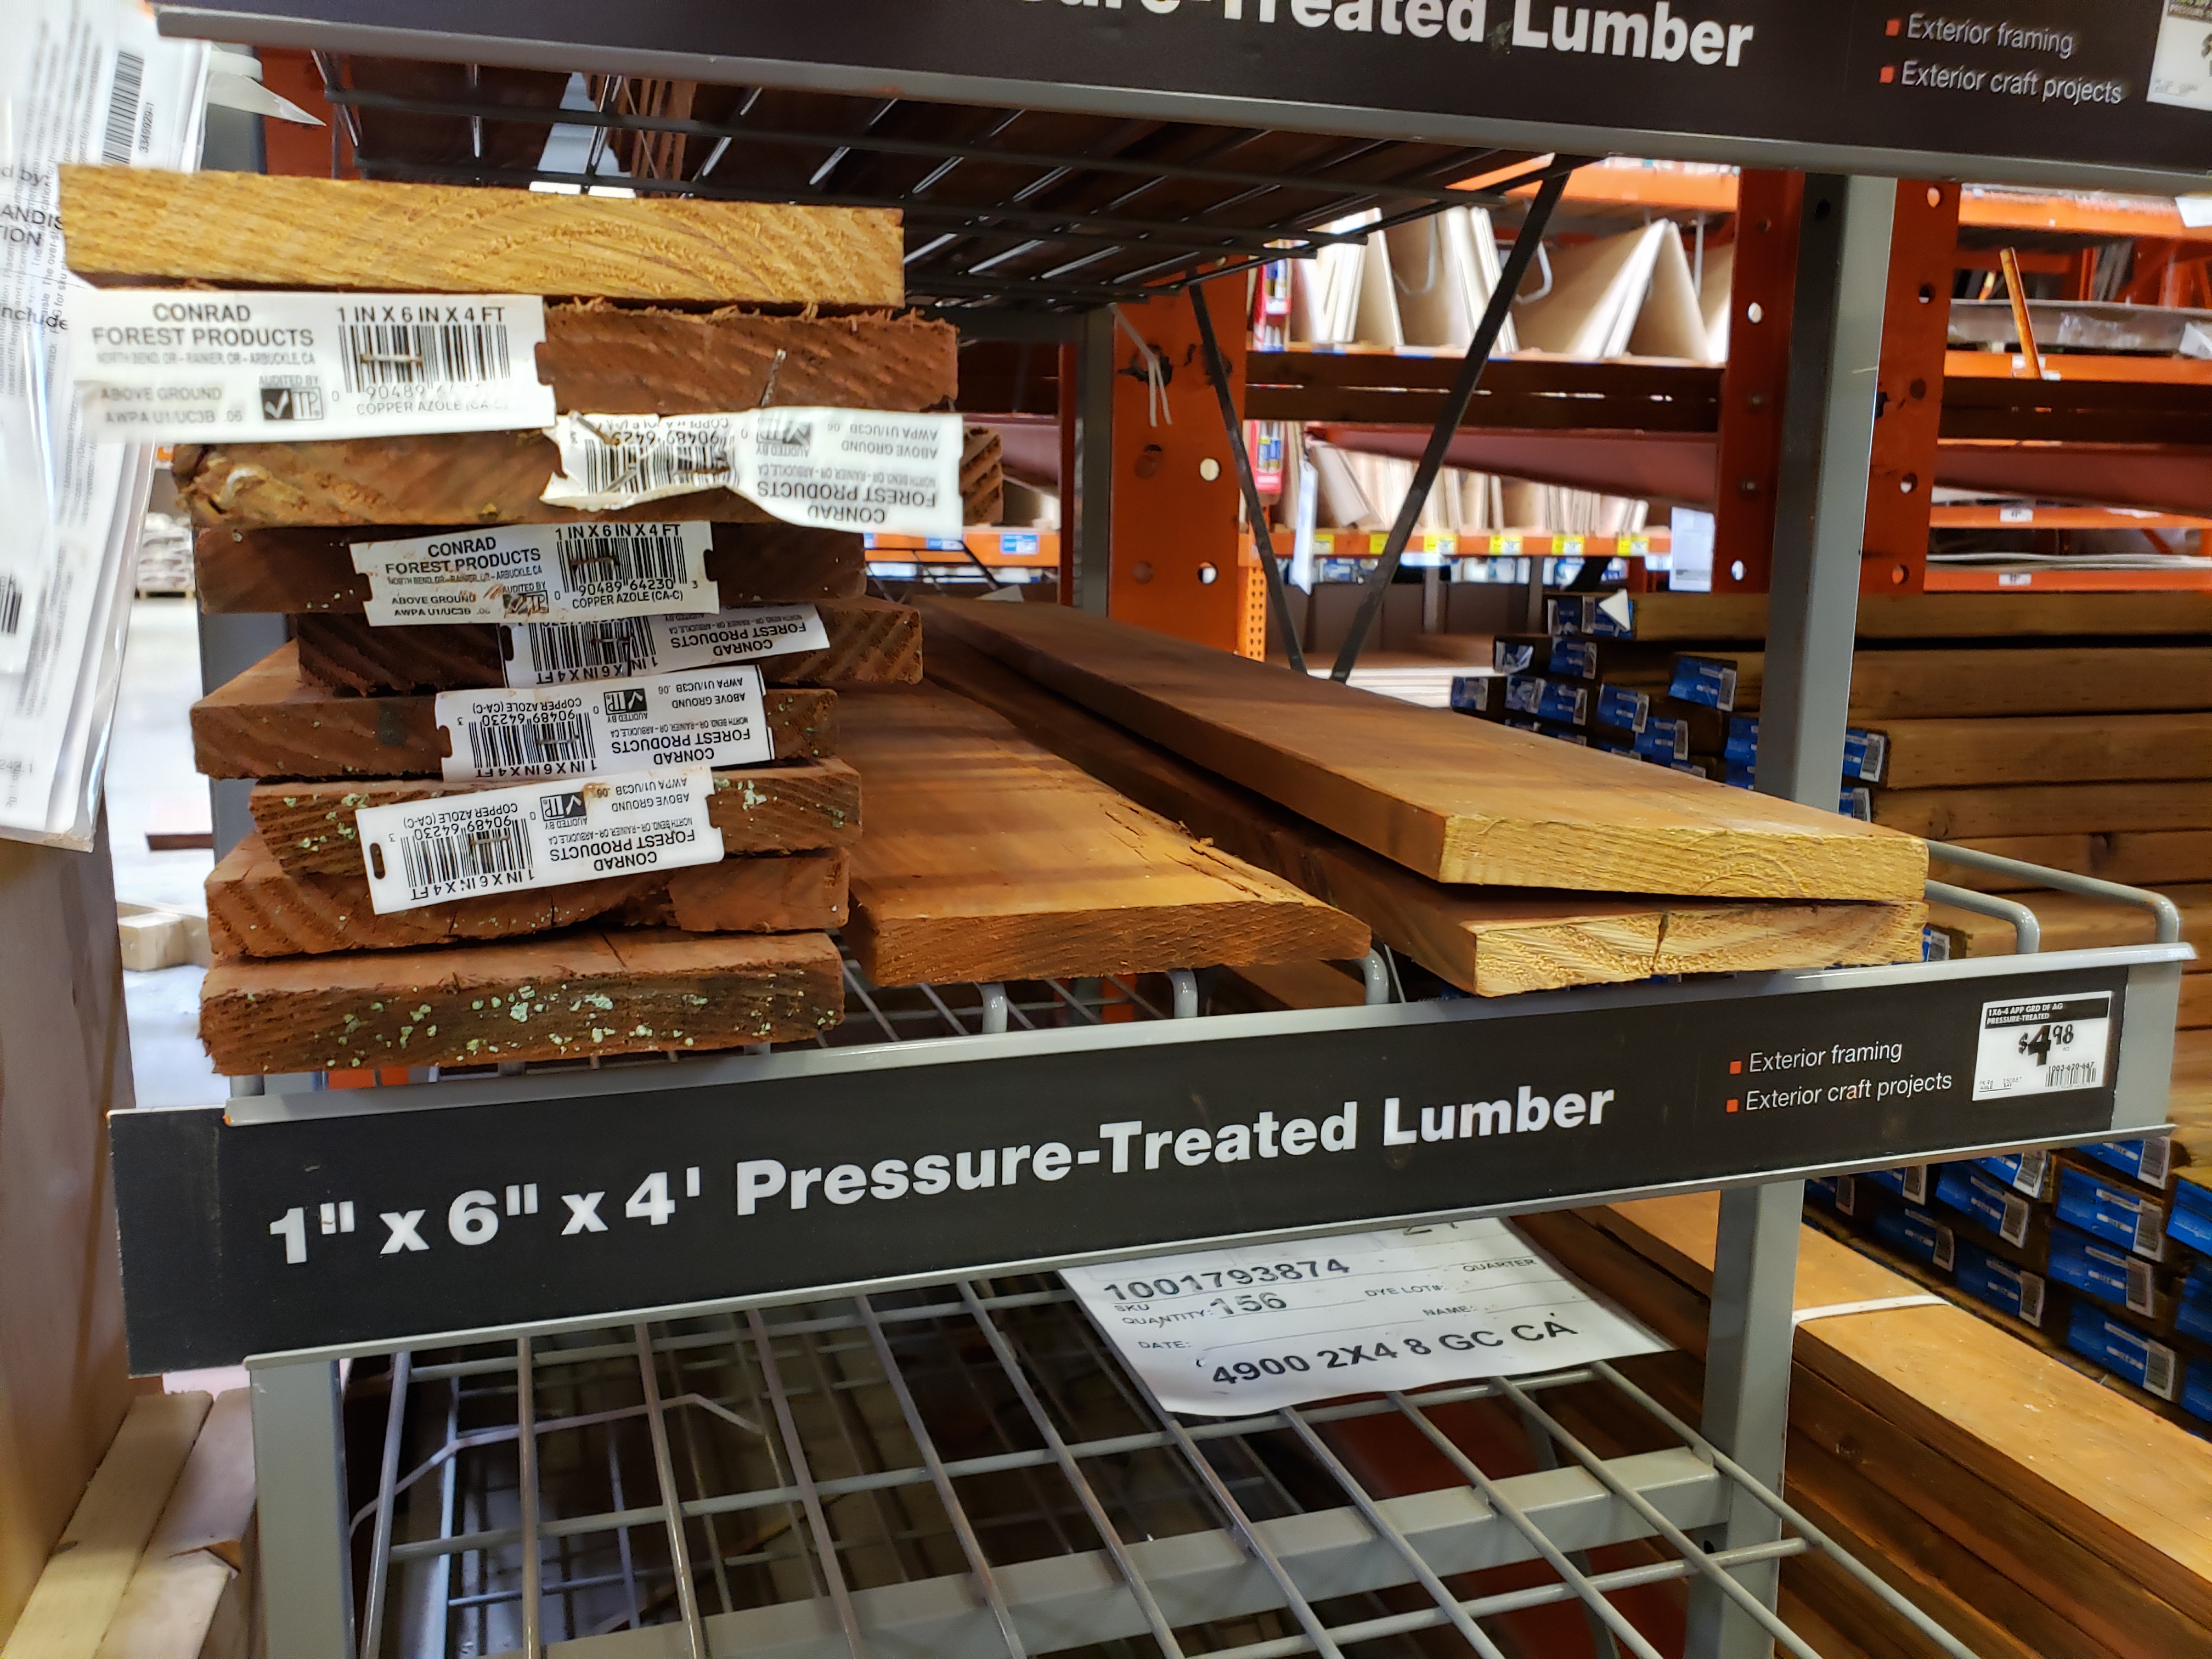
| Dimensional wood, 2×4, 8ft long, treated | $6 a piece, get 6 pieces per target | Home Depot, Lowes or your local lumber suplier 😉 | Wood used for the construction |
| Polycarbonate roofing panels | $28, 1 sheet | Home Depot | Roof to protect the targets from rain, snow and sun. Also purchase a single length of H-connector for the panels, and screws with rubber gaskets. |
| H-connector for roofing panels | $17, 1 piece | Home Depot | Single length is sufficient. Cut to size. |
| Roofing screws with rubber gaskets | $5.50 per bag | Home Depot | I recommend to use those specialized screws, as otherwise water will seep through into the wood. |
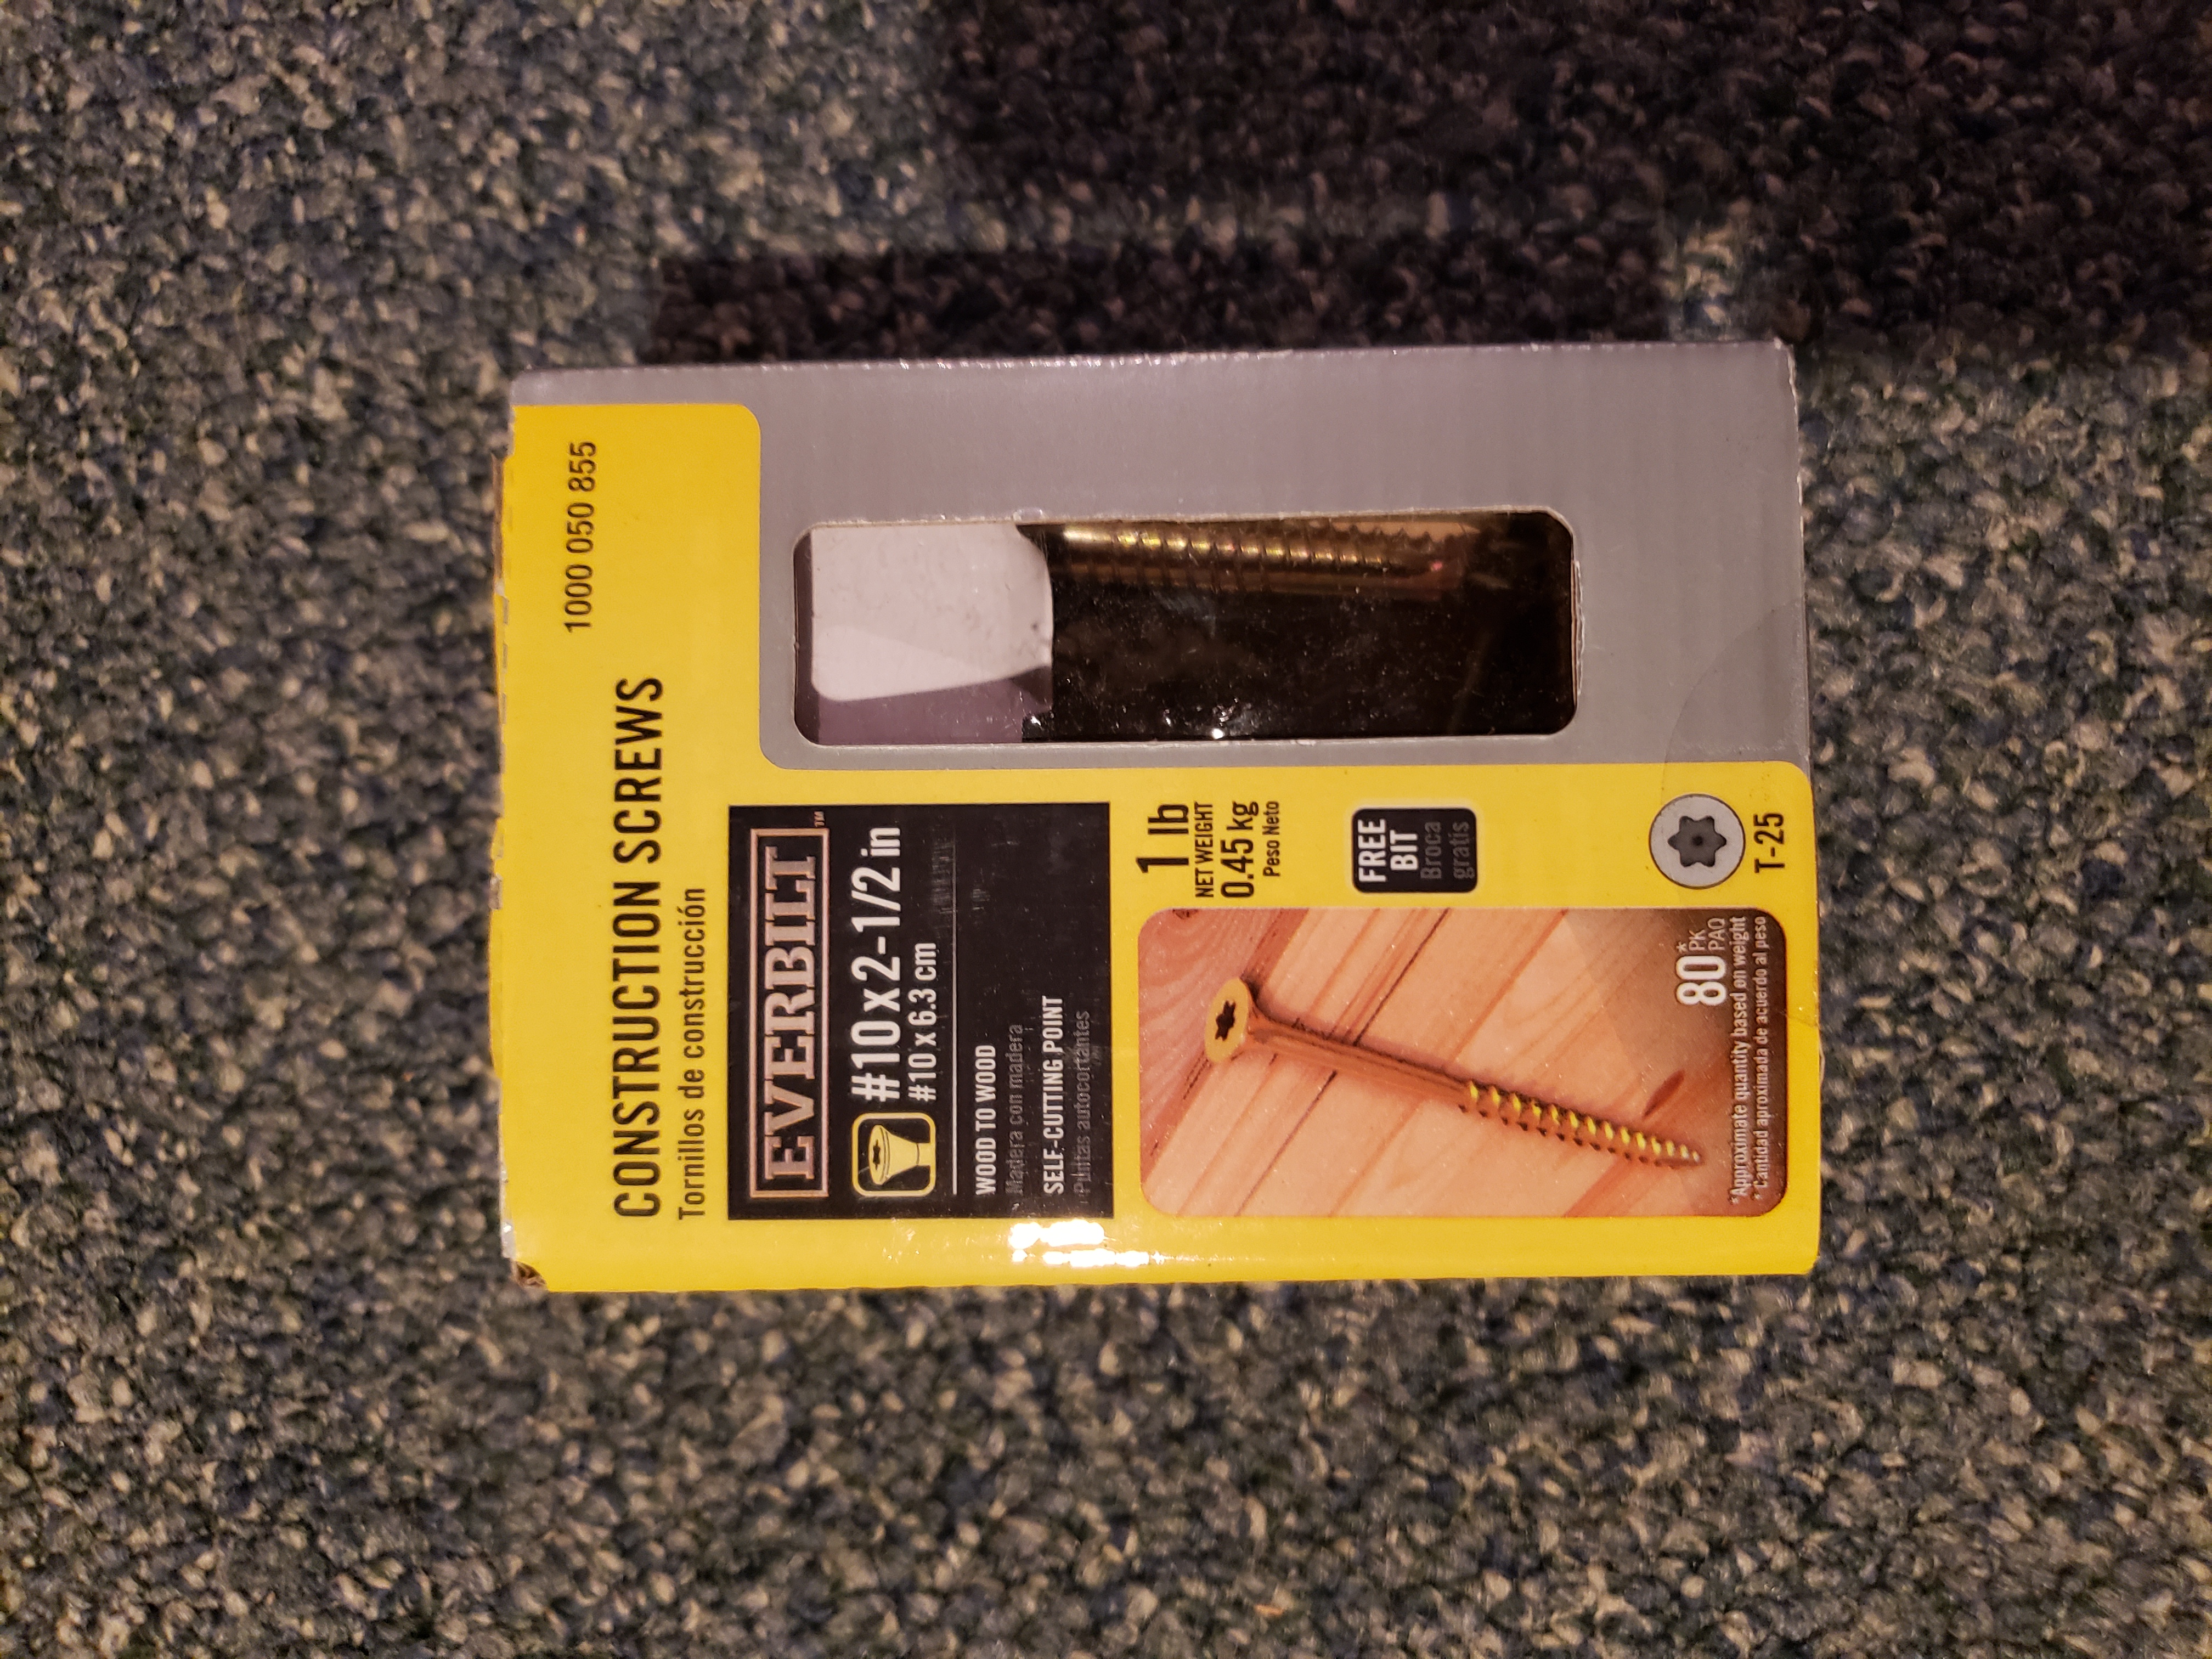
| Construction screws | $8.50 for 1lb | Home Depot | #10 x 2-1/2″ |
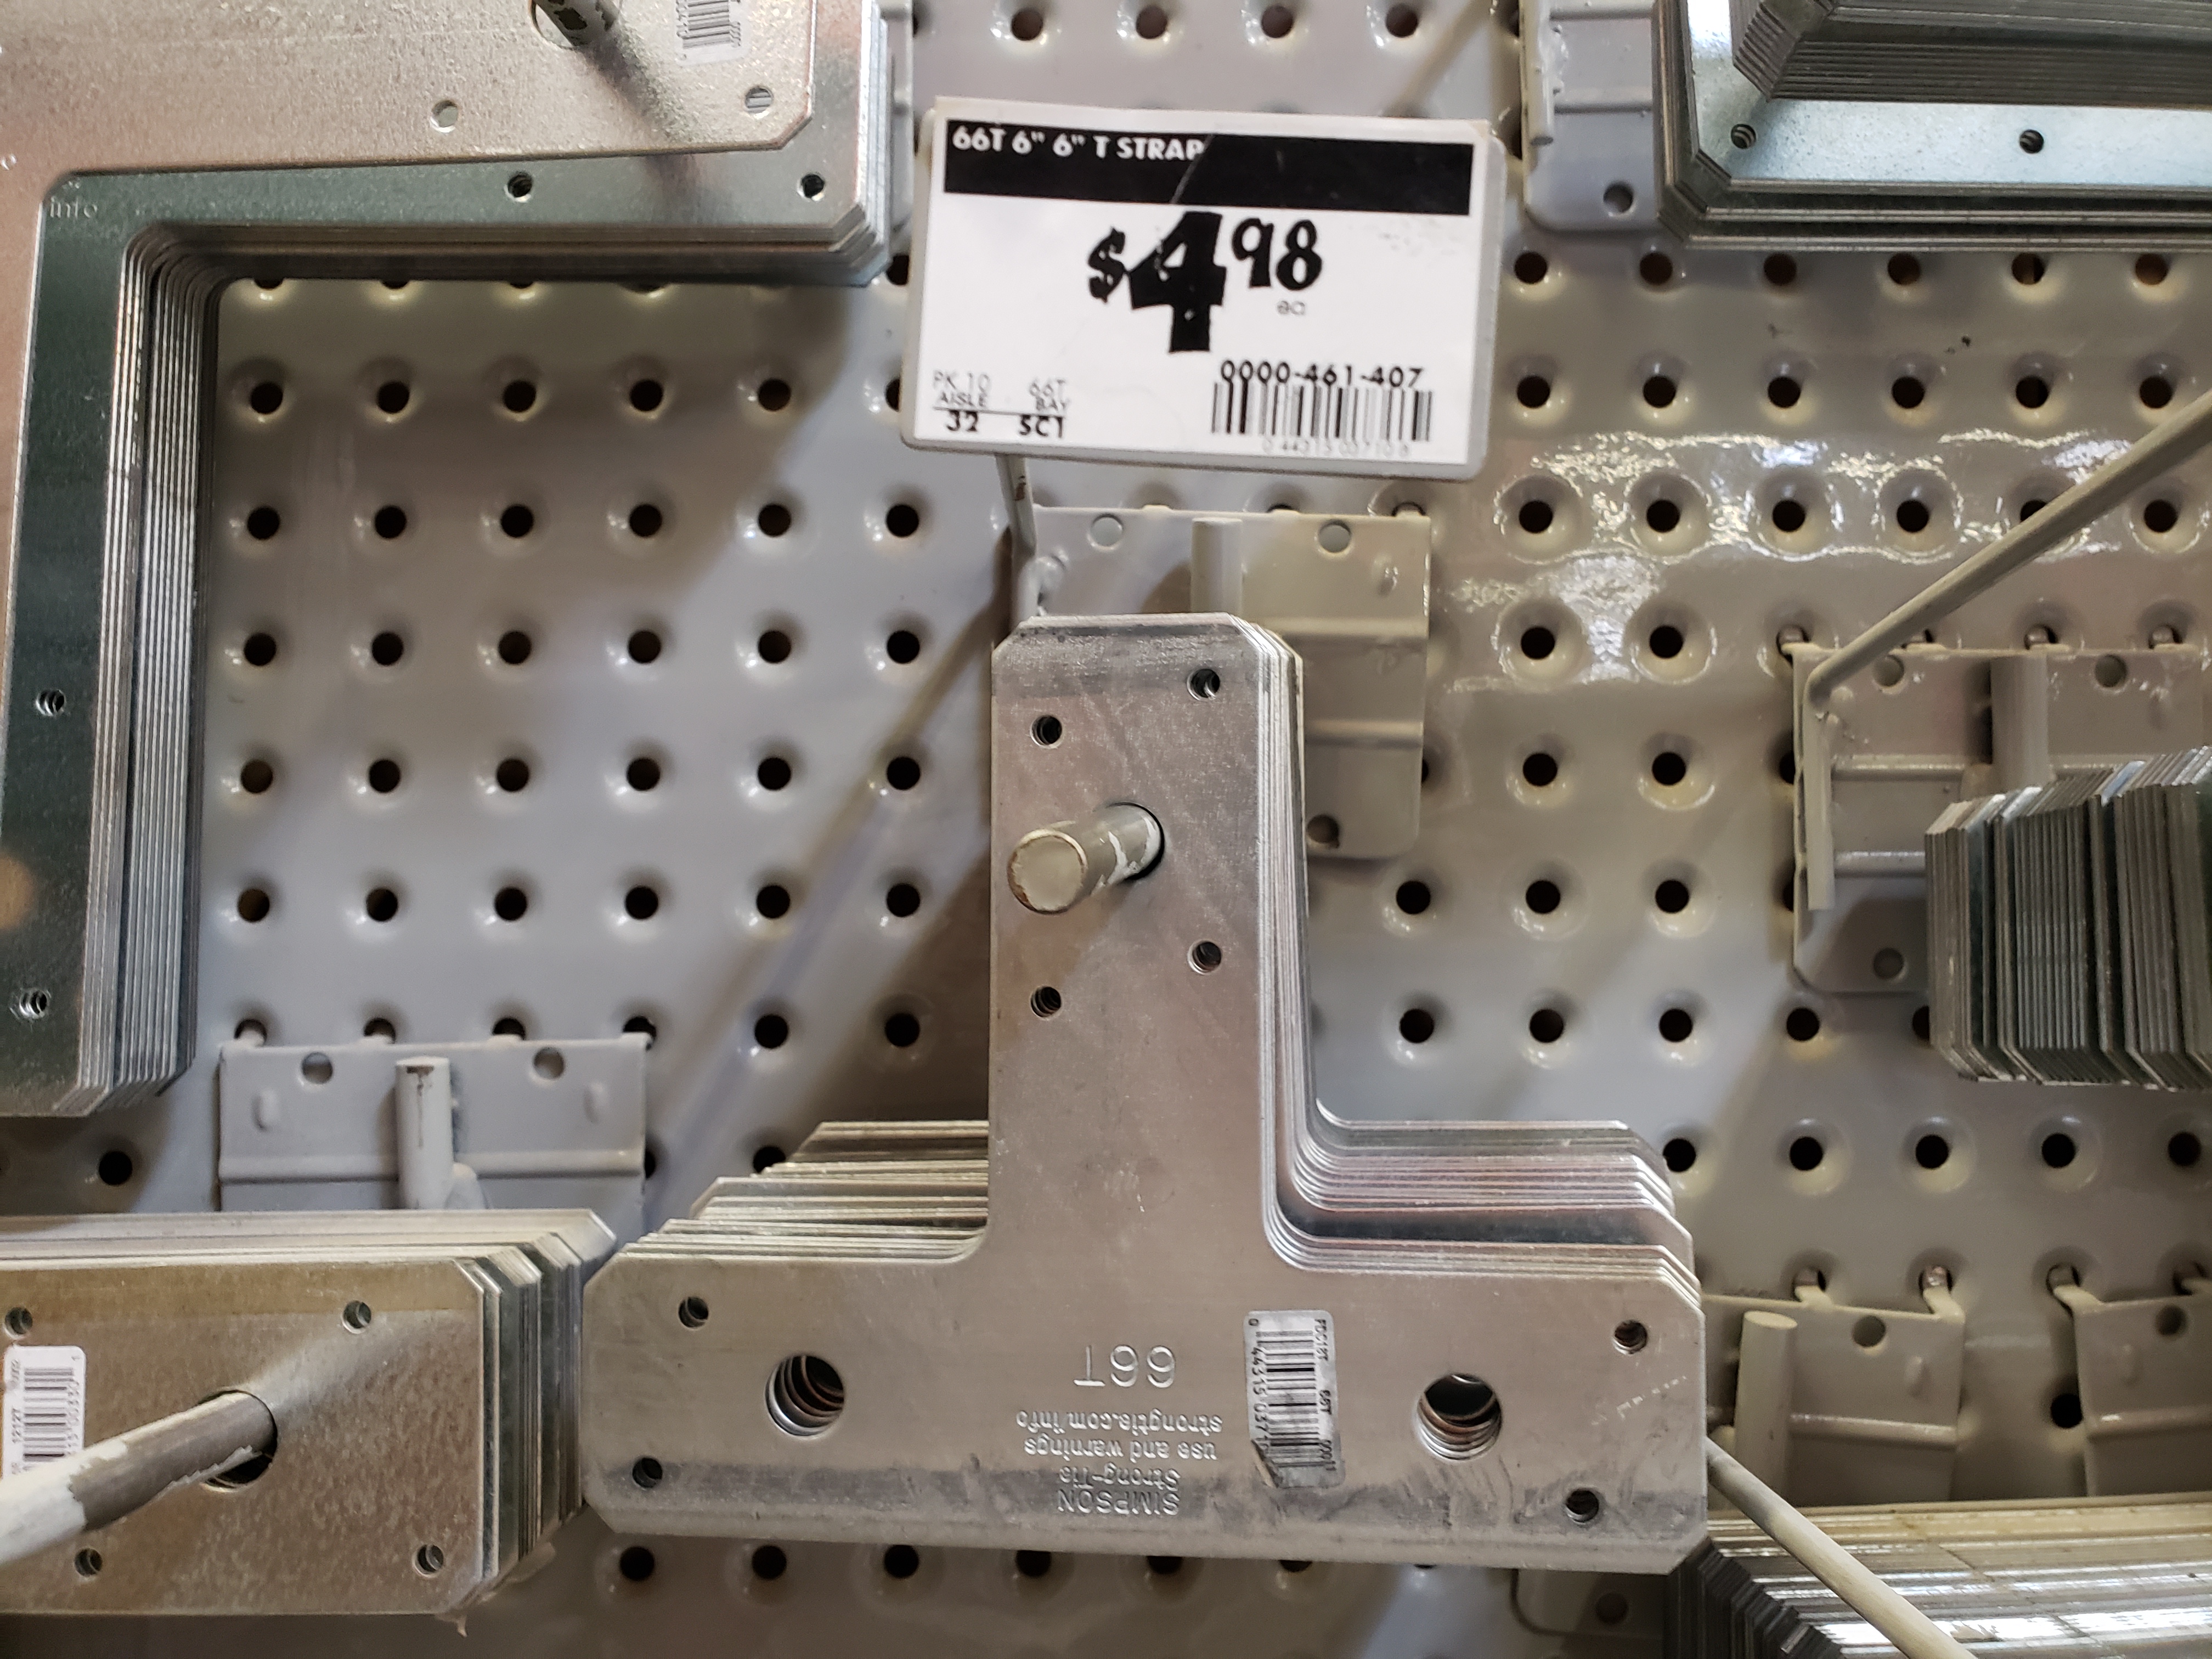
| T-plate | $5 a piece, need 2 pieces | Home Depot | 6″ x 5″ |
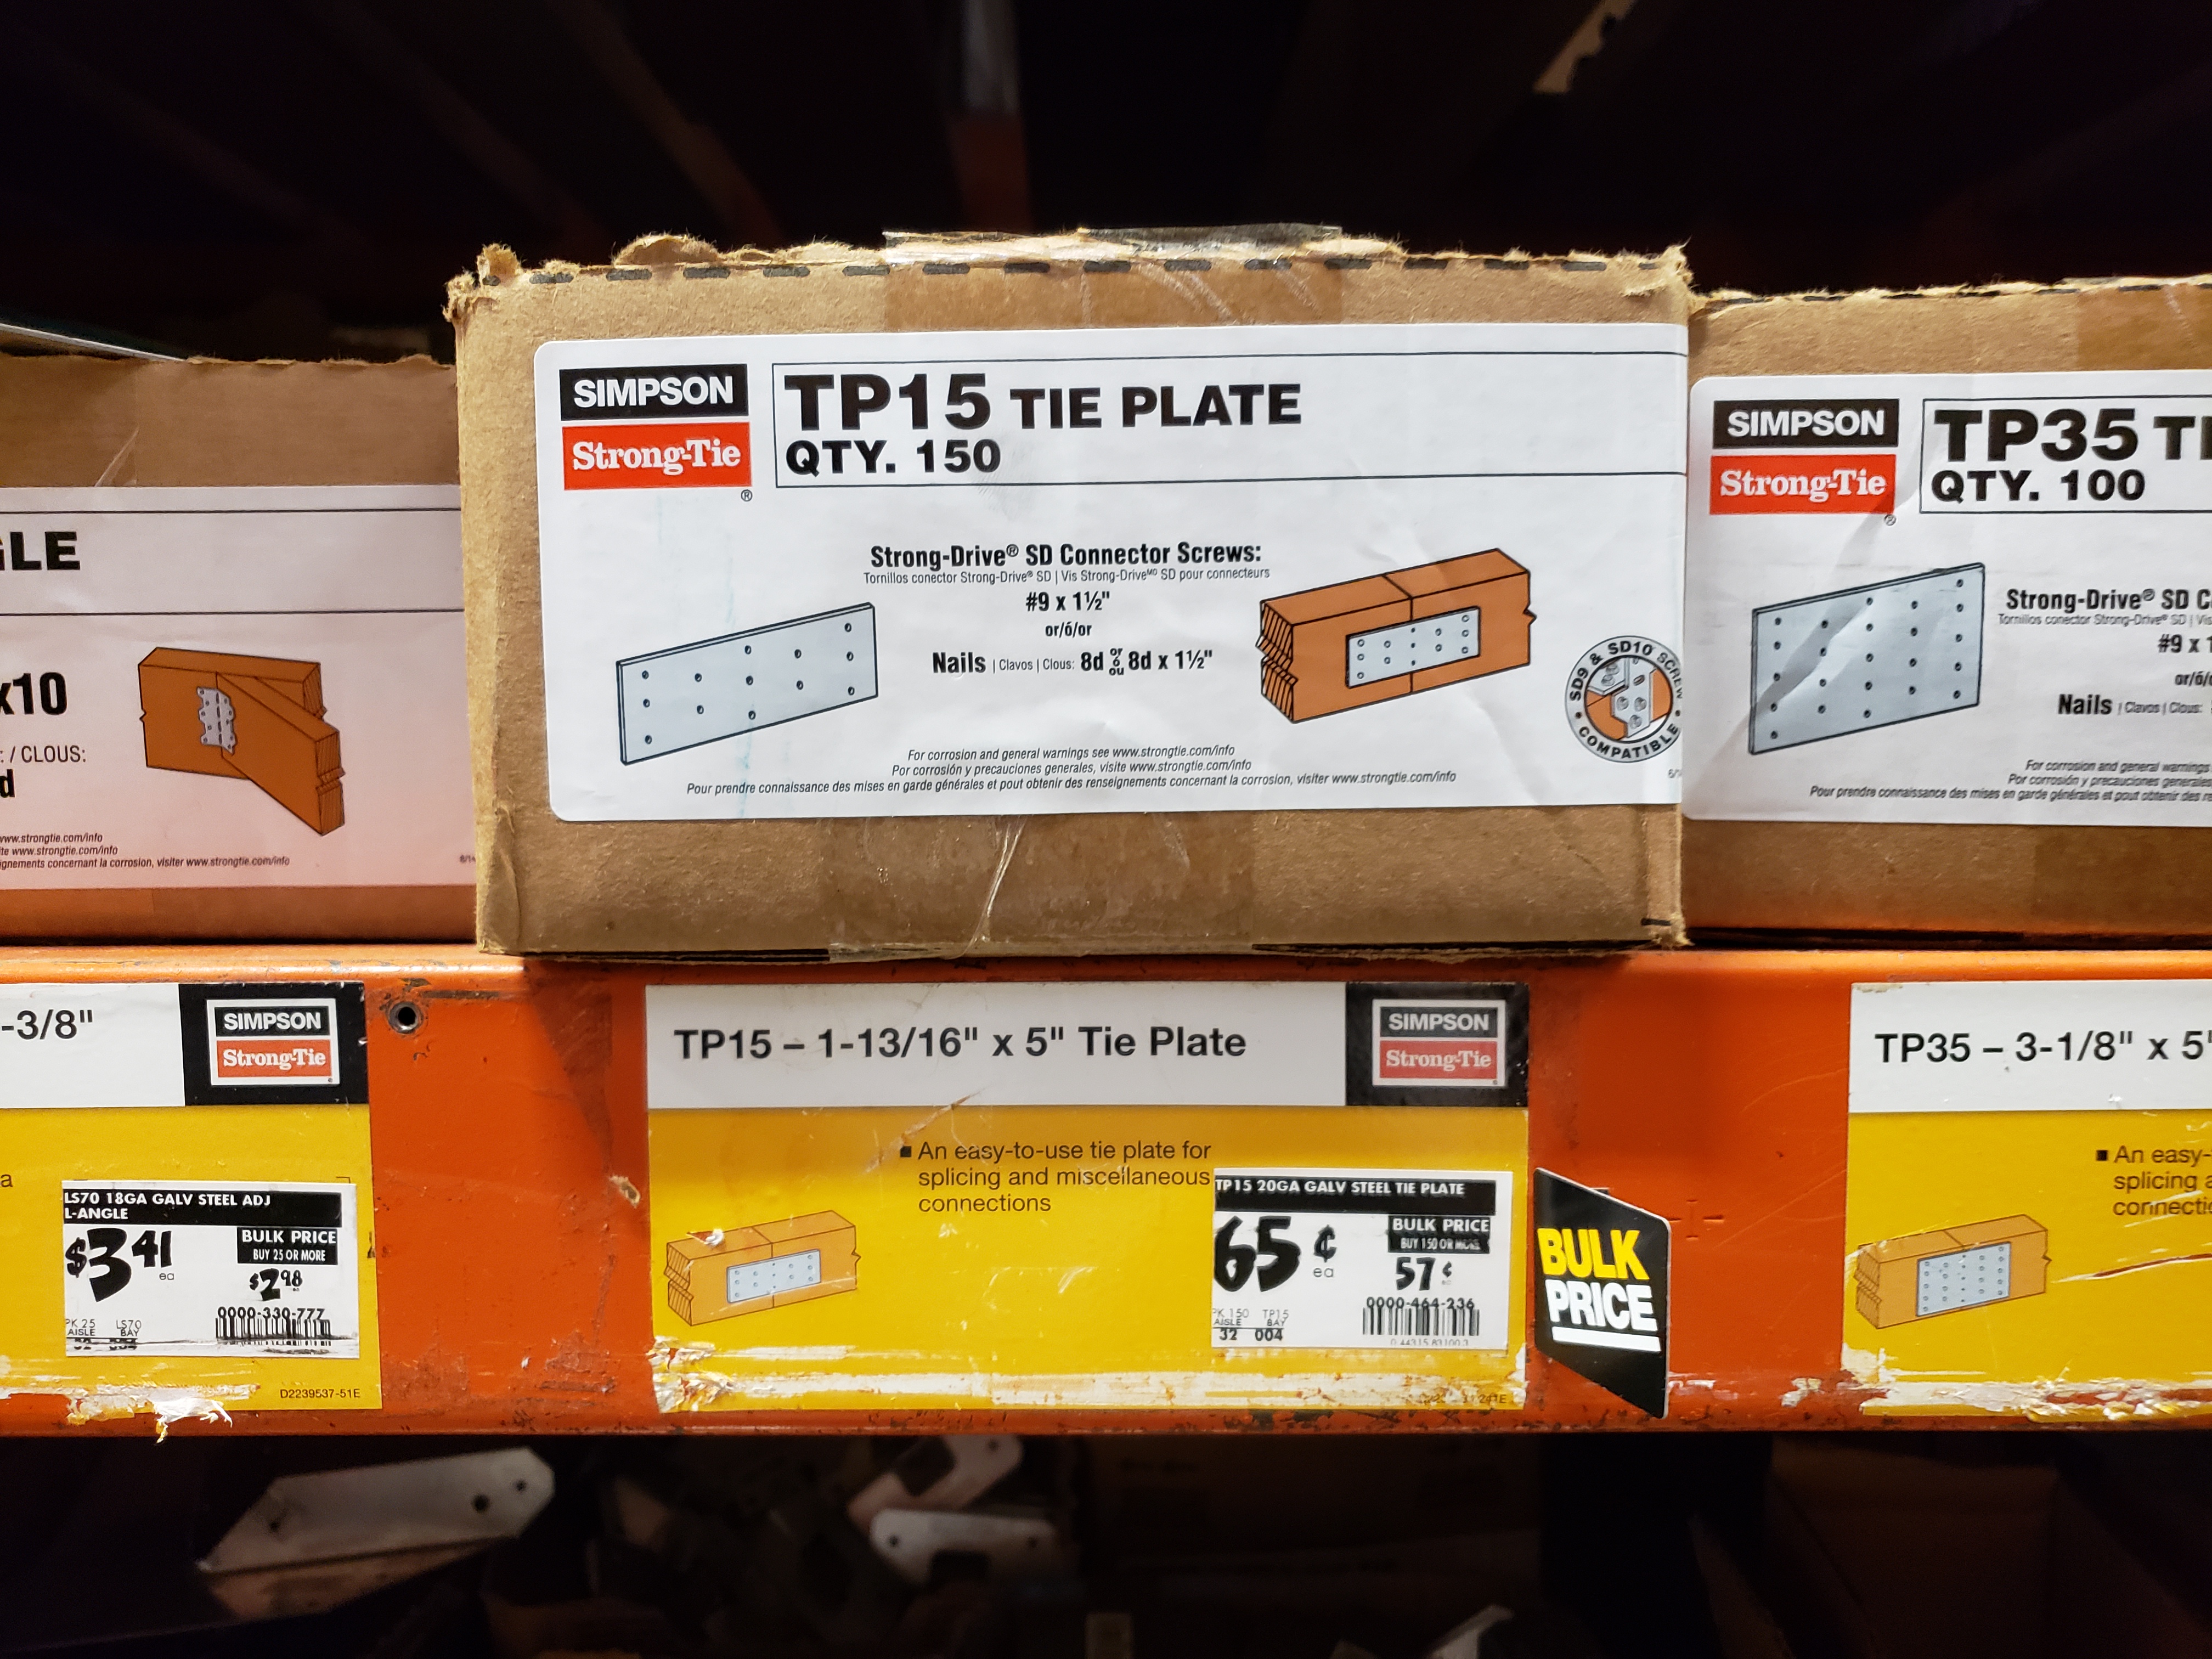
| Tie plate TP15 | $0.65 a piece, need 2 pieces | Home Depot | 1-13/16″ x 5″ |
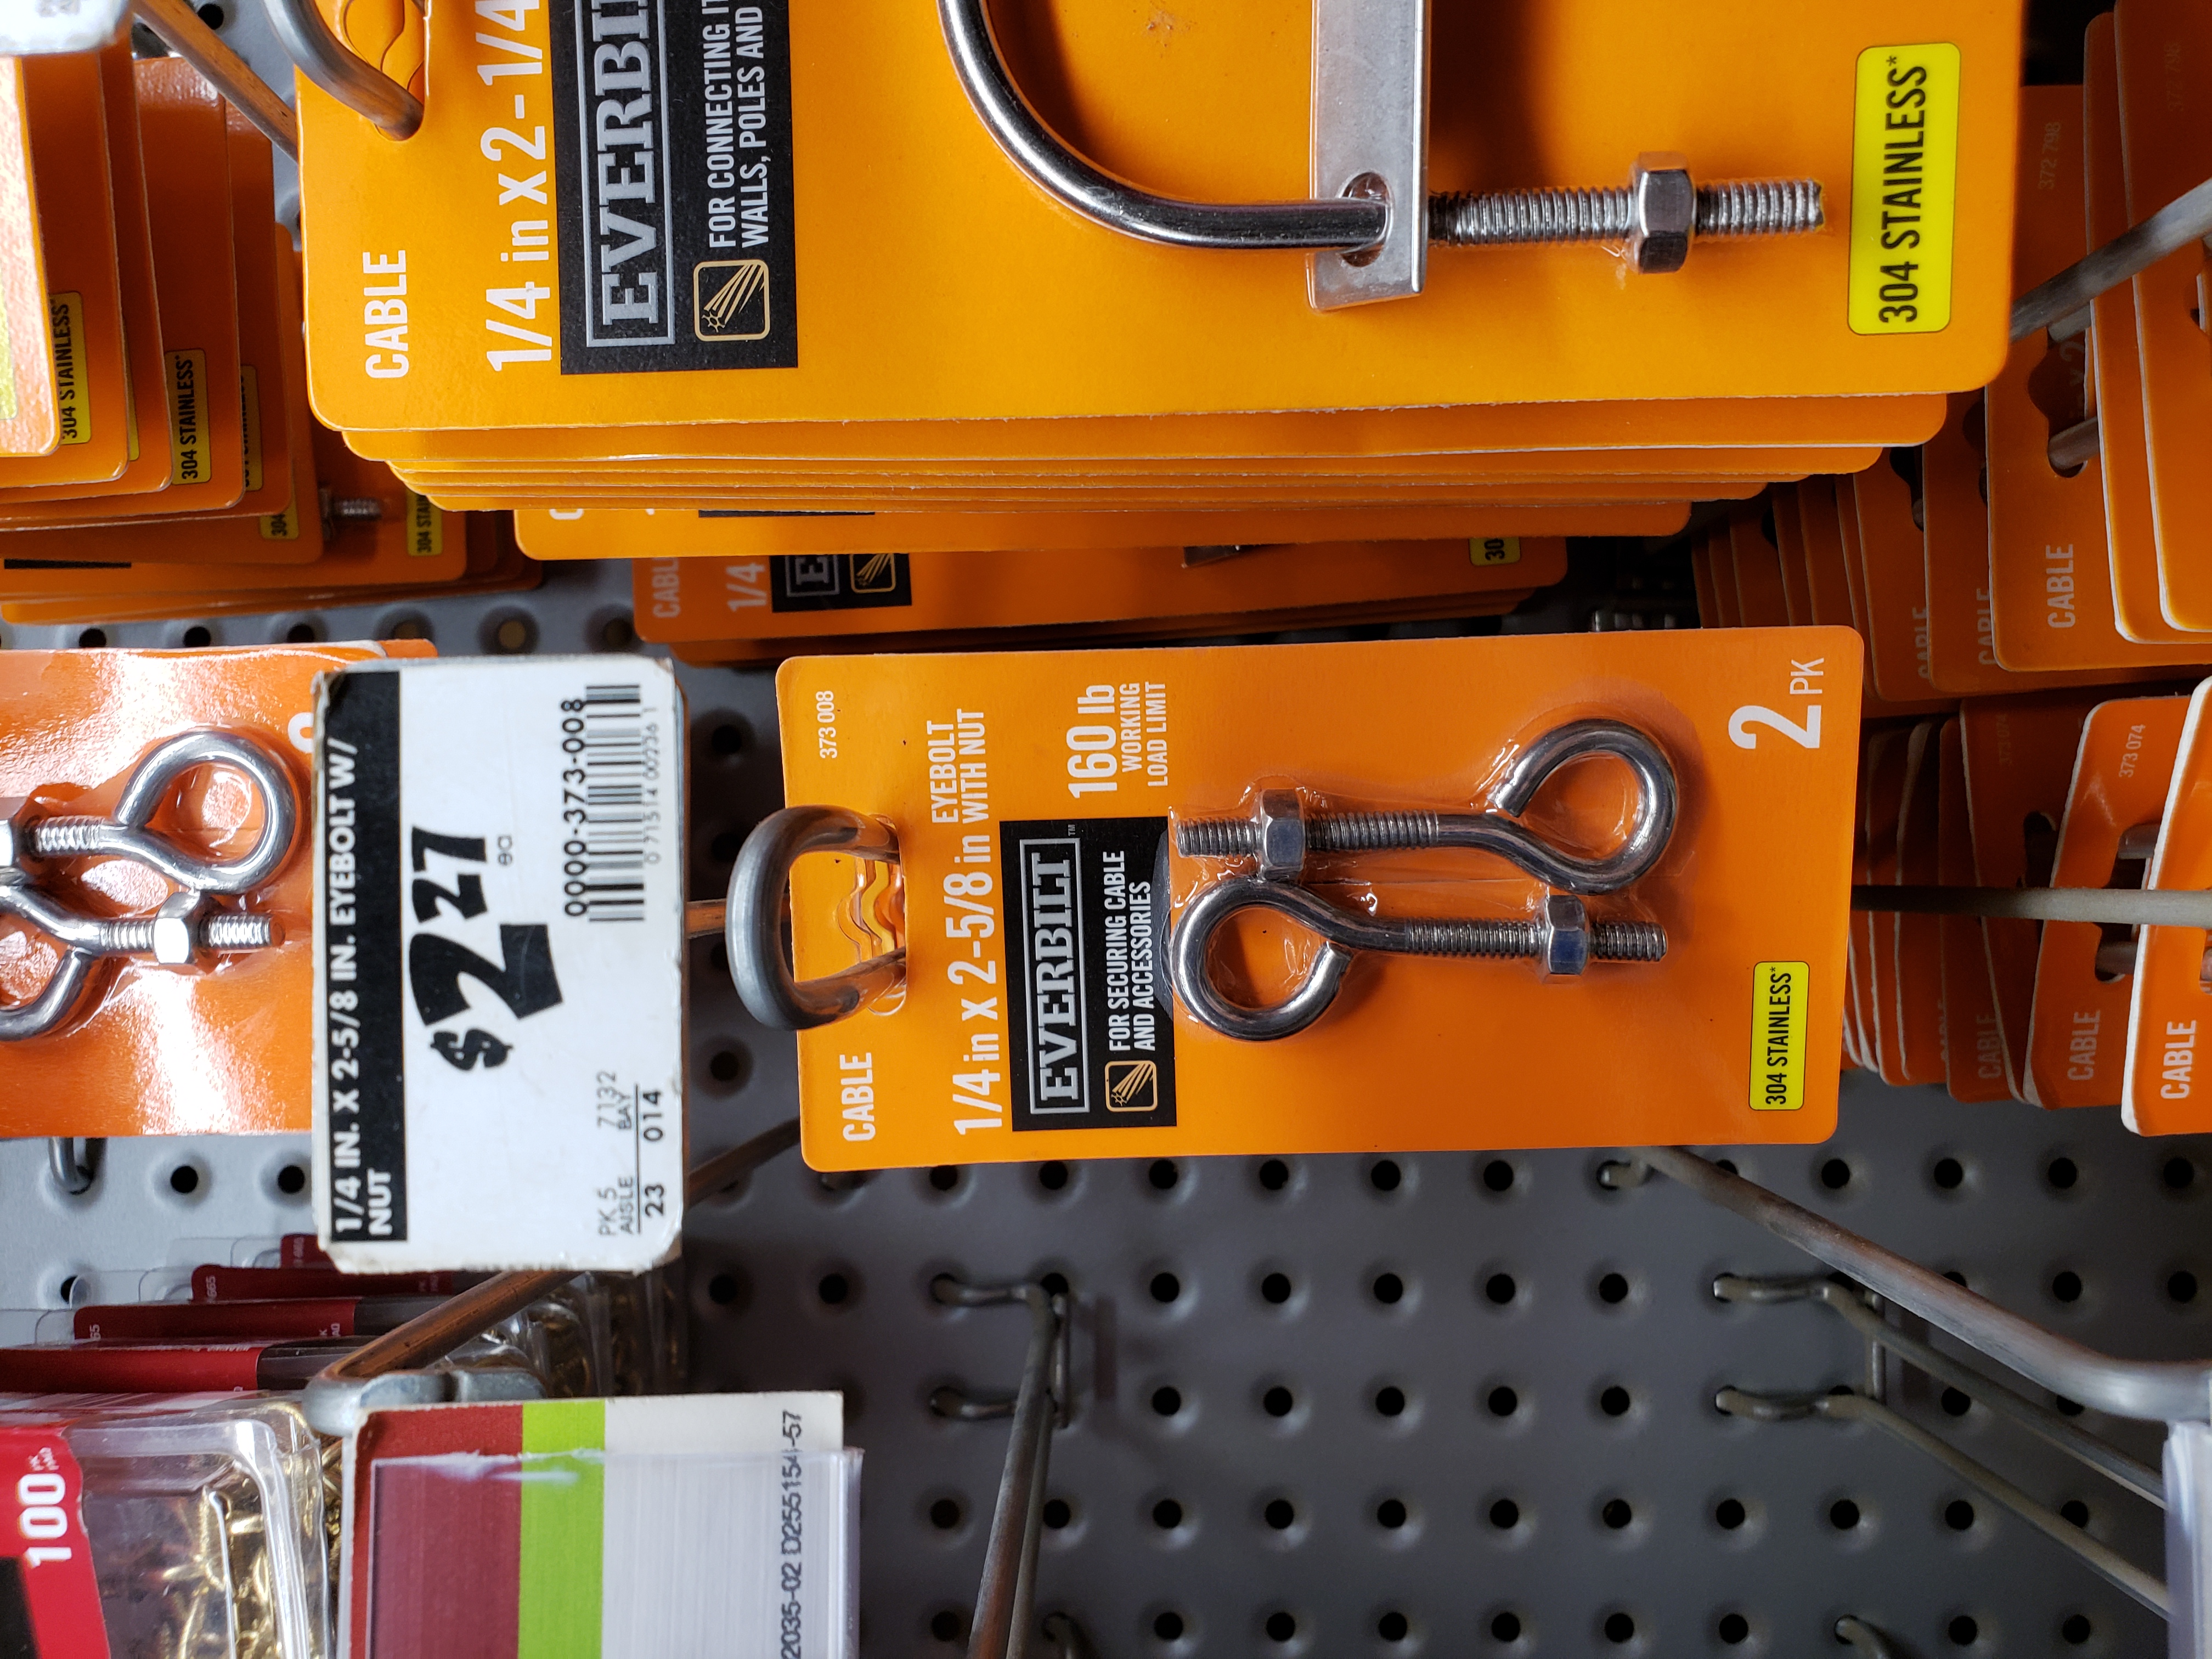
| Eyebolt with nut | $2.50 for a set of 2 | Home Depot | 1/4″ x 2-5/8″ |
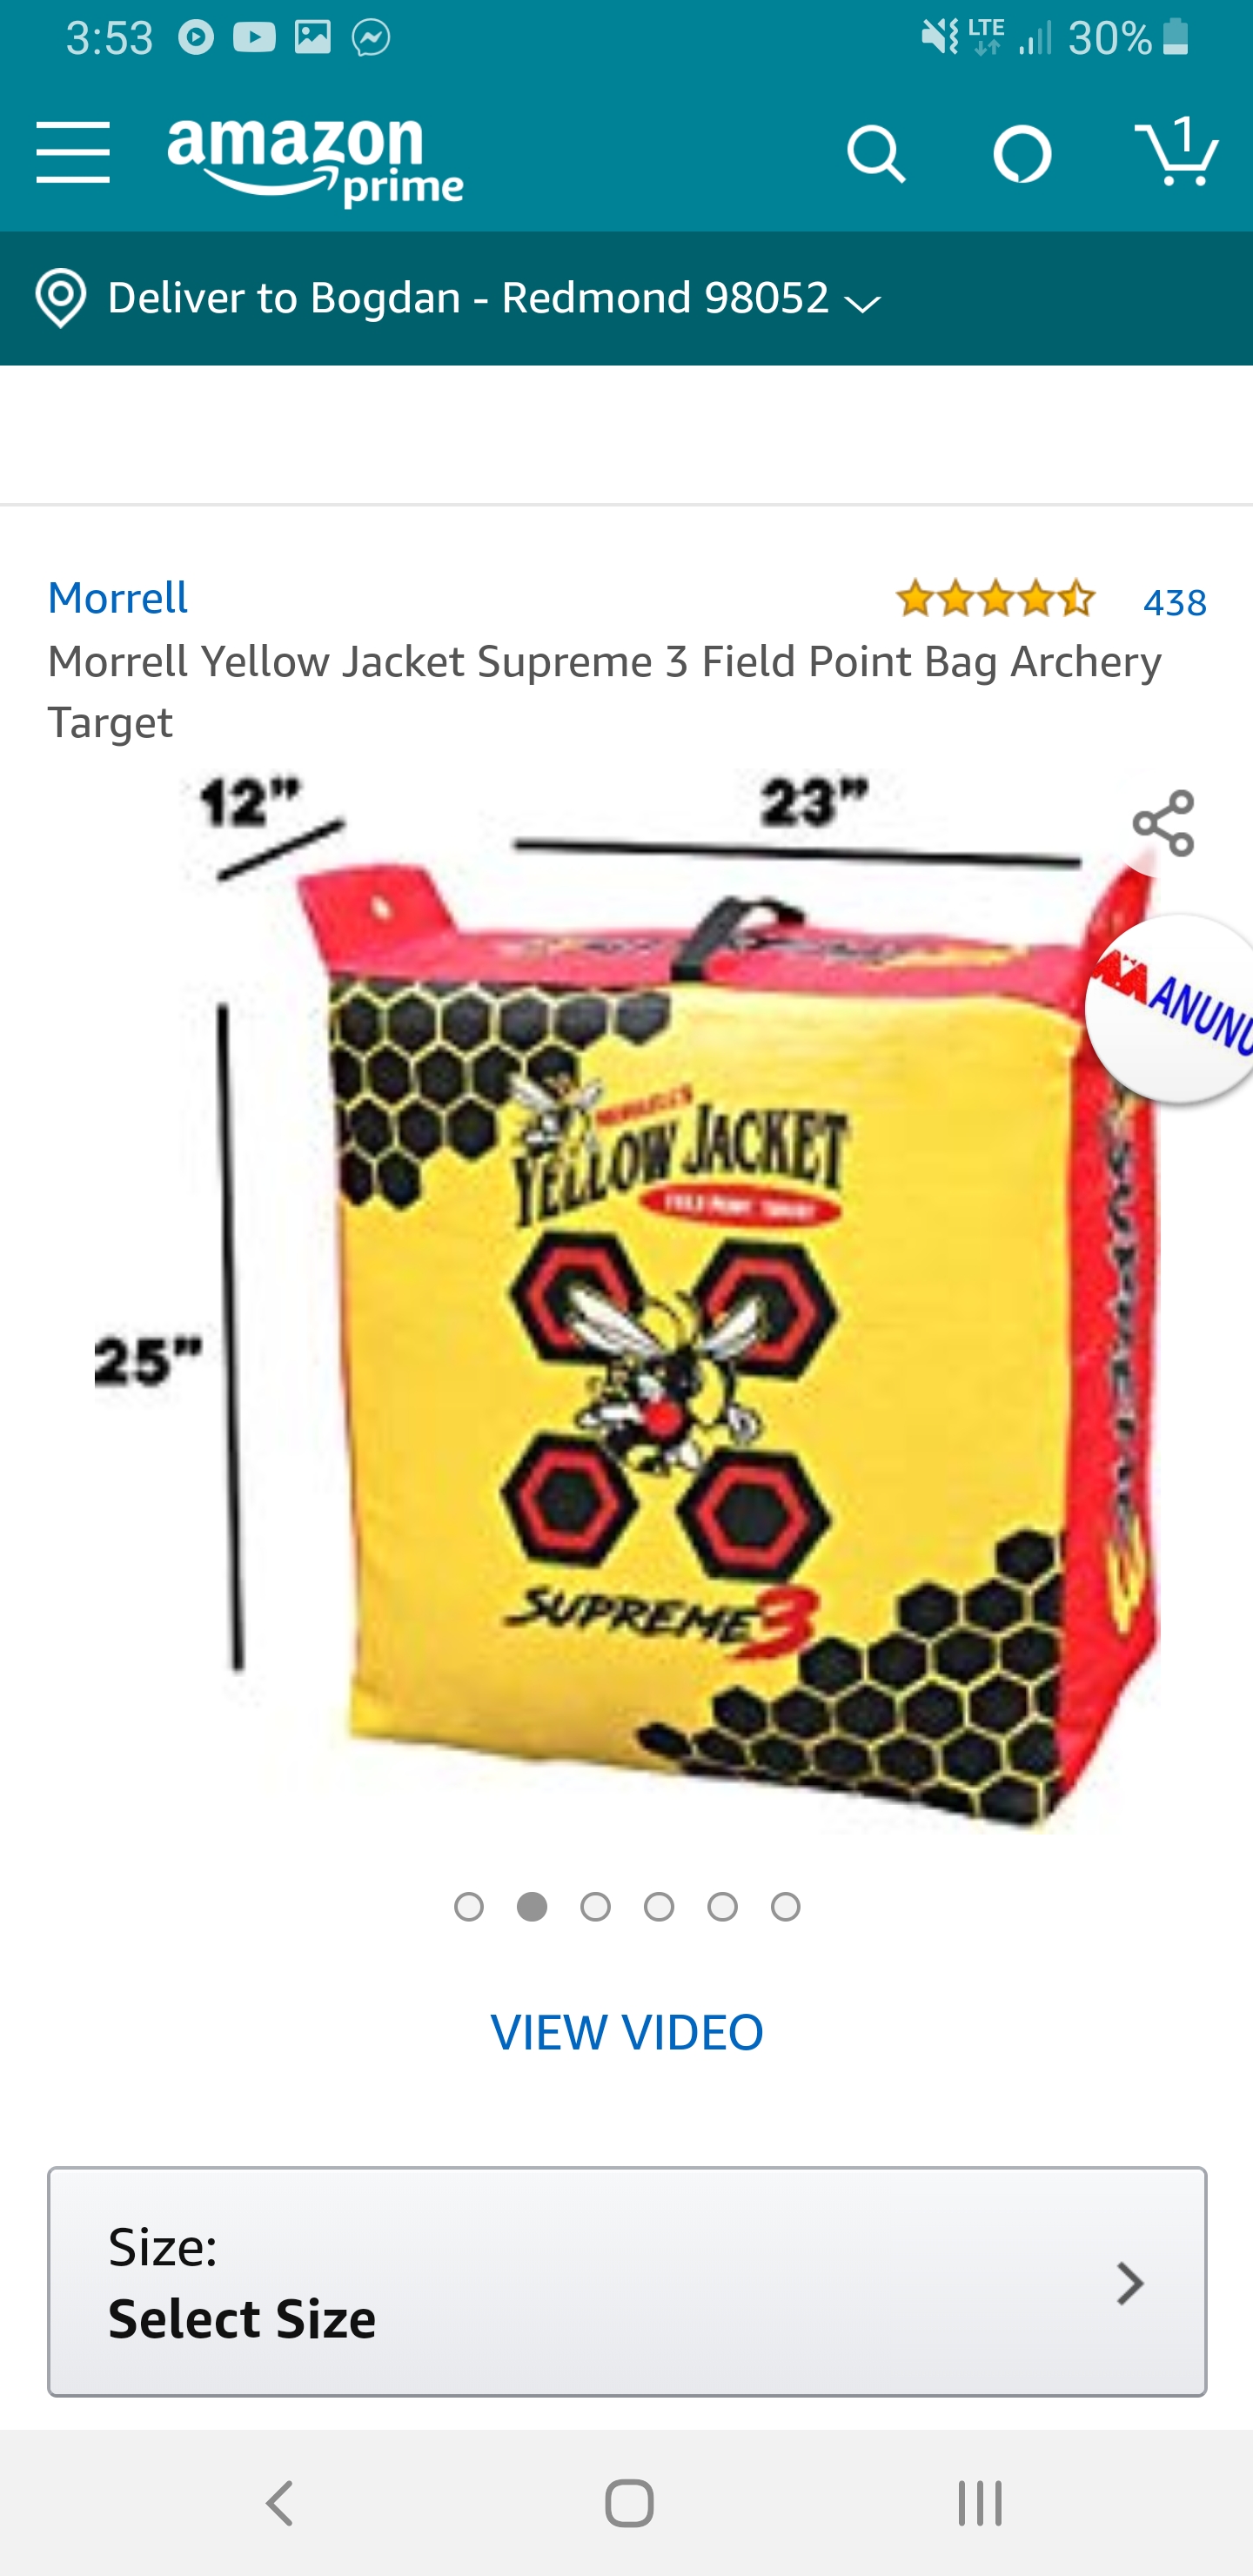
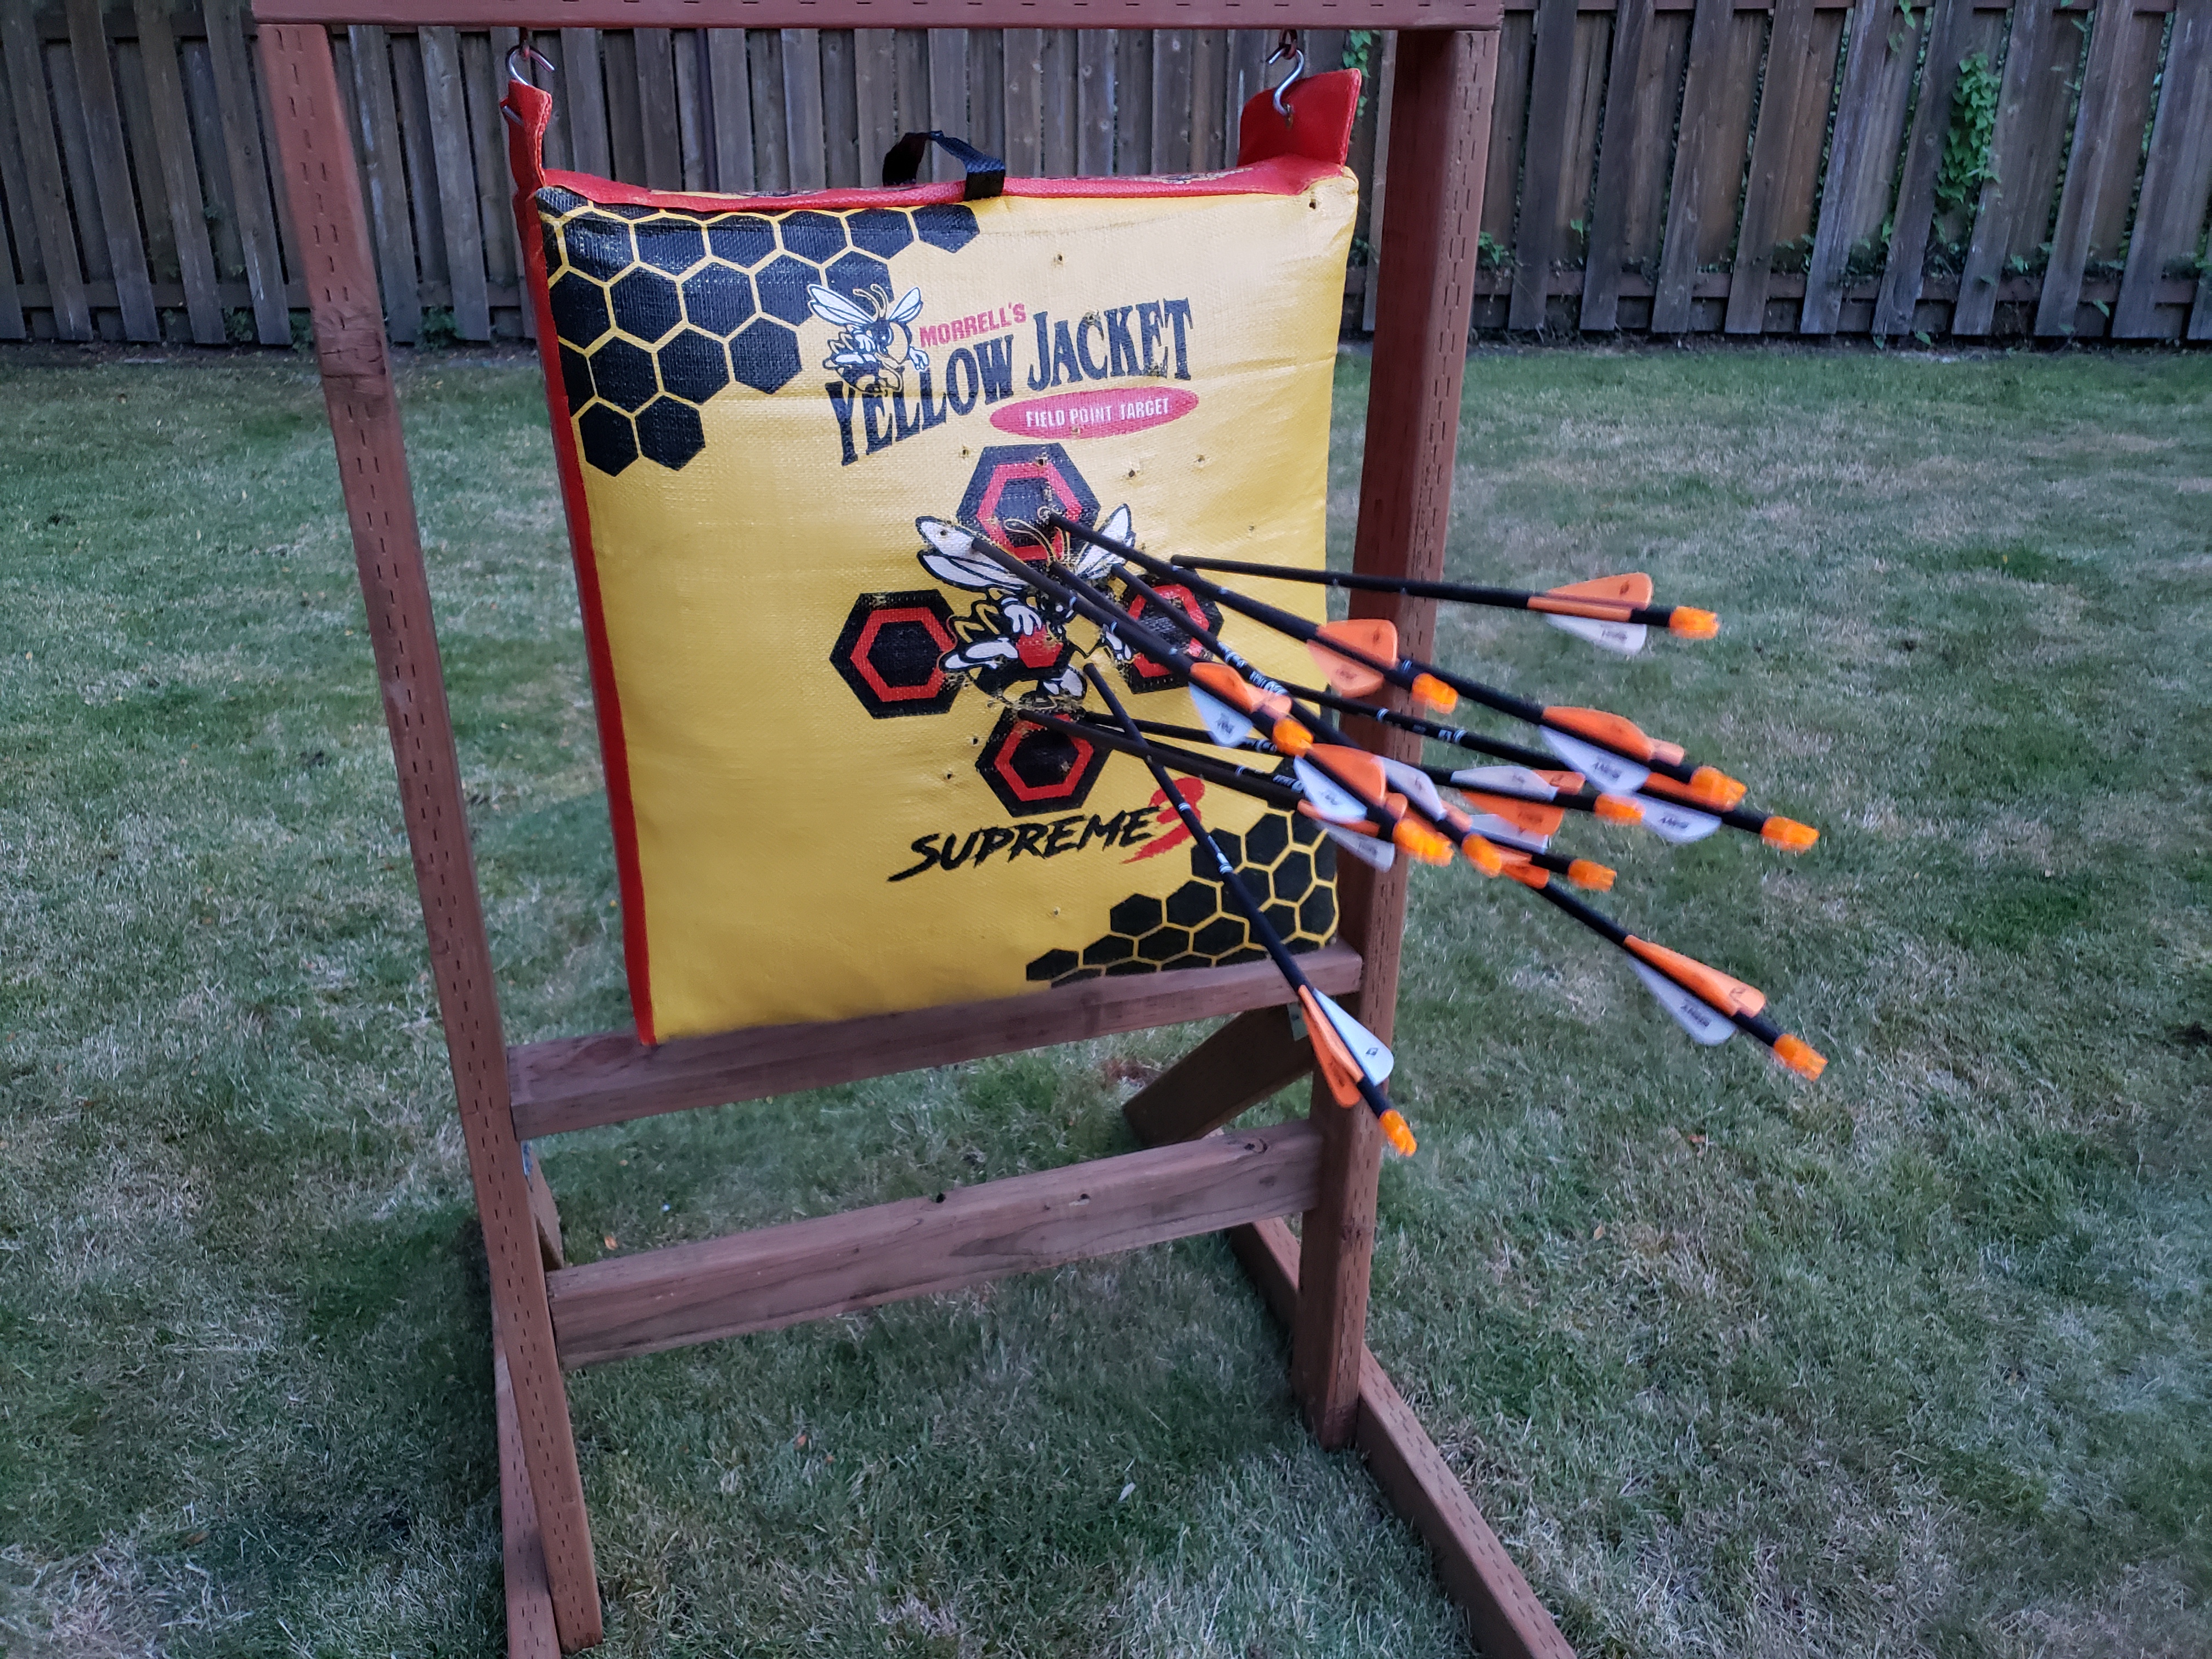
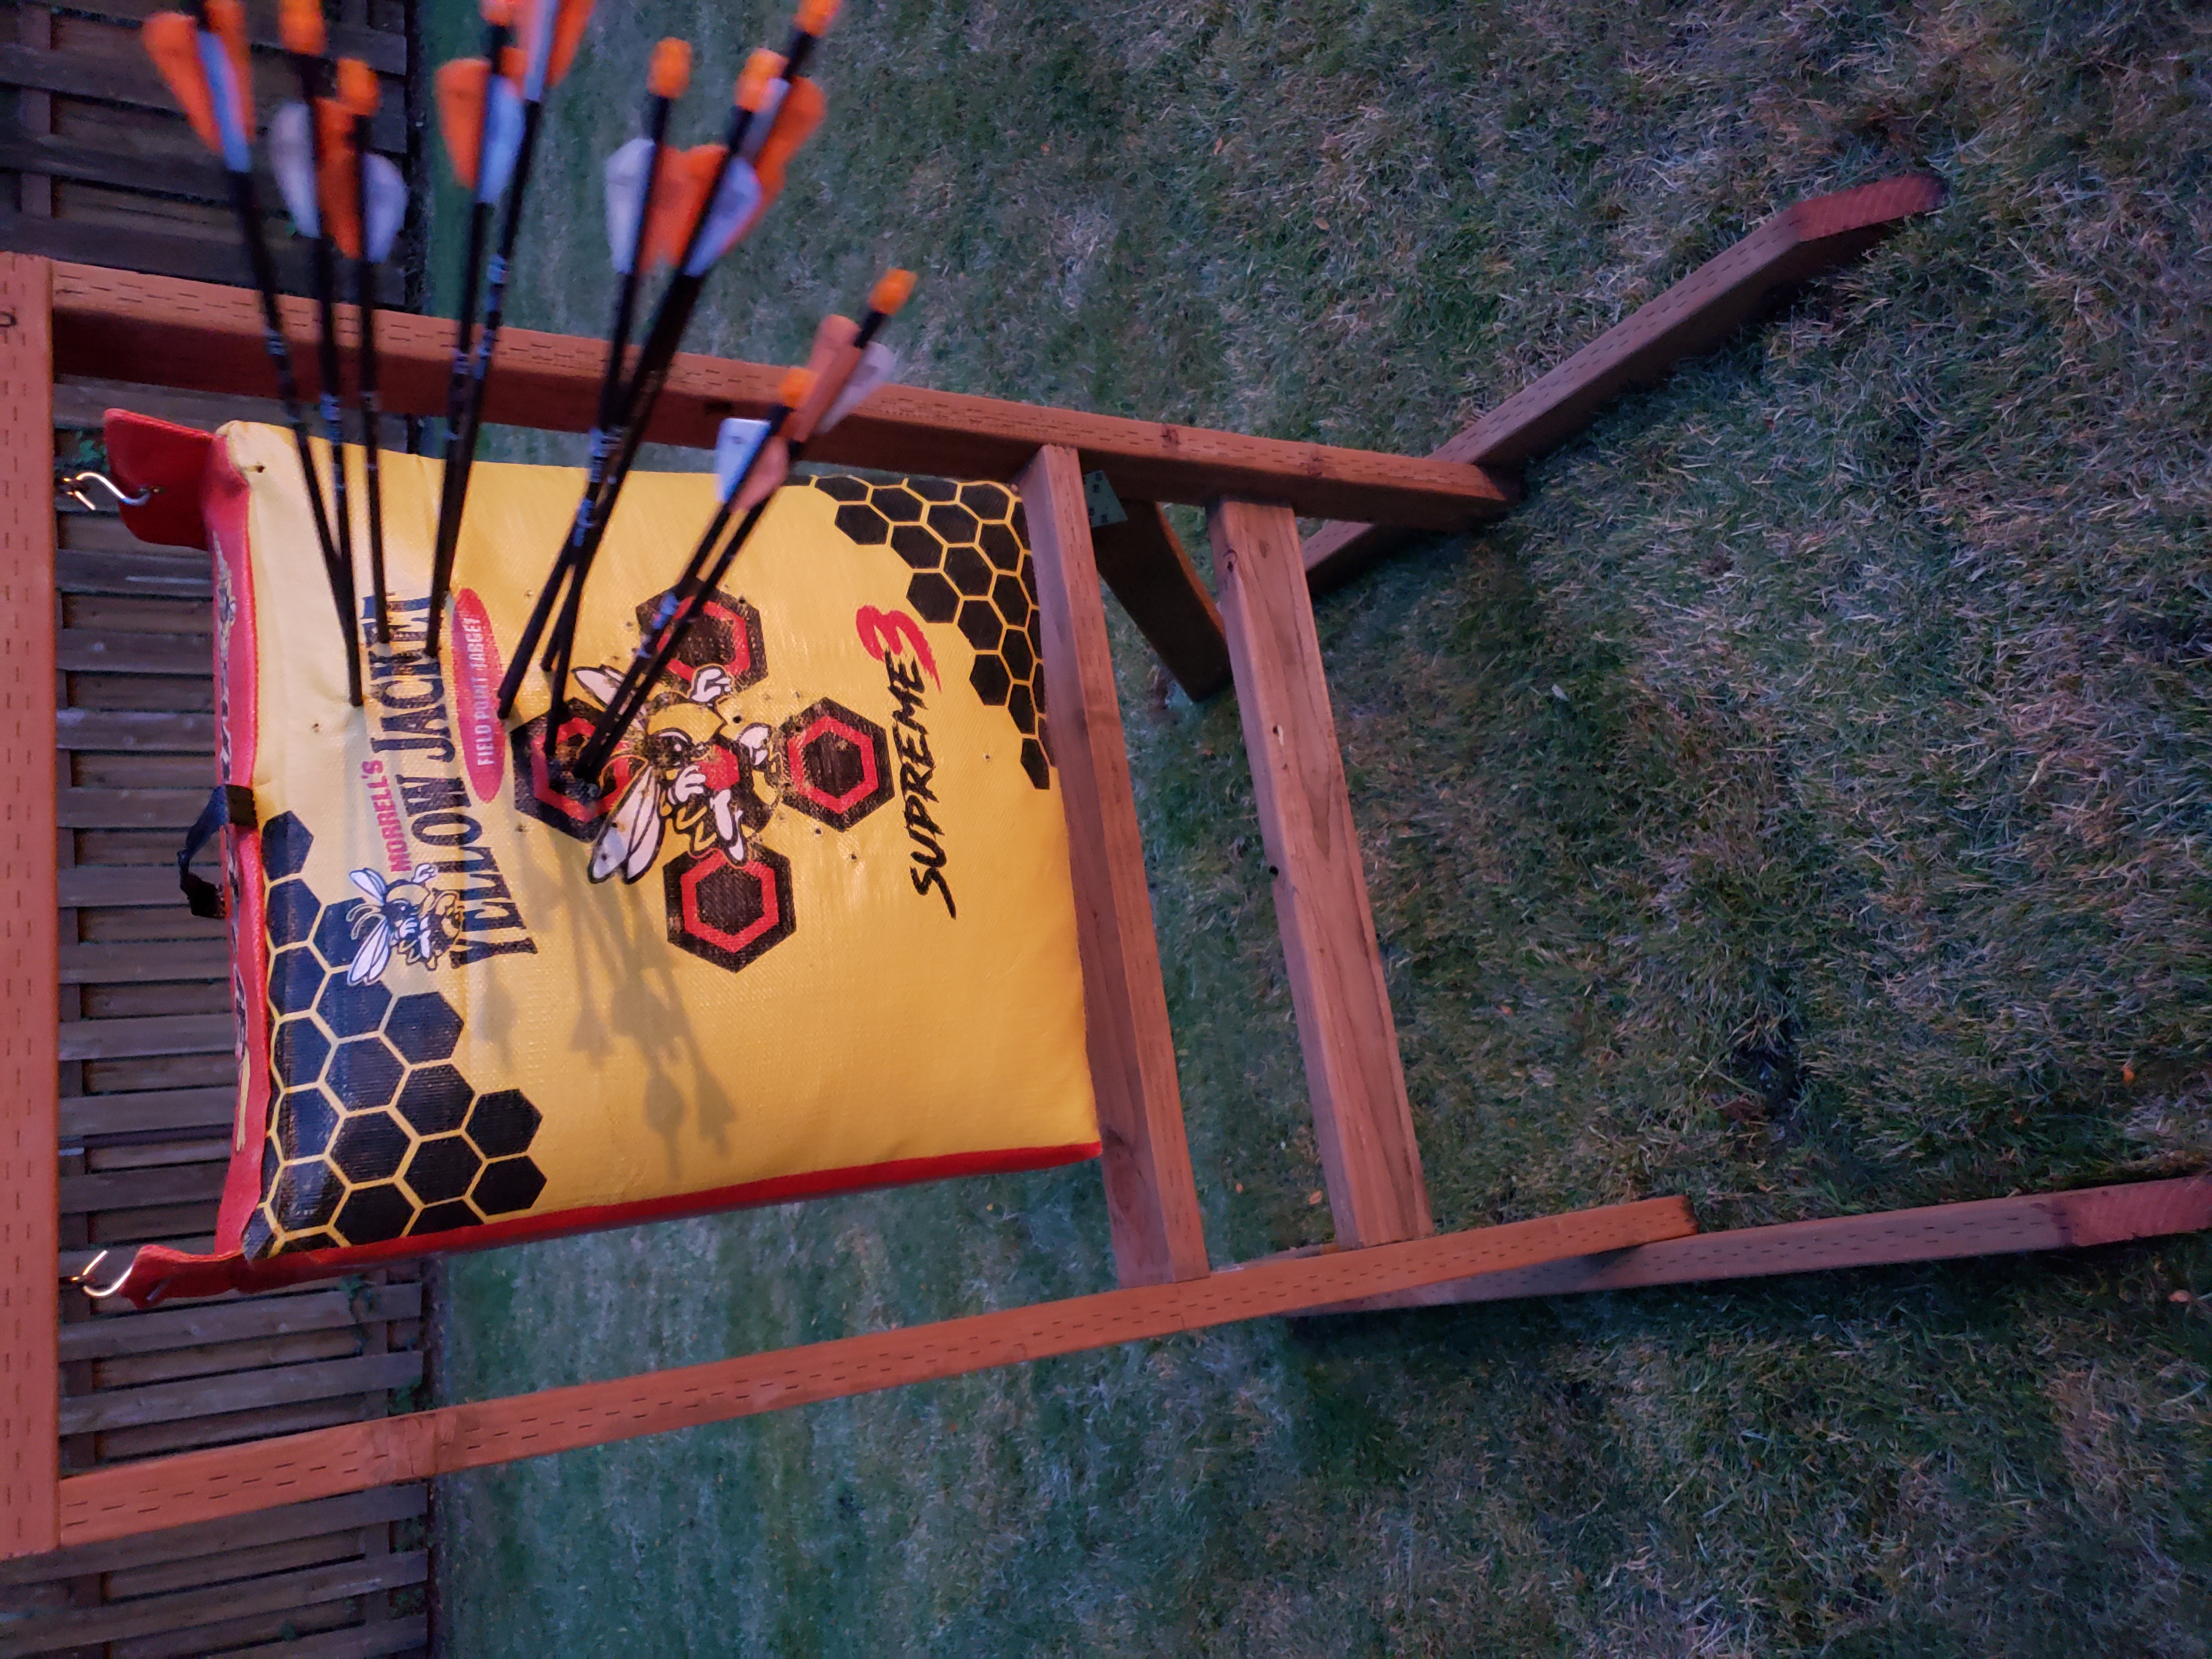
| “Yellow Jacket” archery target | $45 | Amazon | They’re long lasting. But if you’re running a very strong compound bow, you may want to make sure they’re able to stop arrows reliably. |
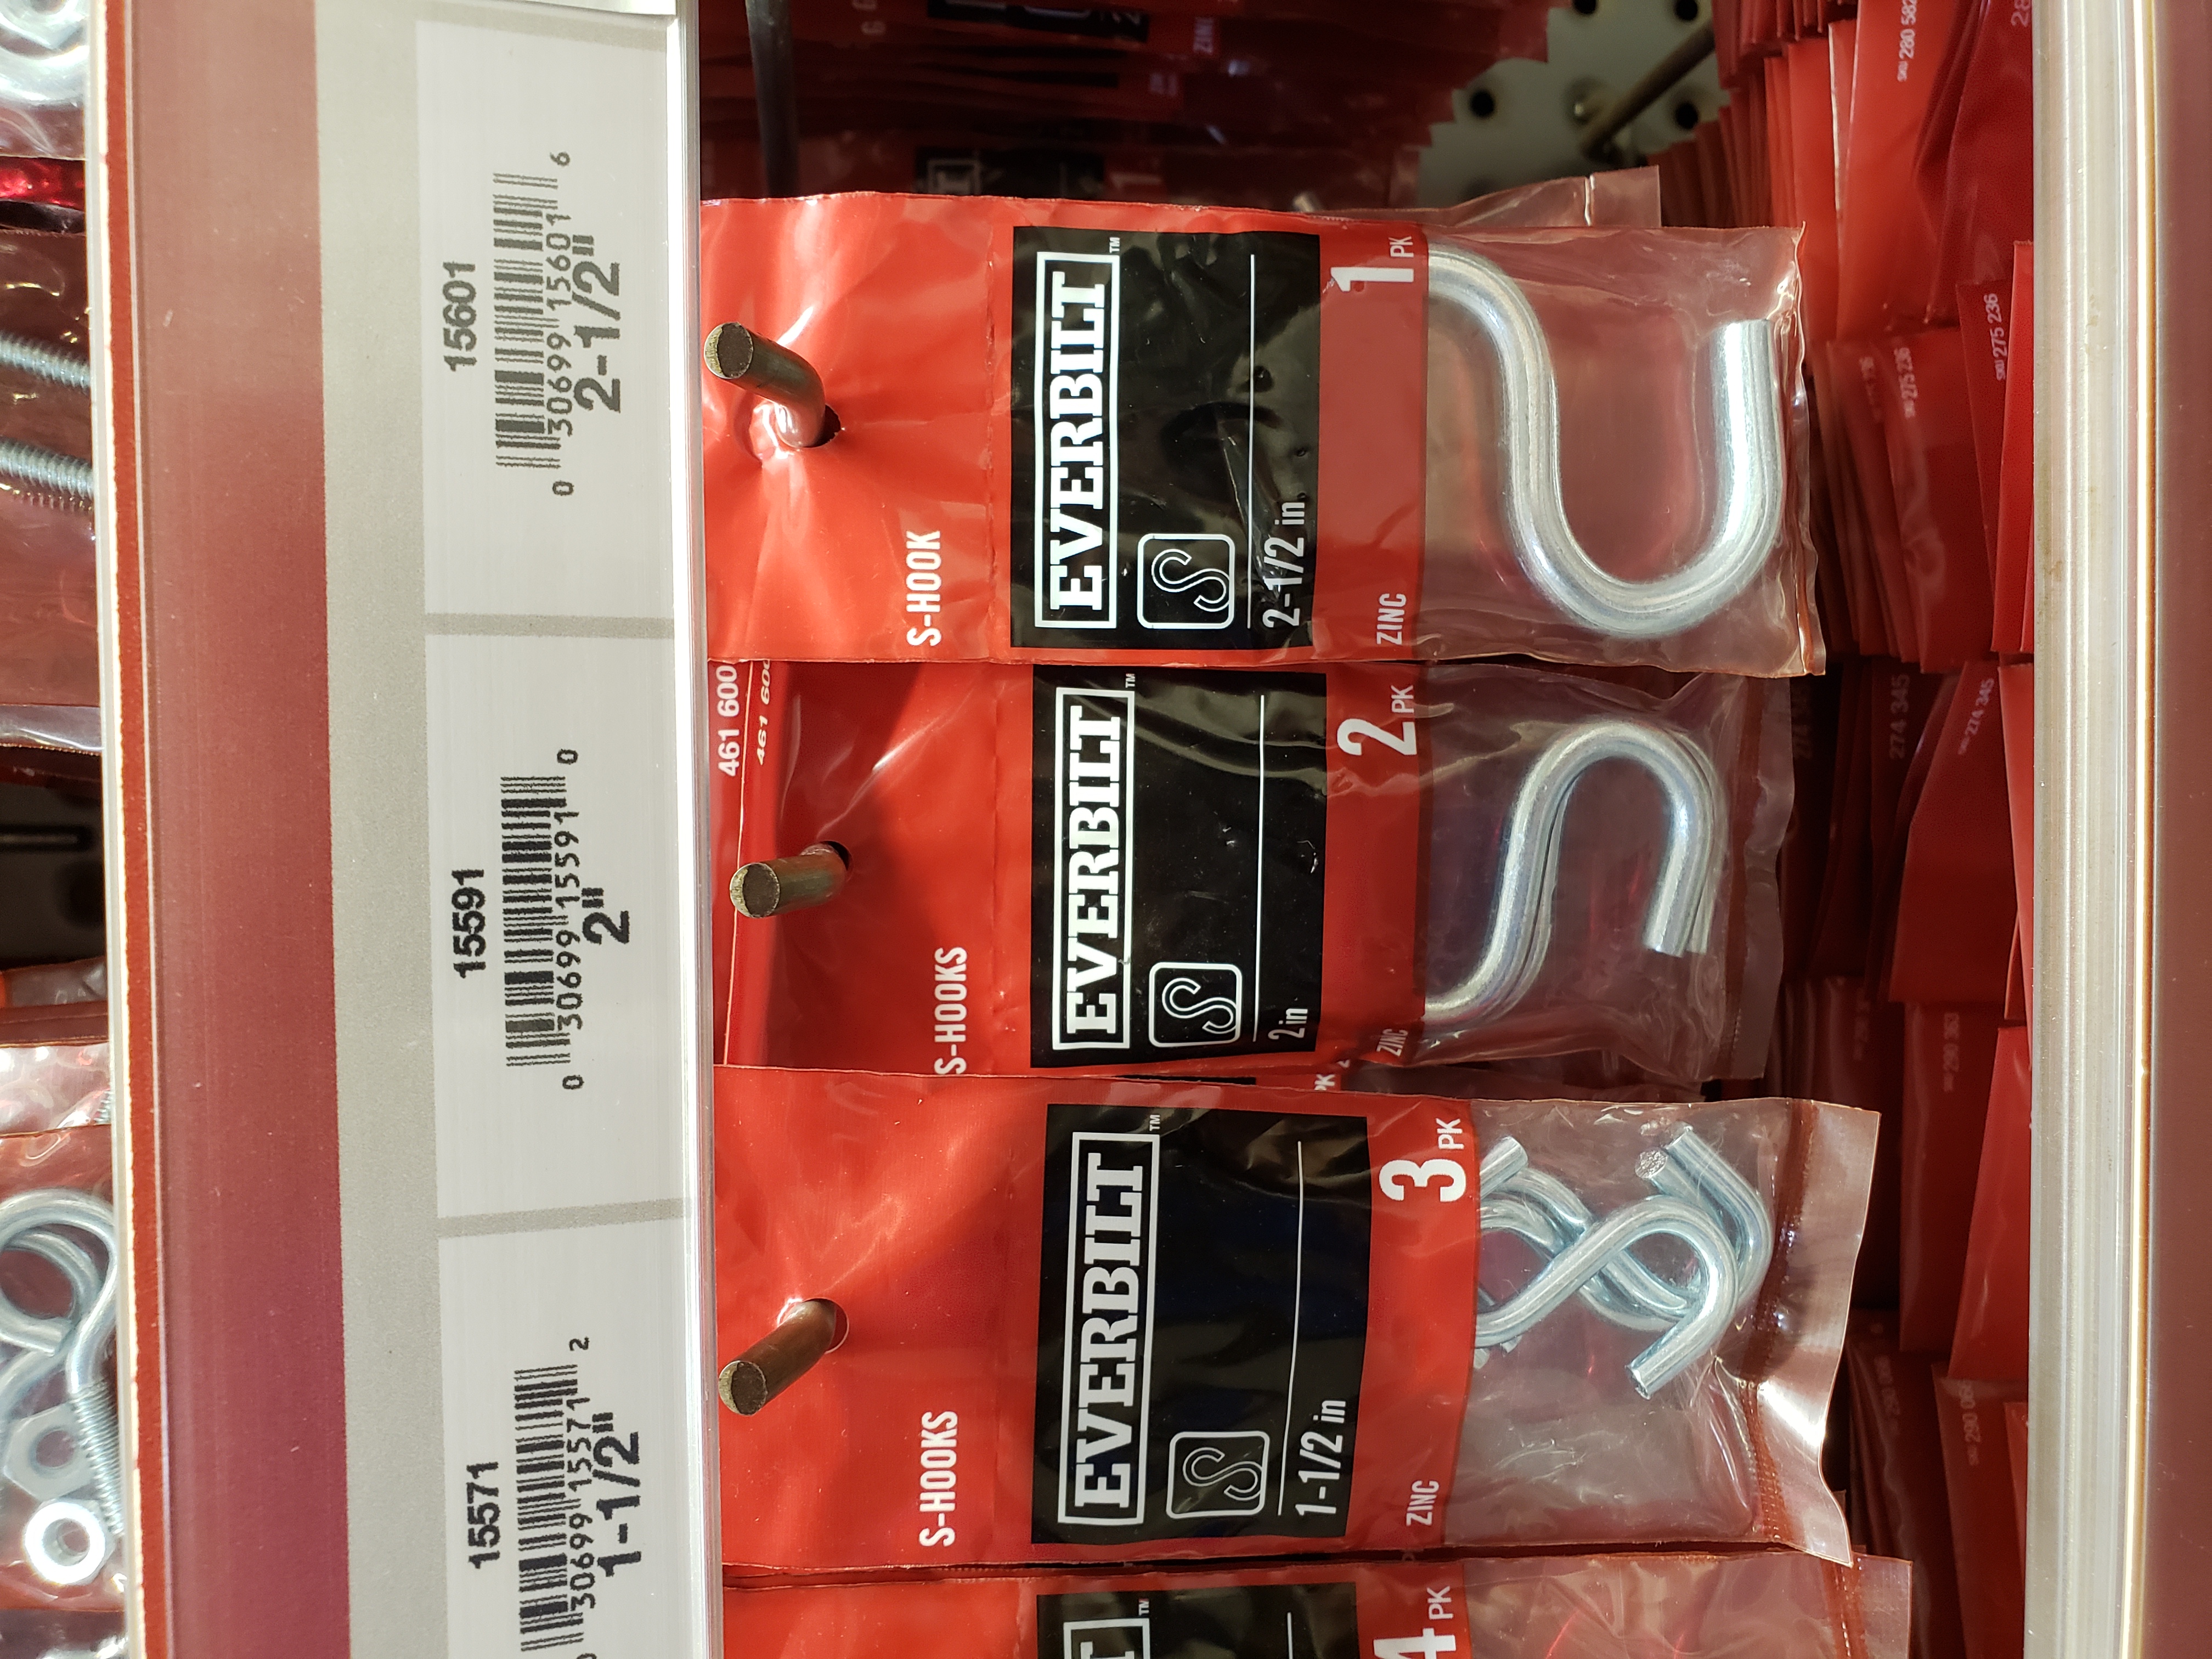
| S-shaped hooks | $2.50 for a set of 2 | Home Depot | 2″ long |
Tools:
- table saw or miter saw,
- electric drill/screwdriver with set of drill bits (for pre-drilling holes in polycarbonate panels) and Phillips bit,
- quick square, pencil,
See photos of the materials for reference:

Building the targets
I mentioned that archery makes for a fun family activity – and my goal from the start was to build 2 targets, so that both my wife and myself can be enjoying the sport together.
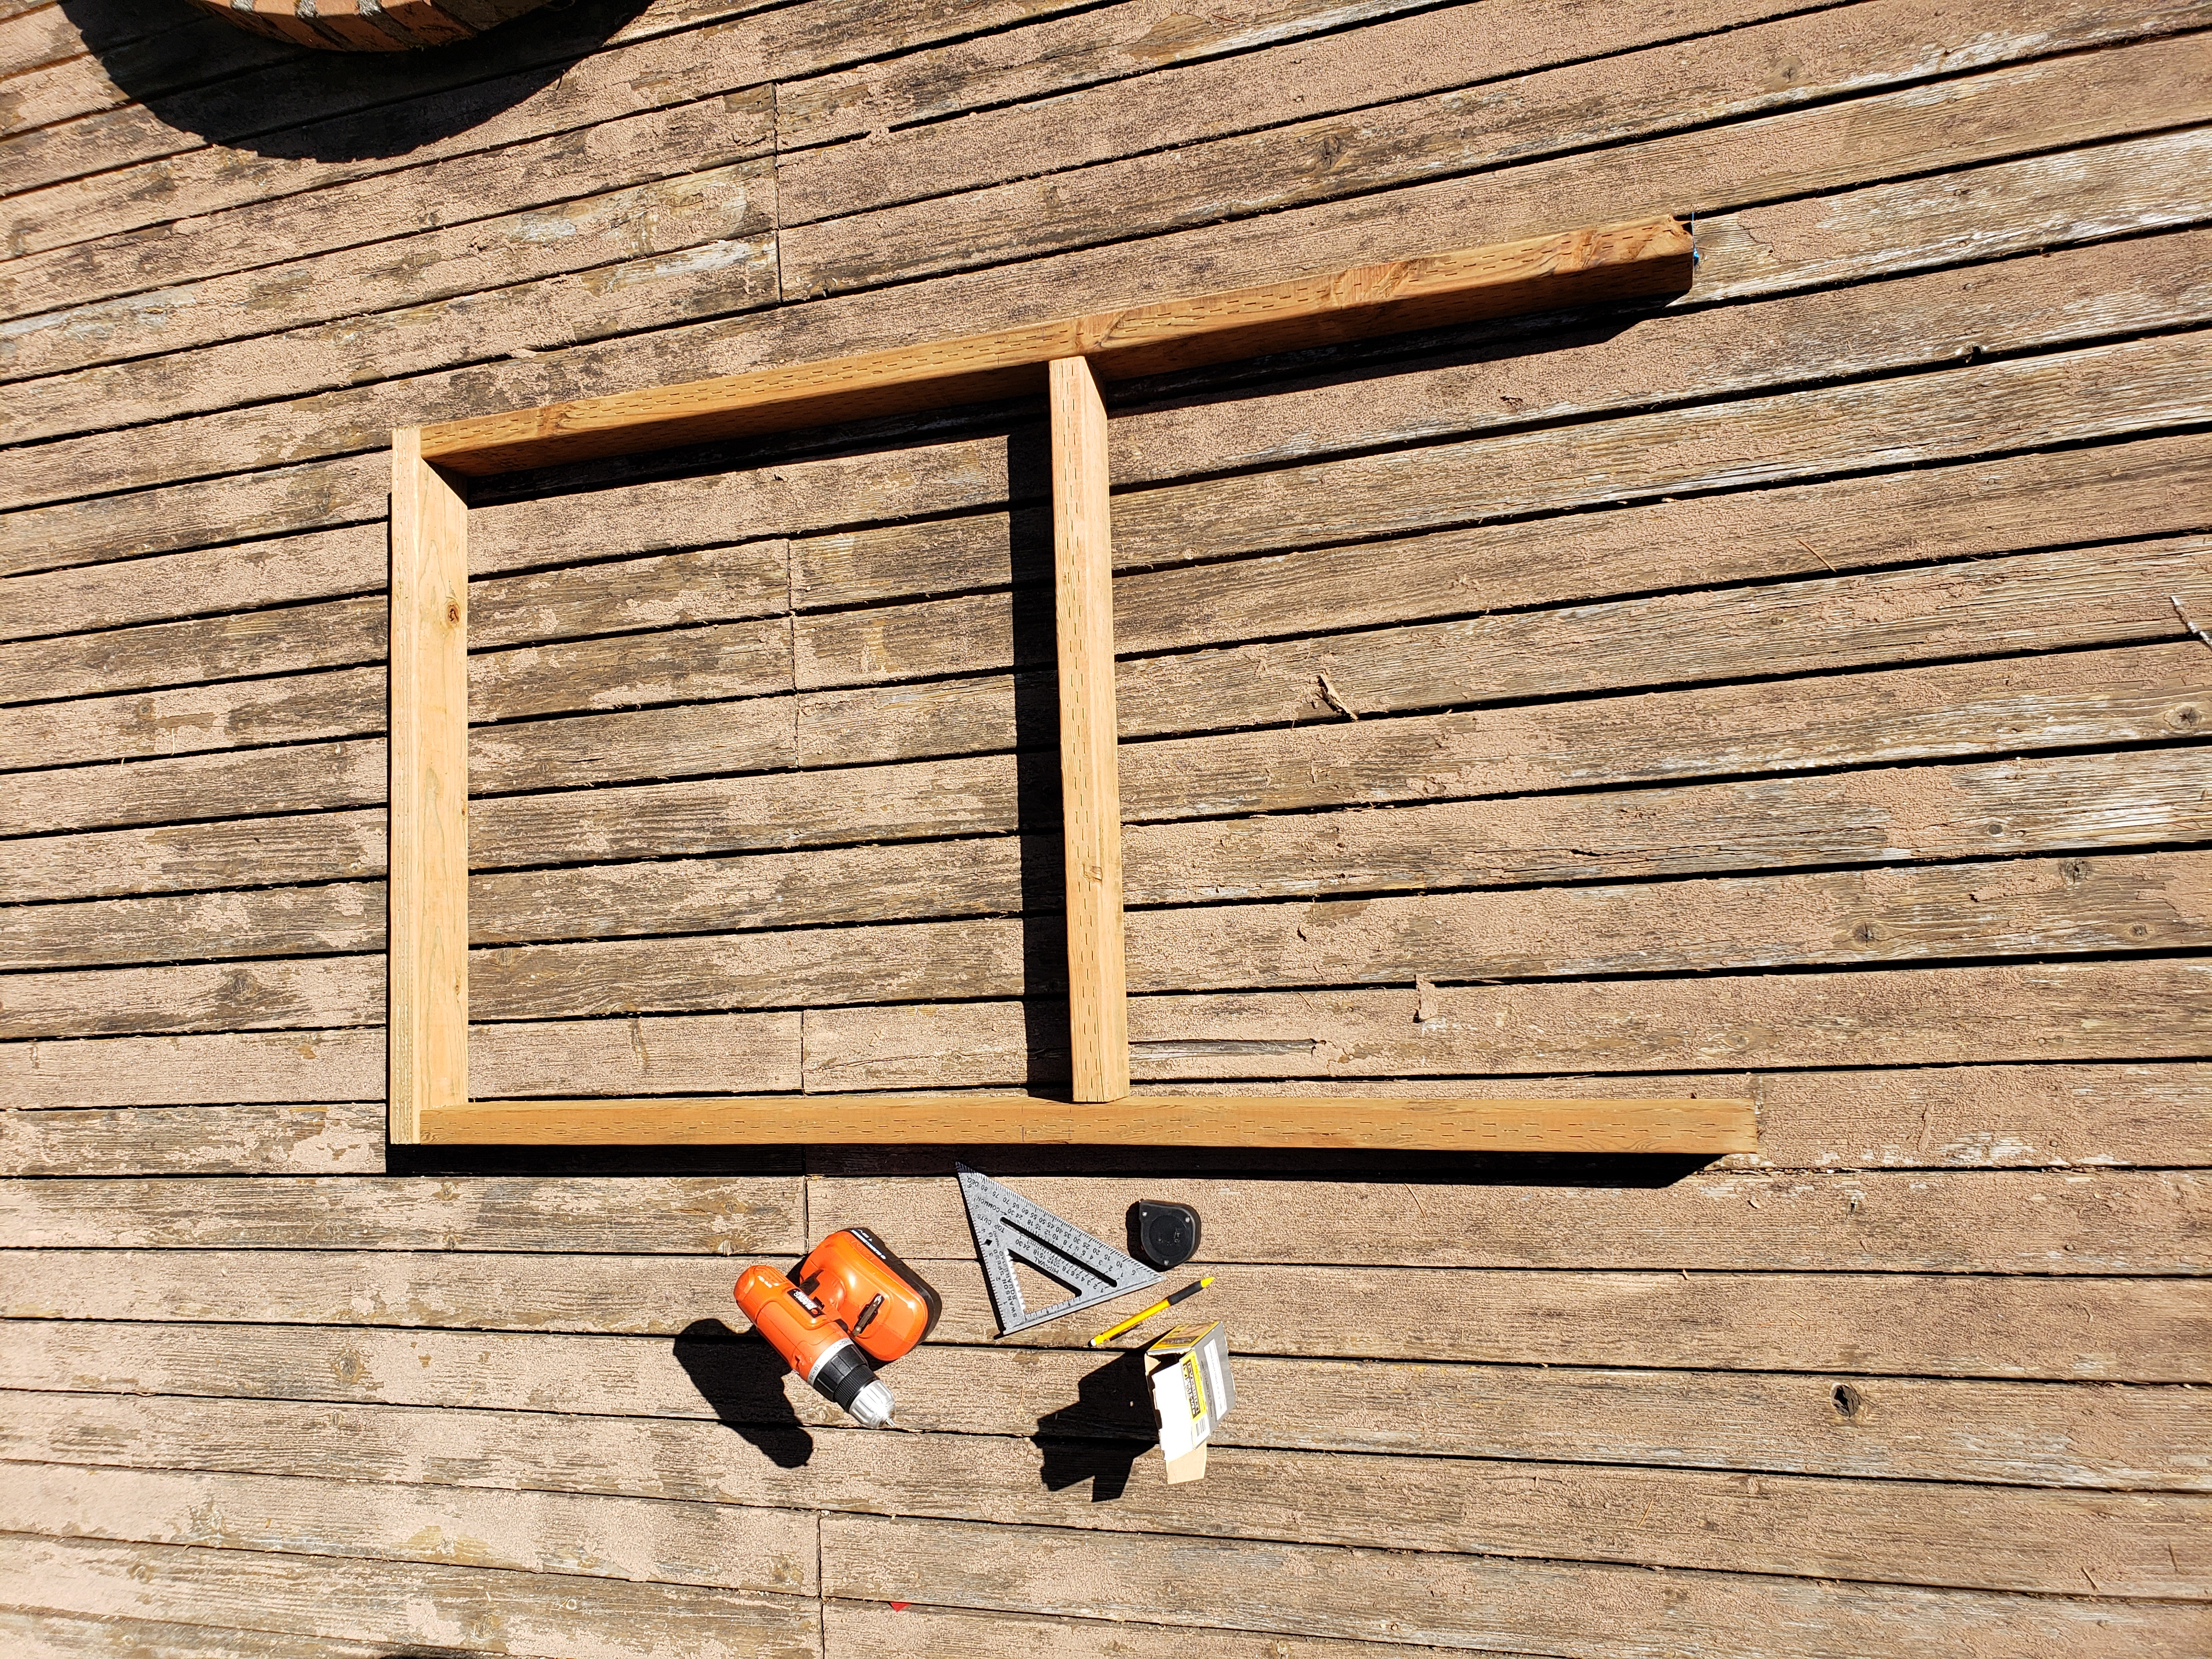
First I built the frame – I wanted to get it completed for first target, in case I want to make some adjustments so that second one can be perfect from the start.
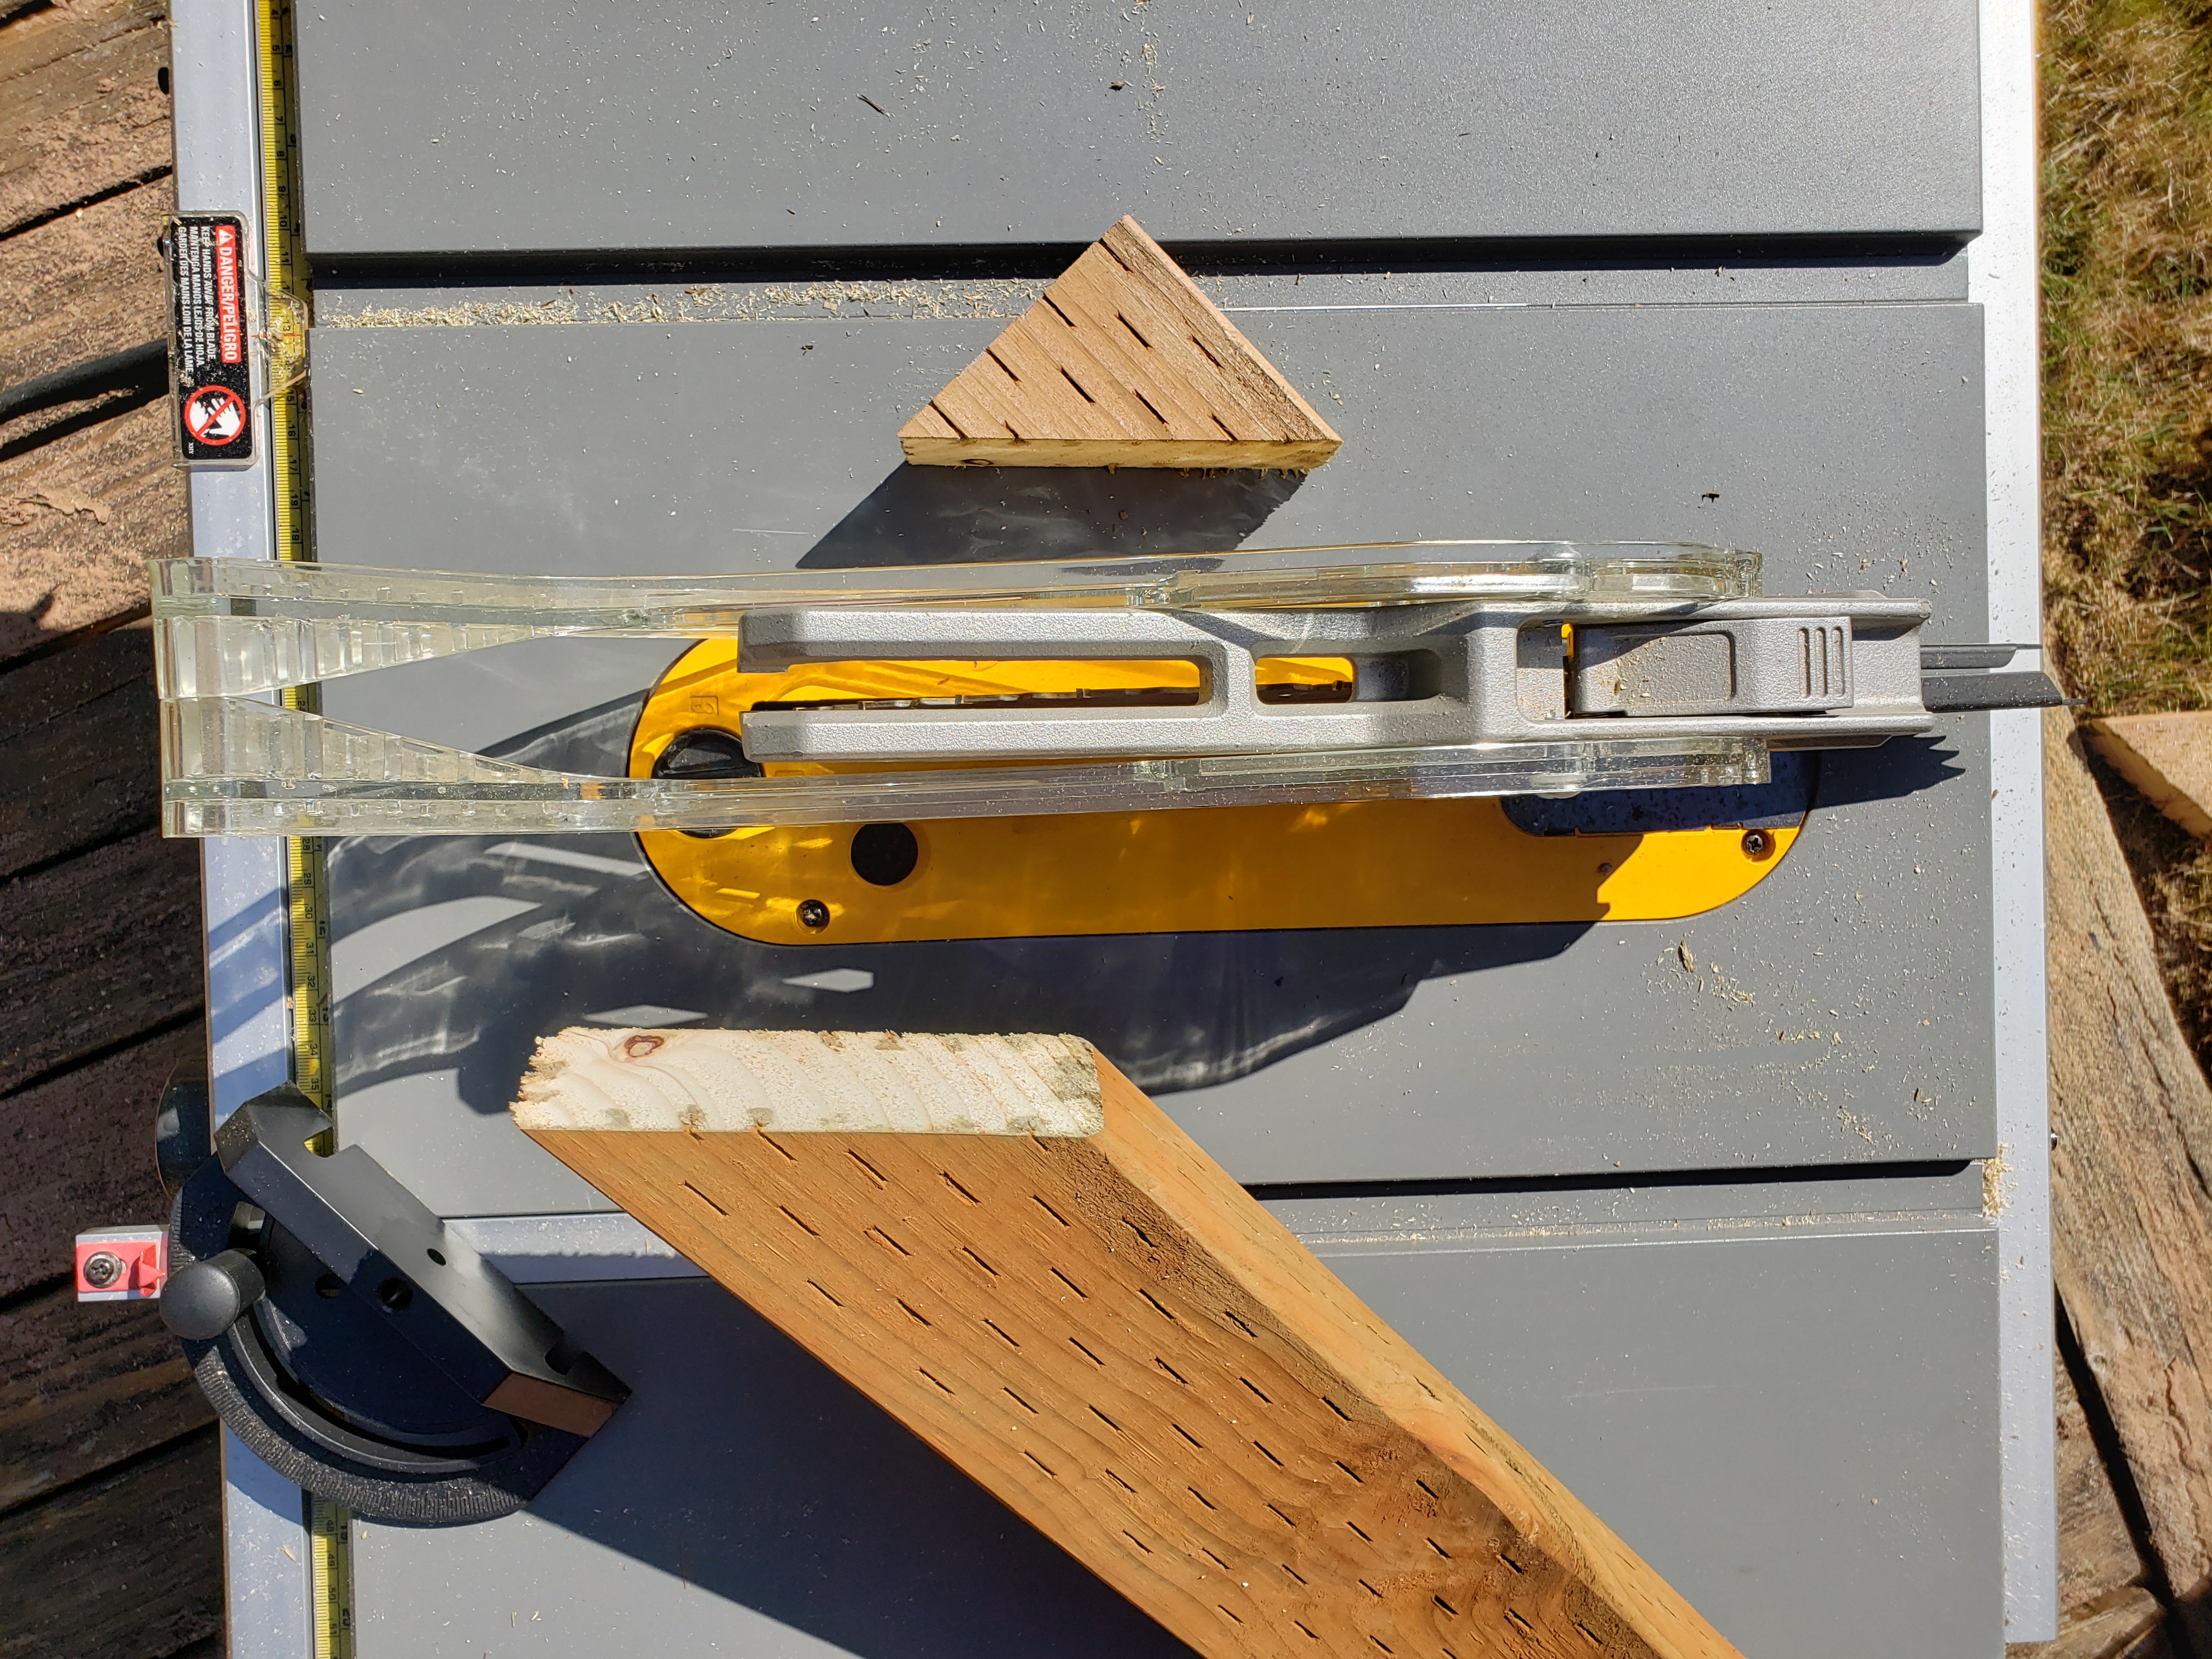
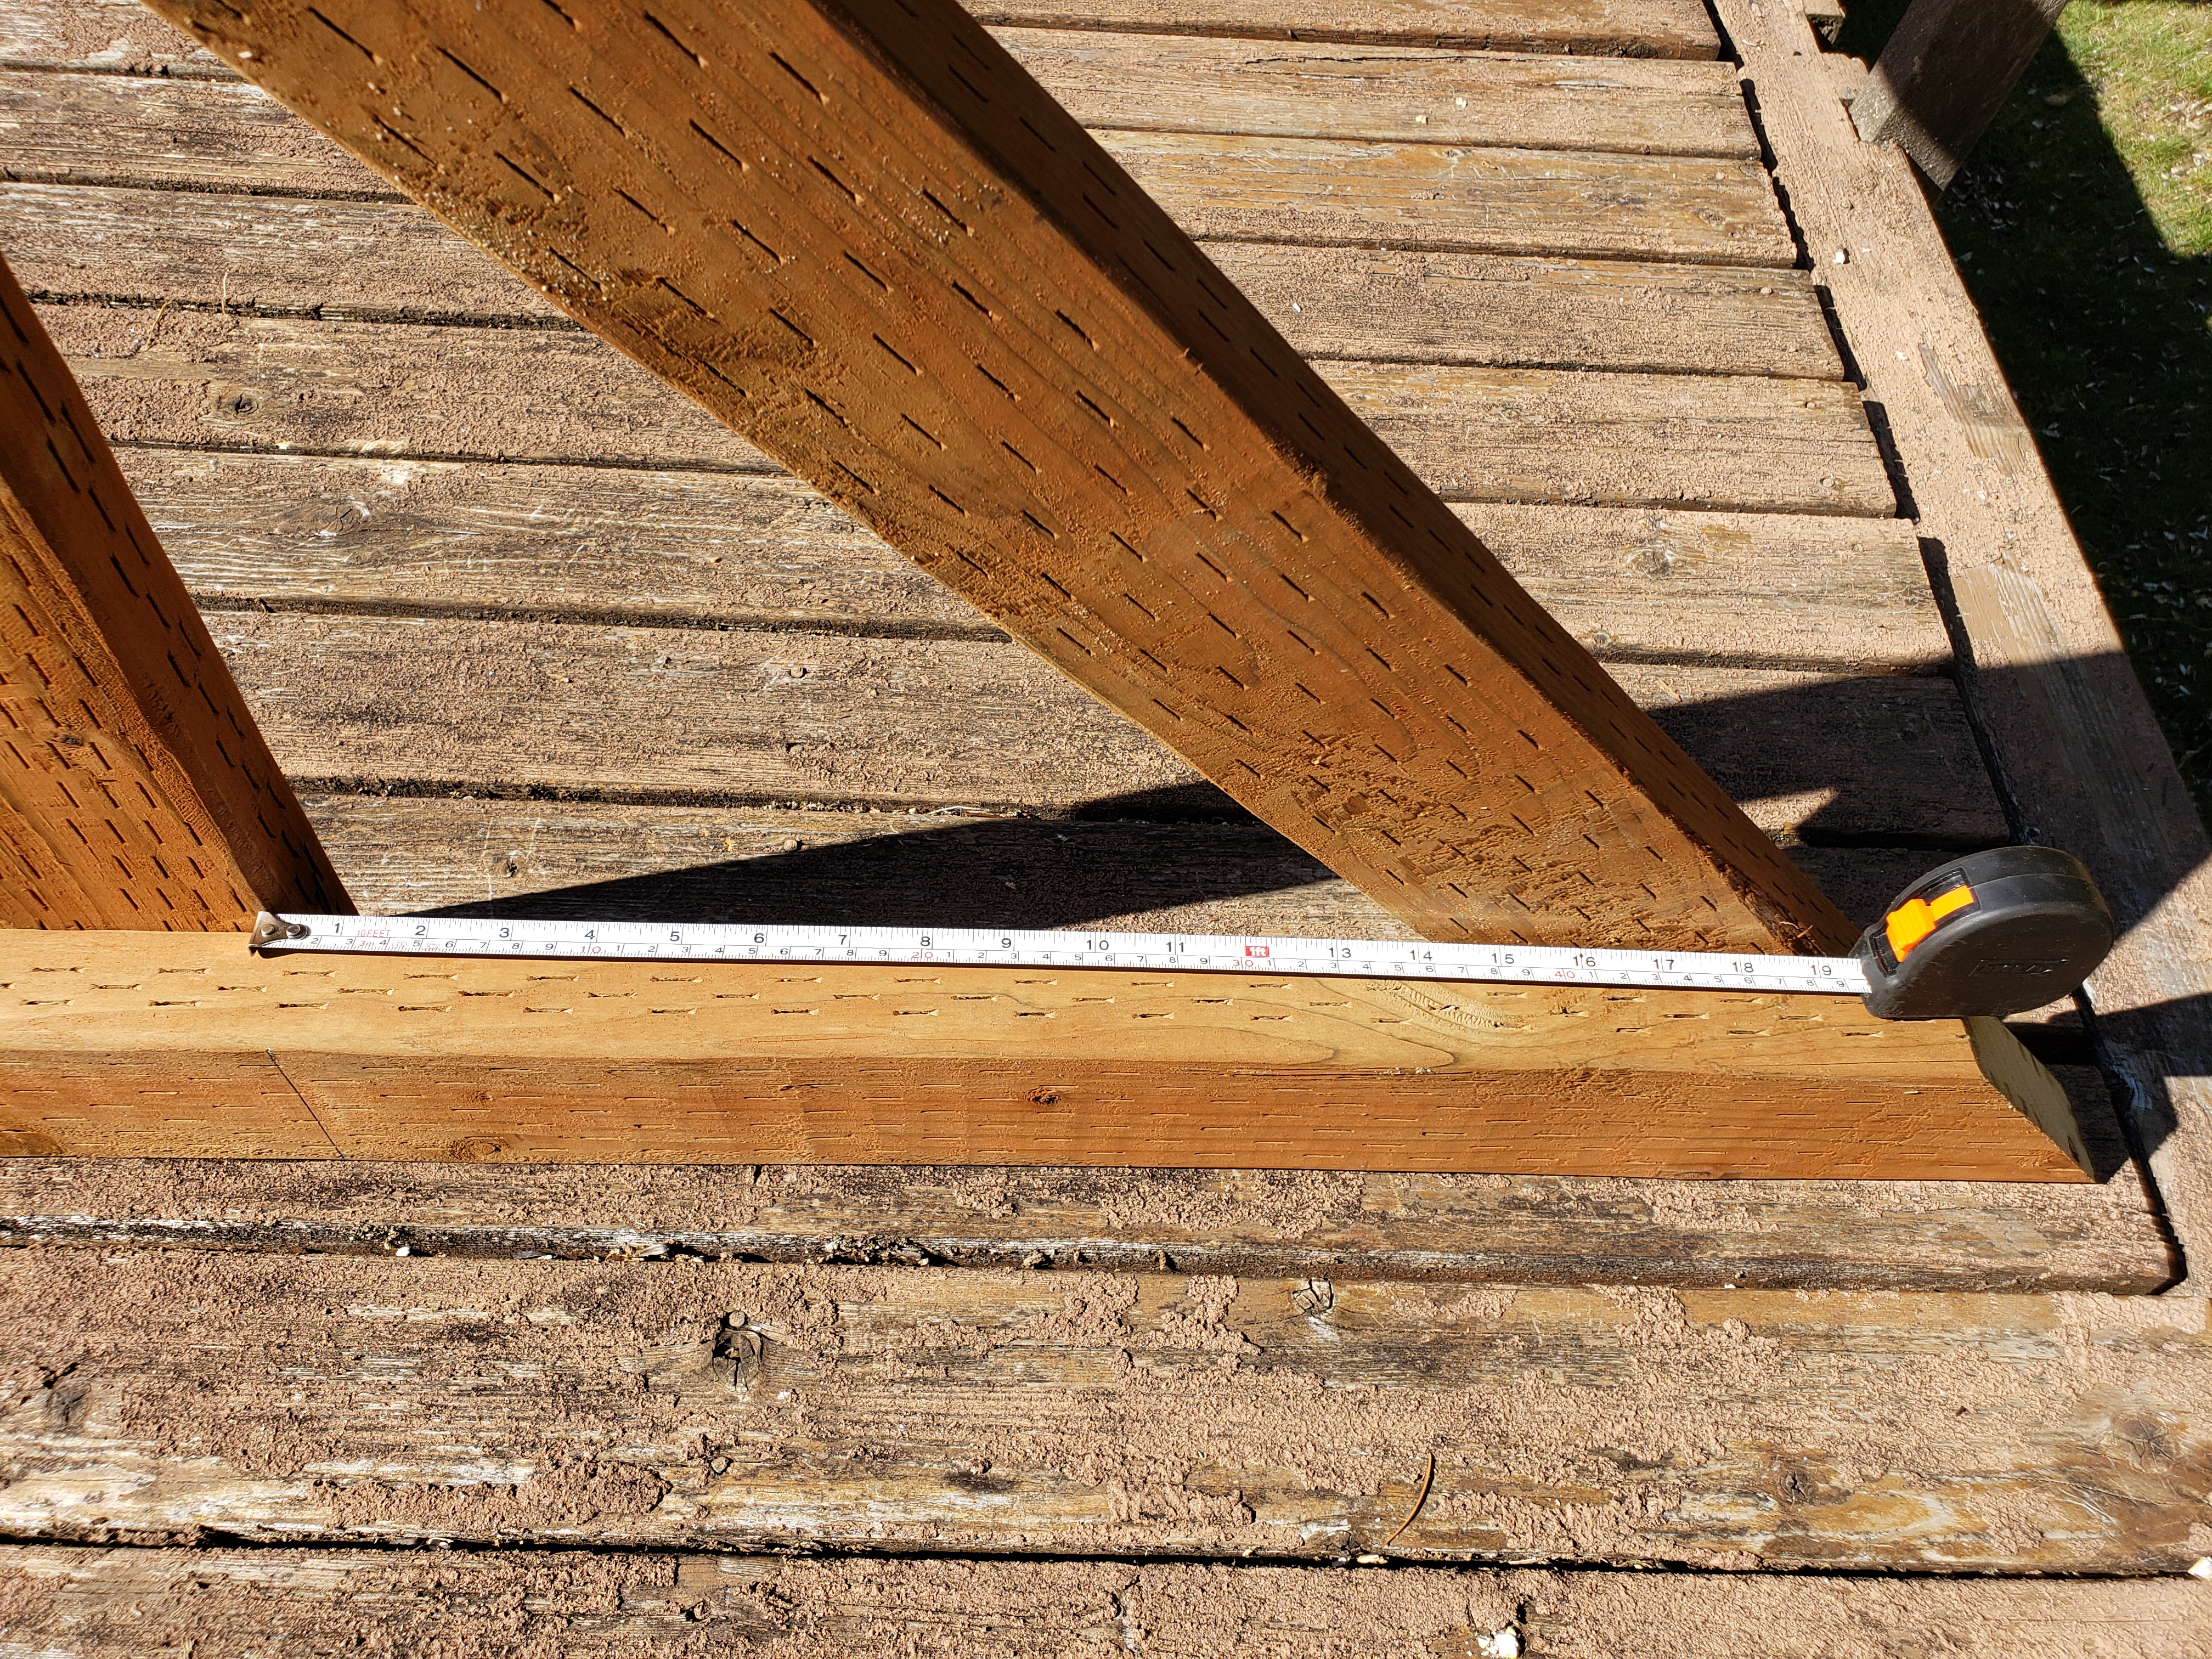
Using table saw, I cut the legs, uprights and connecting pieces to length.

Notice that the top piece overlaps the uprights, and as such is 3″ (2 x 1.5″) longer than the lower horizontal piece.
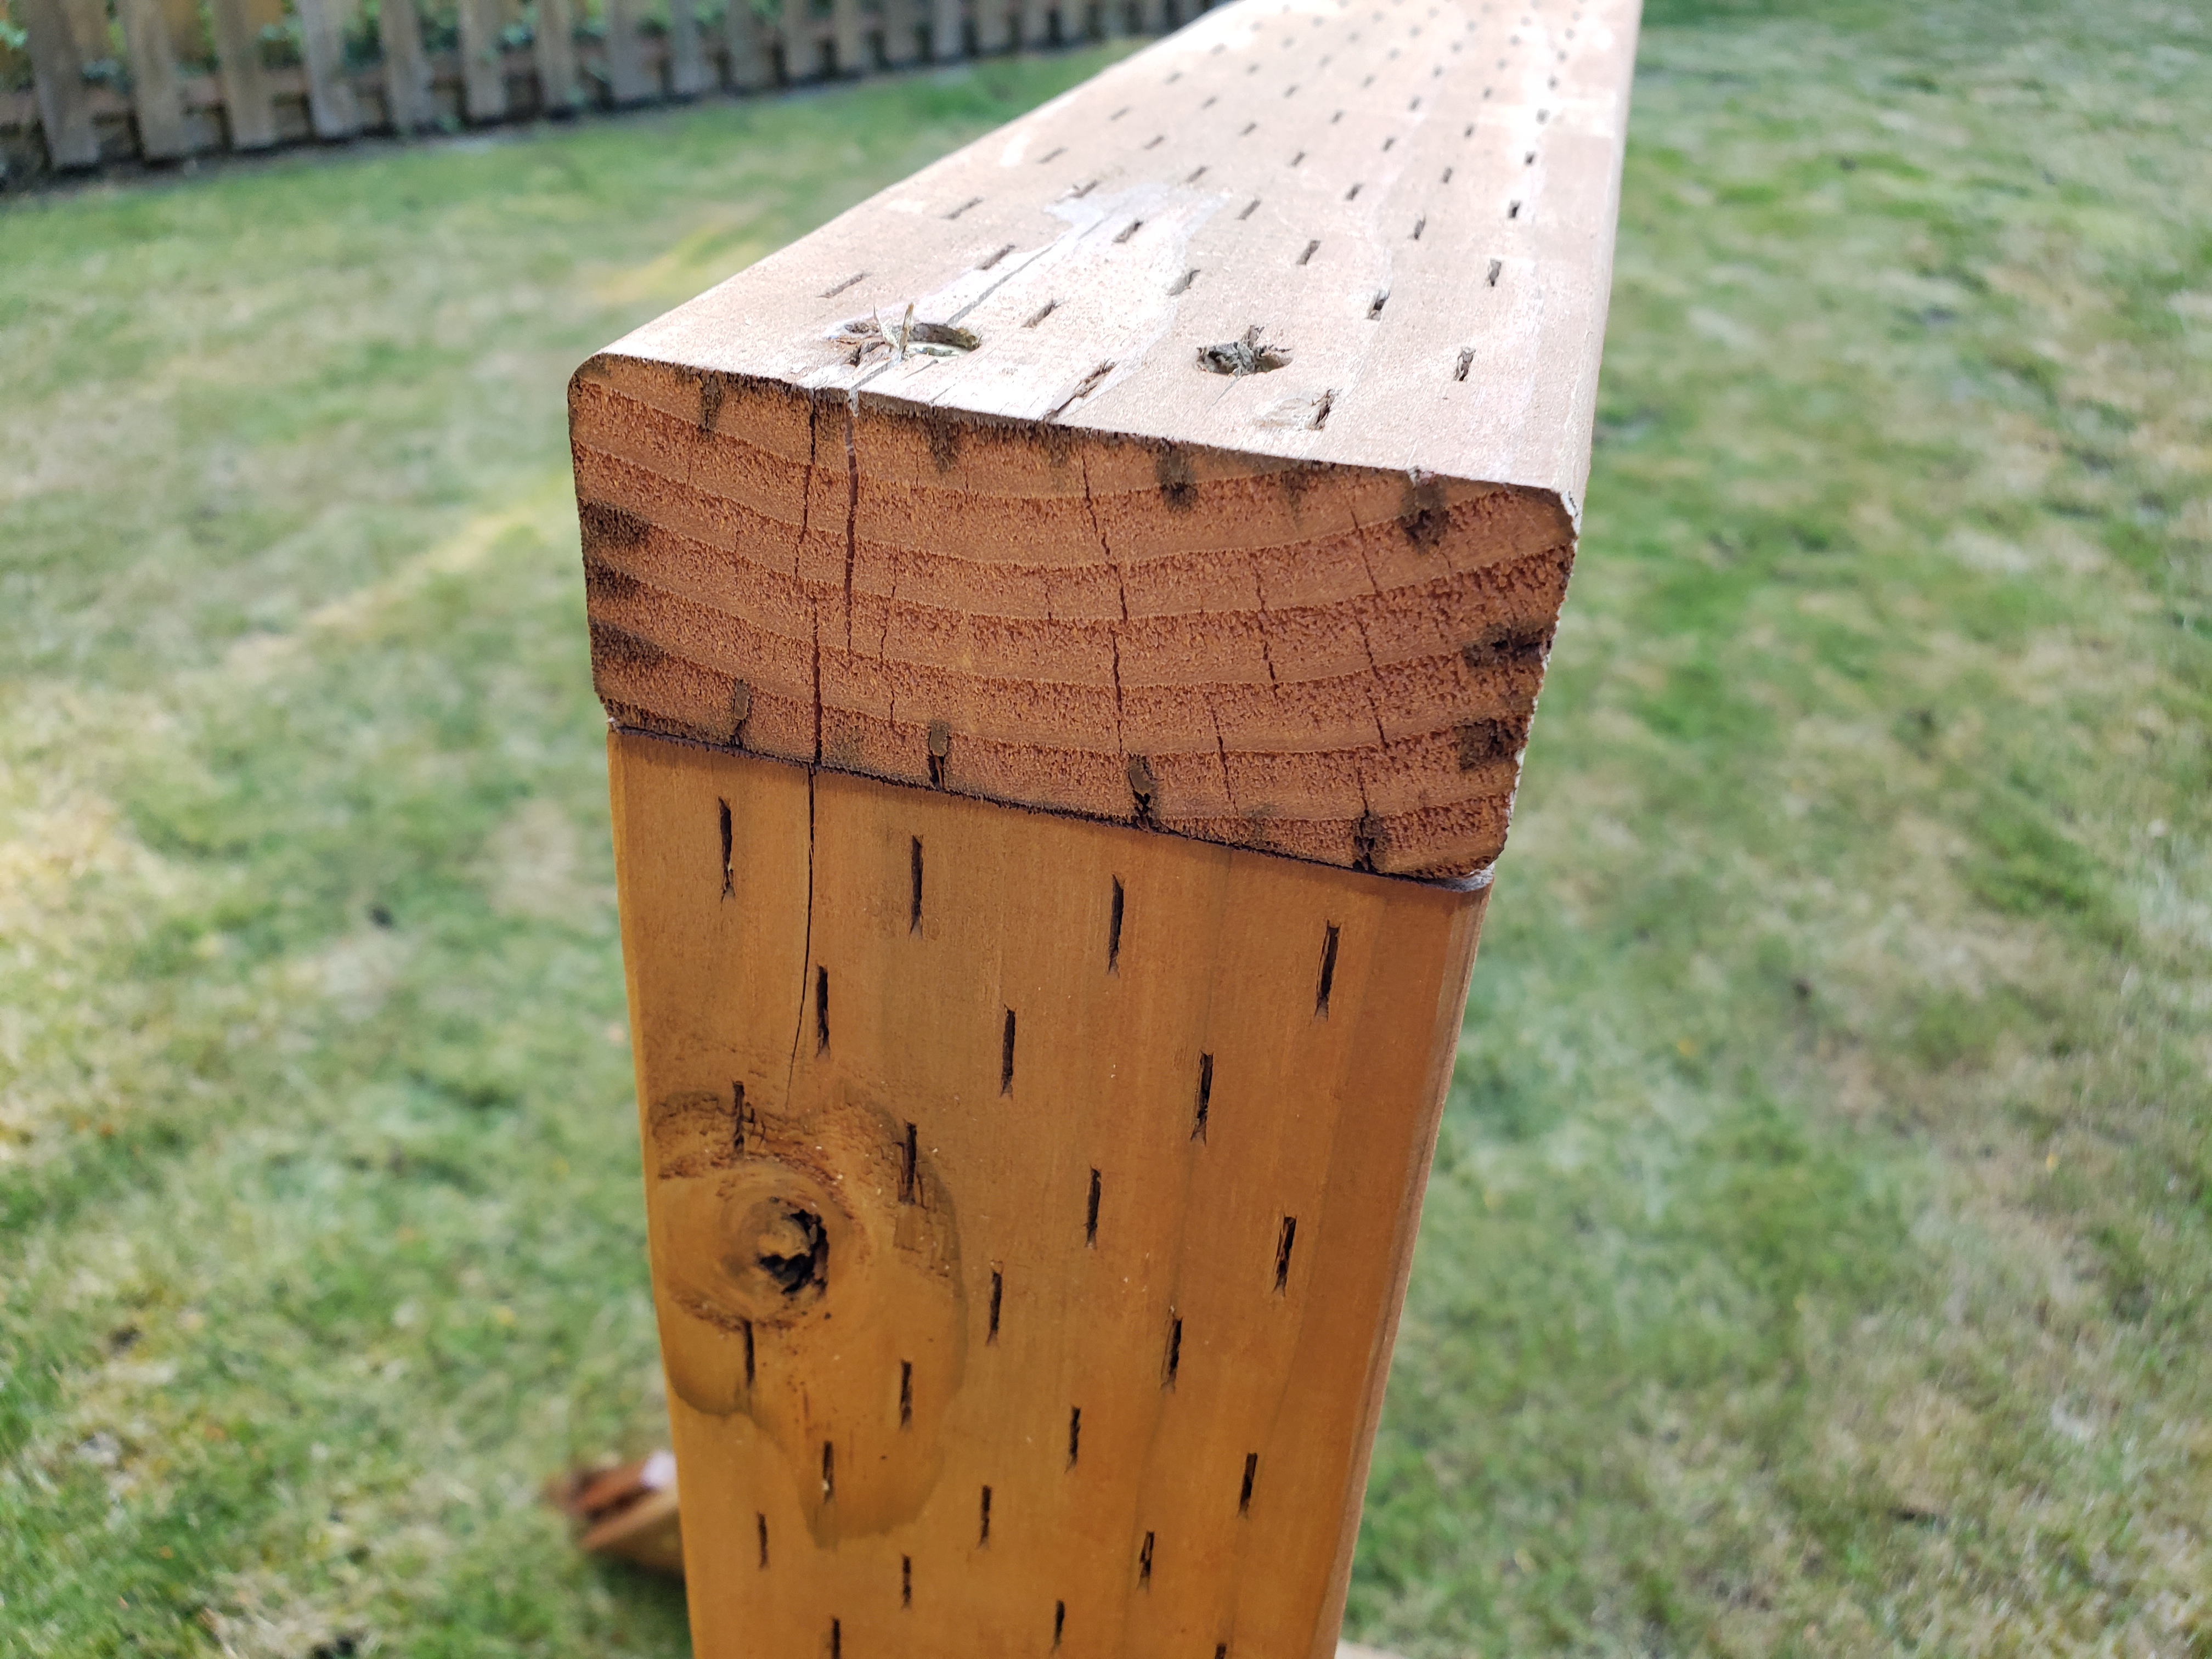
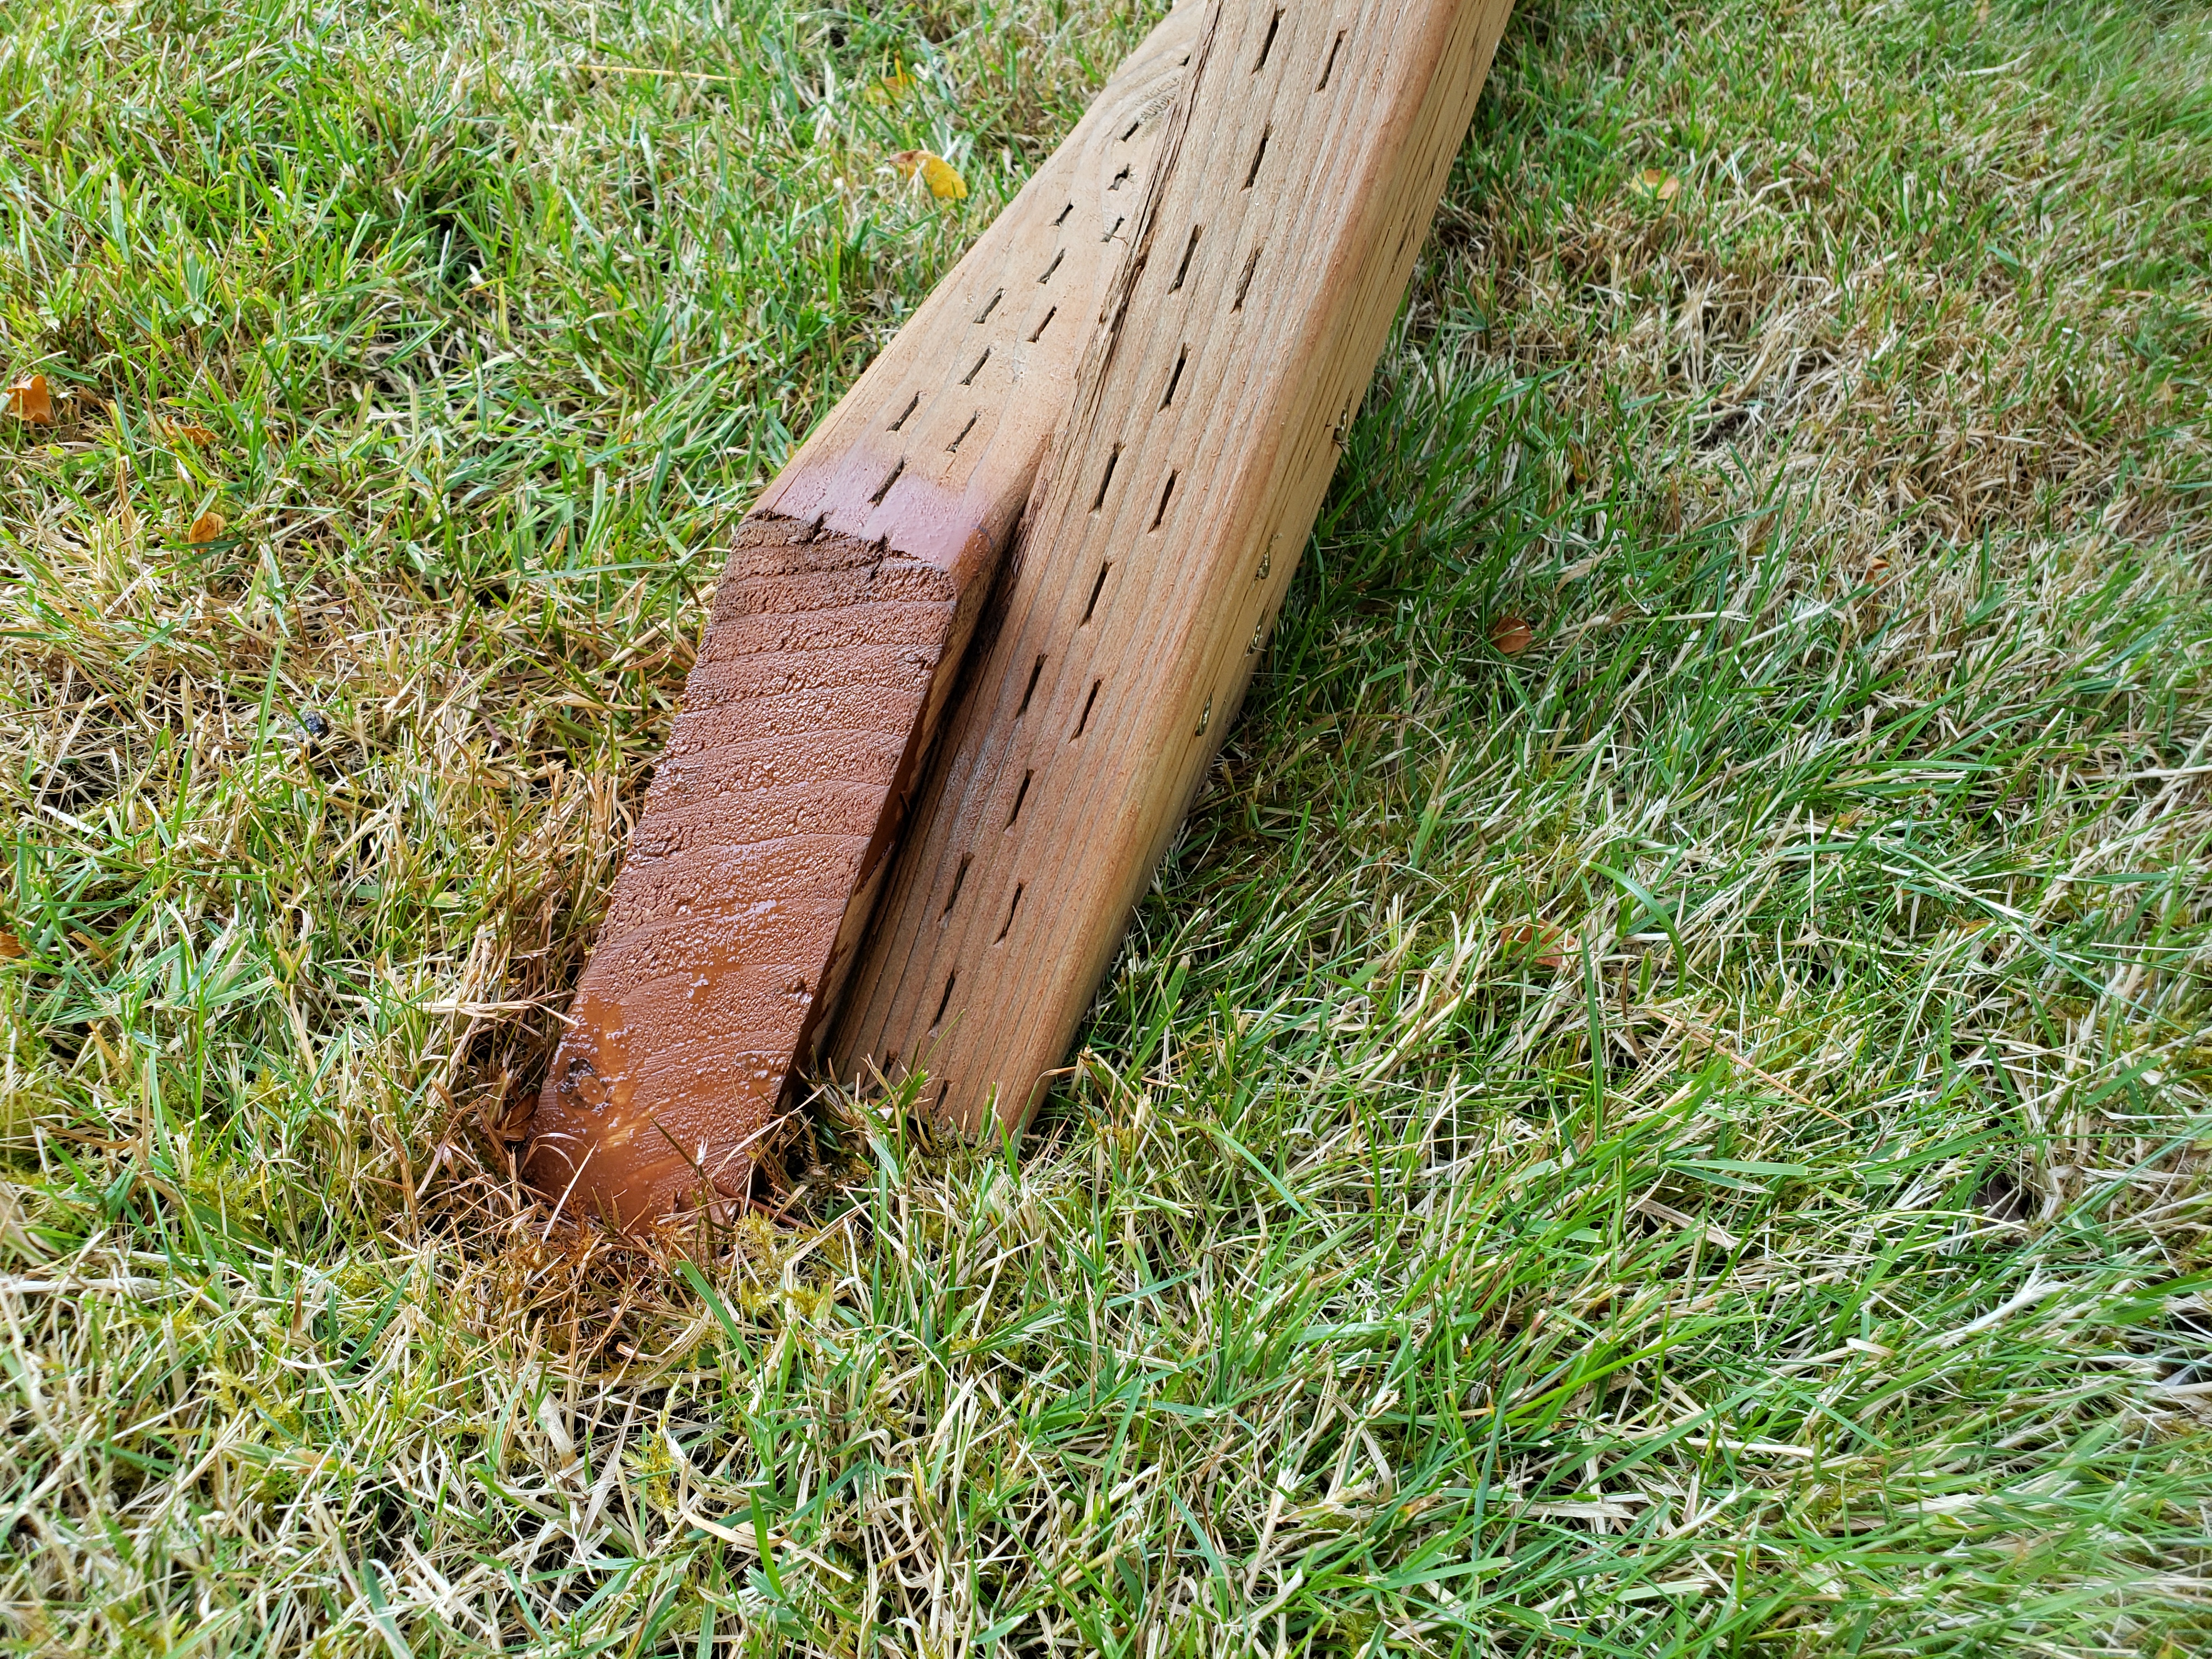
Since the wood is treated, I kept the cut sides of uprights pointing upwards, so that they’re not directly exposed to moisture on the ground:
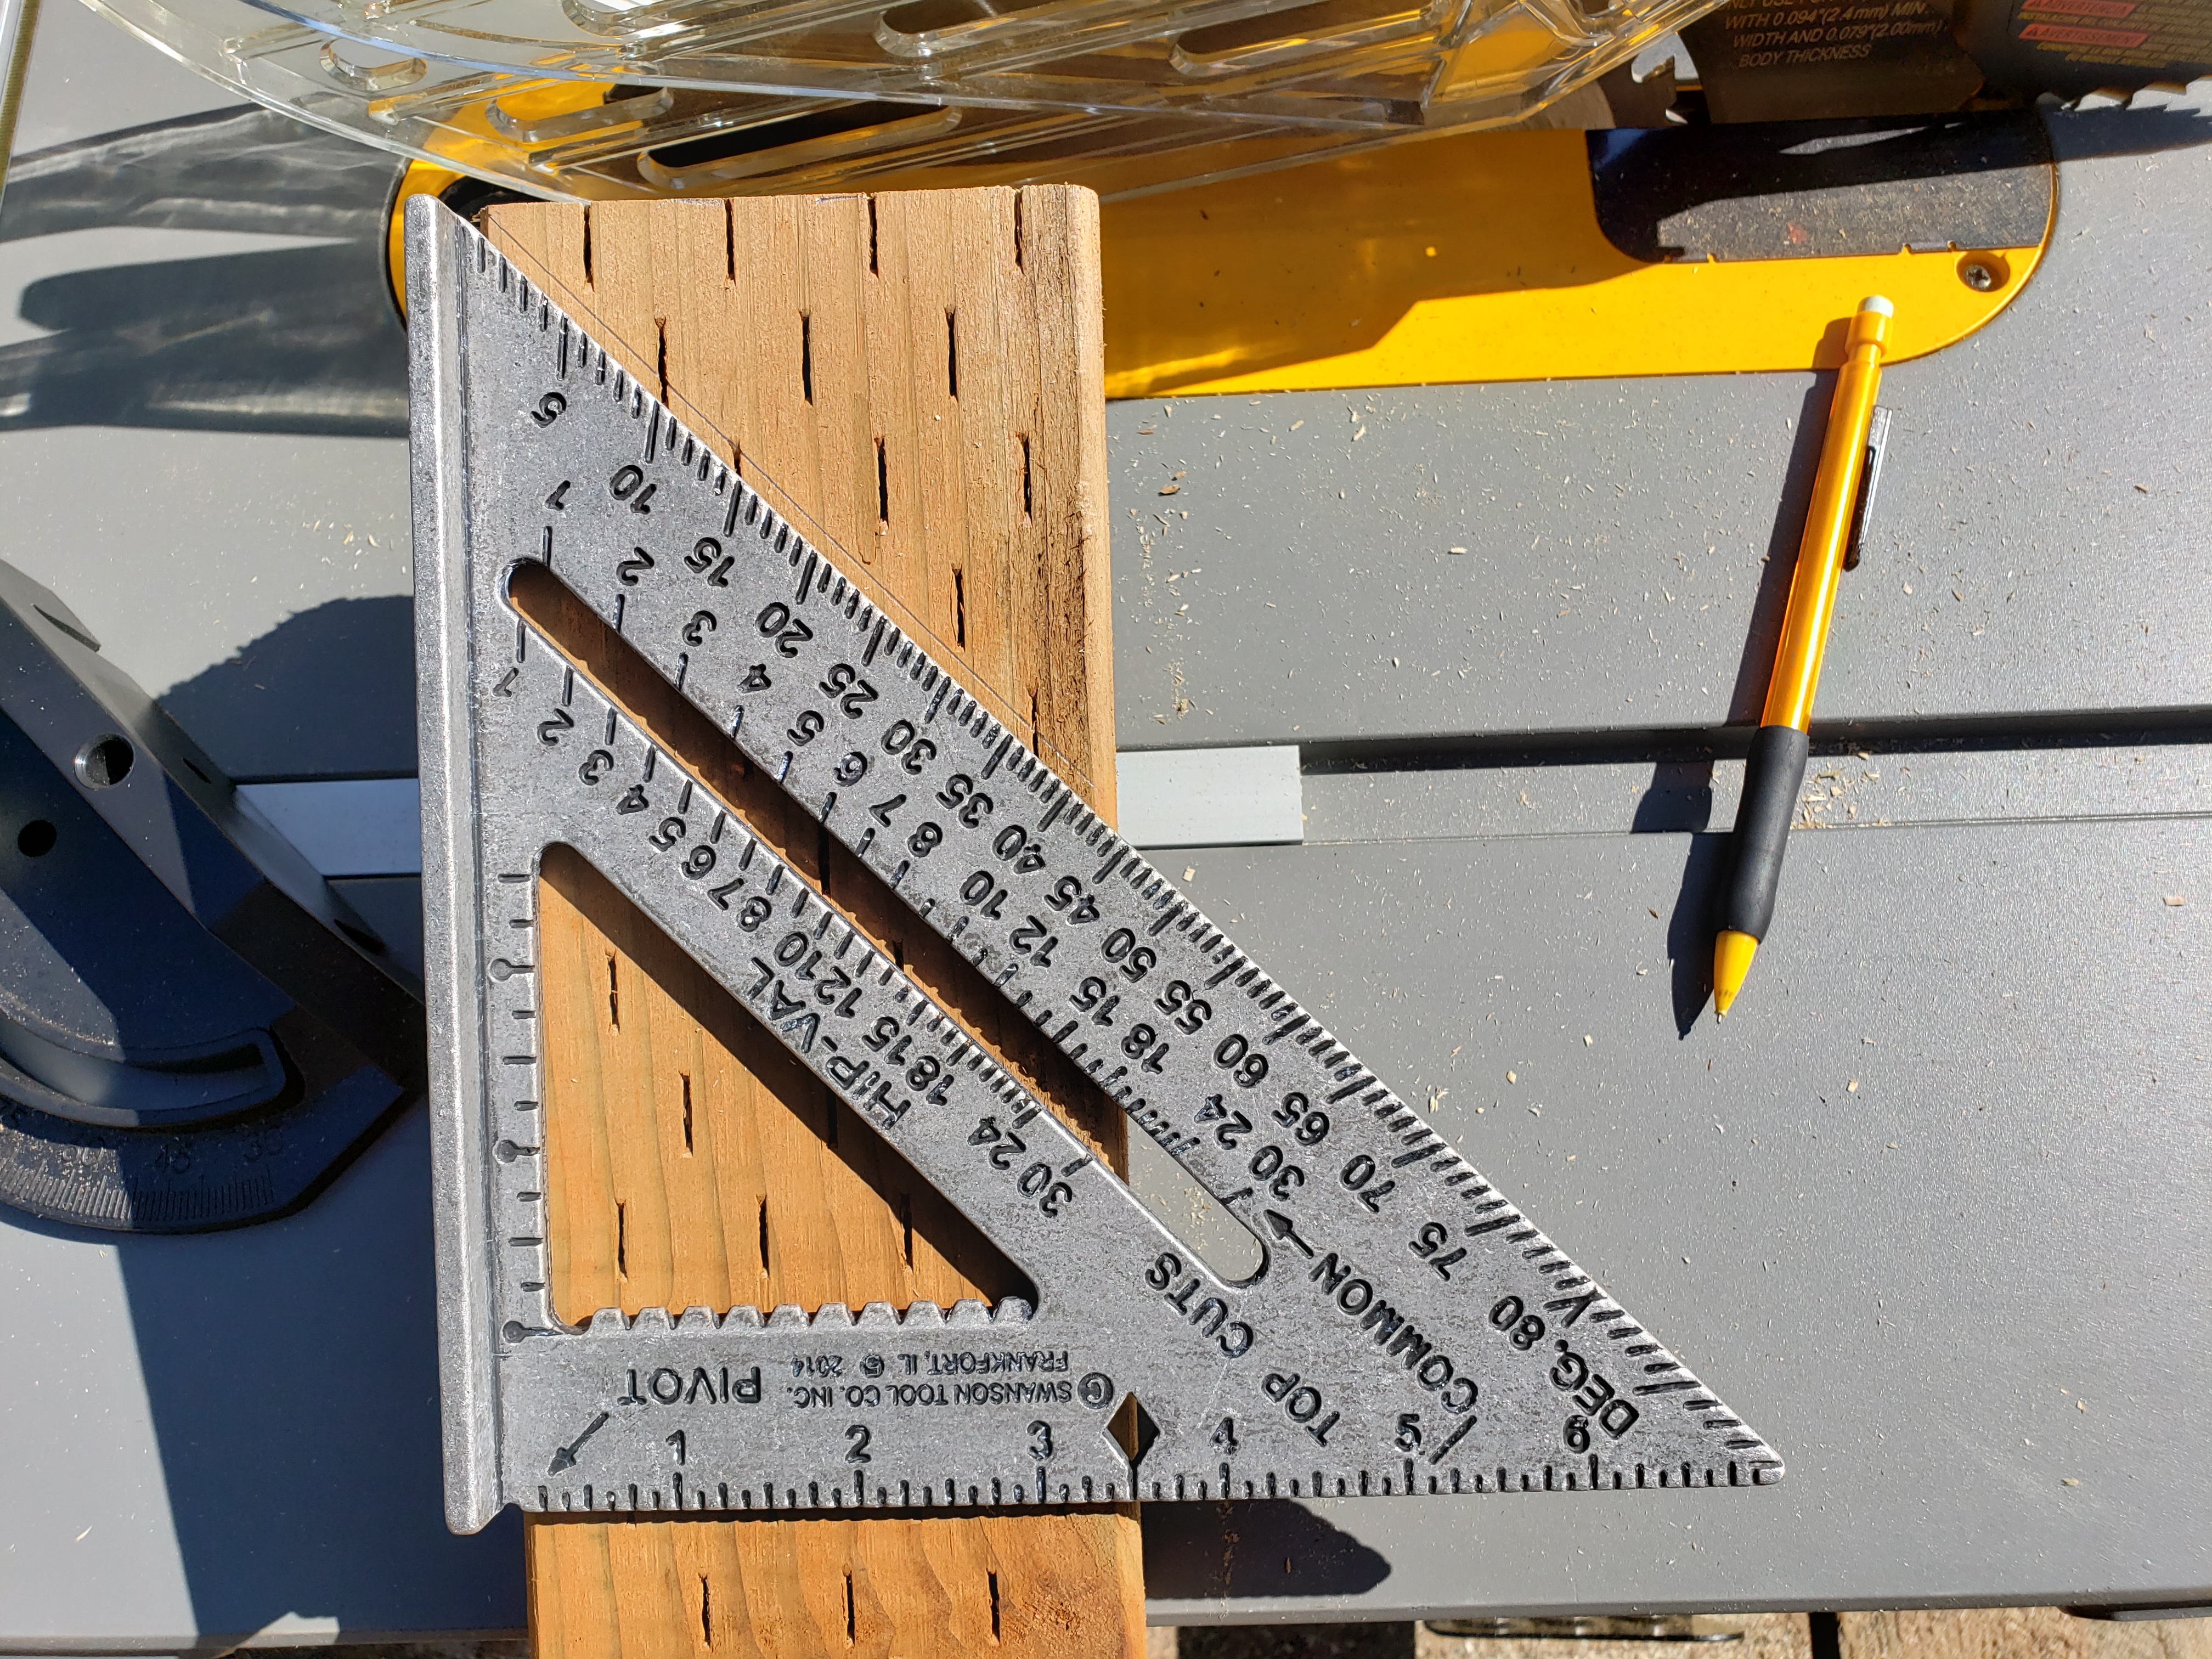
I used a quick carpenter square to mark the angles for legs and cut them on the table saw. The saw had an adjustable angle guide, but I always find it helpful to have the cut line inscribed on the wood:
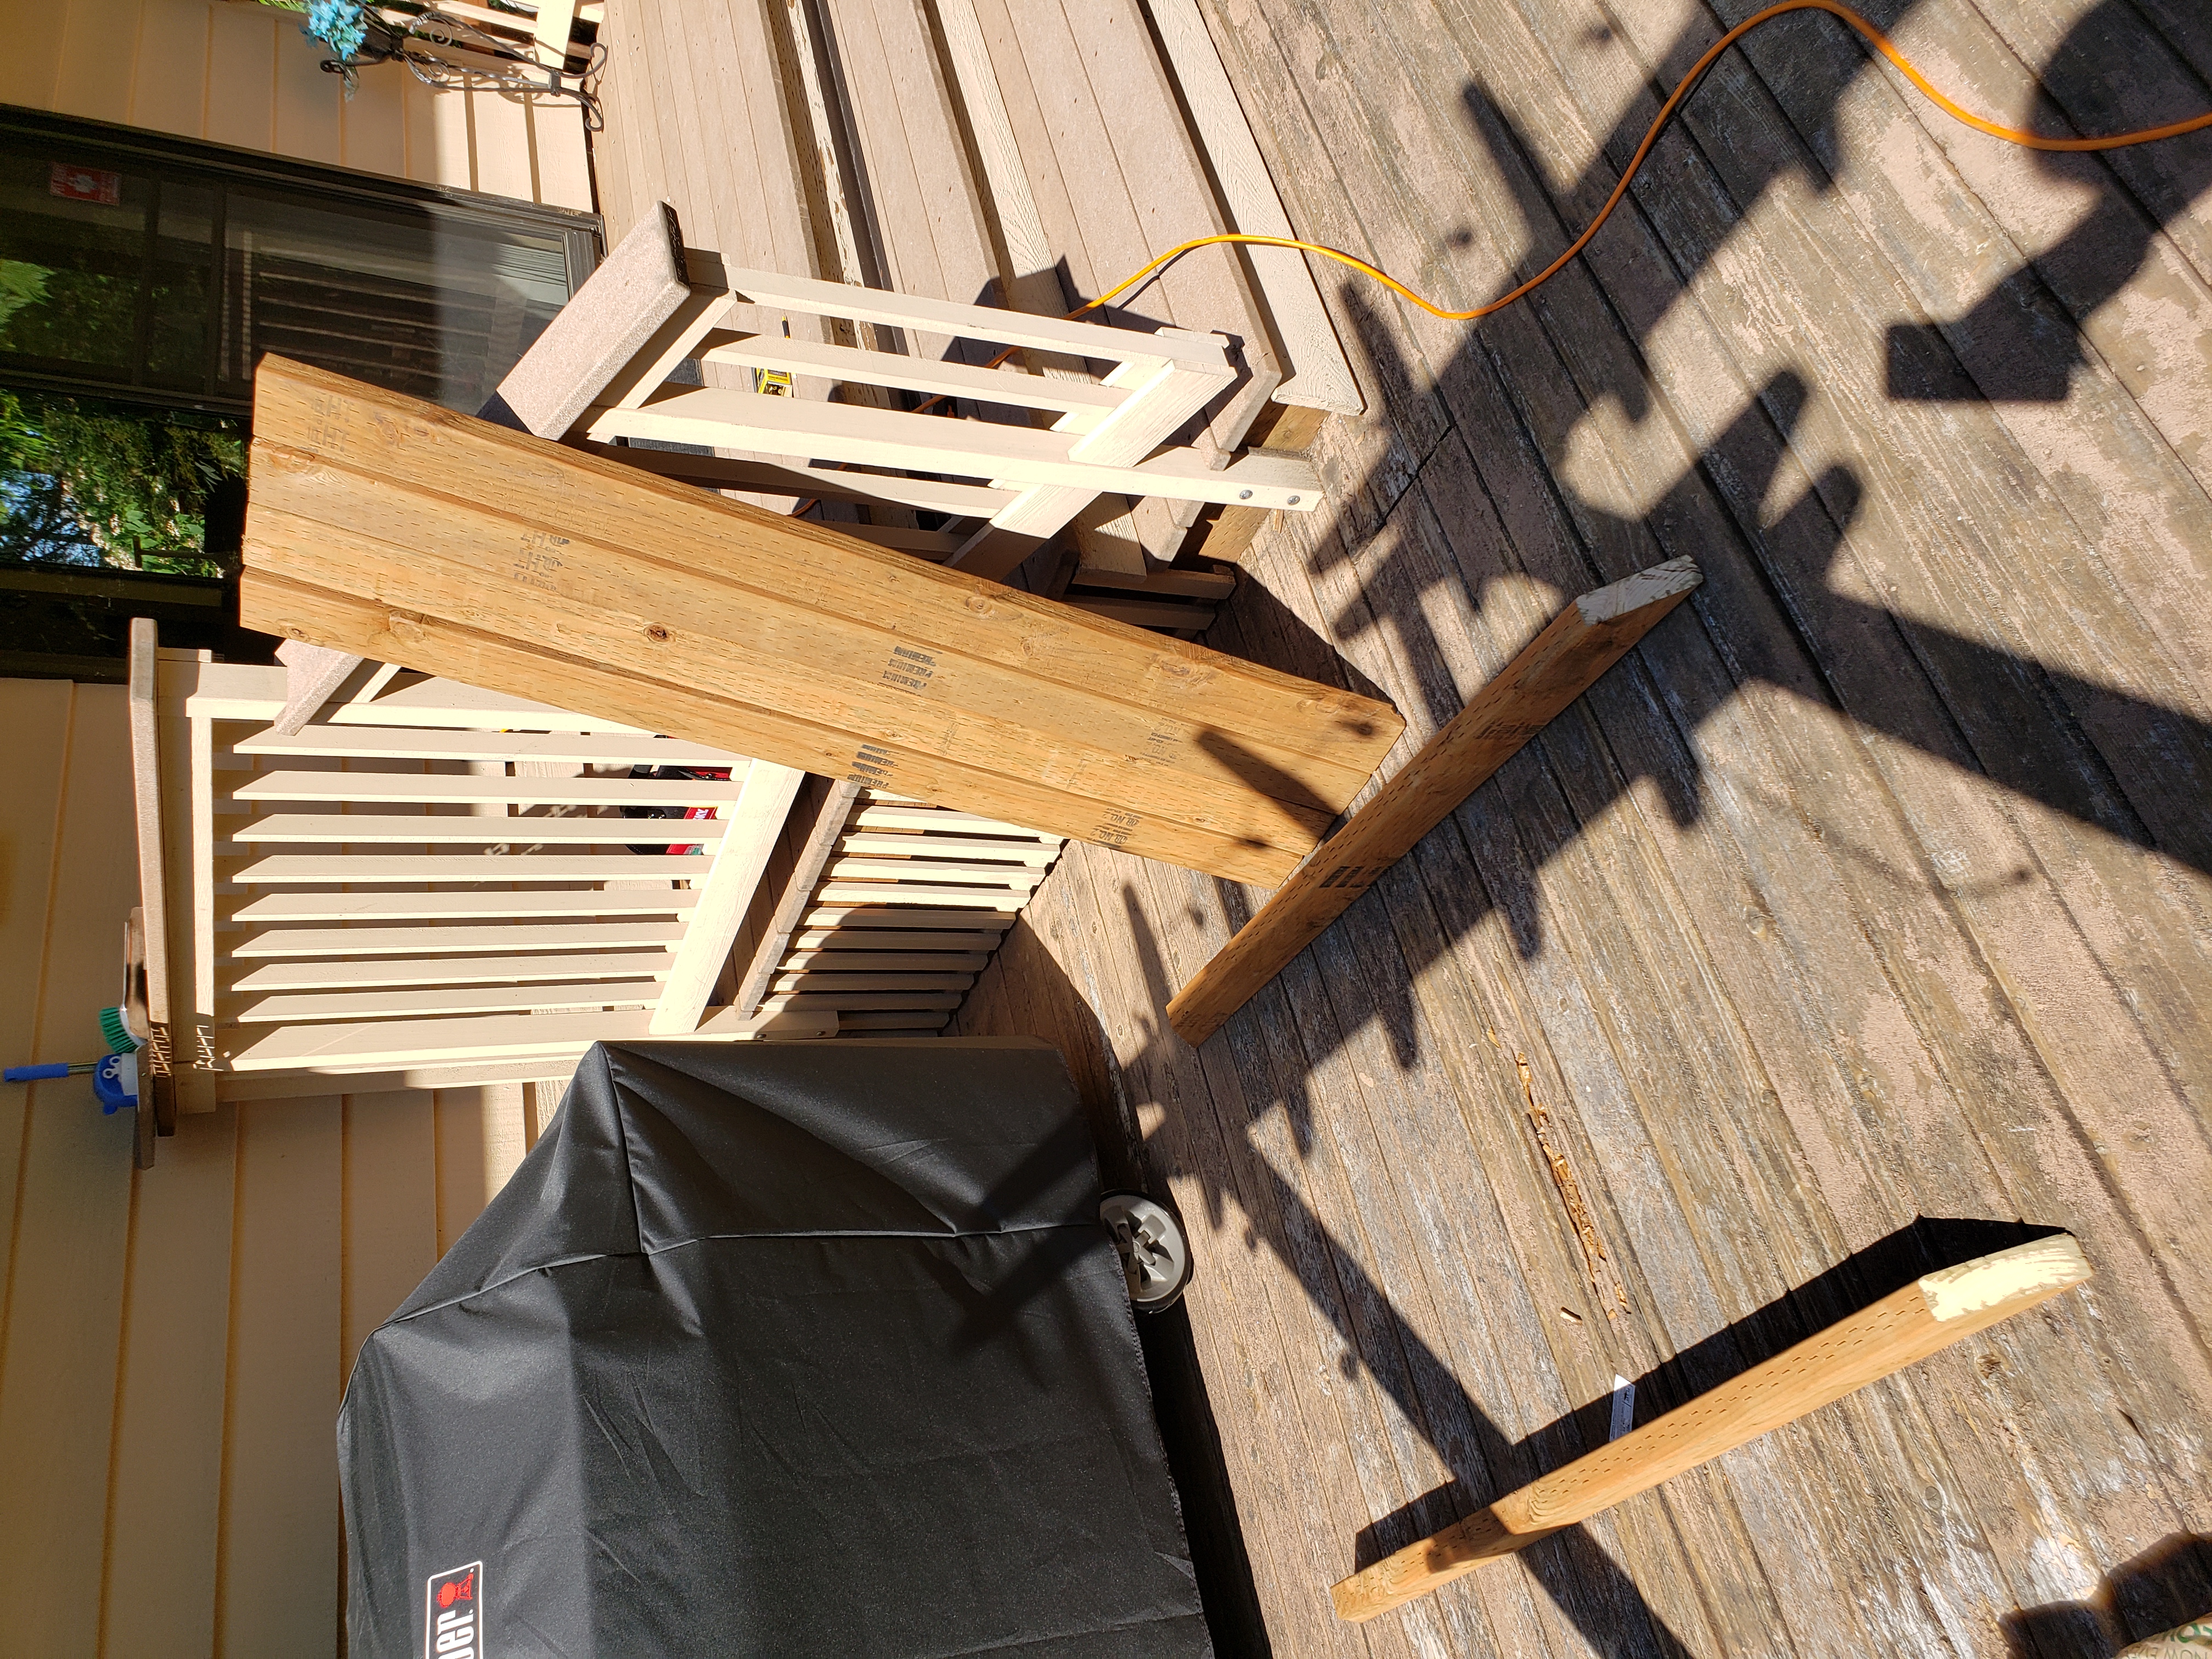
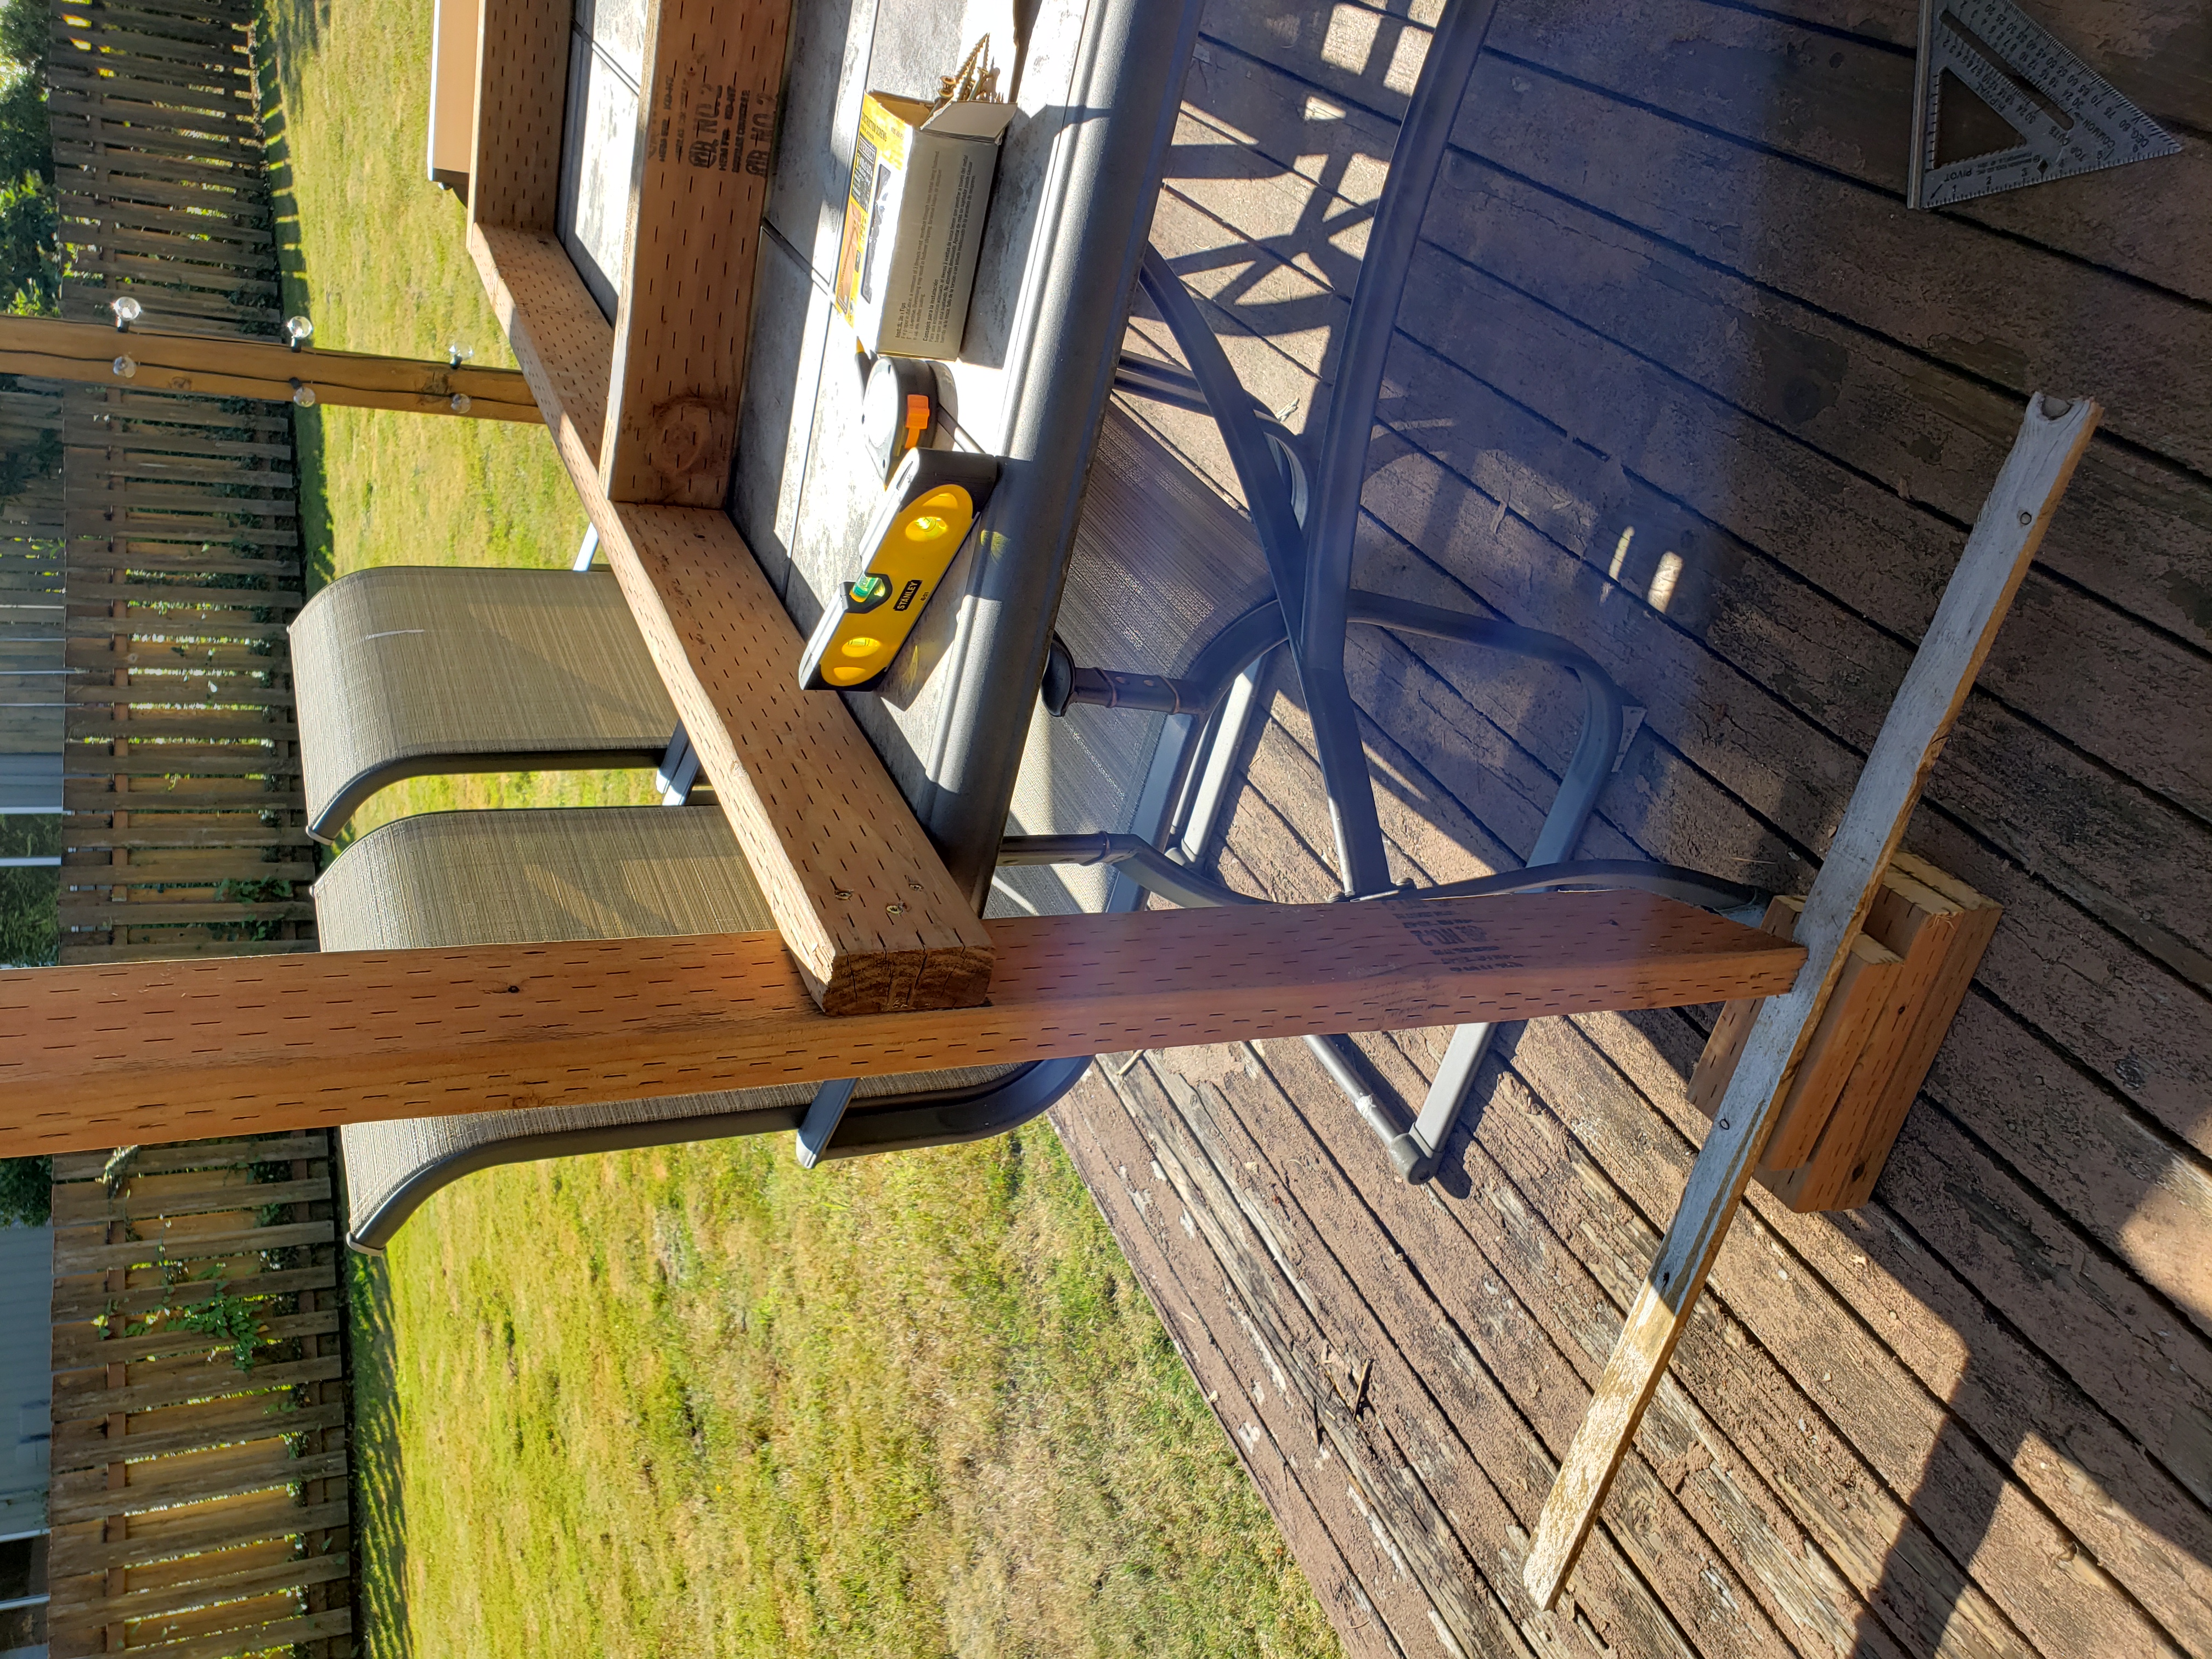
To attach the legs, I had to prop the uprights somewhere high (or bother my wife, but I wanted for this project to be a surprise 😉 ). I used a patio table combined with few pieces of scrap wood to have the leg pieces at desired height when I’m putting in the screws:

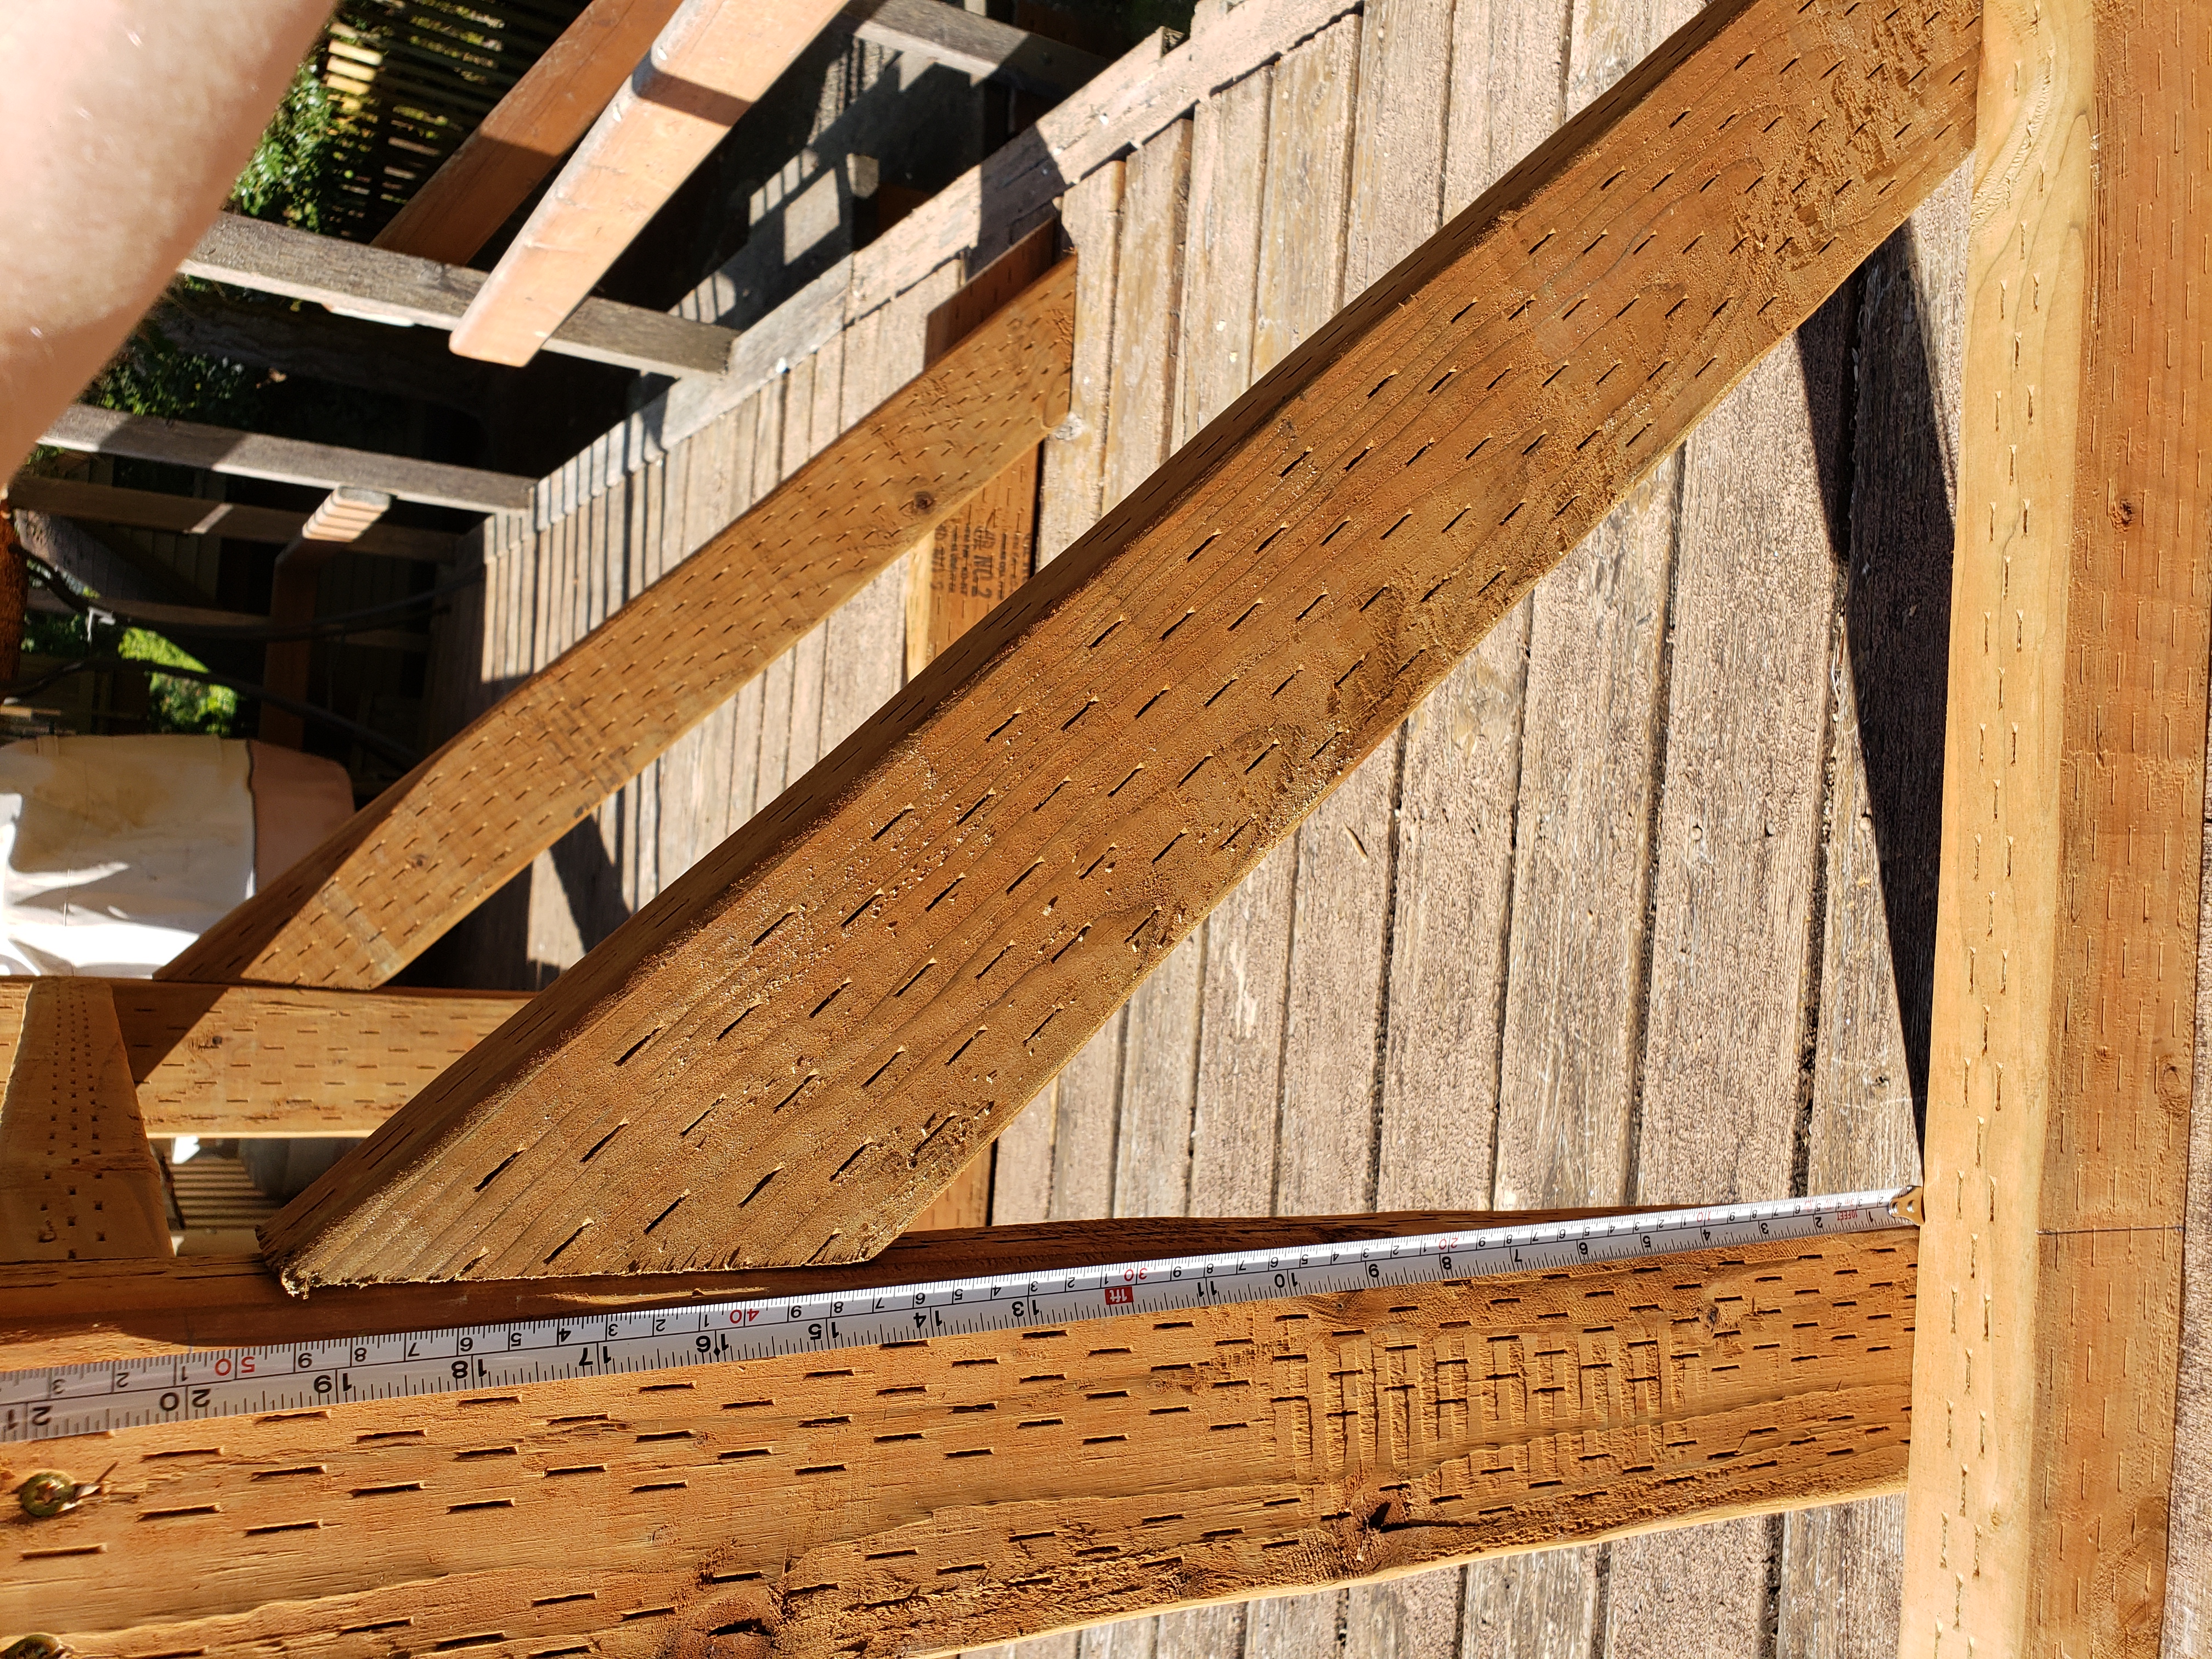
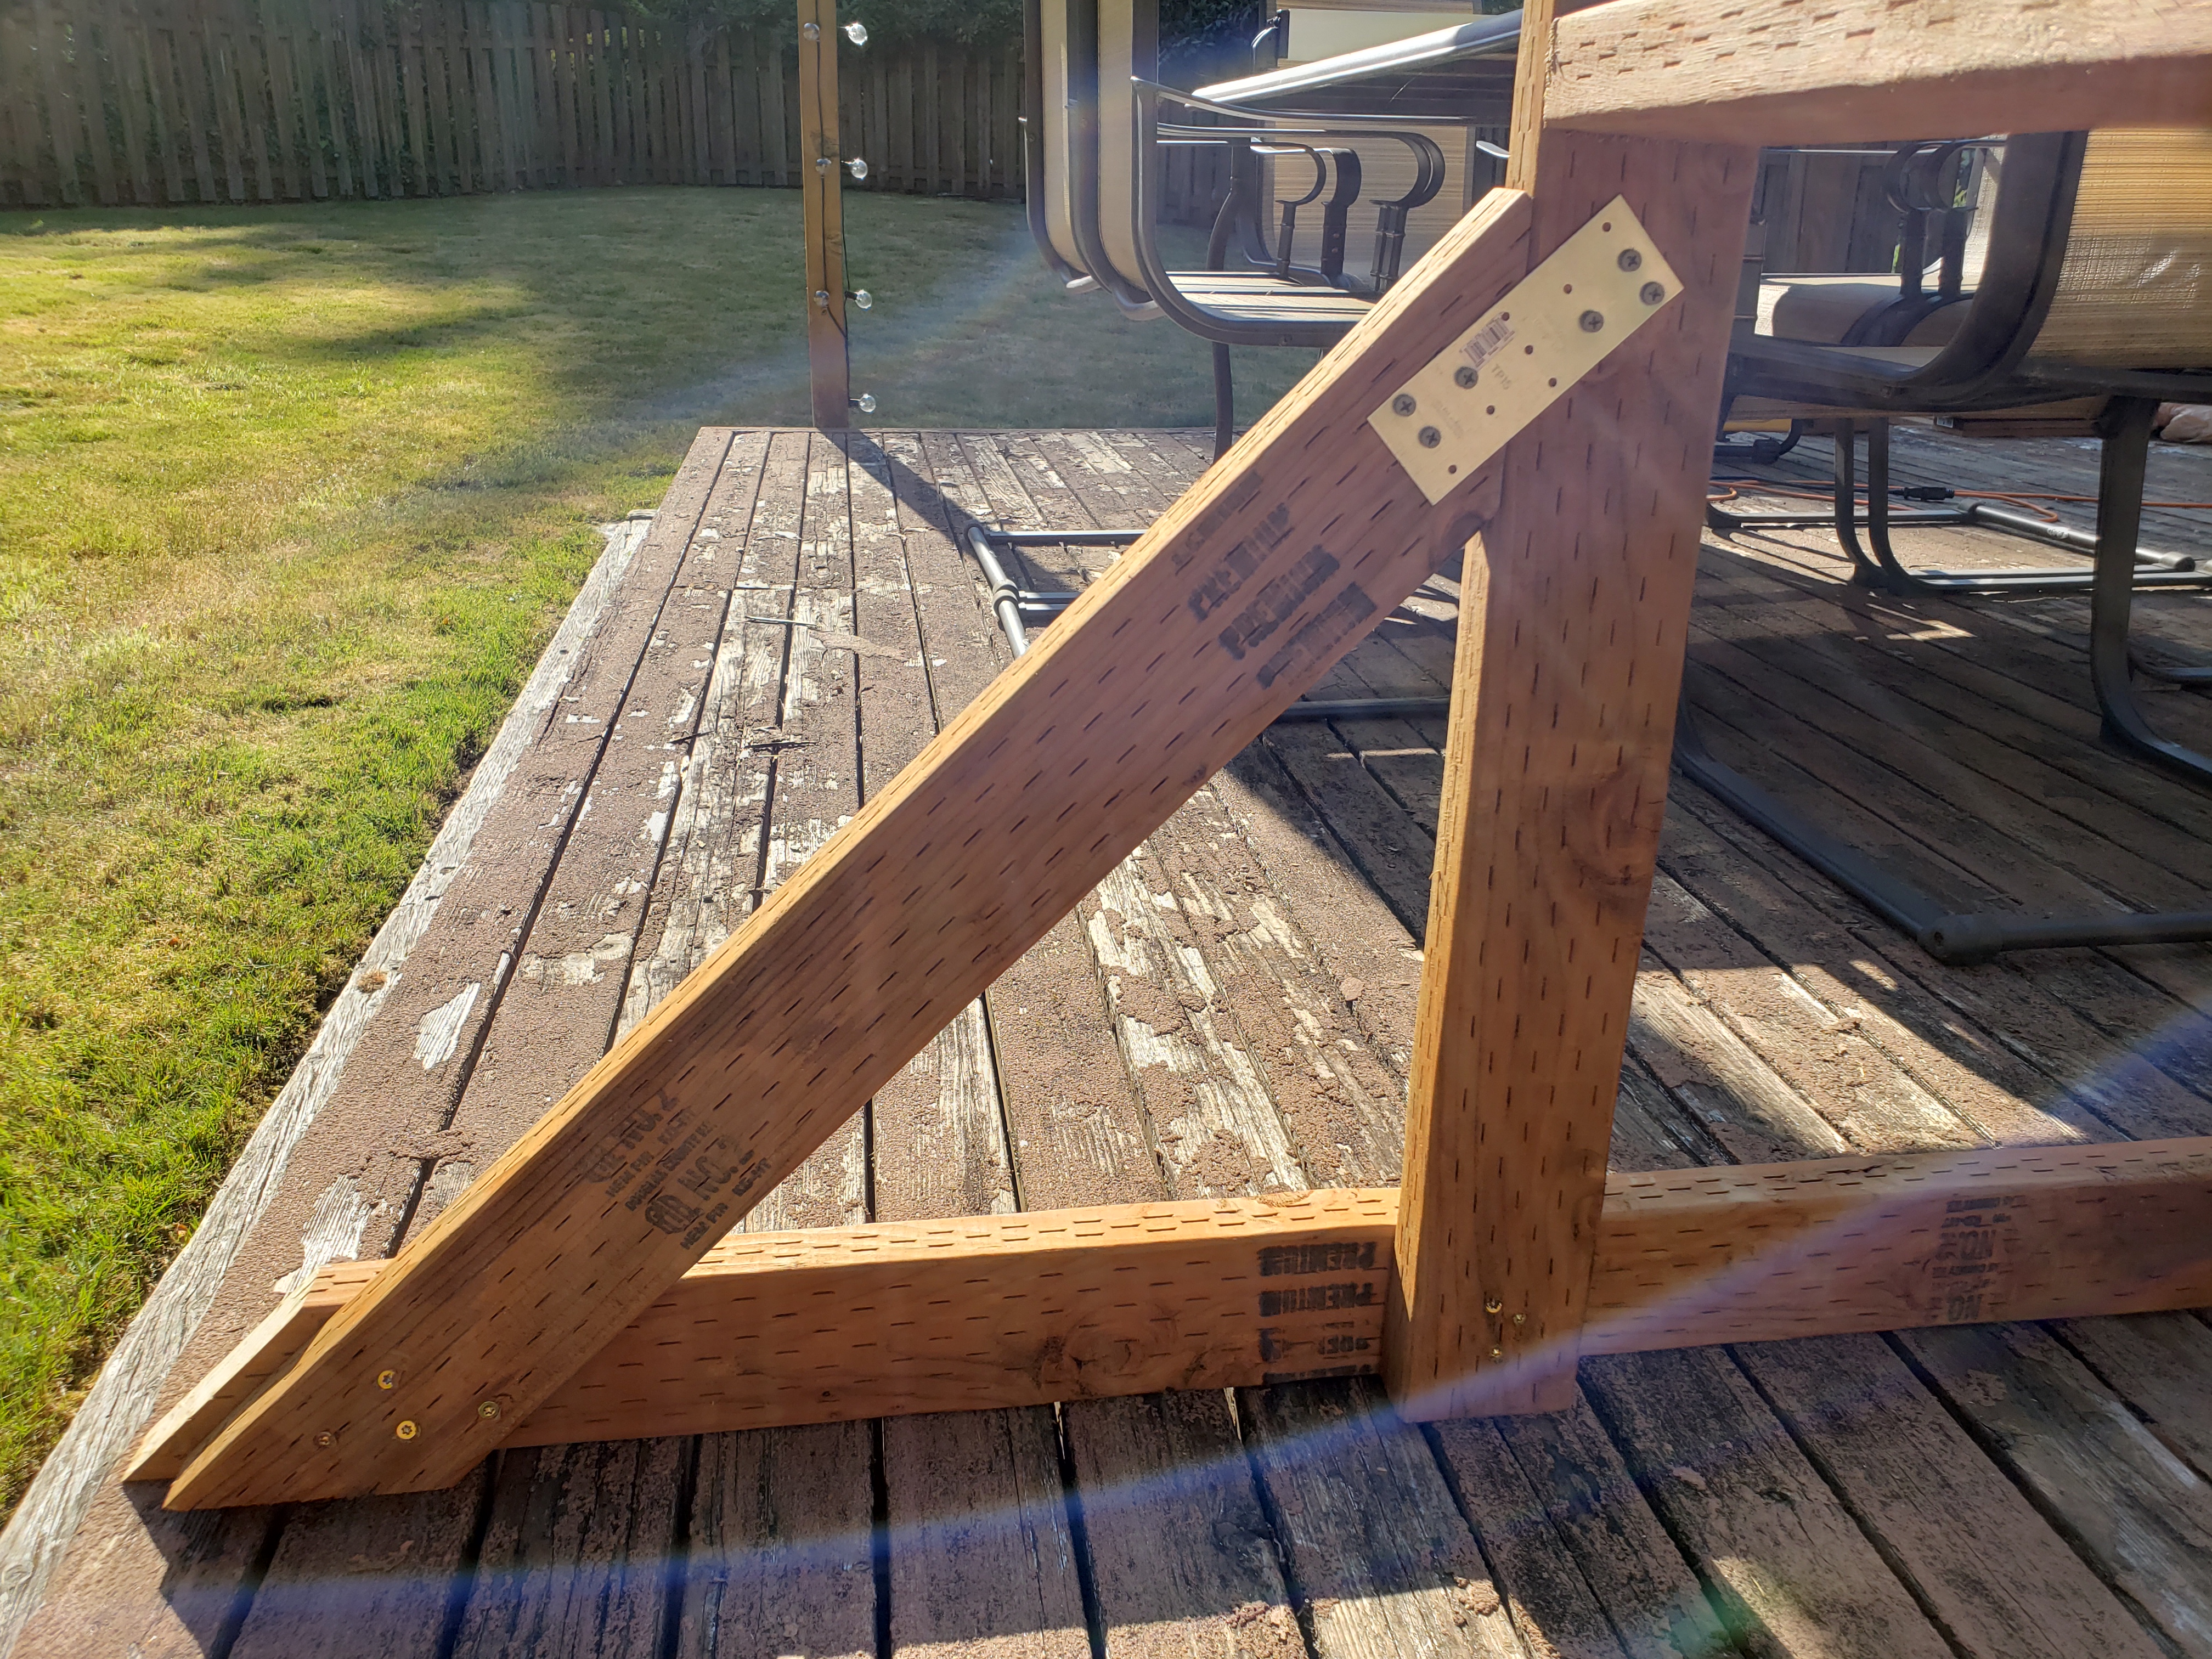
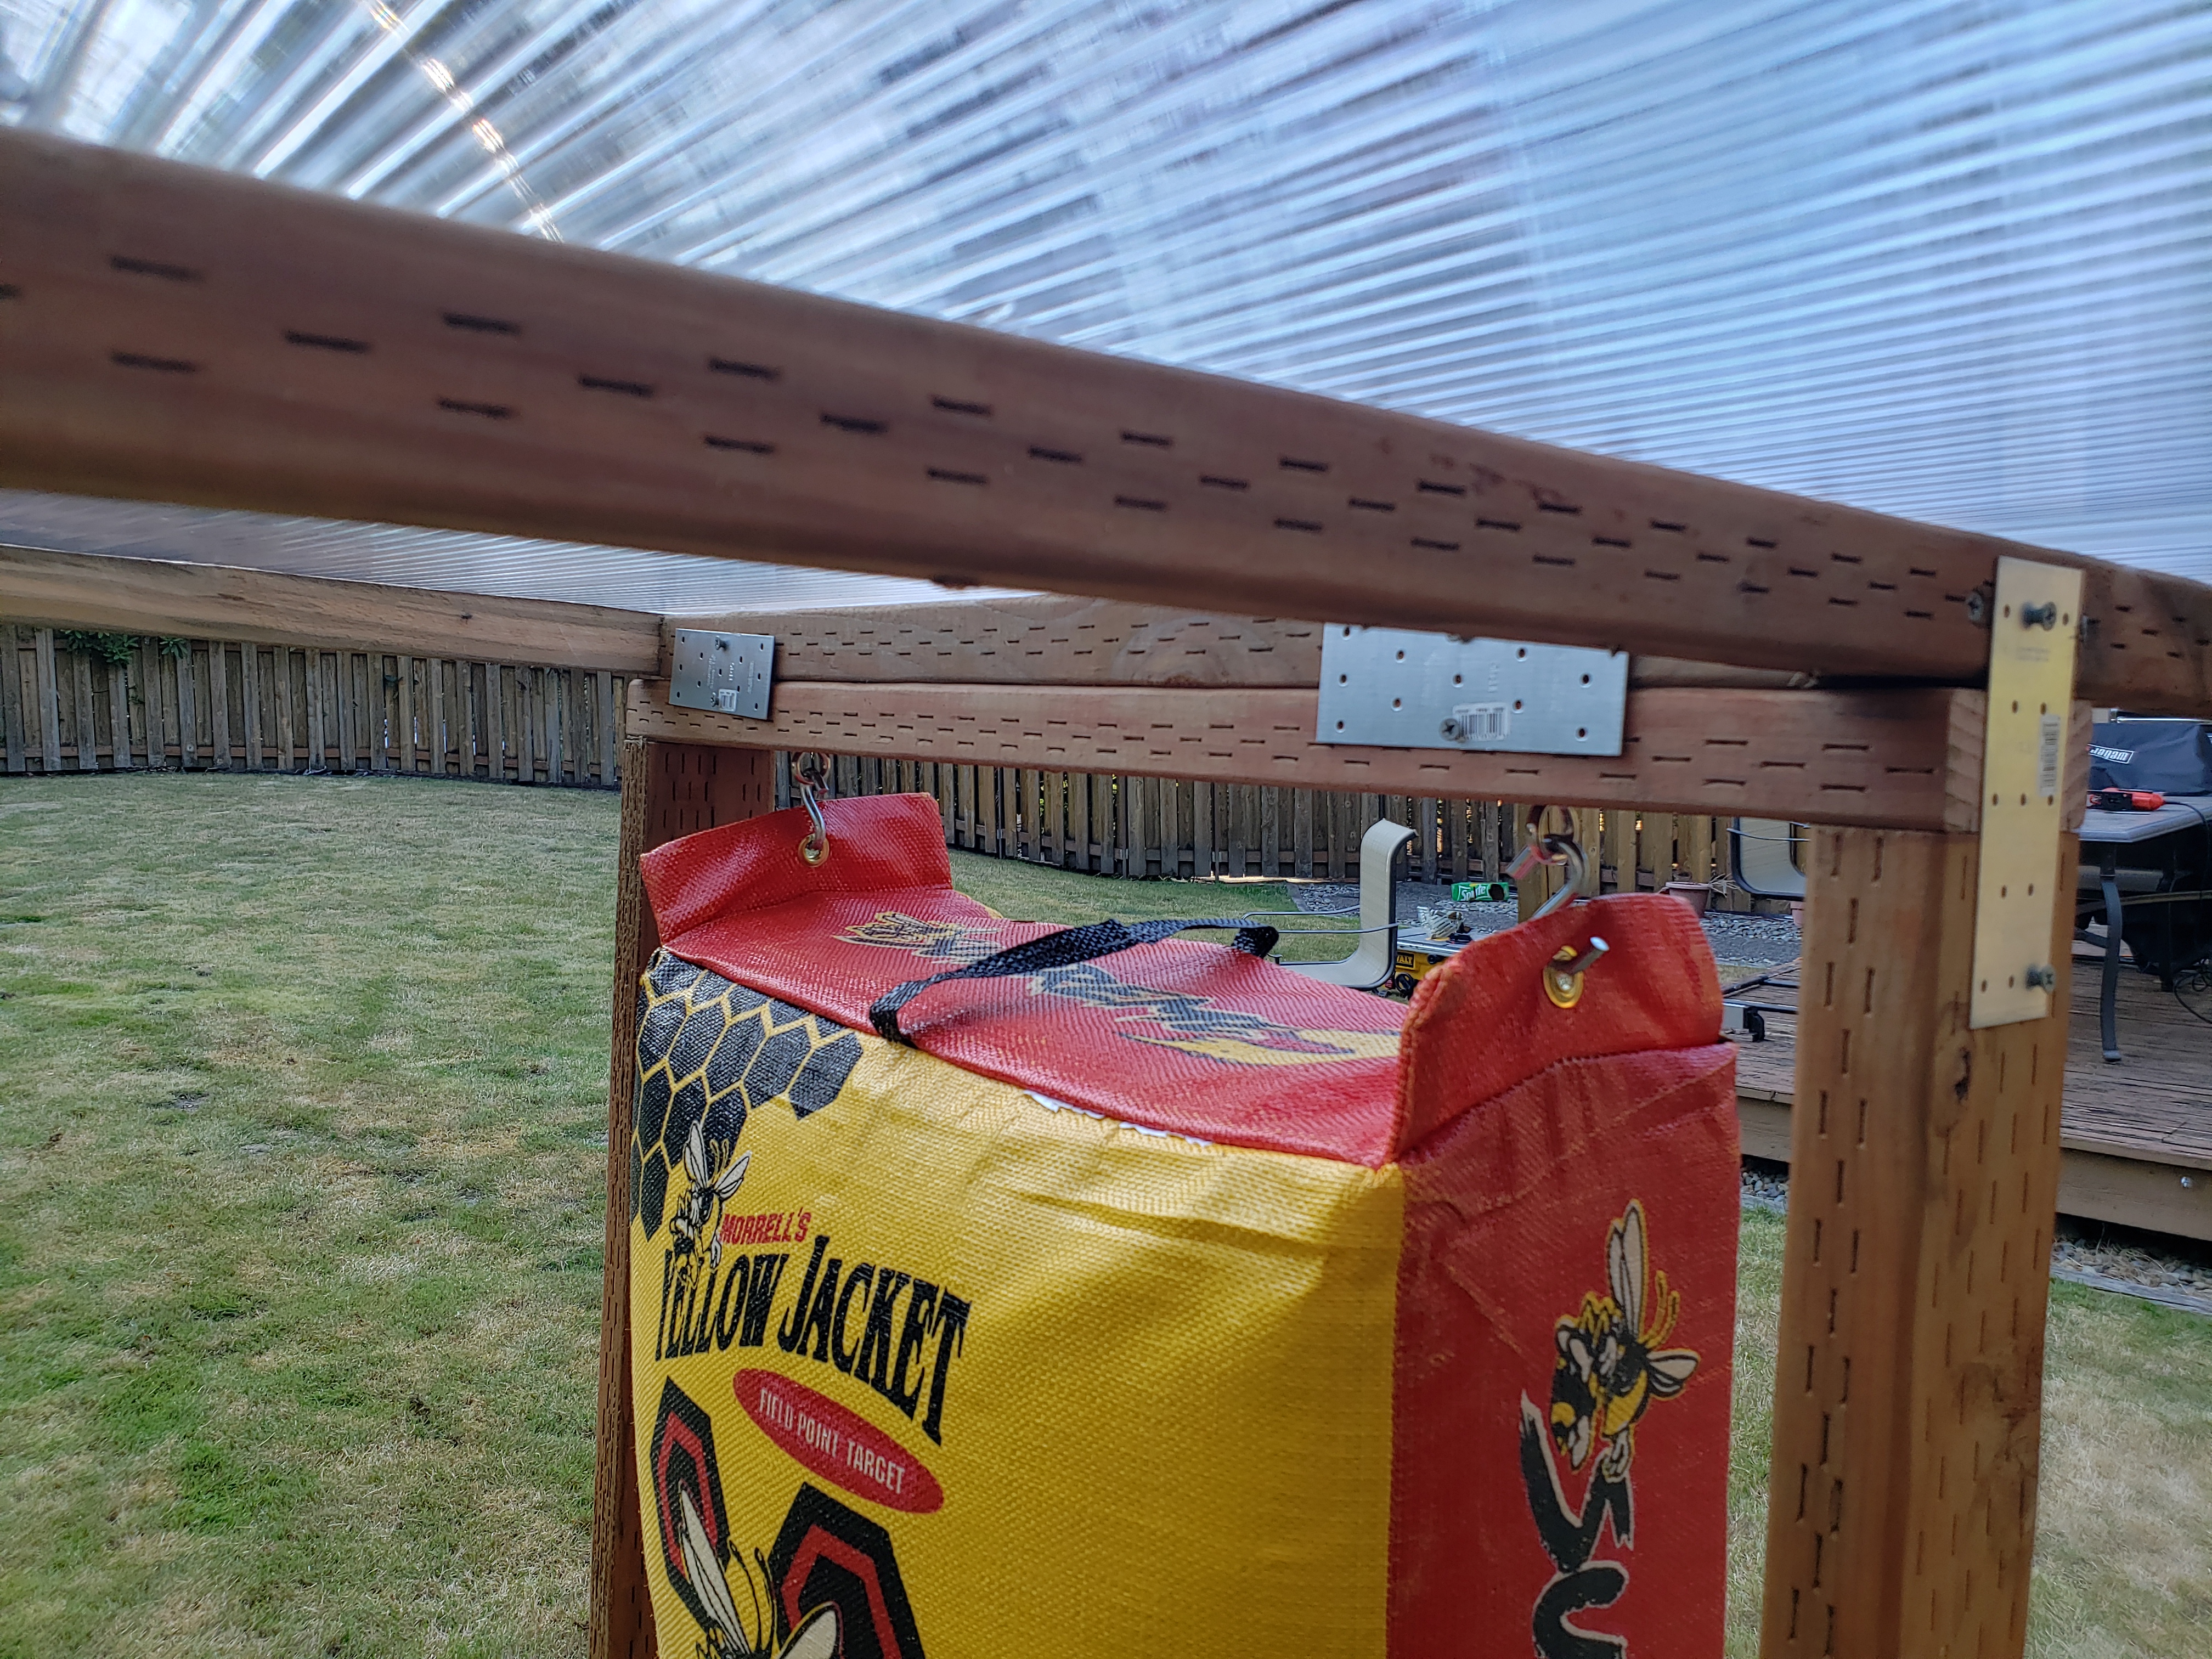
In order to strenghten the construction, I added cross-beams on the back side of the frame, between legs and uprights. See photos for dimension reference:
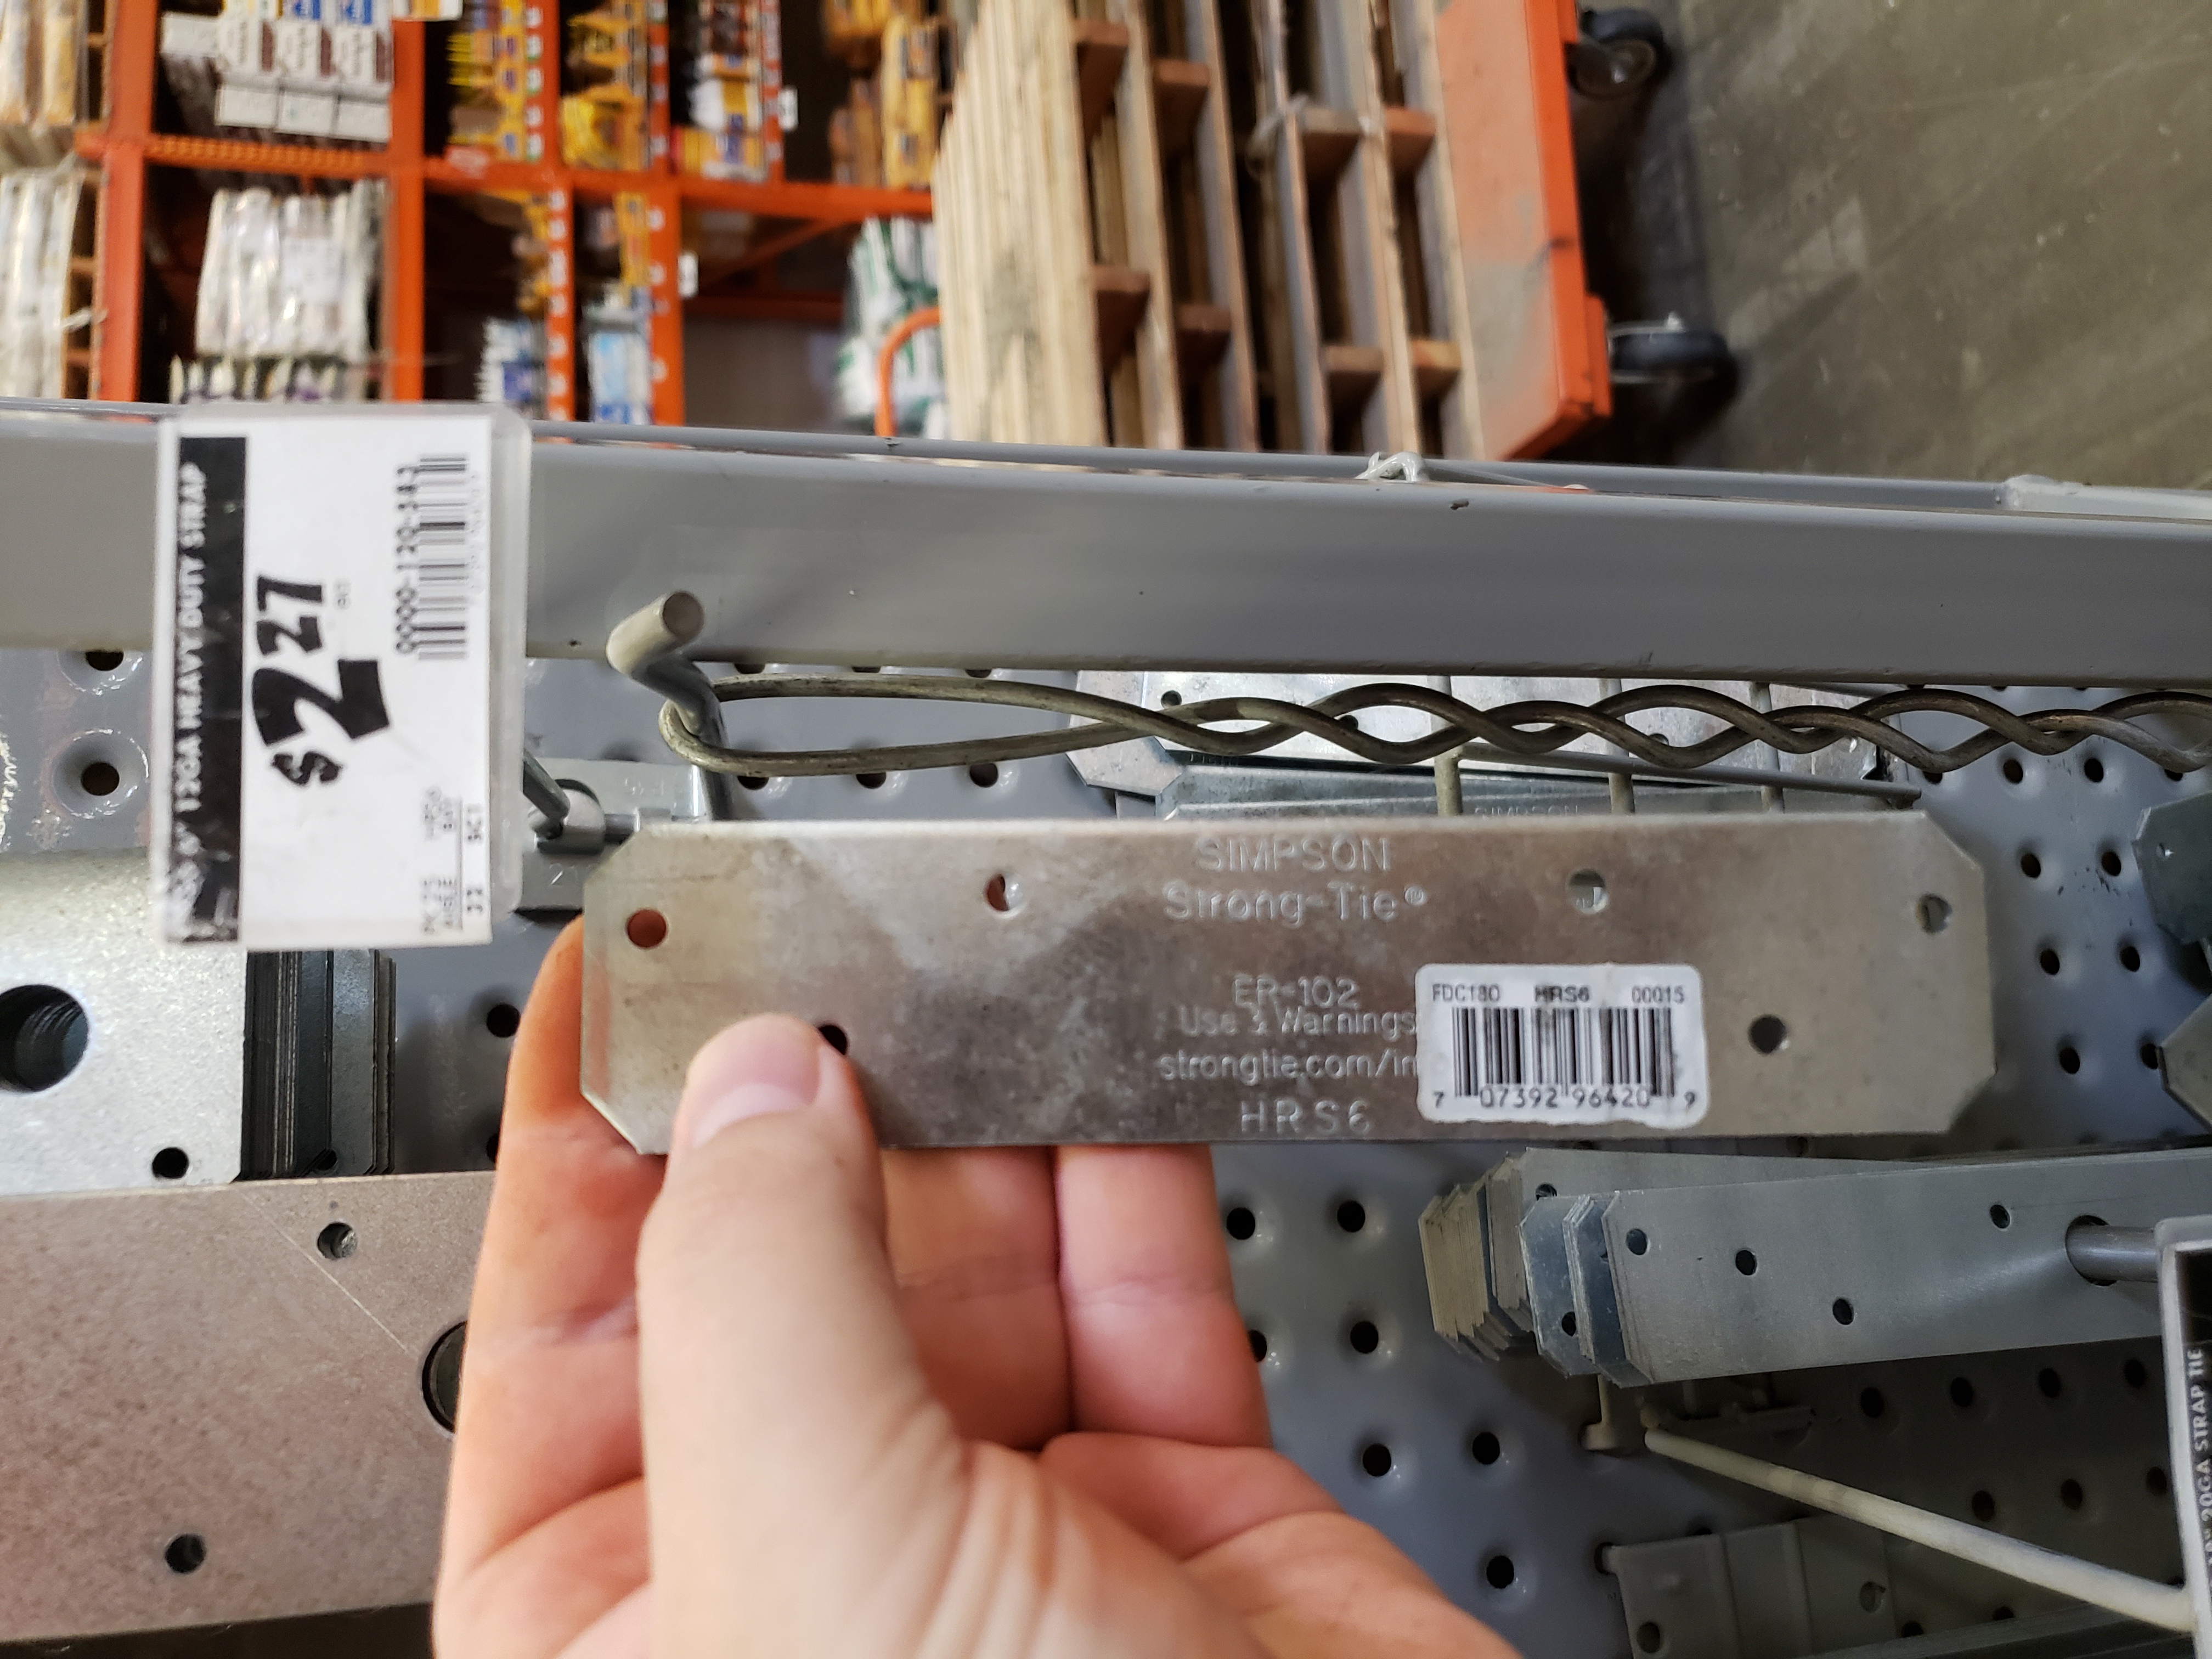
Since they’re flush with the uprights, I used a mounting plates to attach the crossbeams:
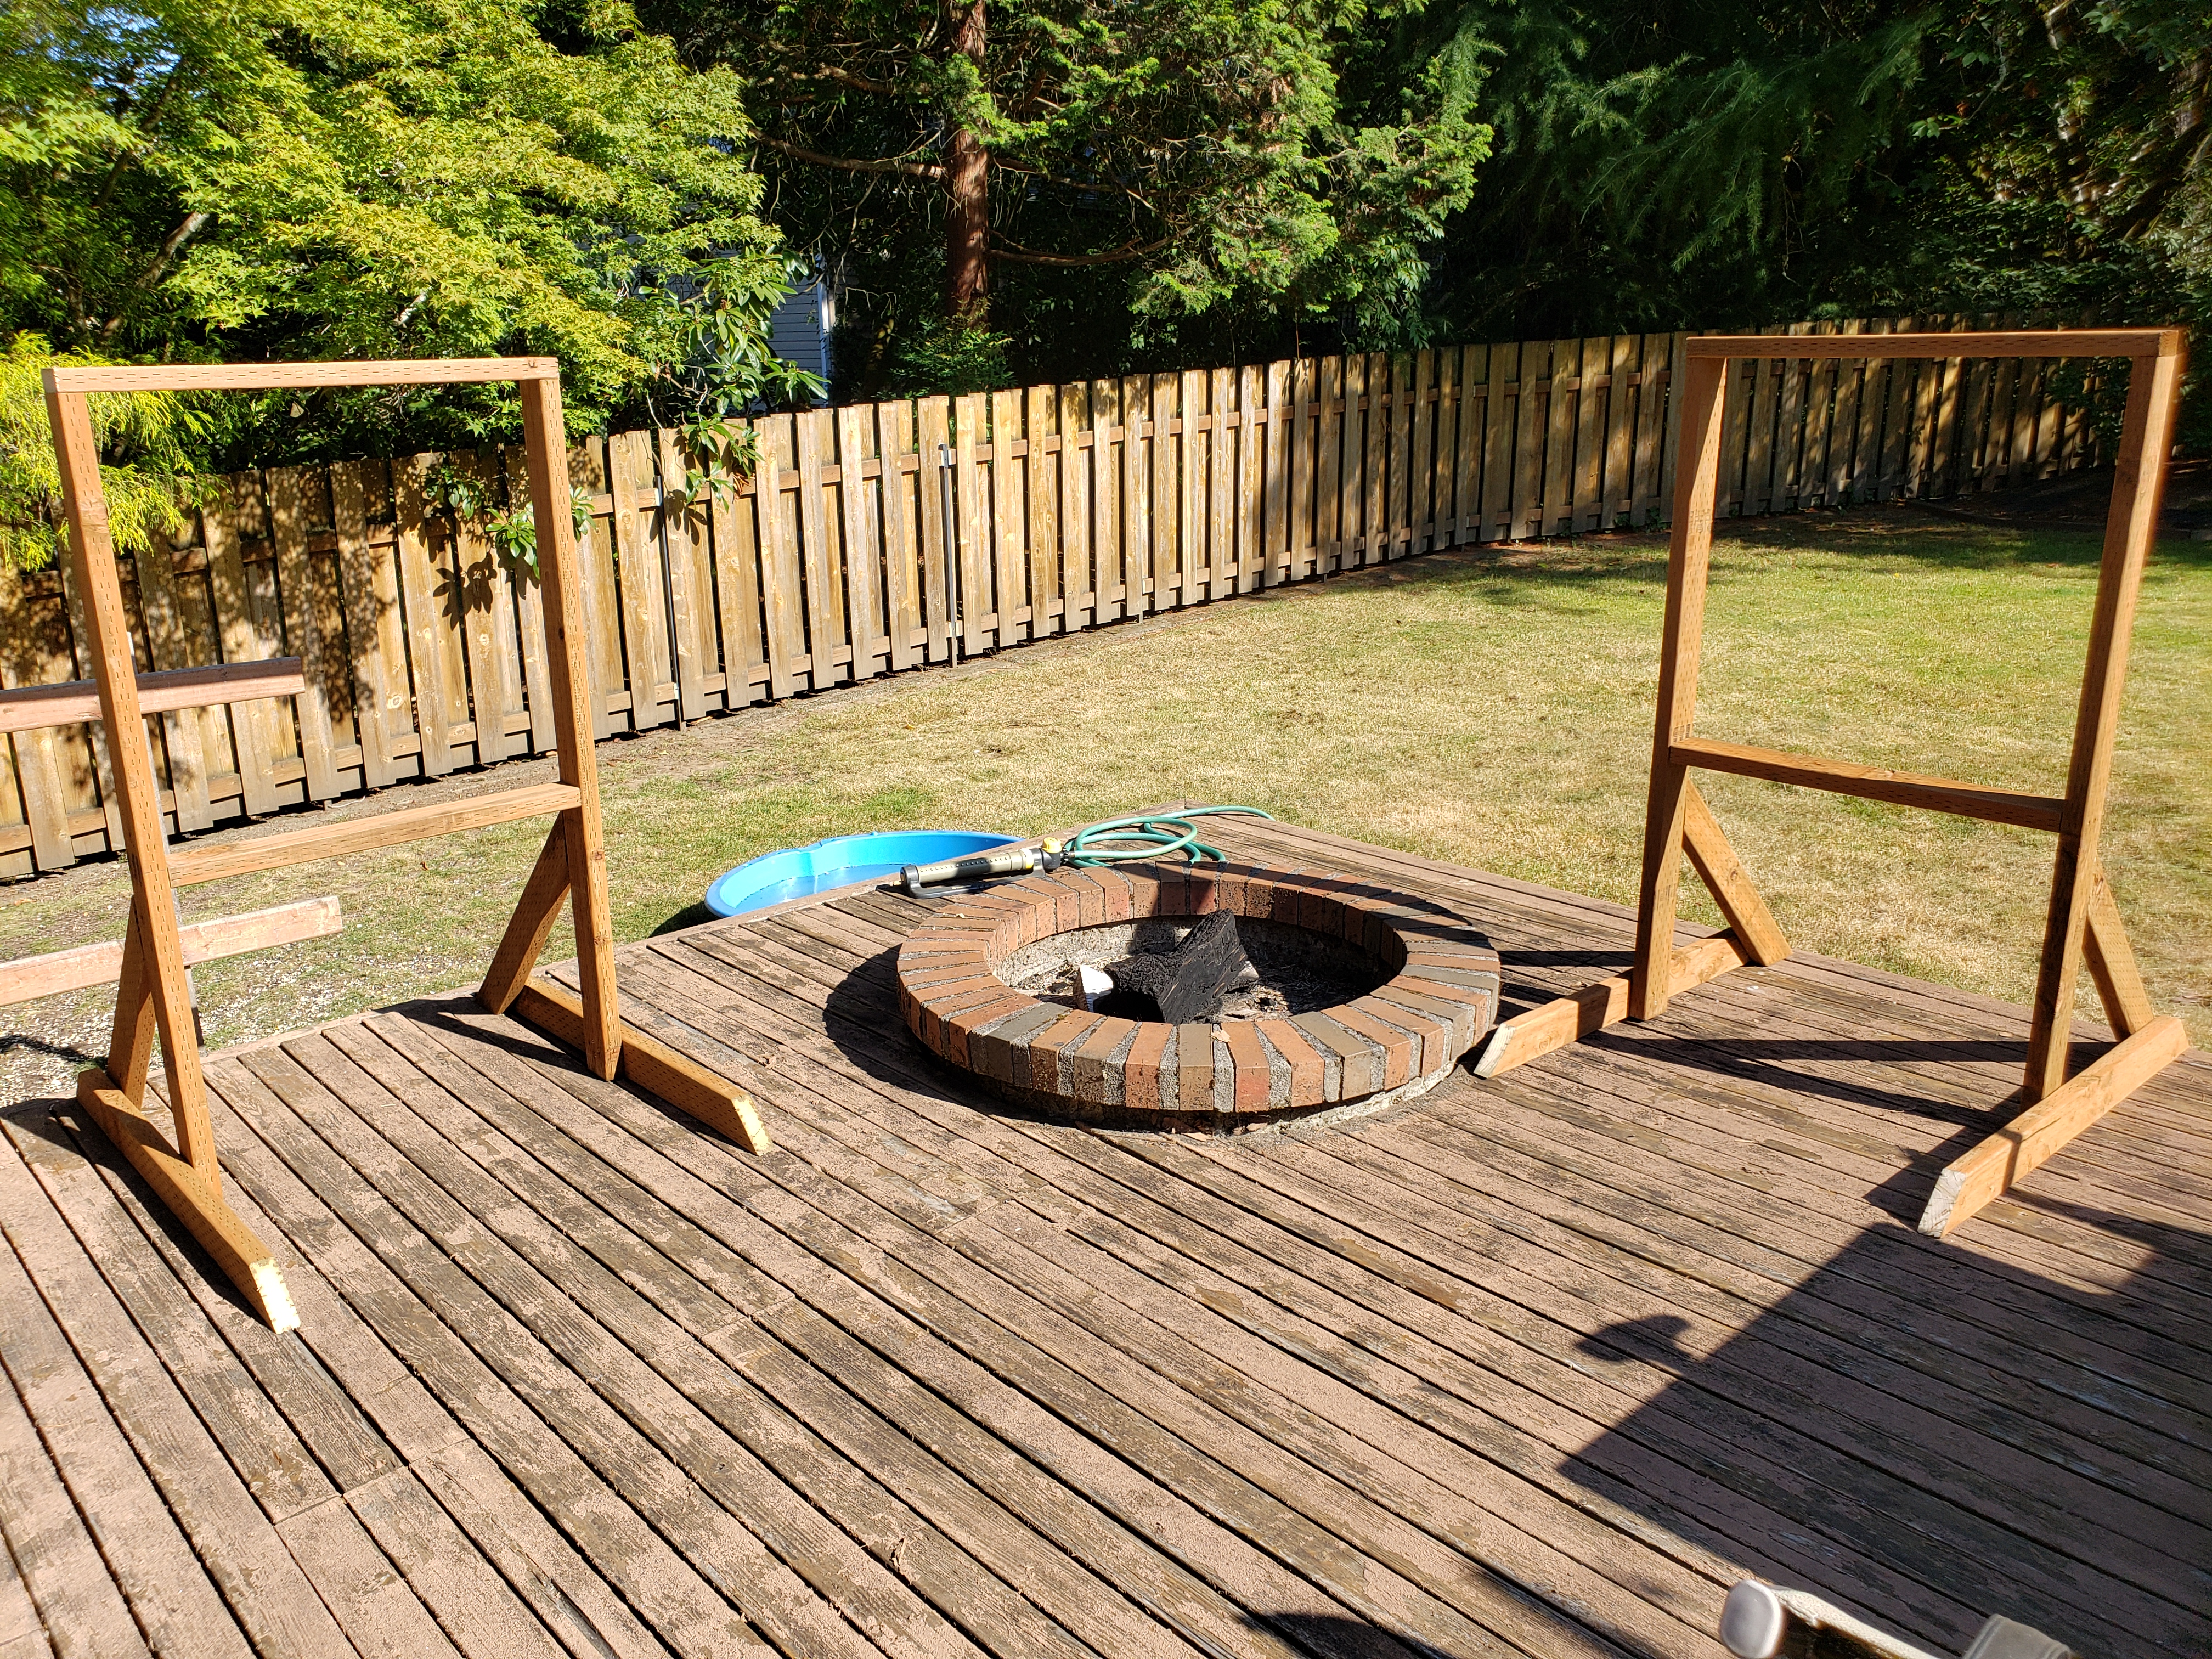
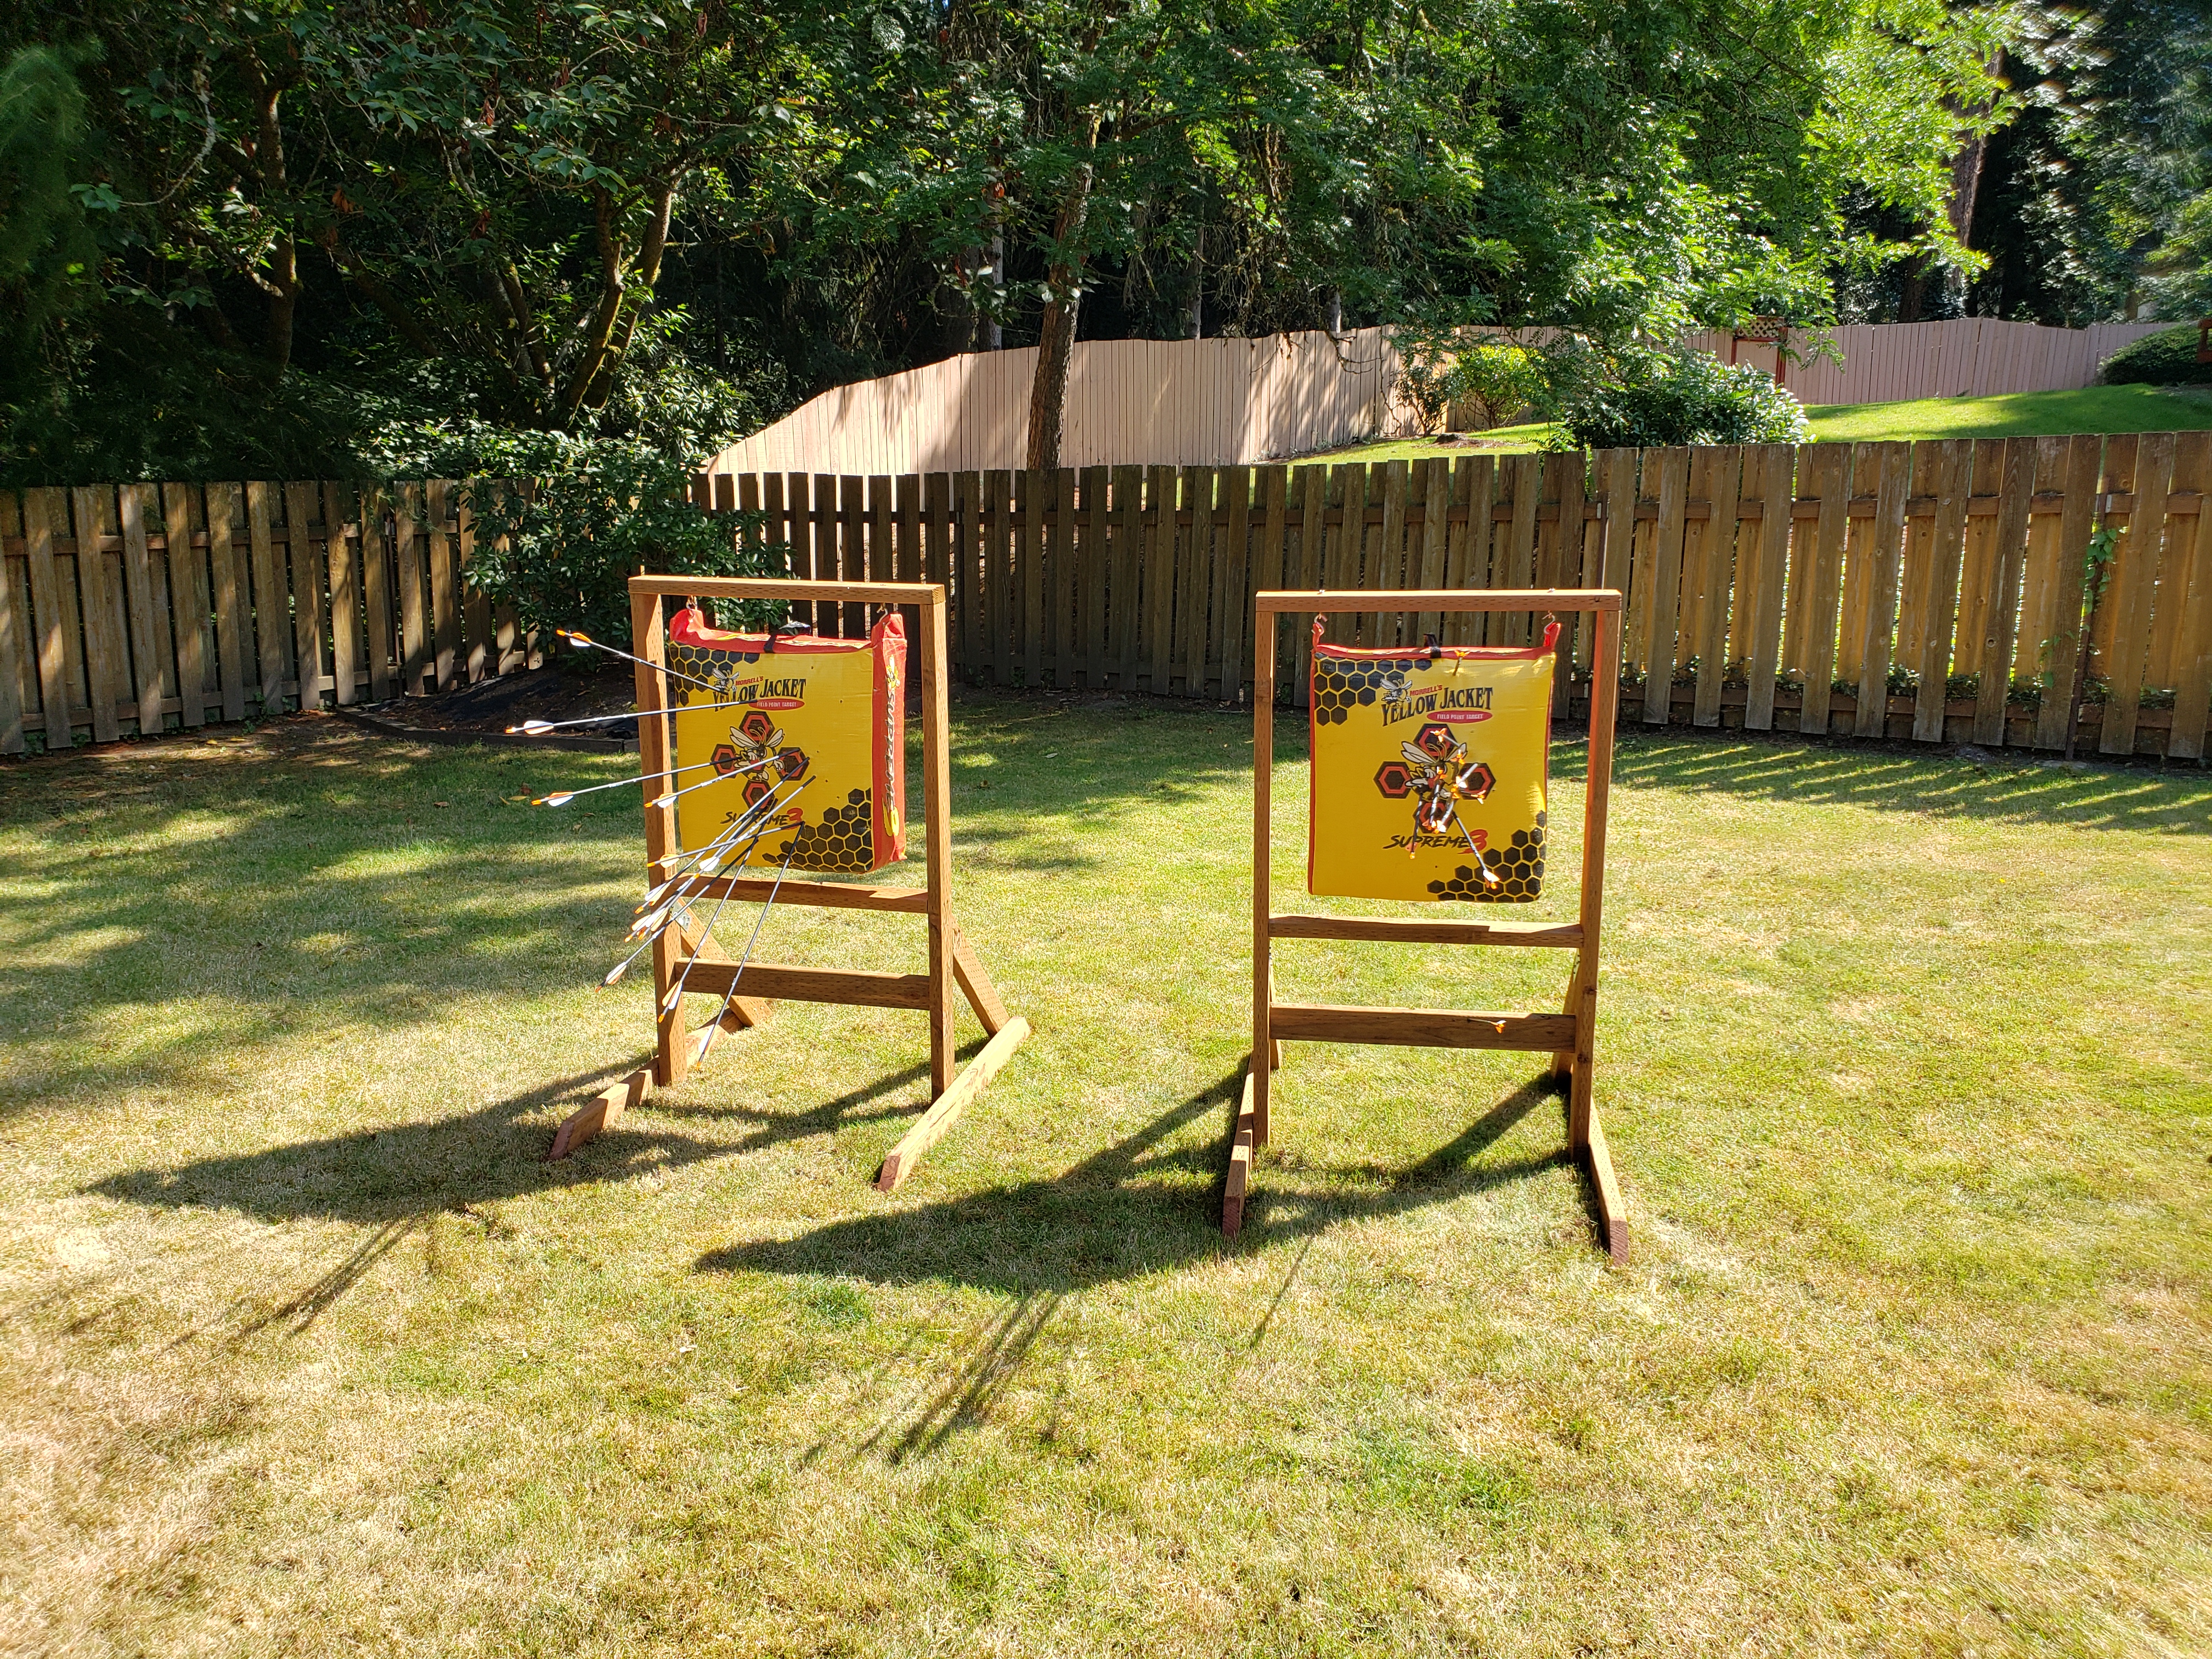
The result so far – 2 frames assembled and standing on their own!
I used waterproofing sealant in spray on the cut ends of each exposed wood piece to protect them from moisture and rotting prematurely:

It ended up nicely matching the shade of treated wood:
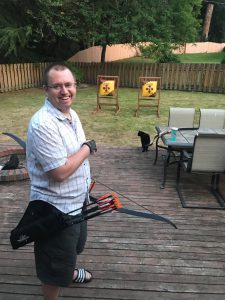
I couldn’t wait any more – called my wife to show her the surprise and we had fun shooting arrows until it started getting dark 😉
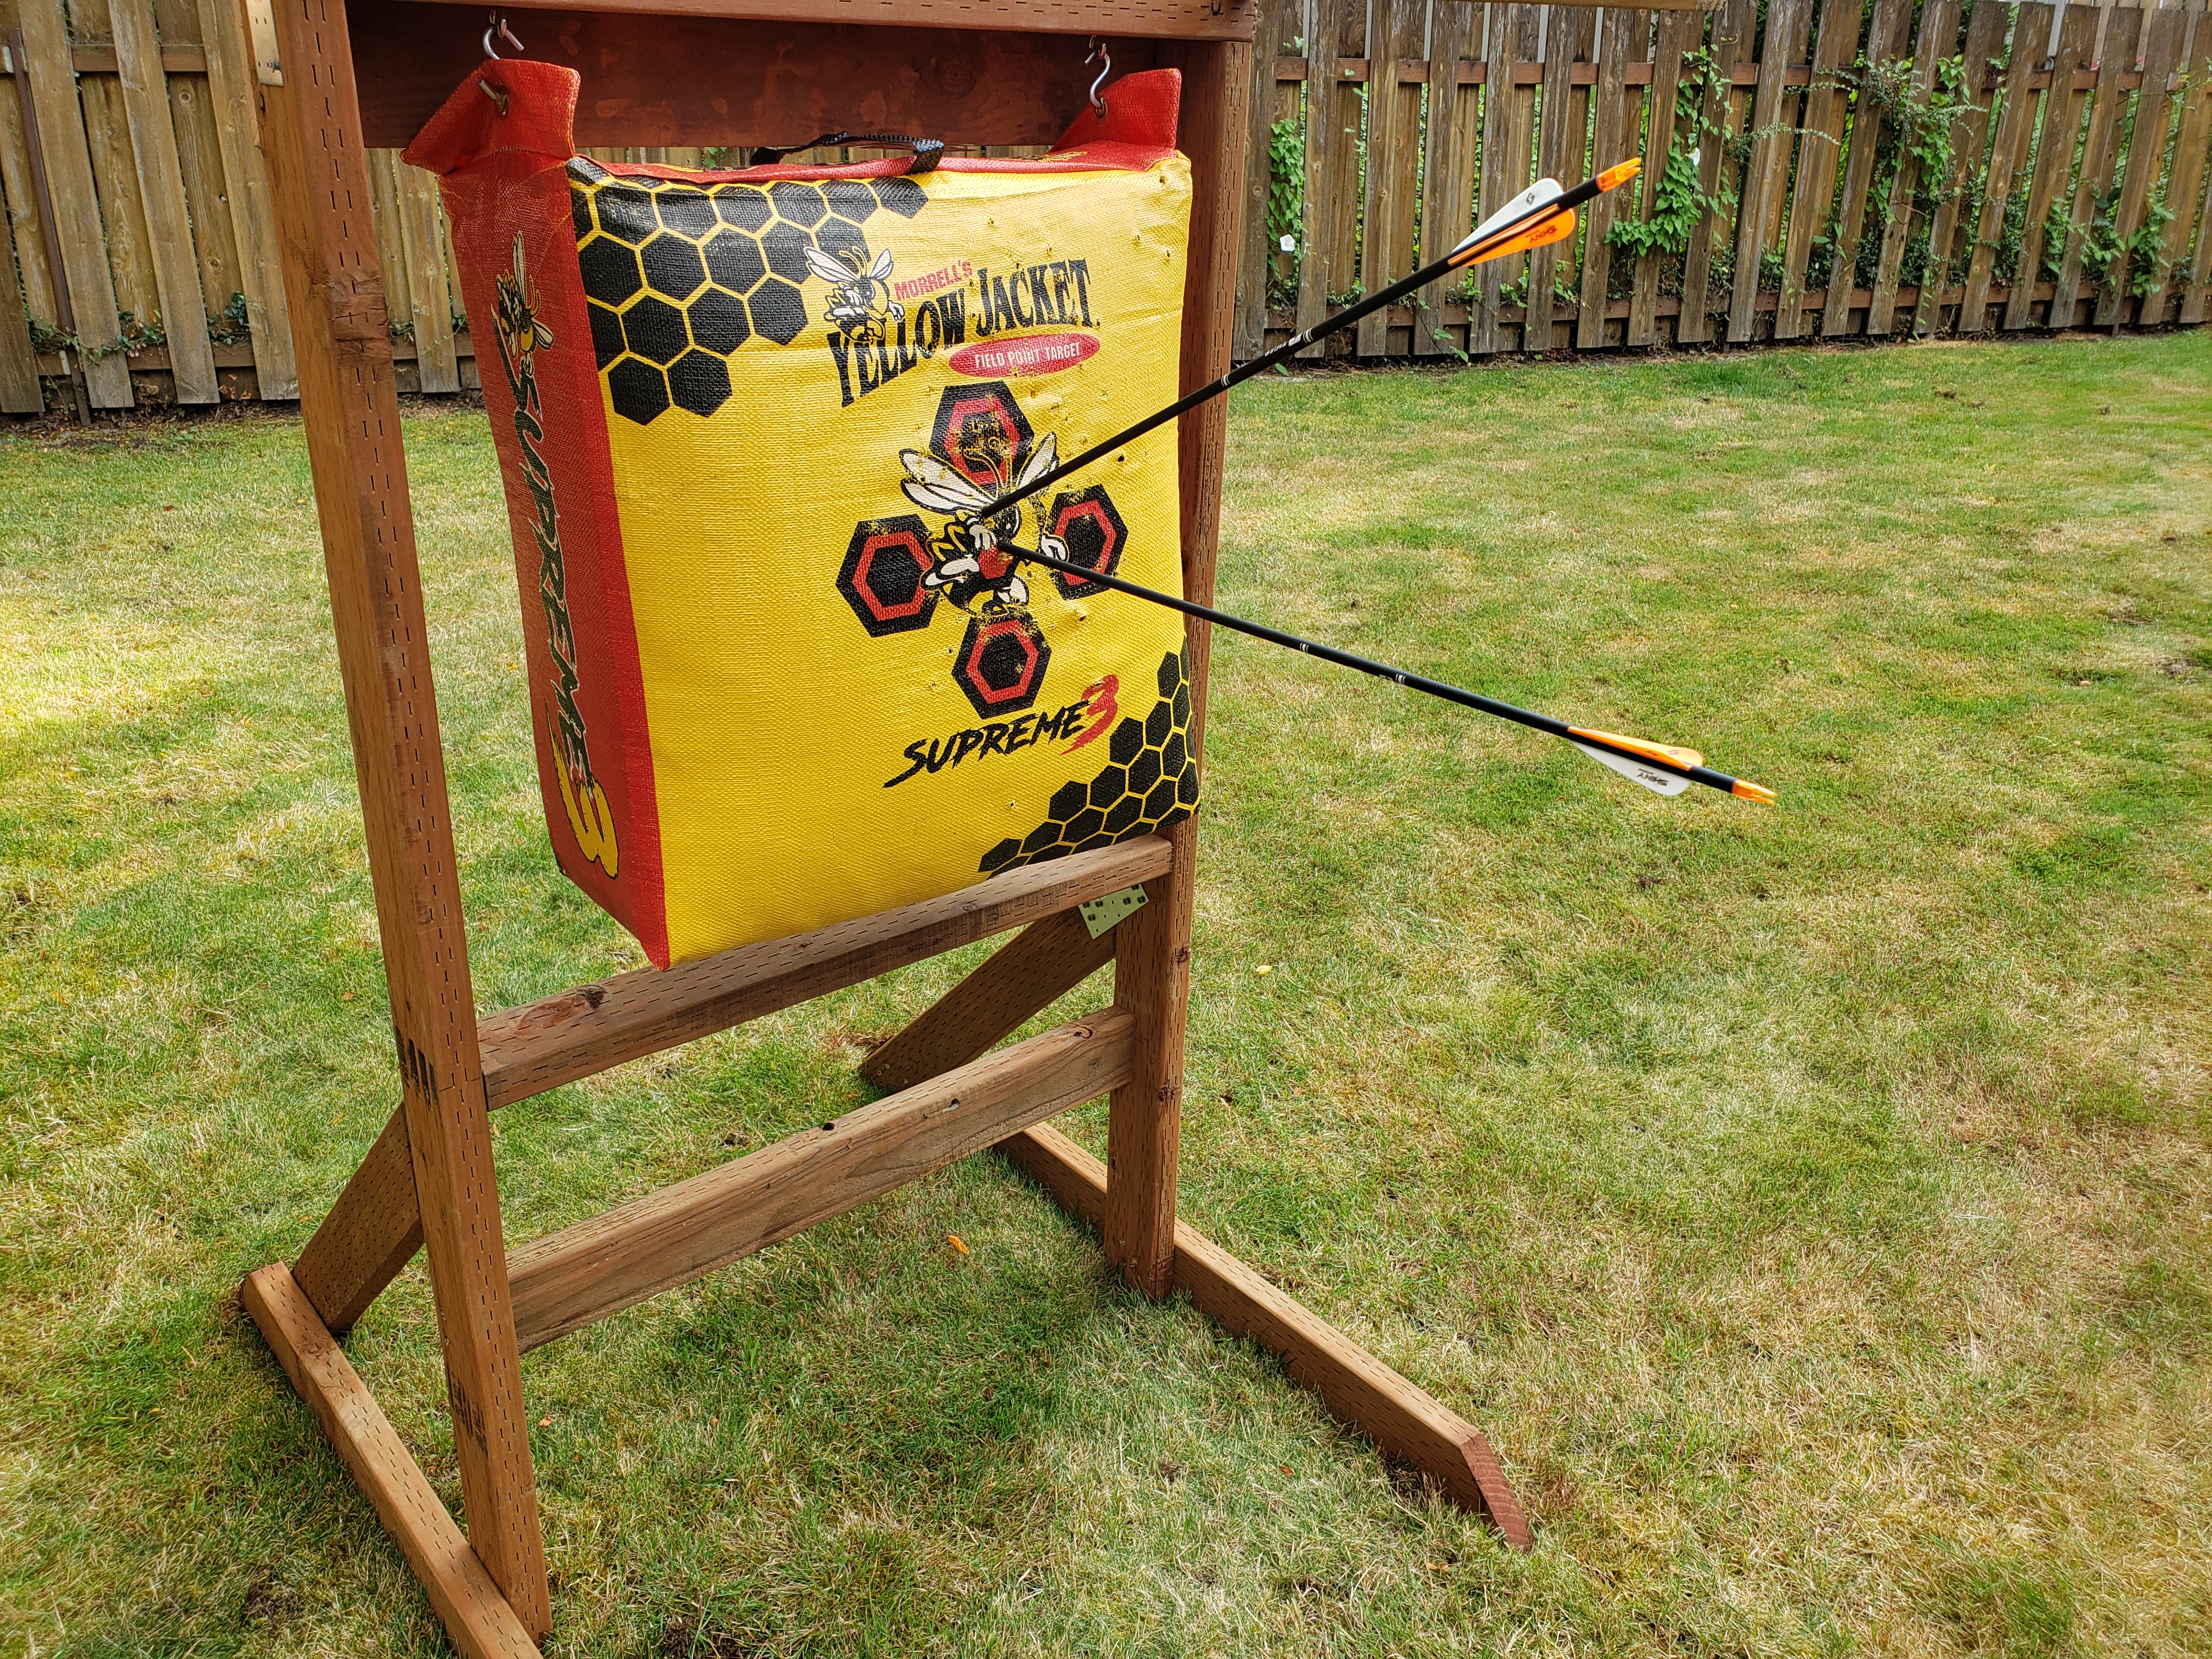
The very same evening I got my first Robin Hood! And then quickly realized that the coolness factor of splitting an arrow with another arrow also means that I just destroyed an arrow… 😉
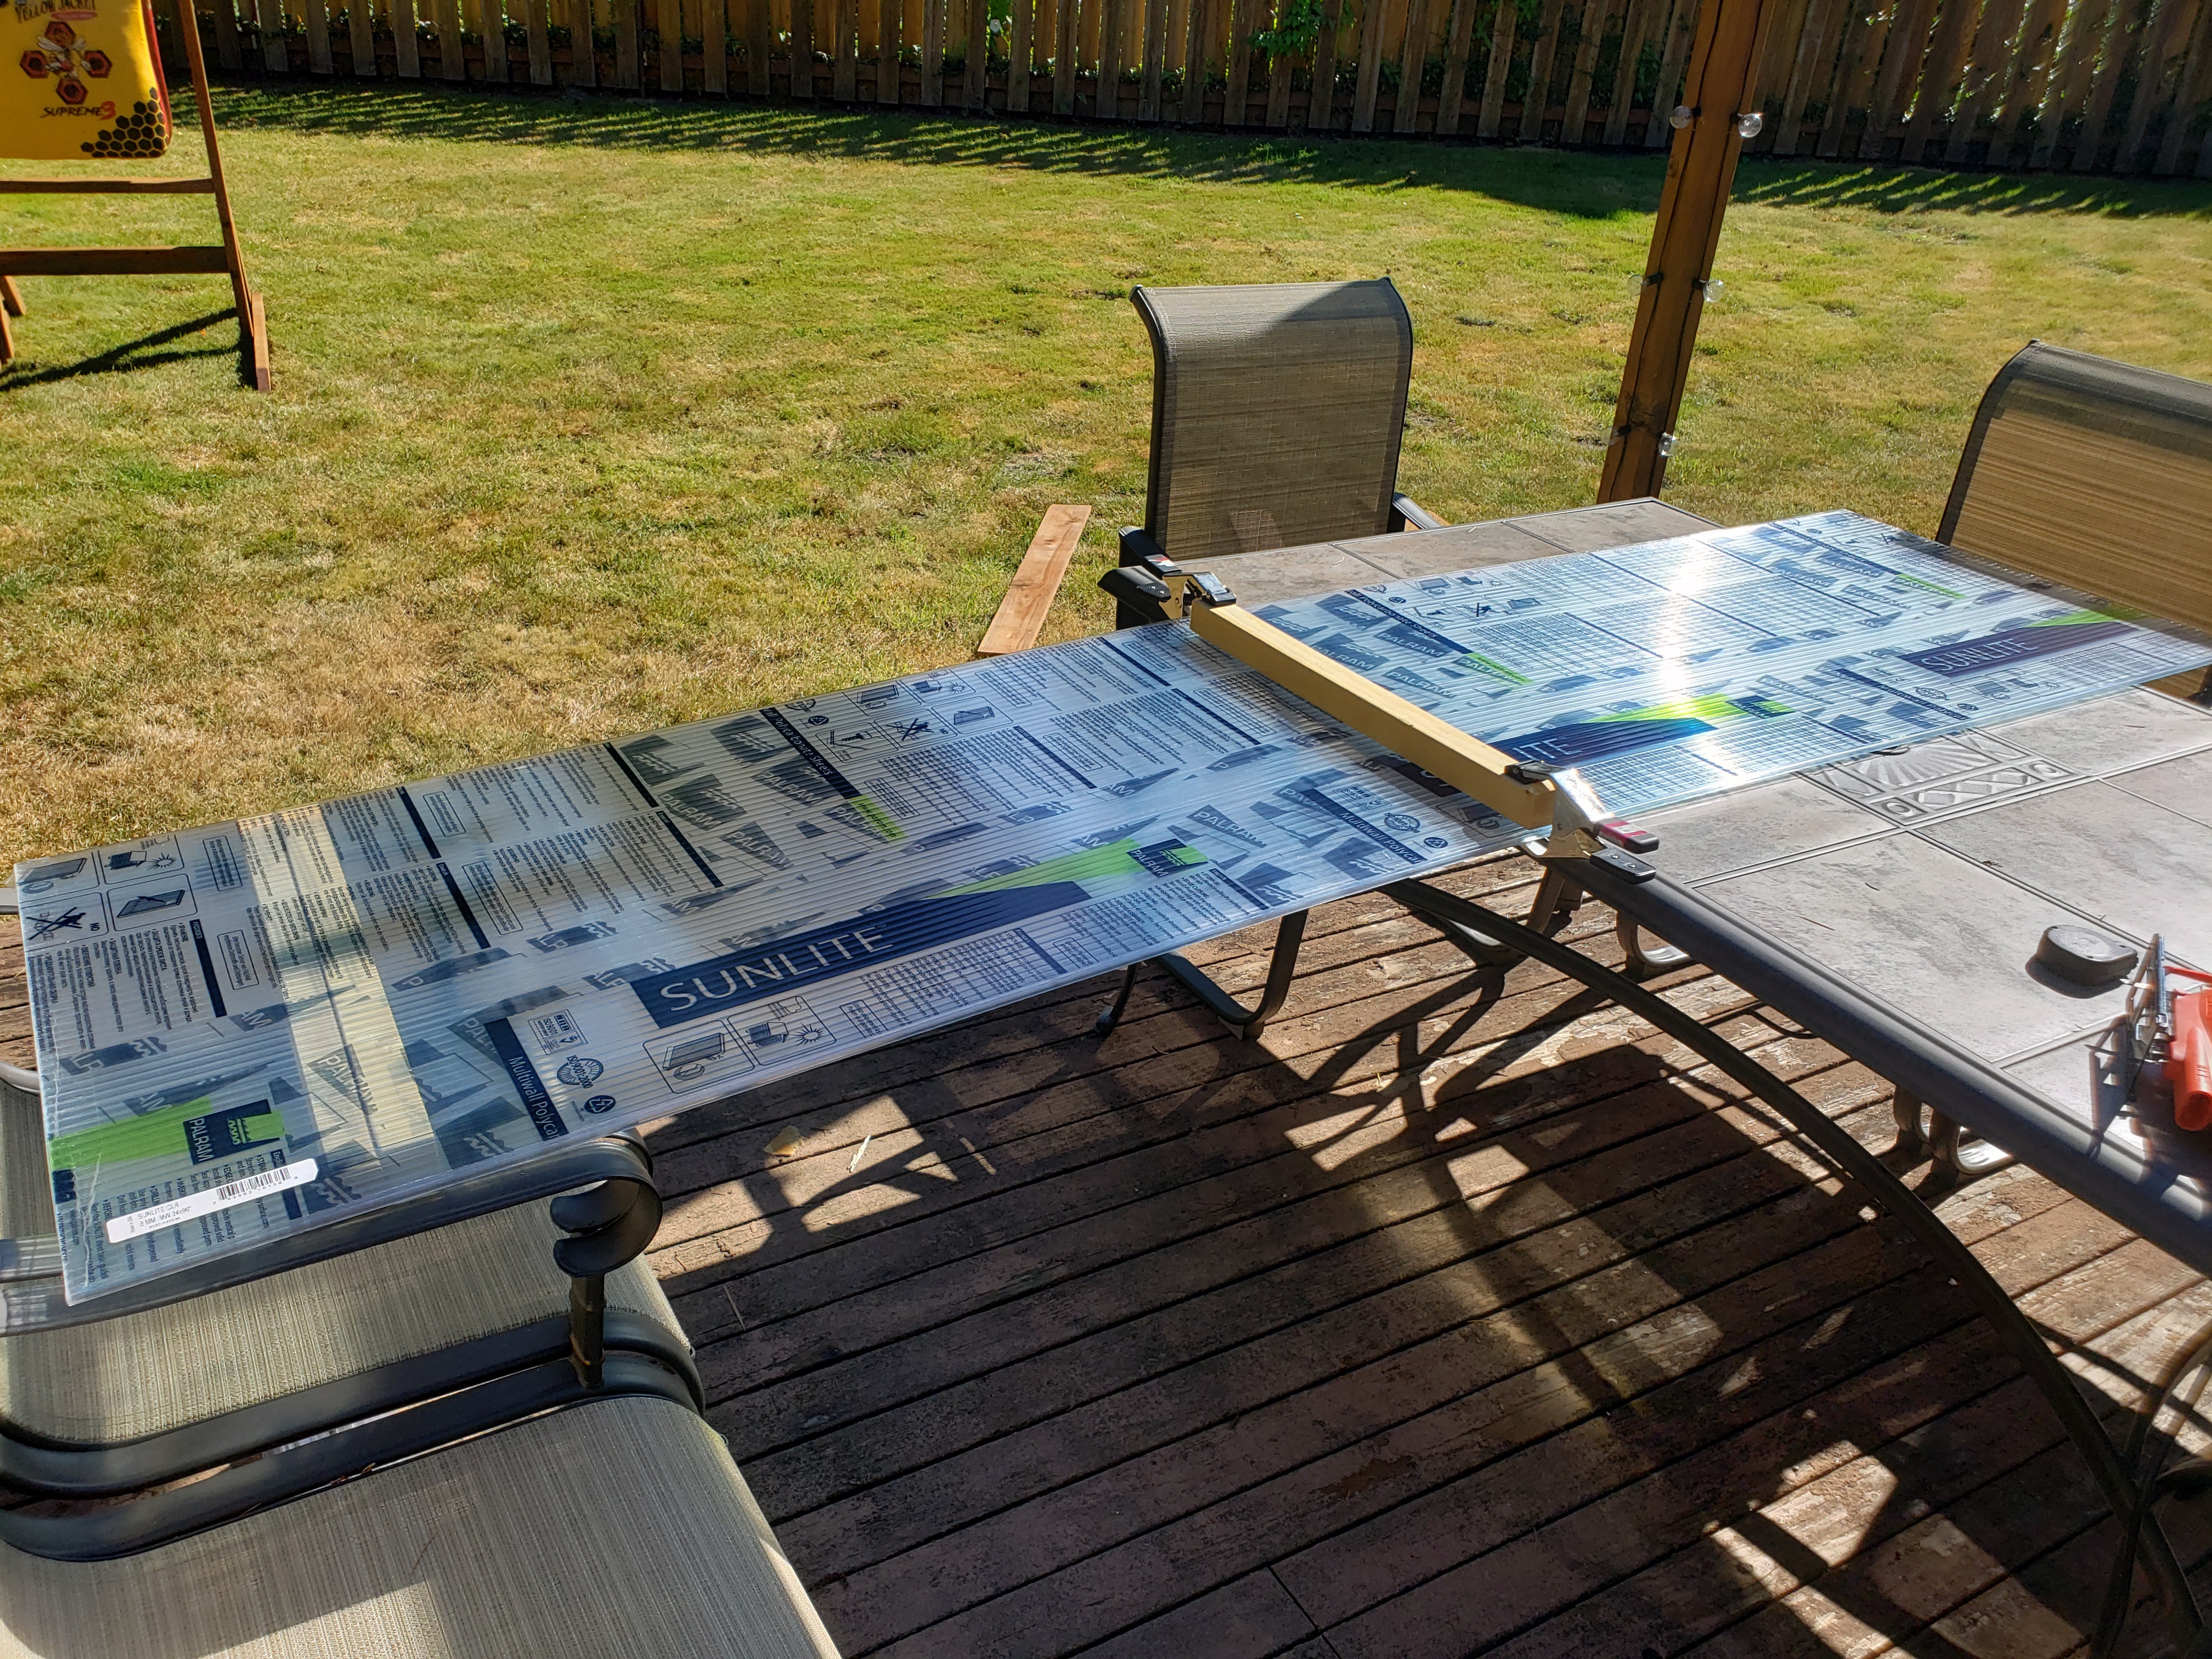
The next day, I made a roof to protect the targets from rain, snow and sun exposure. I used polycarbonate roofing panels I had extra from previous project (have you seen the Aviary I built?). They’re light, easy to work with and provide UV protection, which should help make make the targets last longer.
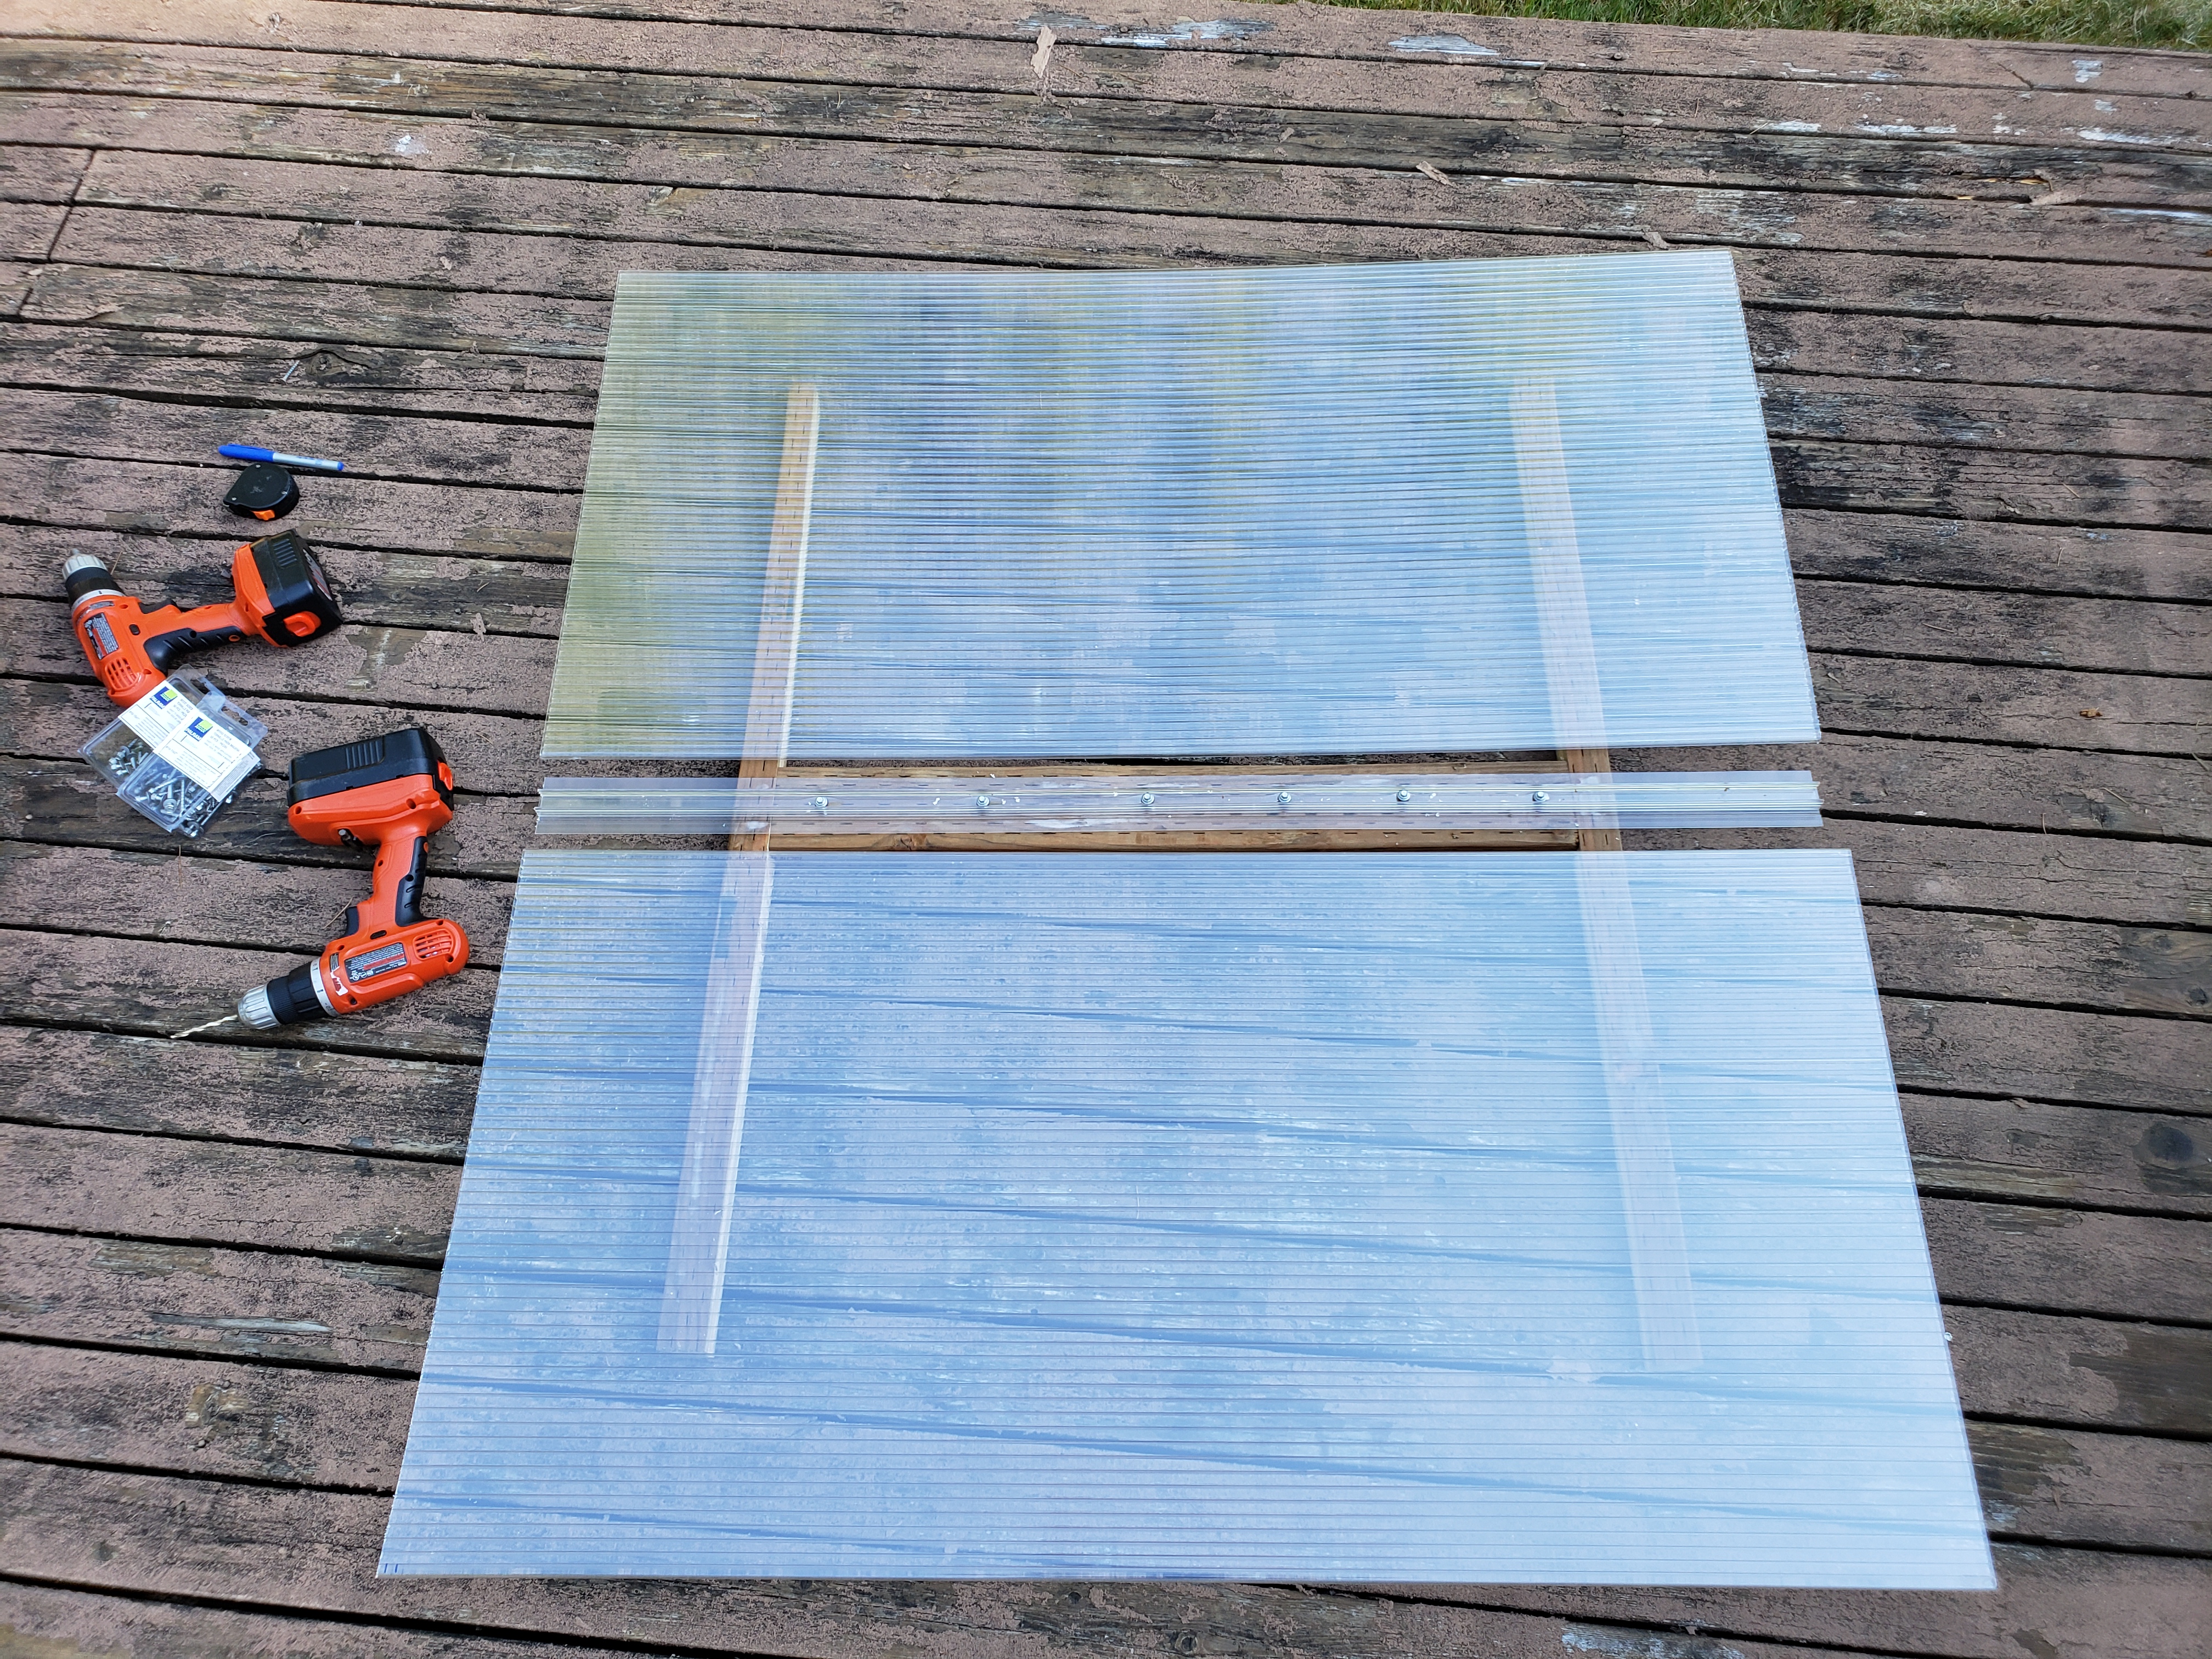
I made a very simple frame using 2x2s on the sides and a 2×4 in the middle. Cut the roofing panels to size, and used an H-connector to connect them in the middle. Always pre-drill holes and use special screws with rubber seal when screwing the polycarbonate panels.
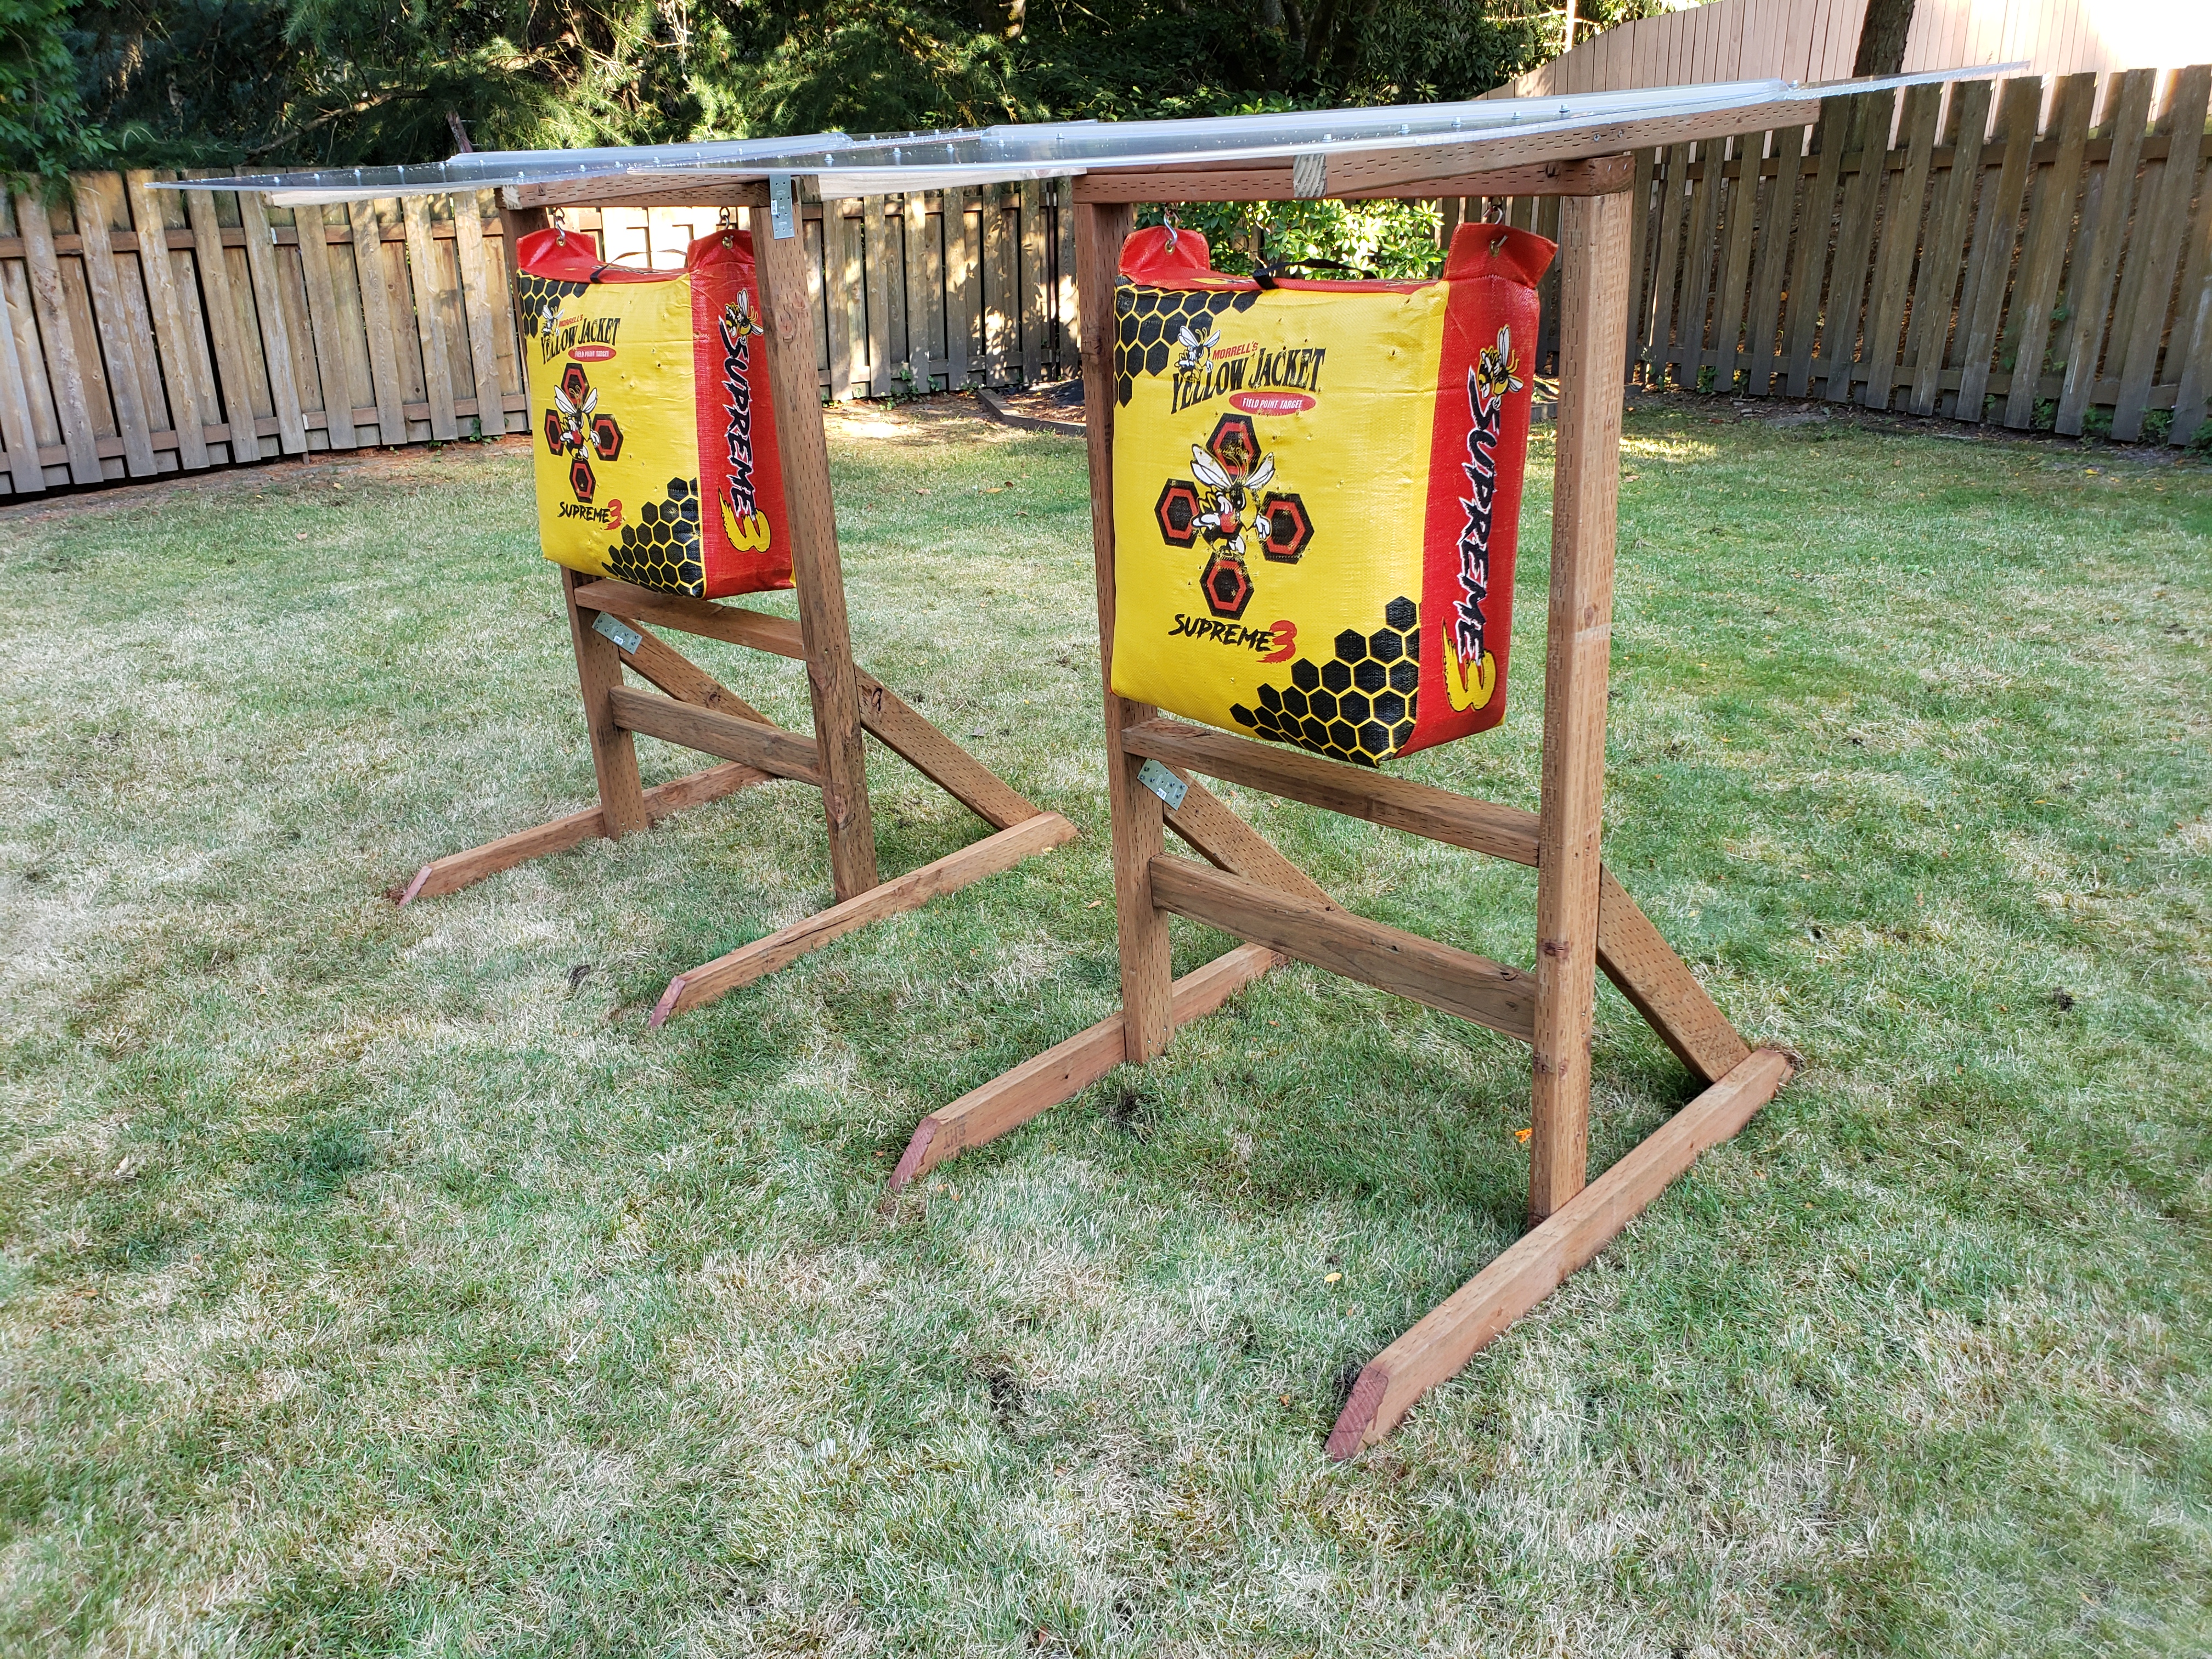
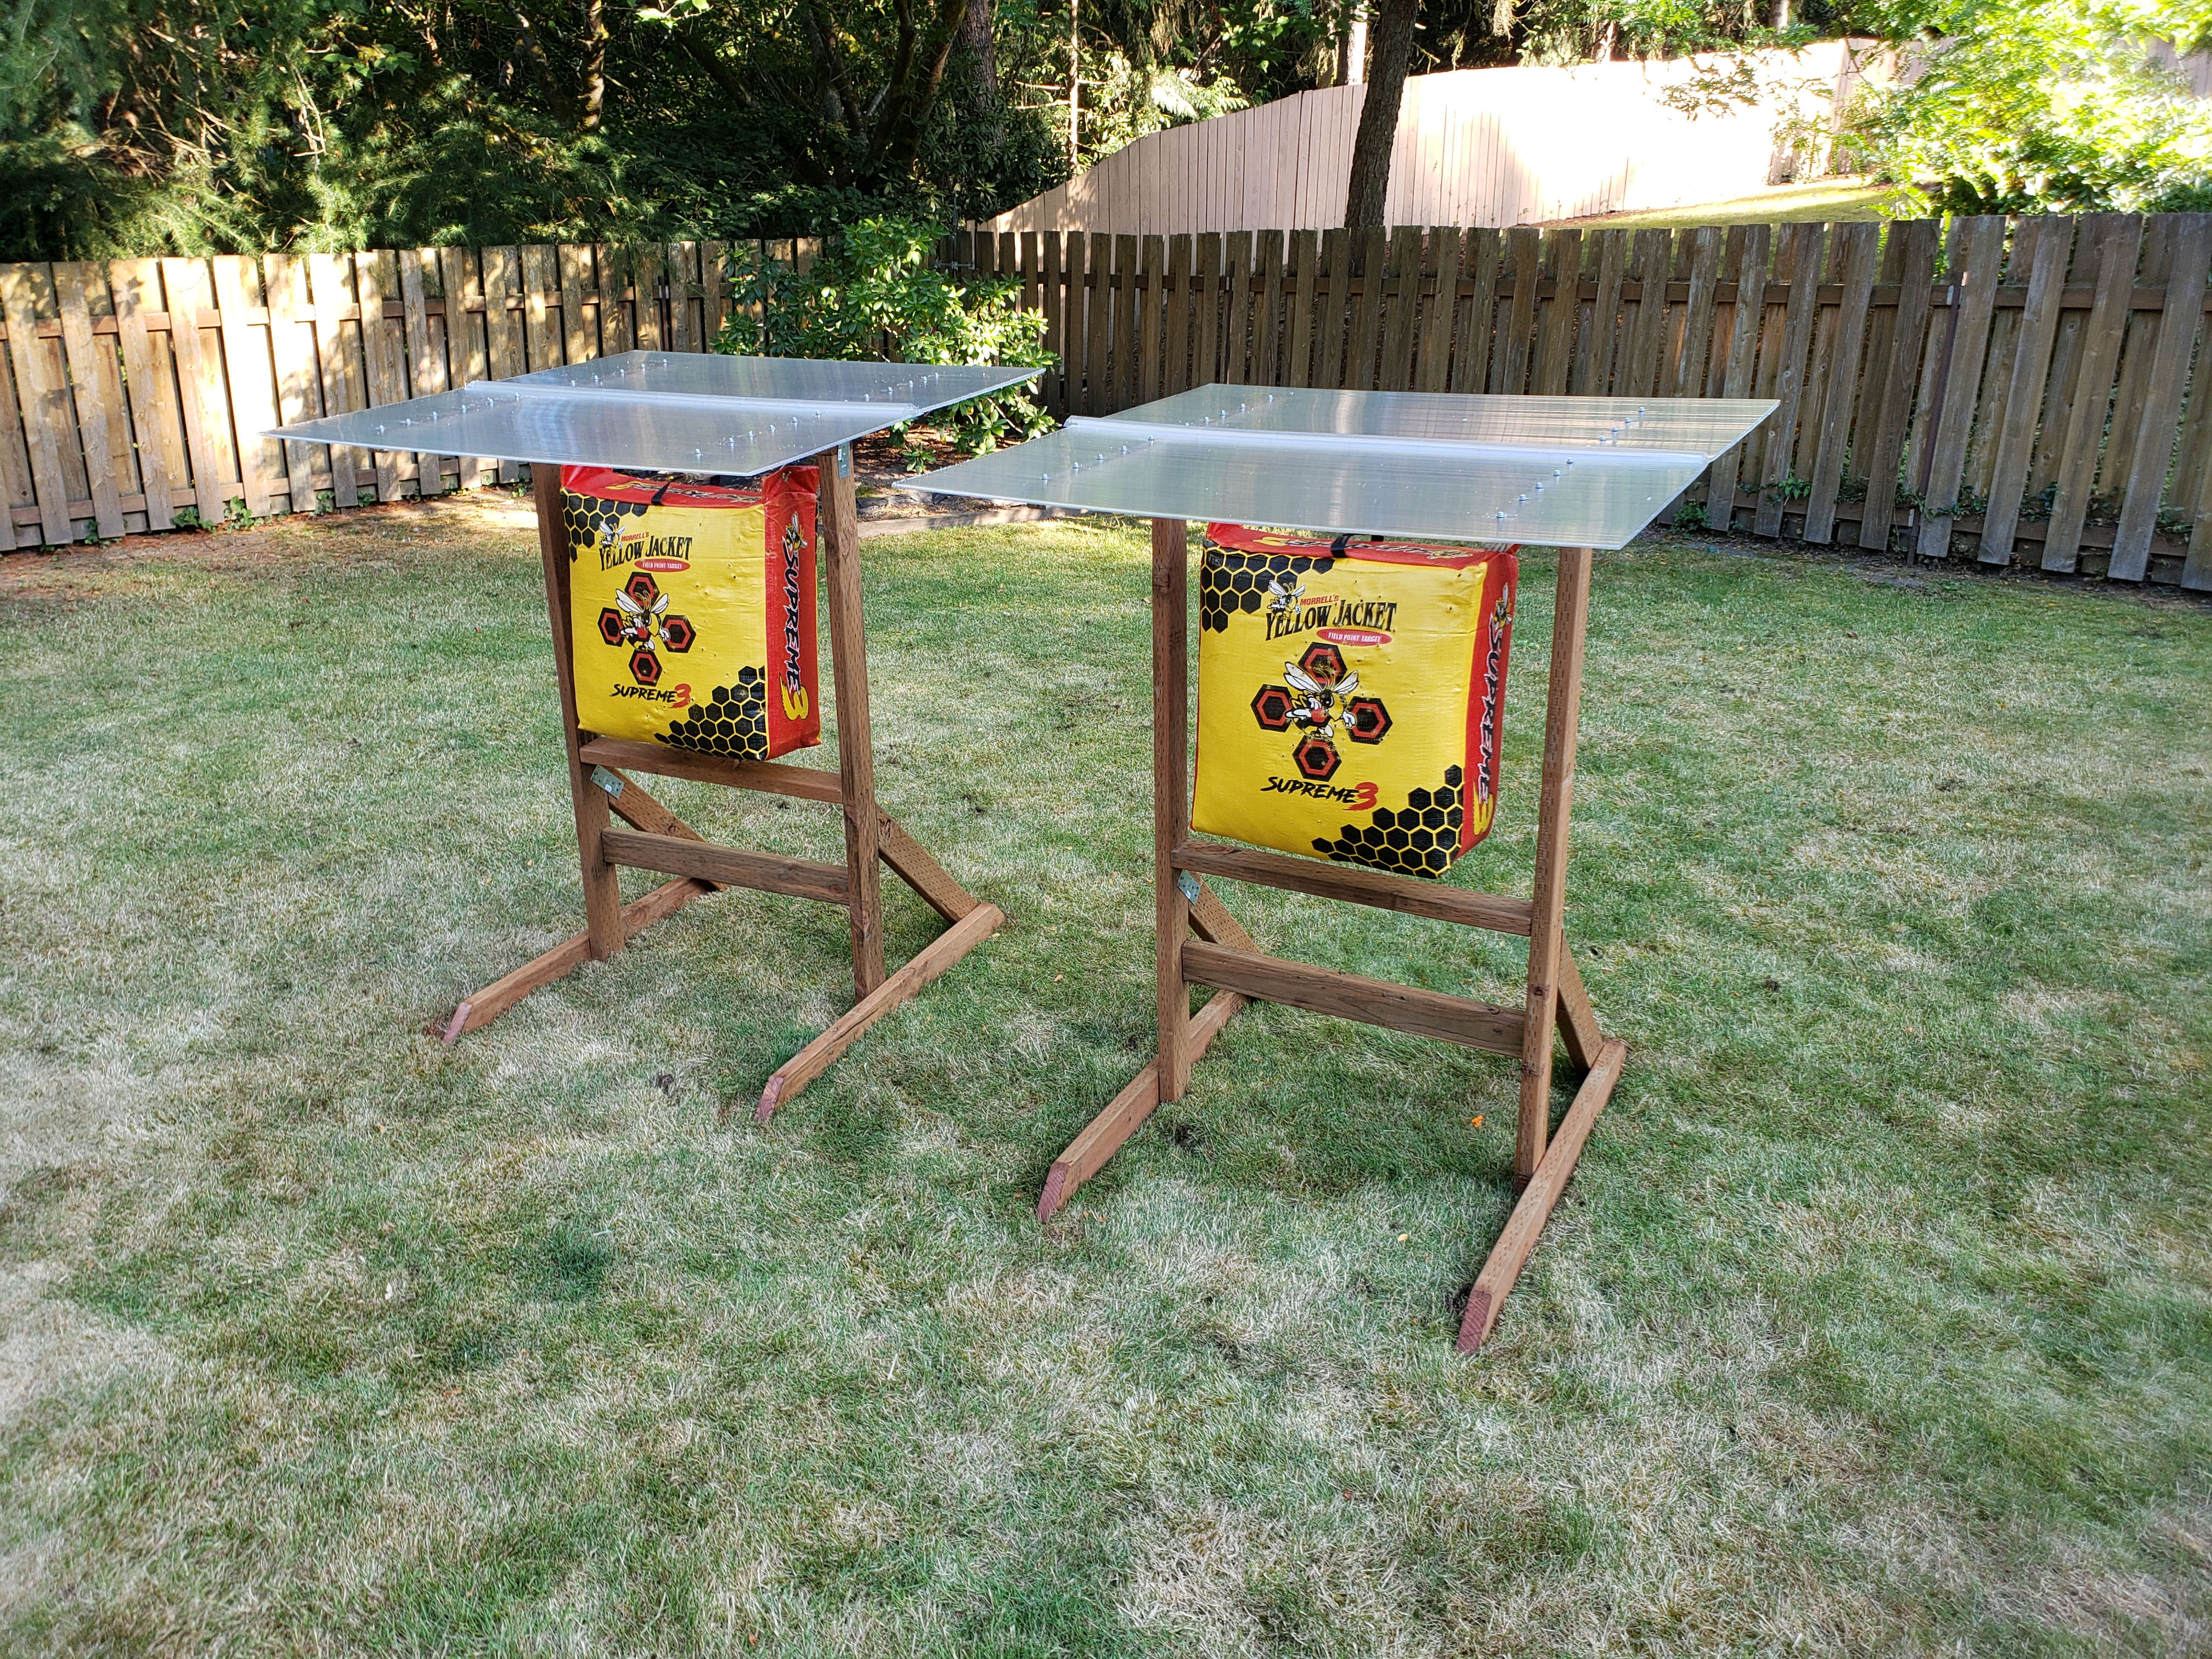
And just like that – the targets are ready!

Going to the range is lots of fun considering the social aspects of the activity, but there’s undeniable convenience of being able to shoot whenever we feel like it, right in our backyard 😉
Disclaimer: always be careful and aware of your surroundings. Allow for safe distance around the area you’re shooting arrows at. Arrows can bounce of off targets and change their course significantly. Be safe, make sure there are no animals or humans in the vicinity of the targets, always be aware what’s behind the targets.
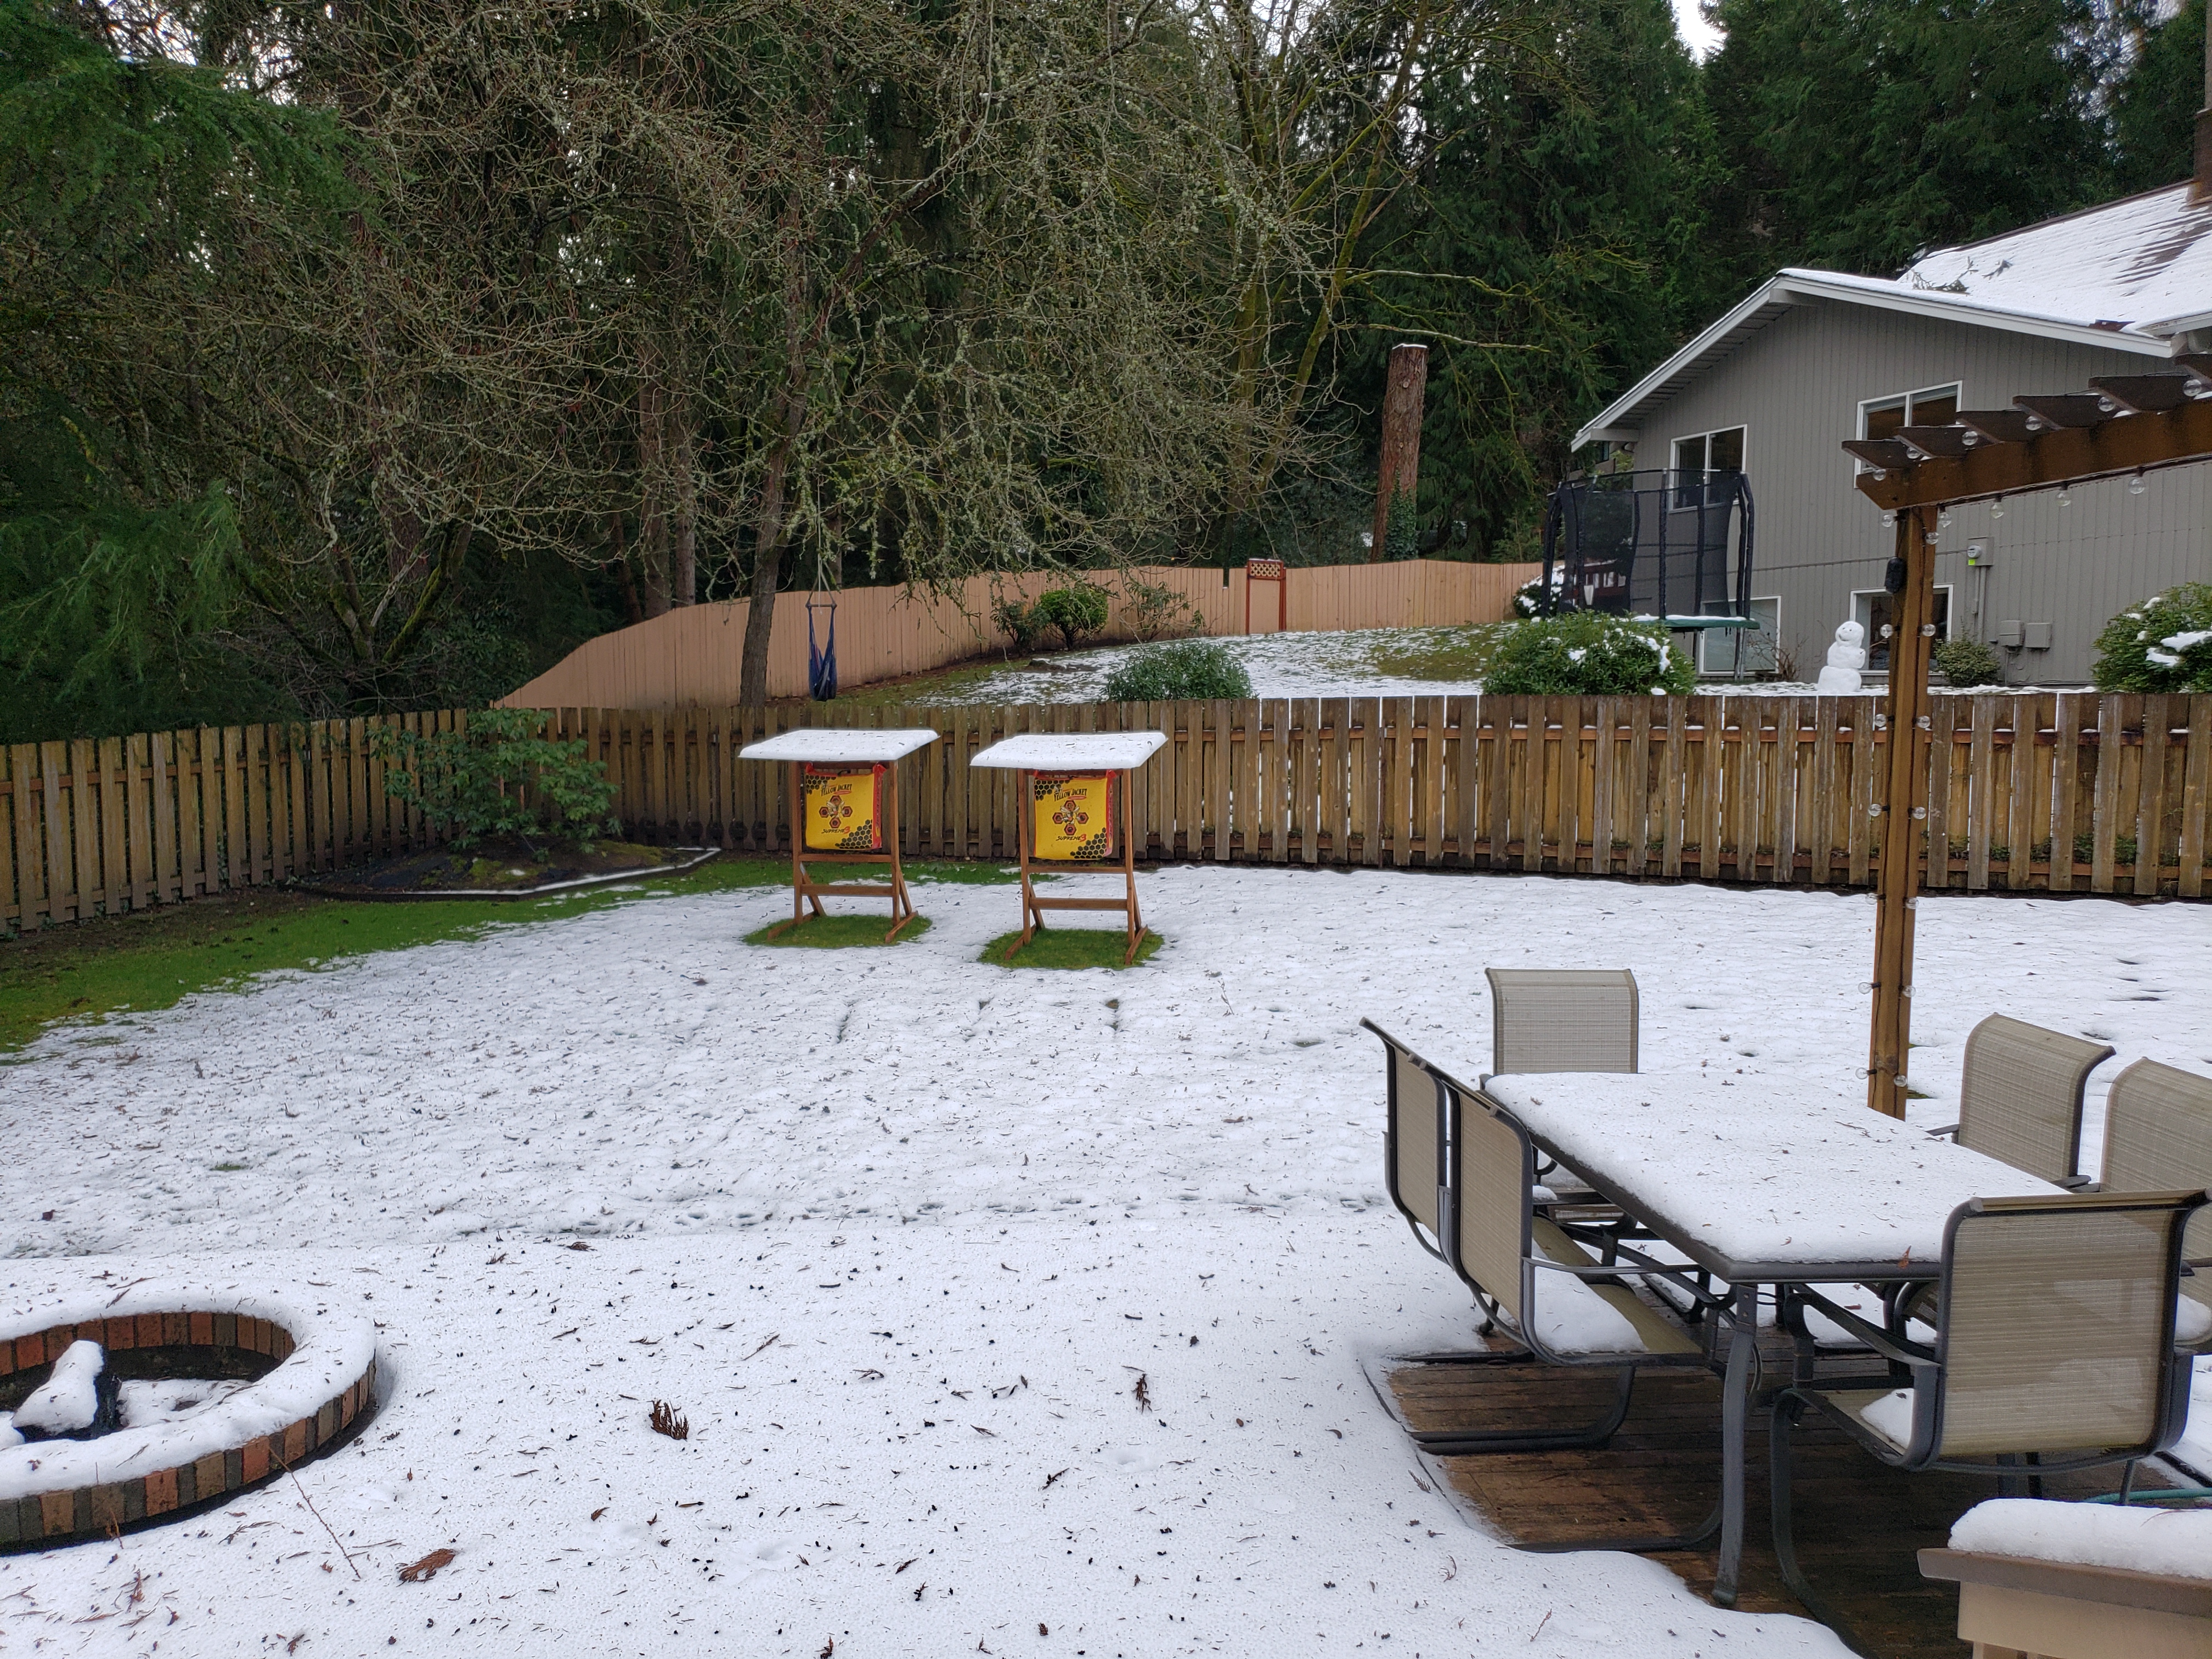
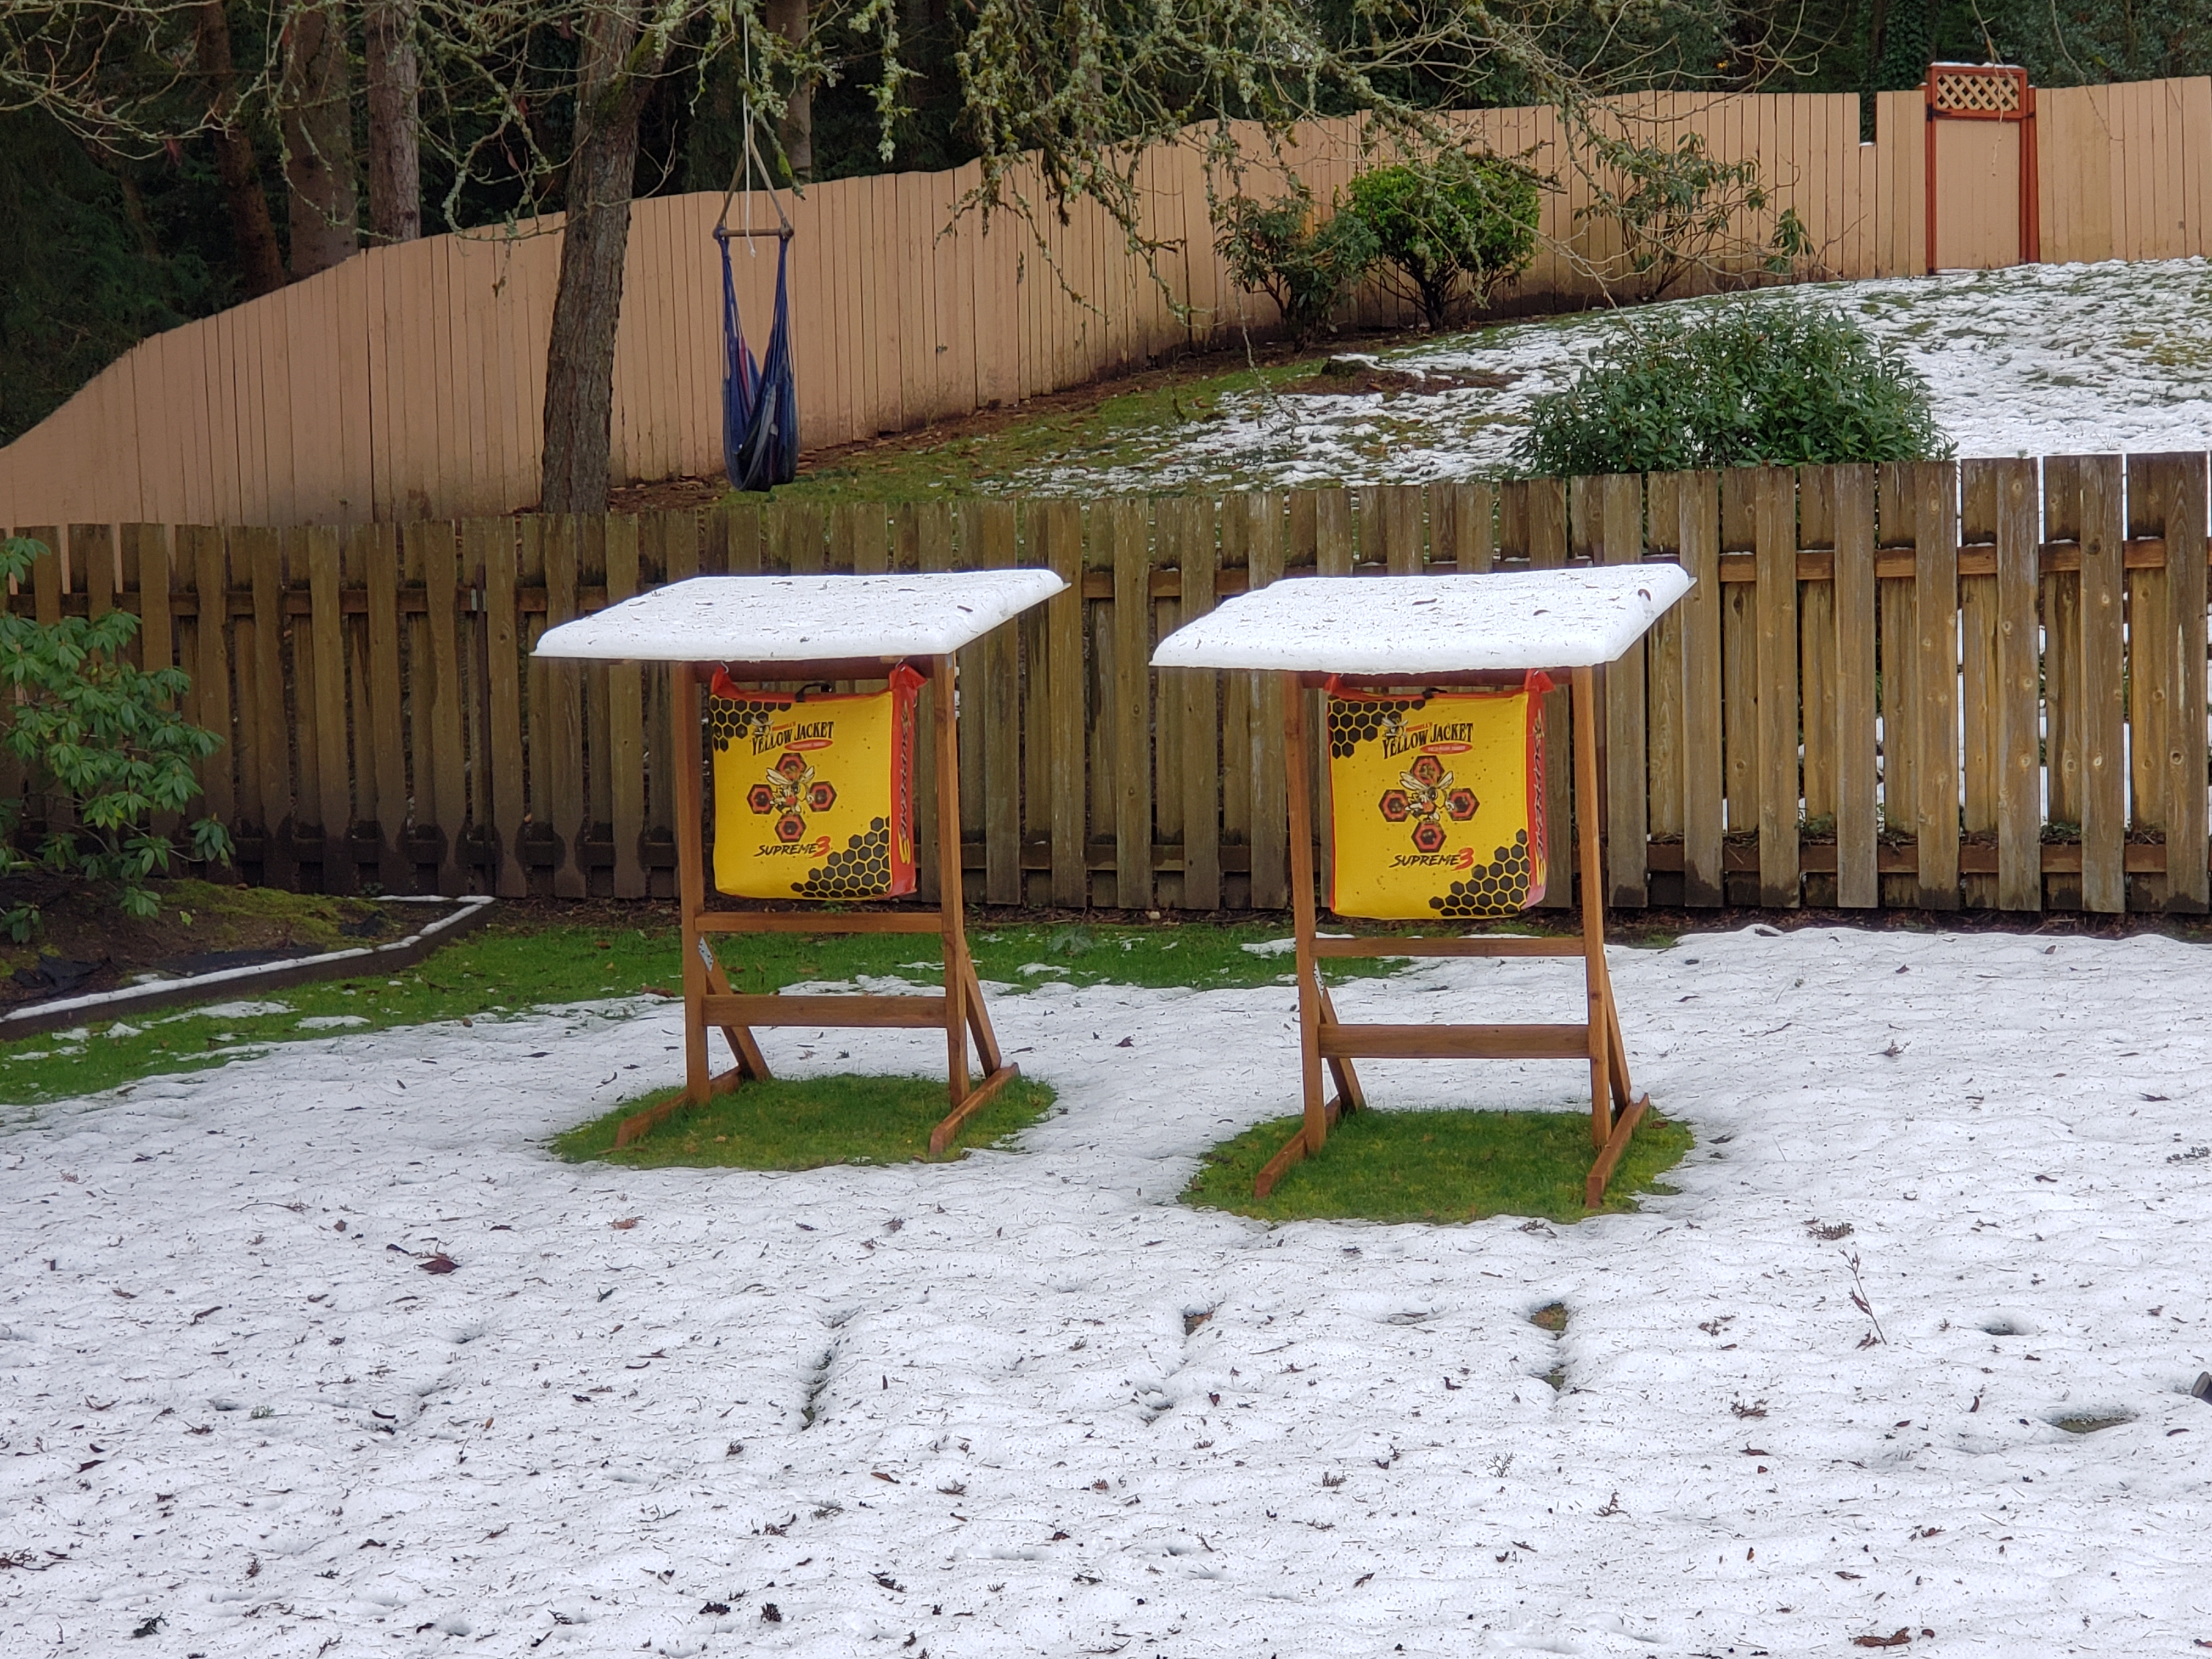
Update Jan 2020: I’m happy to report that the targets passed the test of time 🙂 Built in July 2019, they’re still holding strong. Roof handled the snow in January like a champ, and they still look as new and are as solid as on the first day.


Leave a Reply