

Index:
This year, during Thanksgiving week, we had a power outage. Fairly small part of neighborhood was impacted, with us nearly in the very middle of it. That lasted for 2 days. Inconvenient? Of course. It was end of November, so temperatures were quite low (low 40s Fahrenheit/around 5*C), house got cold, and our family (along with our parrots!) quickly felt the discomfort. Then there’s also worry about fridge/refrigerator and all the food spoiling if it goes on for too long…
But the scariest part? The way our house has been built, part of it is below the ground level, with additional sump pump outside the house re-routing rain water away to prevent water creeping into the house (otherwise driveway works as a funnel leading all the water into garage). And without power, that pump stopped working, in the middle of huge rainfall, and – not surprisingly – the water started creeping in rather quickly…
Thinking about it now – I should’ve been more prepared. But so far all that was needed was a quick in-place replacement of that pump after 5 years, costing under $200…
Well, now we’ll be ready for such emergency, thanks to a small, portable generator (inverter).
And, as you may have already saw by browsing this blog, I like to tinker! From small things like adding more storage to a laptop, through improvements to 3D printer, some upgrades to CNC, all to way to accessorizing the motion simulator I built last year 😉
So first thing I wanted to do – add an hour tracker so that it’s easy to track the lifetime of this unit.
Alright, let’s see what are we working with here!
Generator
I did some research, and ultimately just went with a variant of most popular unit on Amazon… 😉
There are few thing to look for: the rated power output (pay attention to peak vs. sustained rating, usually the peak one is advertised more clearly), fuel type, manual or electronic start.
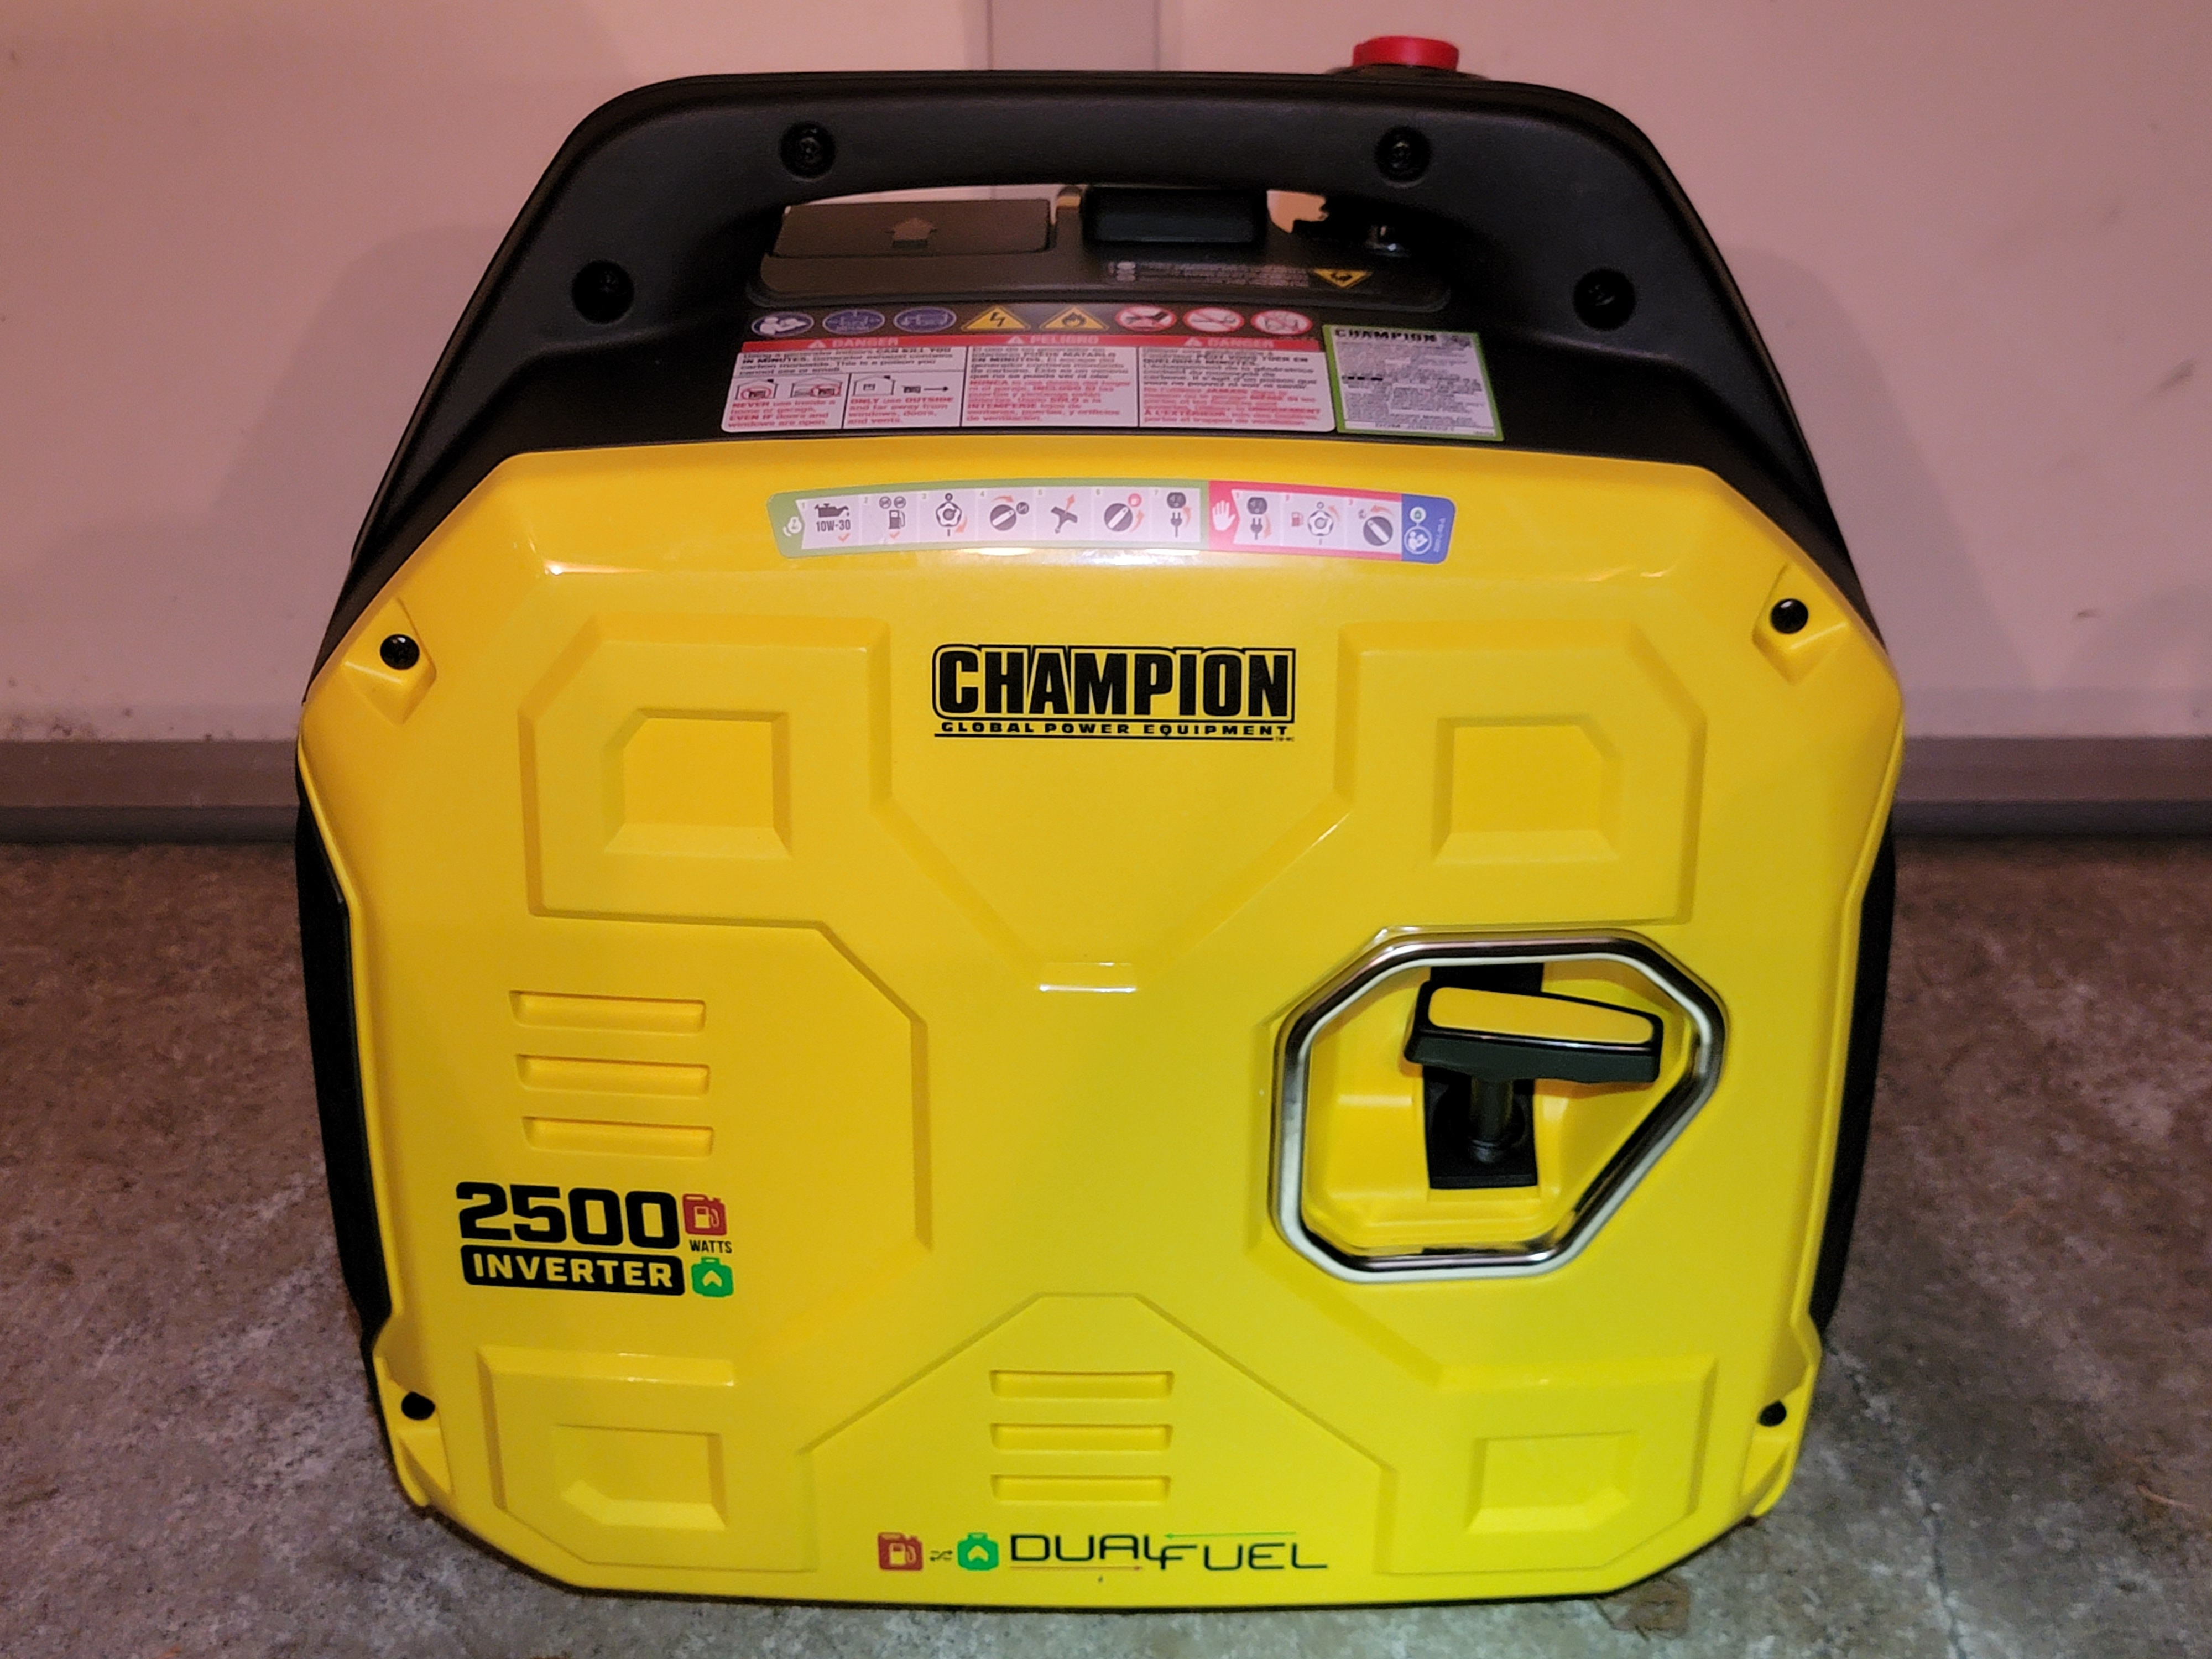
Let’s take a quick look at the generator I’m using:
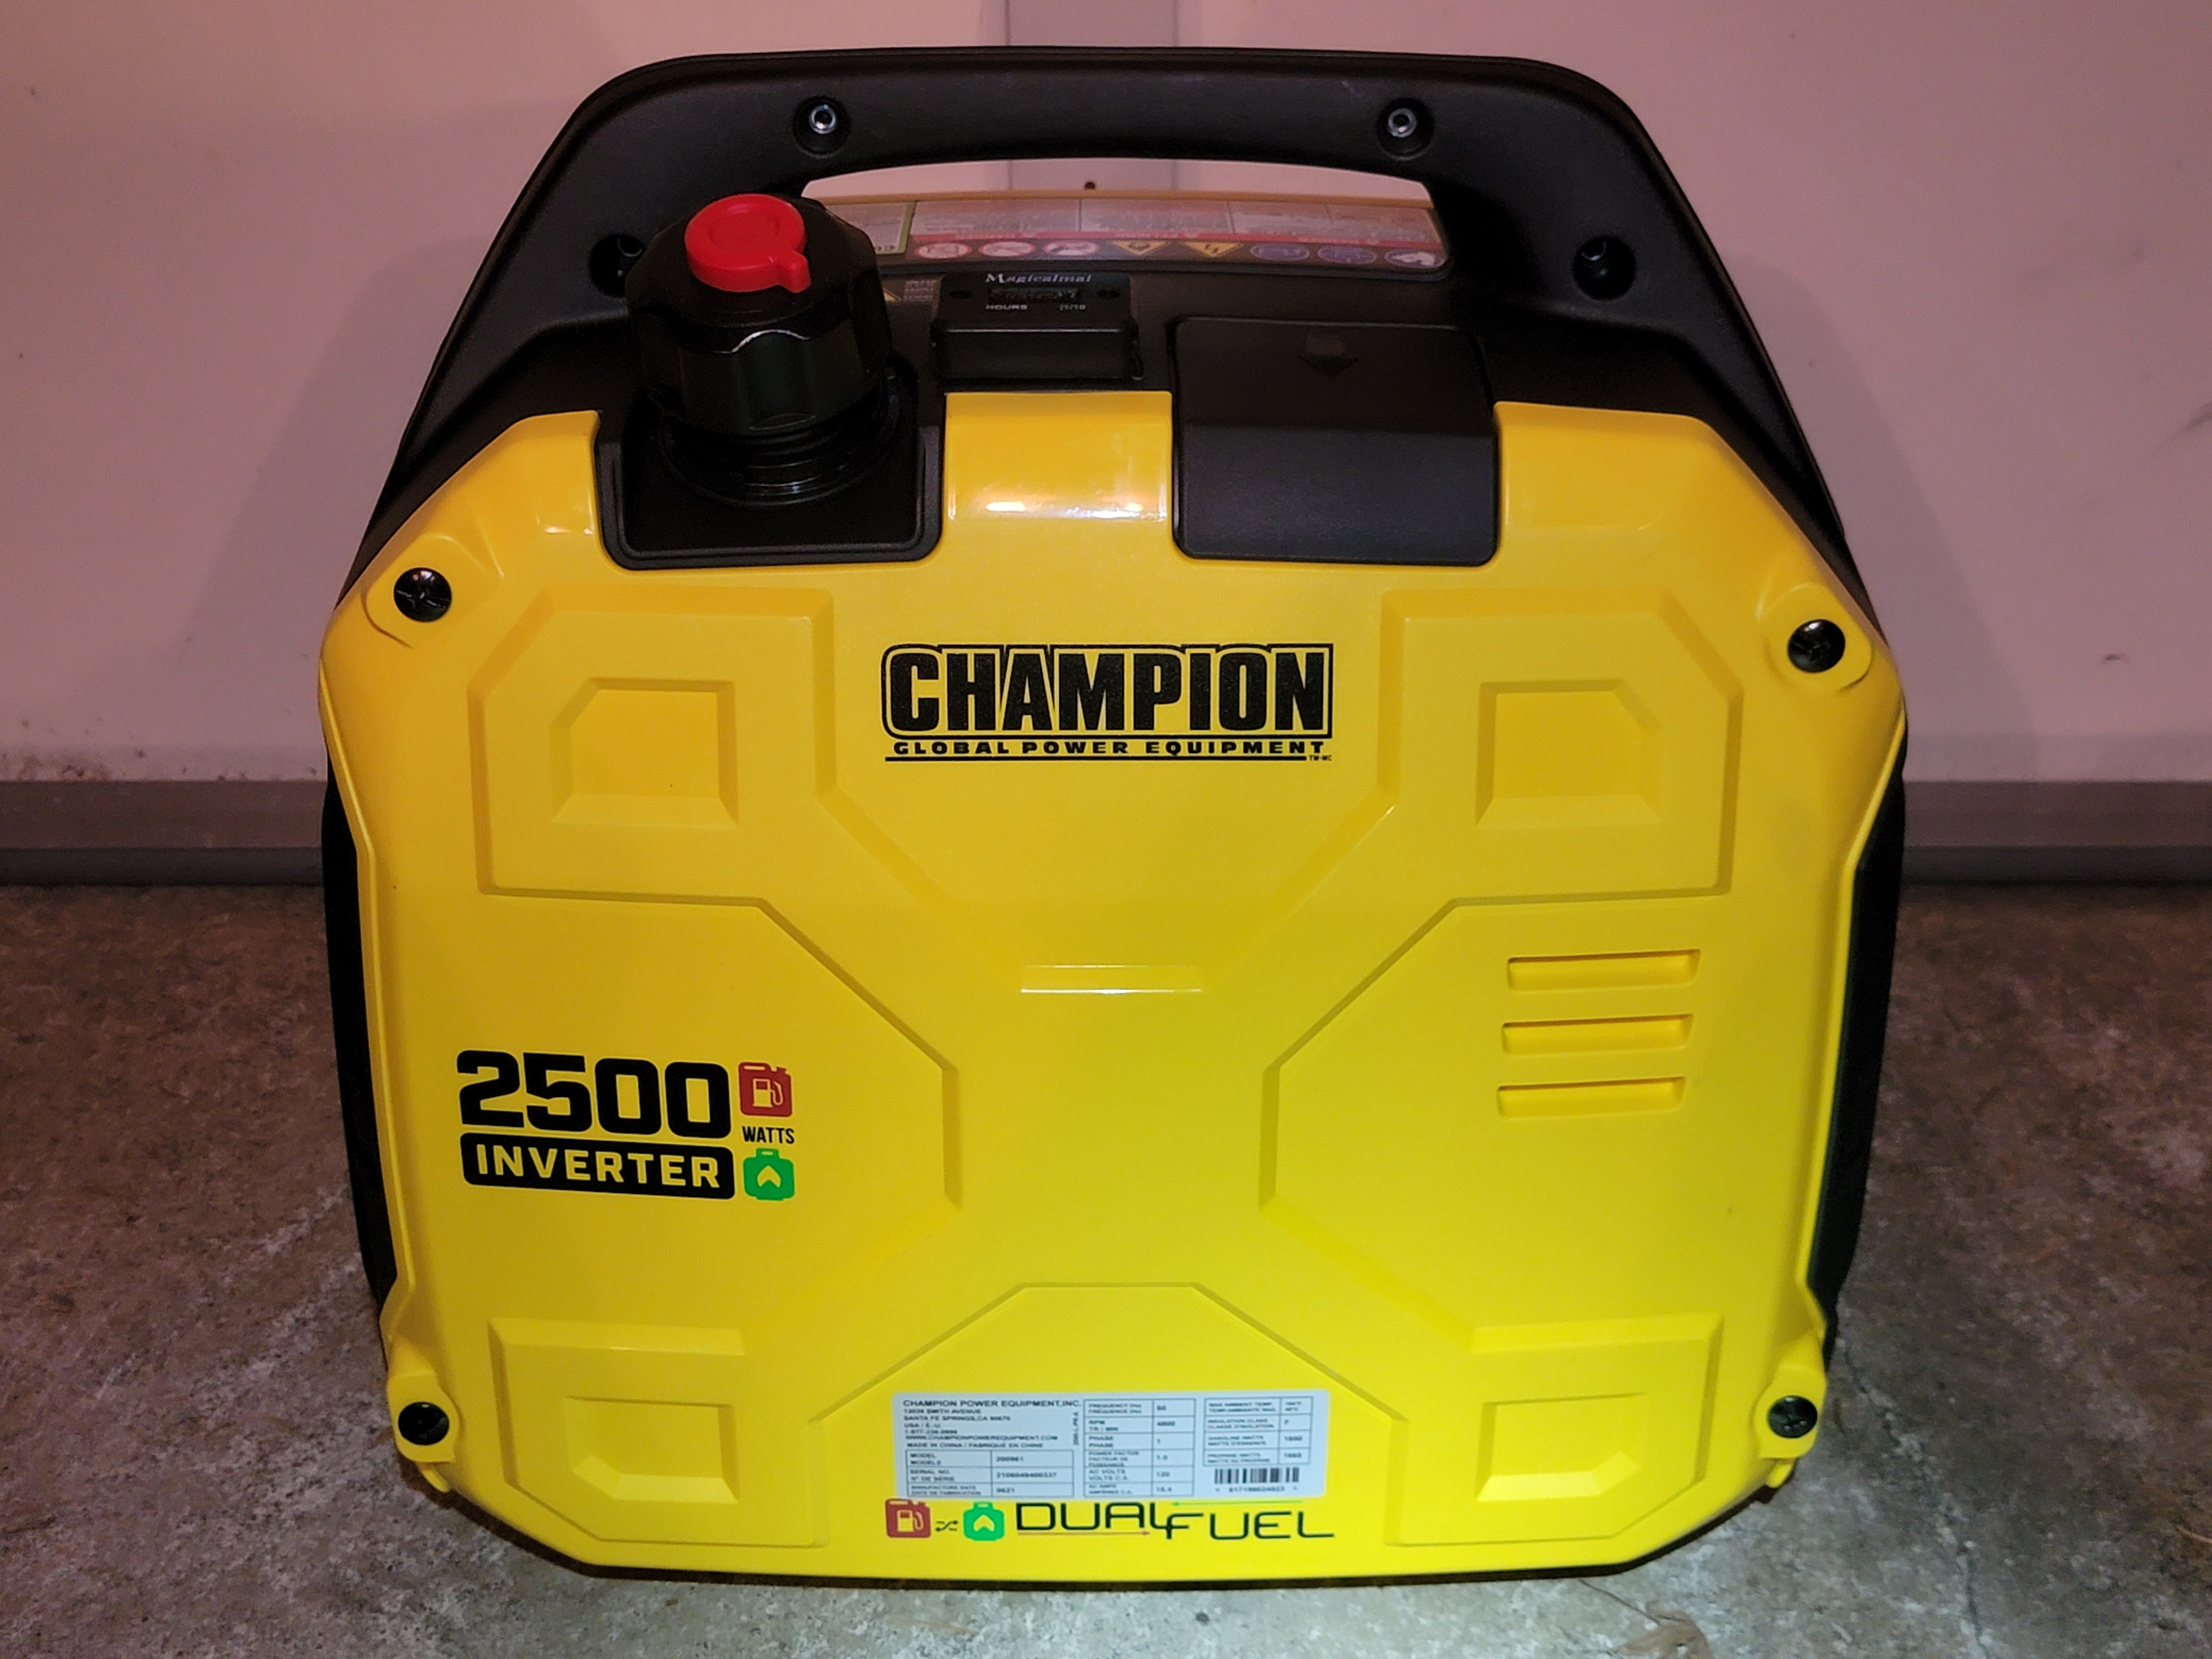

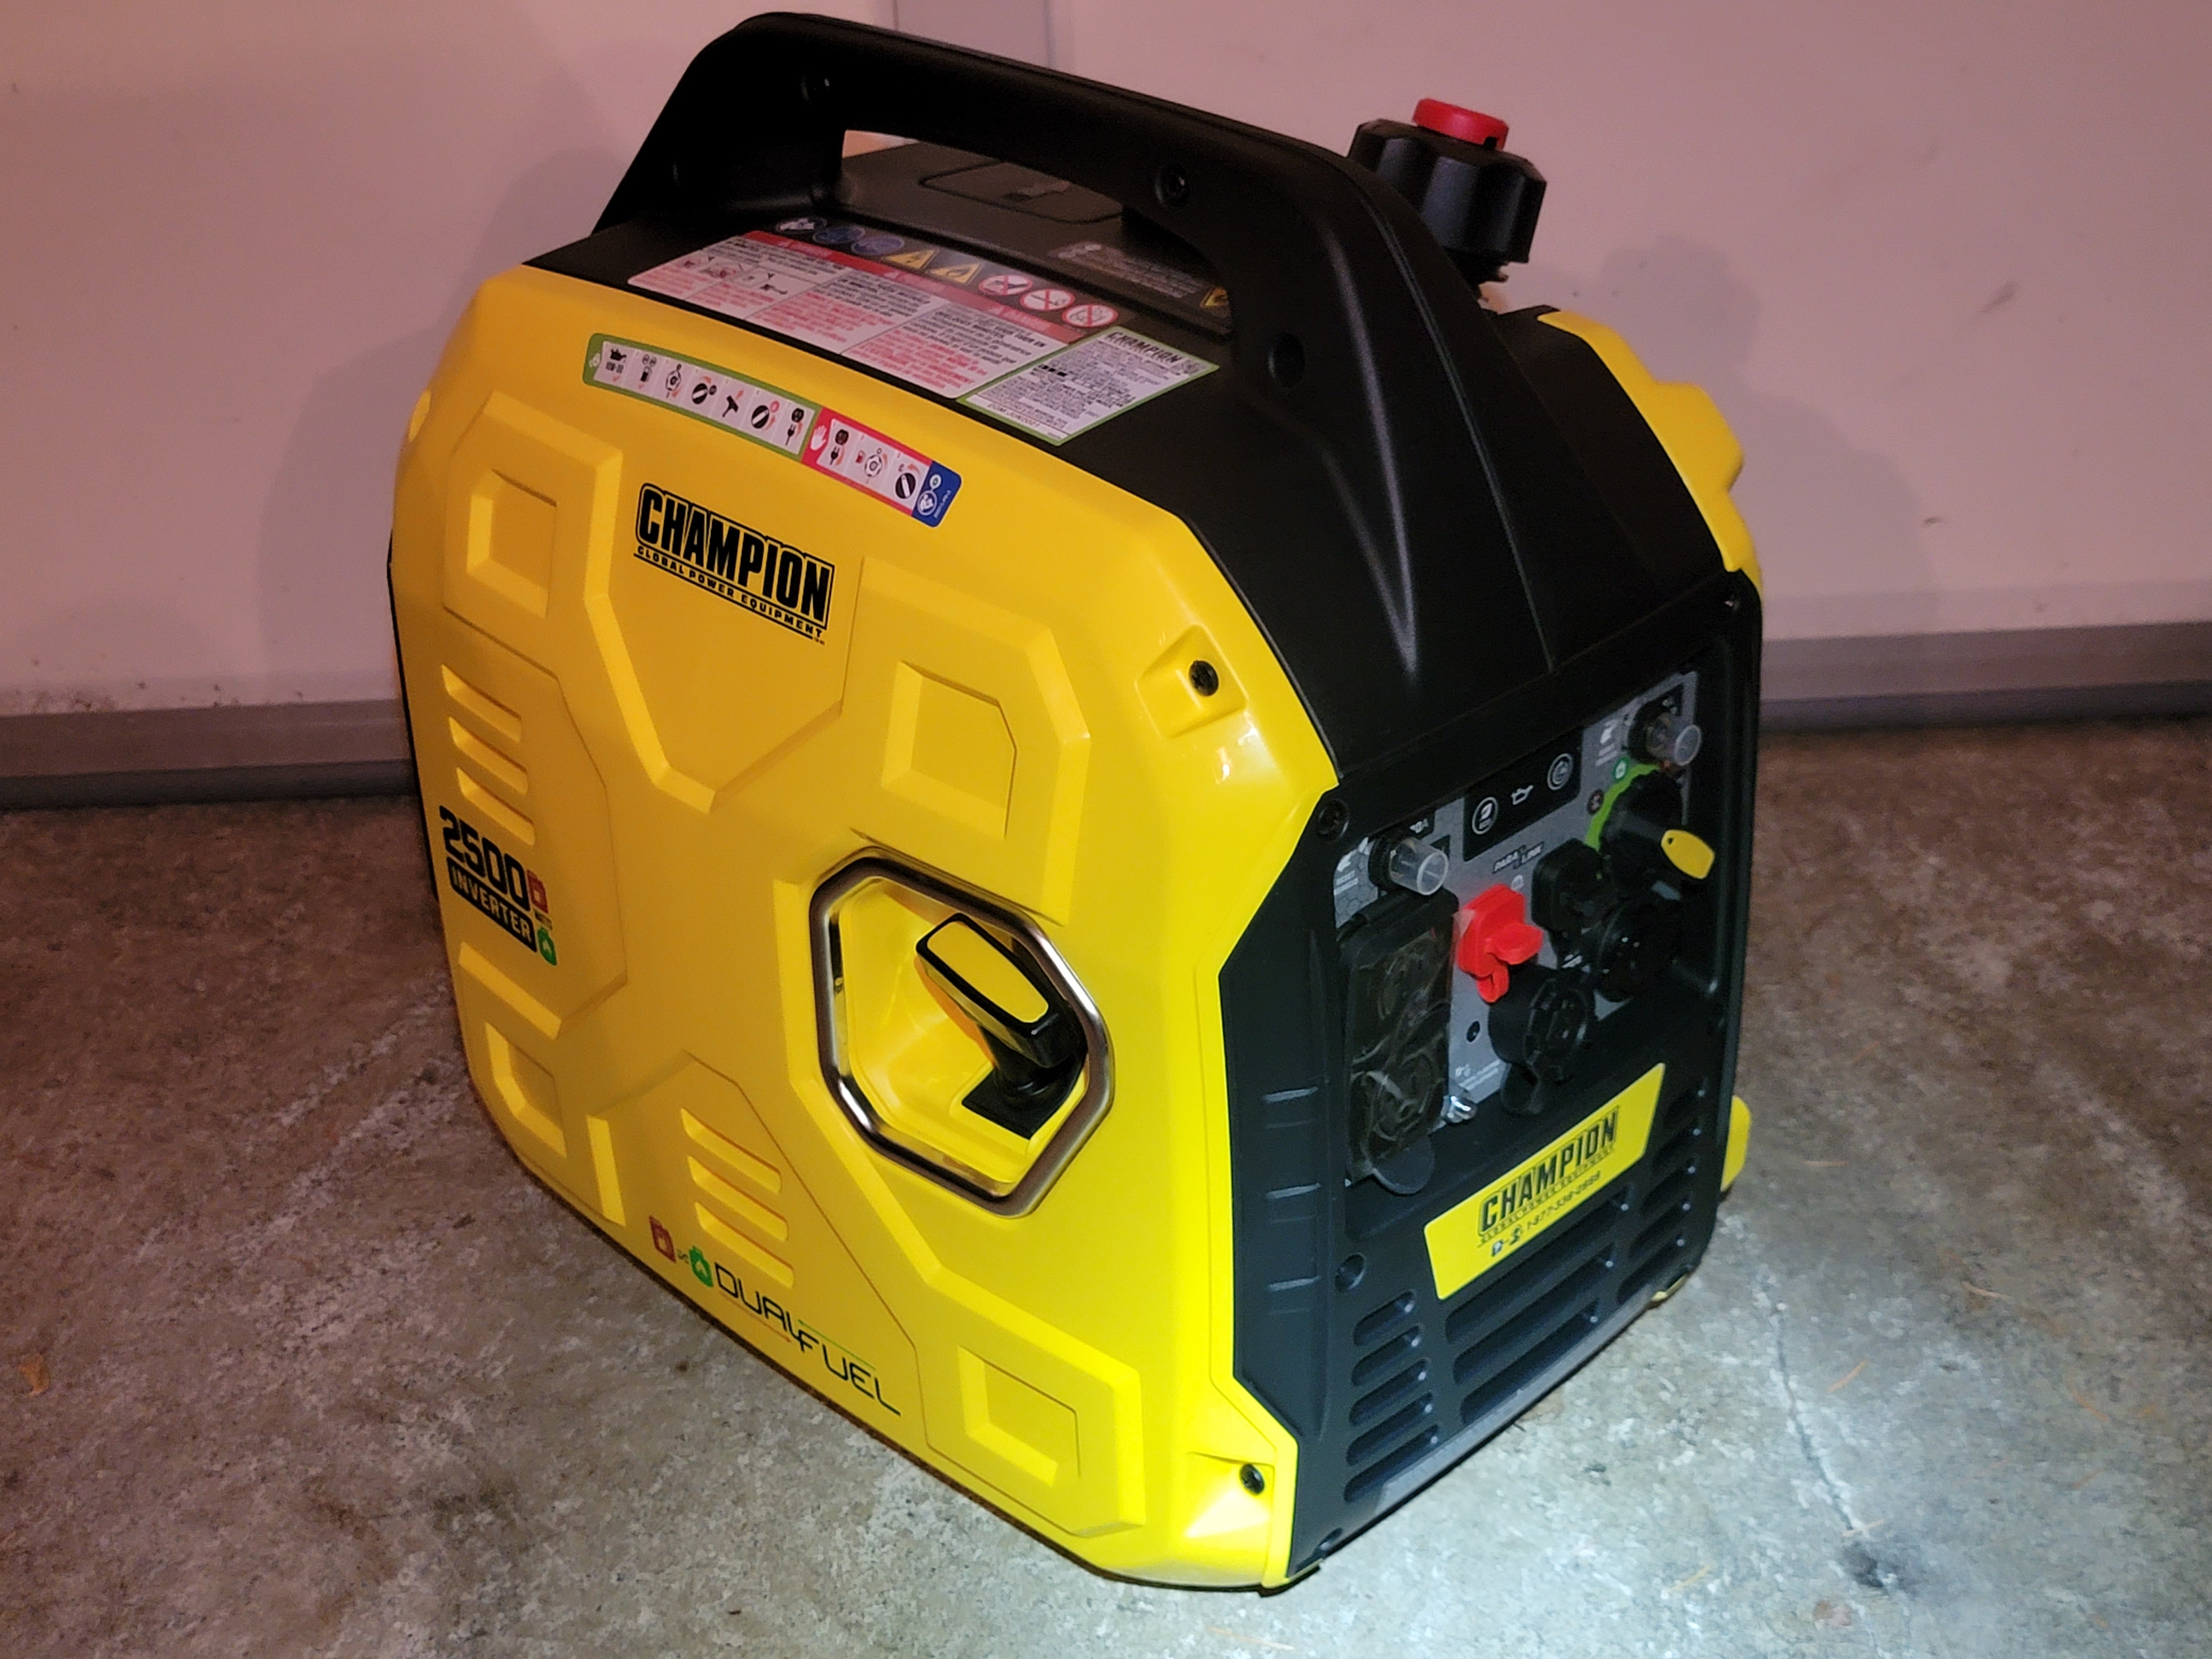
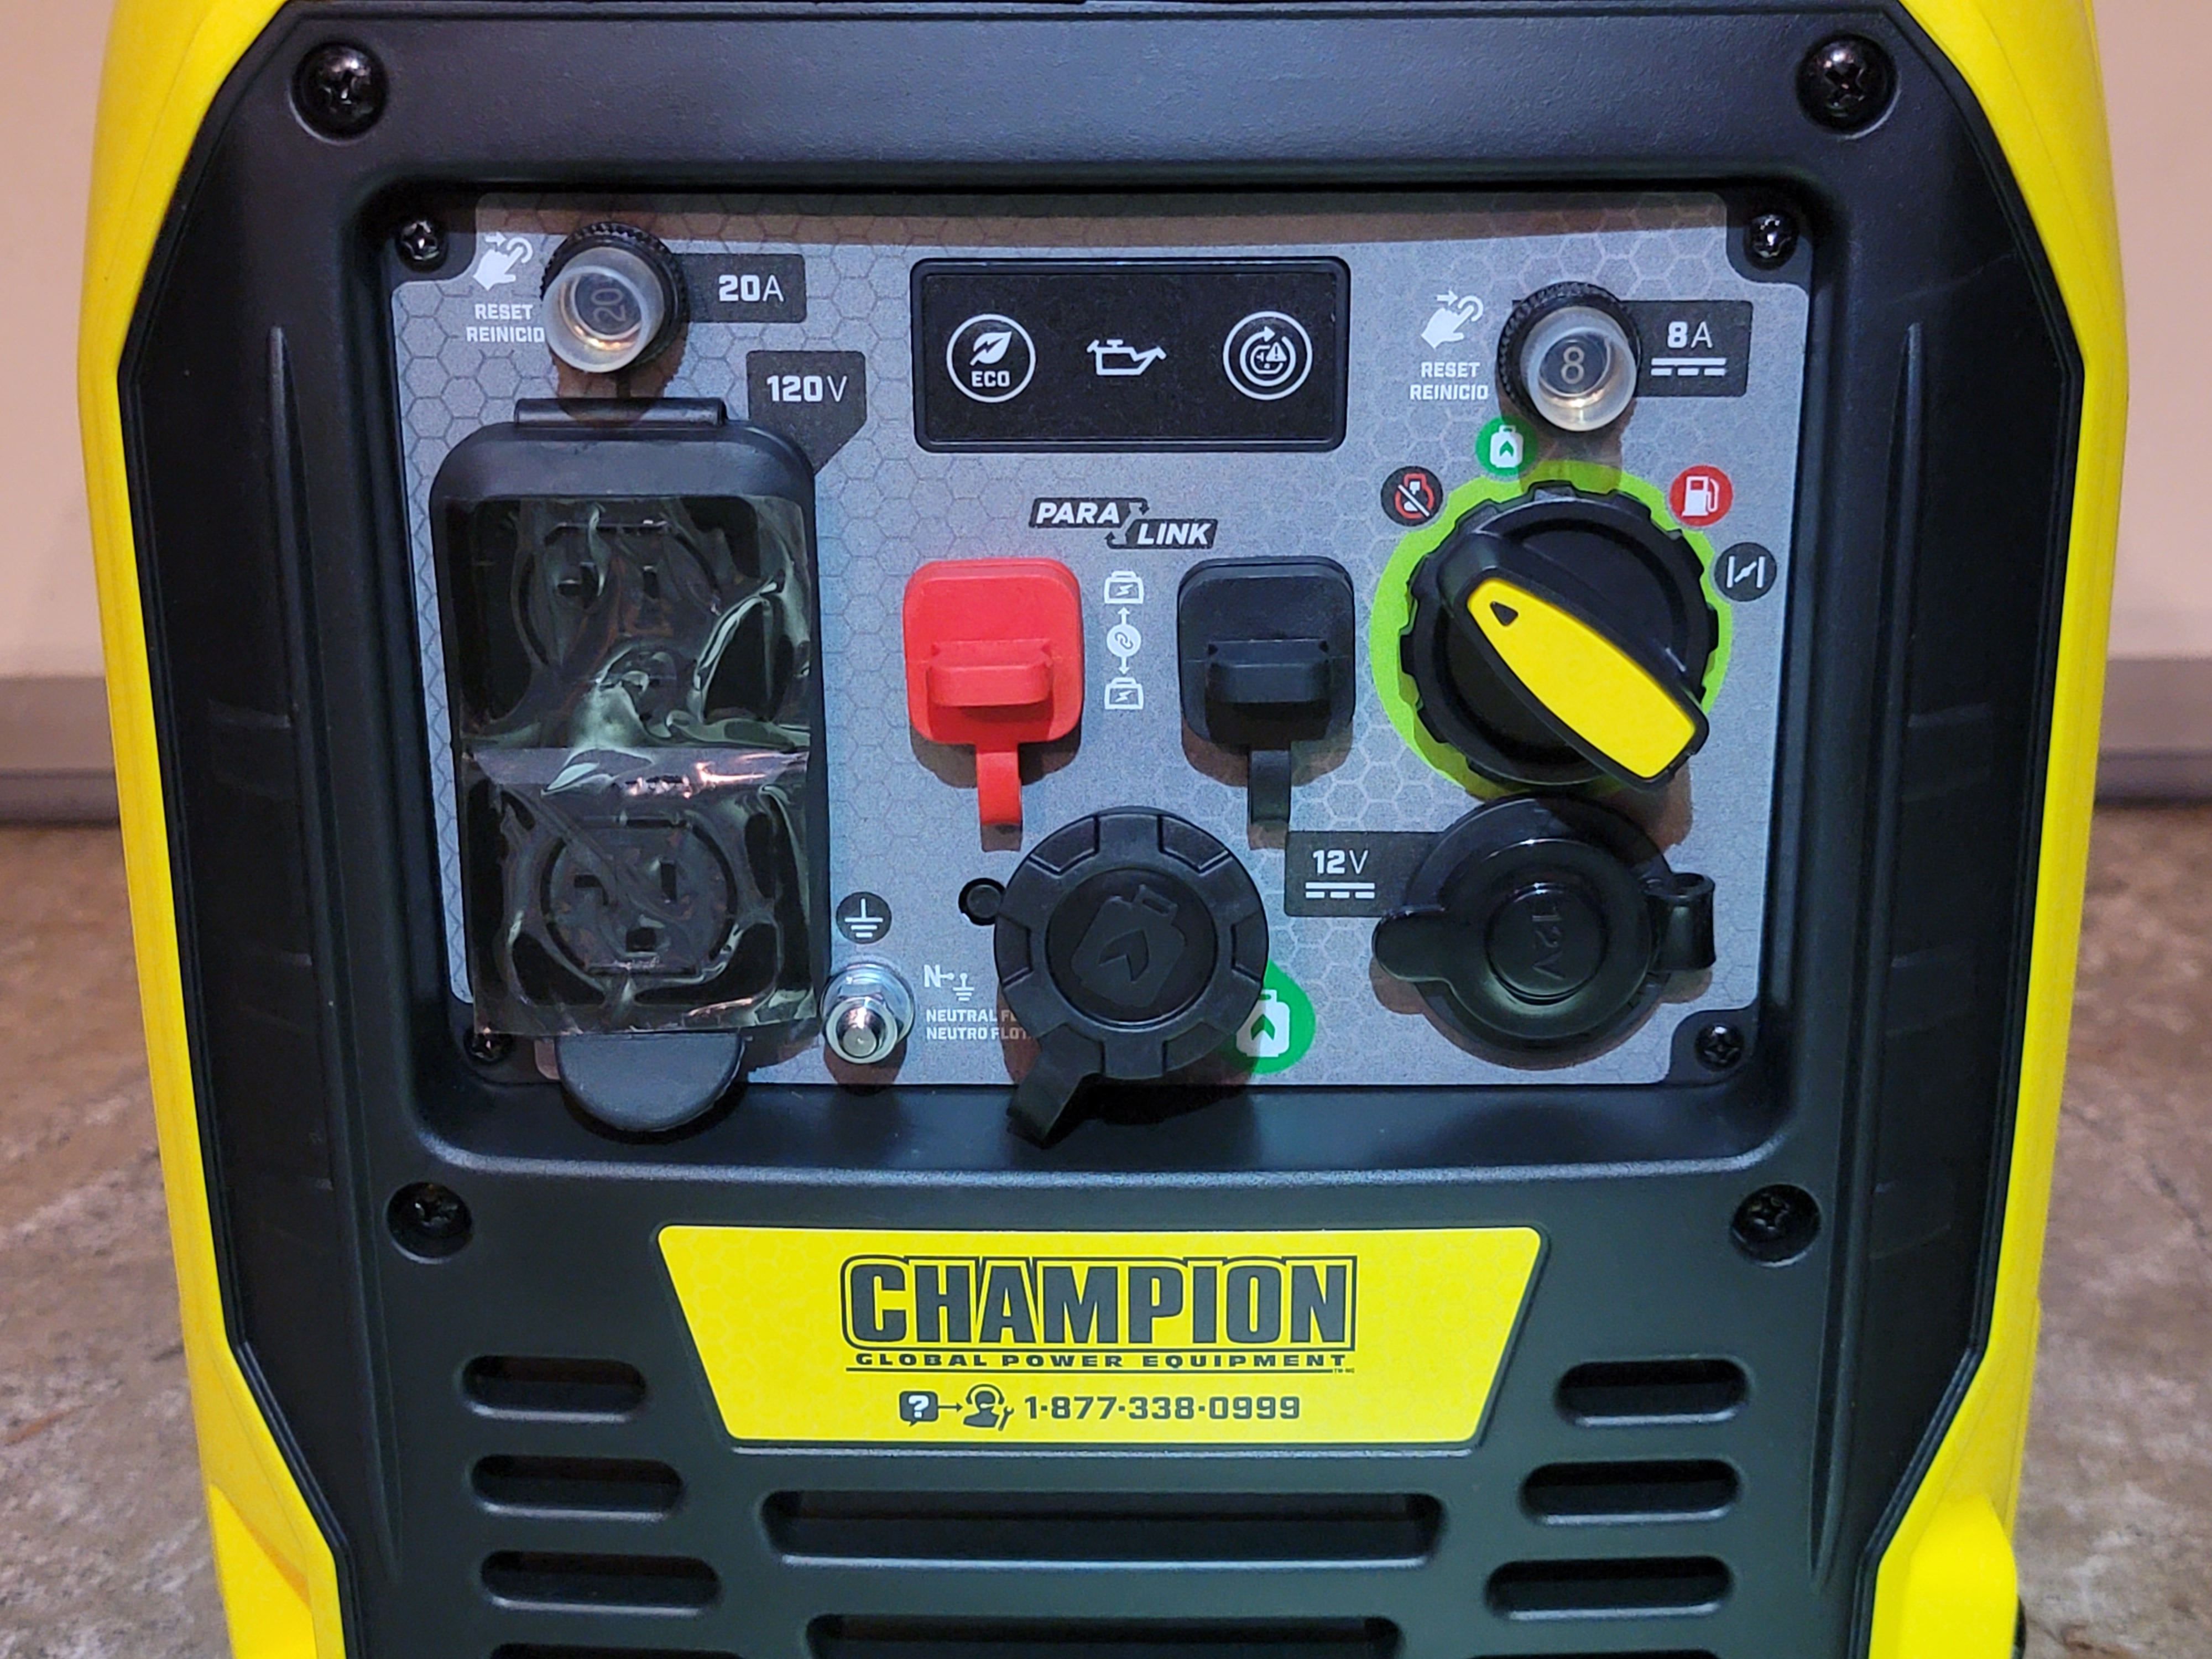
Close look at the available outlets and the control panel:

This is the 2500W, dual-fuel unit, made by Champion.
It can be purchased on Amazon, for a price of $597.15 as of the time I’m writing this article (December 2021):
One of the things that made me decide on this particular unit, is the fact that it can run on either gas or propane.
Gas vs Propane
Why dual-fuel, and not gas-only?
Few reasons:
a) always good to have options, especially in an emergency situation (power outage), and not have to worry about the right fuel,
b) propane burns much cleaner, doesn’t require as much maintenance as gas (e.g. clogging the carburetor, fuel lines, breaking down into water in few months (ethanol), etc.), no need to consider running until empty (starvation),
c) propane can be stored for a very, very long time (as opposed to gas, even with additives), and makes for a perfect fuel in an emergency,
A propane regulator is included in the box with the generator.
Manufacturer shares some interesting data differing based on the fuel type:
| Fuel type | Power output (sustained) | Runtime on full tank (at 25% load) | Comments |
|---|---|---|---|
| Gas | 1850 W | 11.5 hours on full tank | Using gas provides nearly 200 more Watts of running power, compared to propane. |
| Propane | 1665 W | 24 hours (on 20lbs tank) | 20lbs tank refill costs around $40 if you have an empty tank, or around $60 with a new tank. |
Recommended accessories
Here’s everything I’m using with this unit:
- Magnetic dipstick – great way to pick metal shavins out of the oil (you might be surprised how many there will be after the initial break-in period in first 5 hours)
- $24.25
- GenExhaust compatible with Champion 2000/2500 inverter generator
- Buy on Amazon
- Engine oil – 500ml of 10W-30 oil is included in the box with generator (don’t forget to add it in before starting the unit! 🙂 ), but manufacturer recommends to change after 5 hours, and you can use full synthetic 10W-30
- Hour Meter – helps track the run-time and is a good reminder for when to maintain the generator to keep it working well for long.
- $10.99
- Buy on Amazon
Accessories provided with generator
This generator doesn’t have an USB output, but it comes with a 12V -> USB adapter (5V, 2.4A) in the box, so I didn’t have to purchase an additional one.
Also, this set comes with a very handy mount for the propane regulator, which allows for clipping it to the handle when not in use, so that it can all be stored safely together, and is ready to go instantly (especially helpful in emergency situations, where we won’t risk wasting time looking for the regulator in the garage 😉 ):

Installing Hour Meter
This is a small, quick and easy modification – and a nice way to become a bit more familiar with the generator 😉 I’m actually surprised it doesn’t come with it provided, but again – small thing and I had fun adding it. This proceed took under 30 minutes, so let’s jump in!
First, we need to remove the servicing cover:
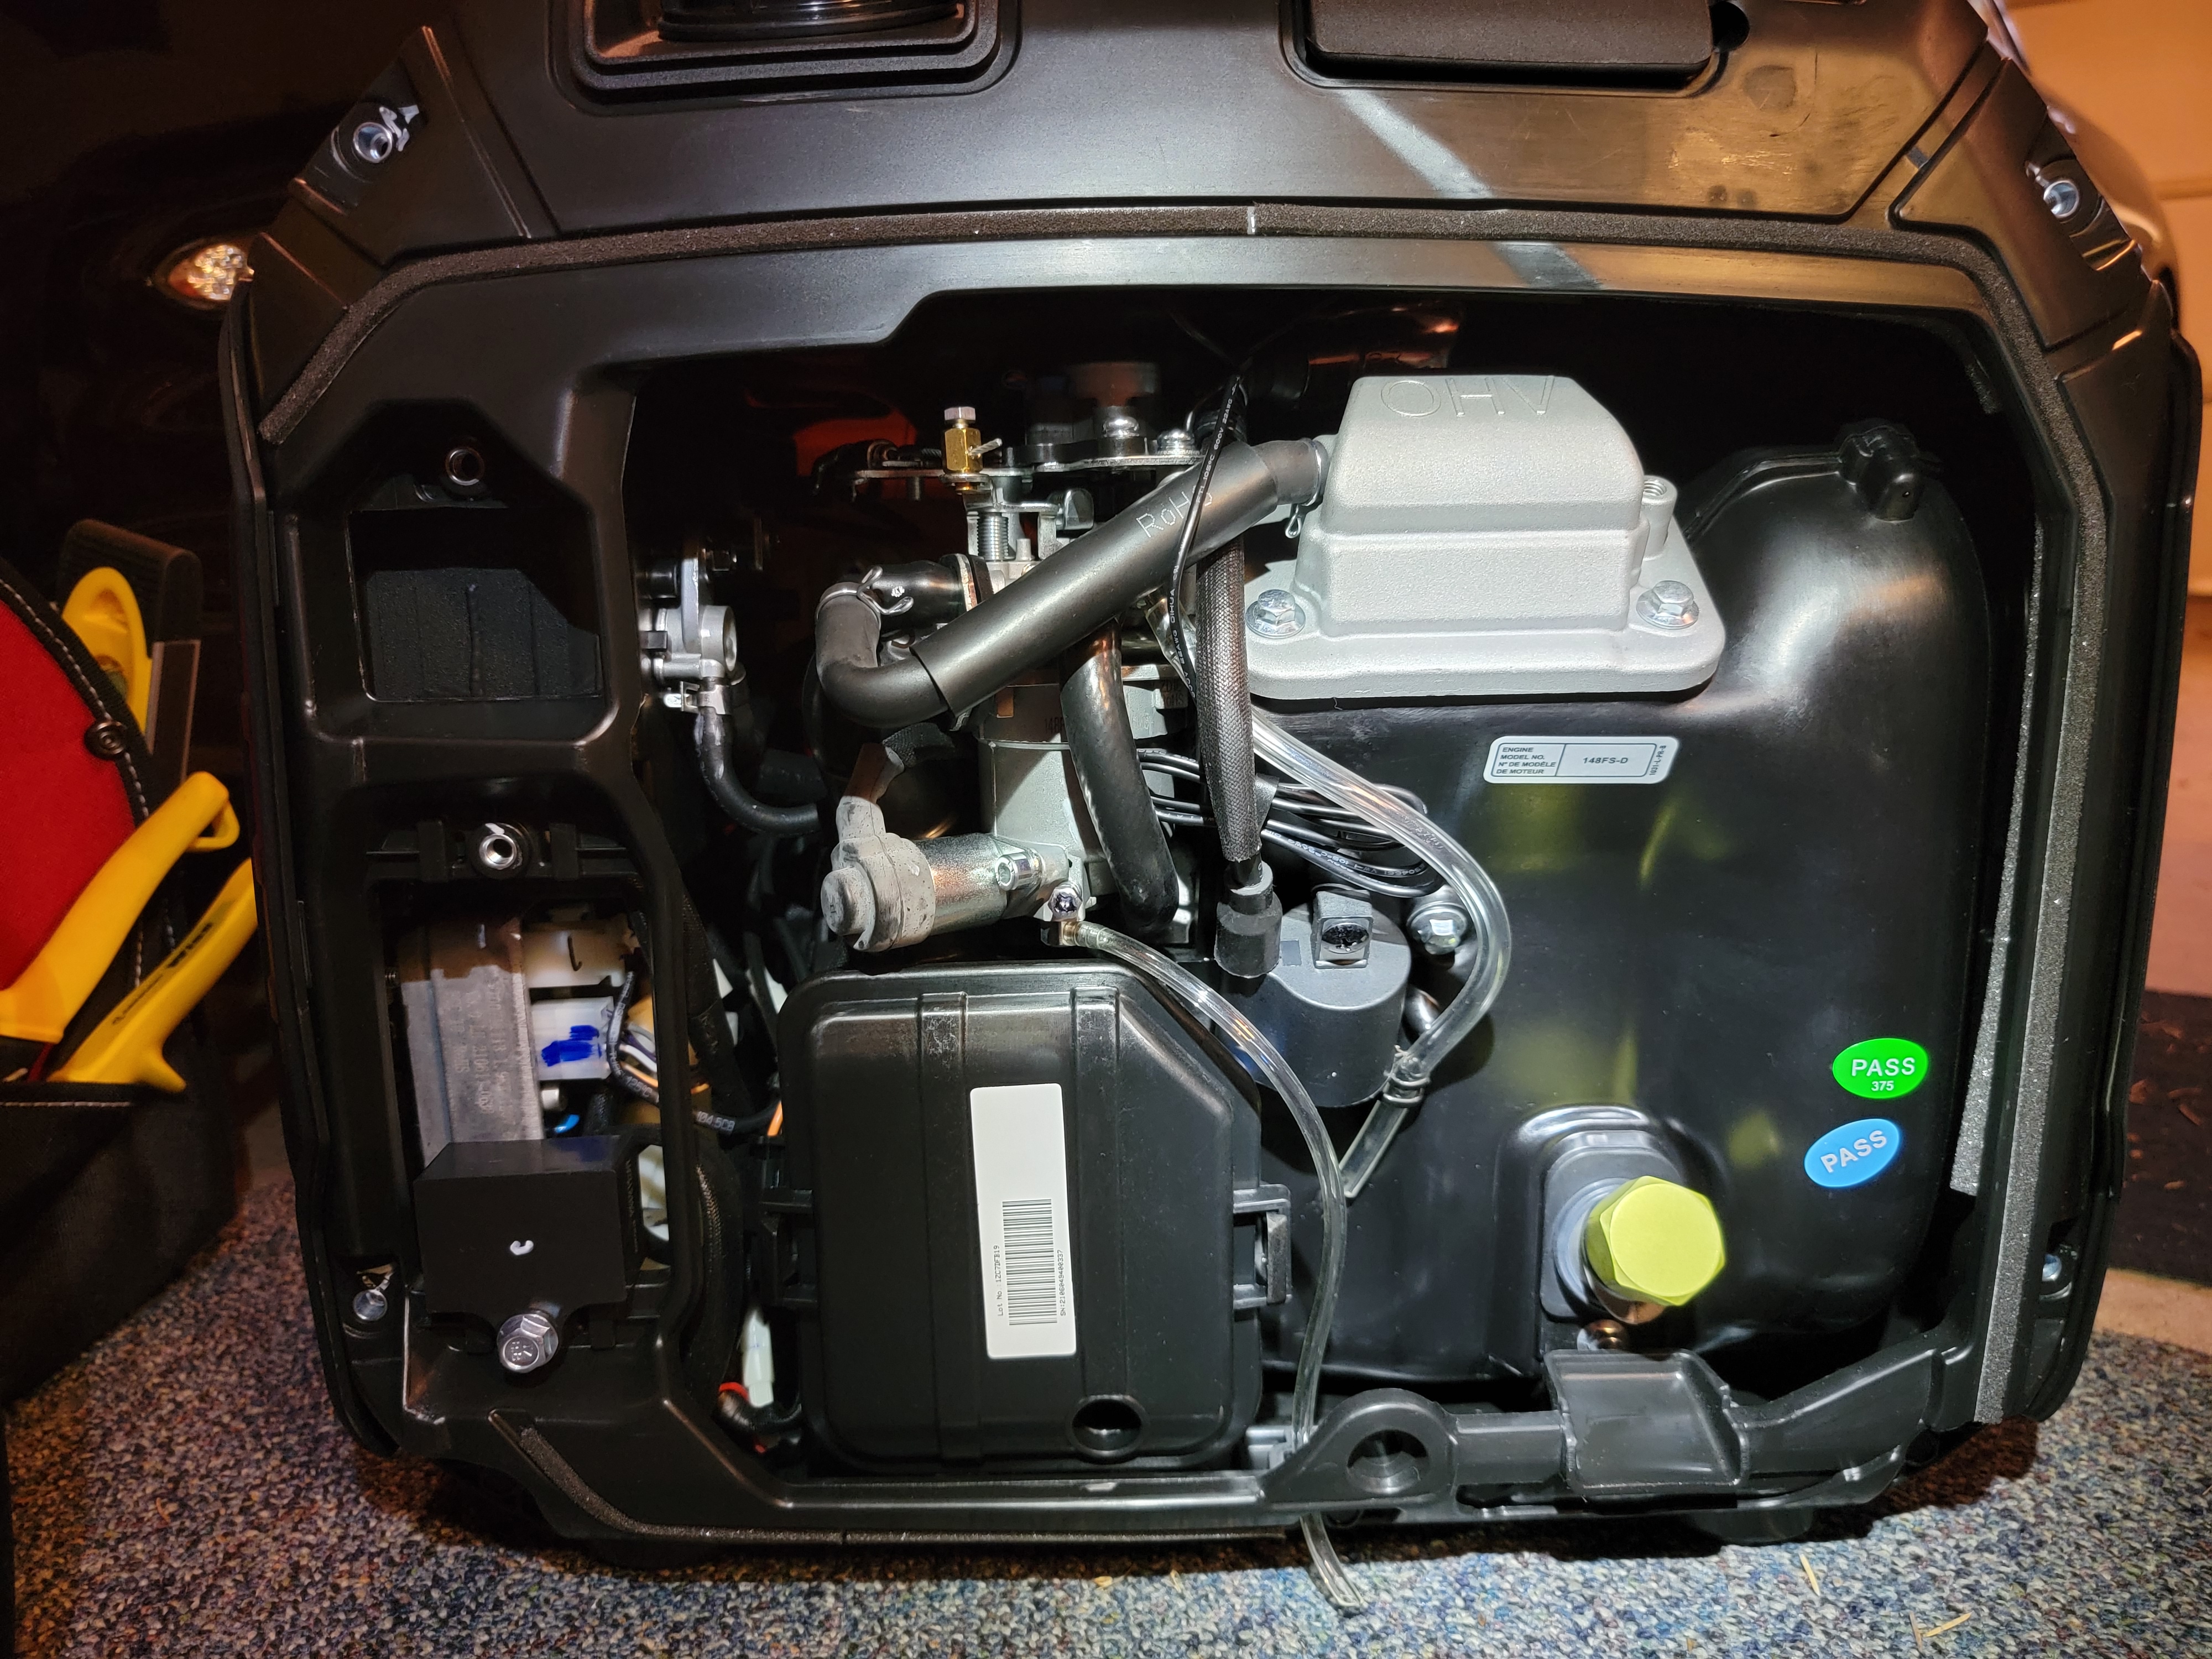
If you just got the generator, and didn’t fill it up with oil just yet, now is a great time to do so!
And you’ll see on the above photo that I’m using the magnetic dipstic instead of the plastic one provided with the unit from the box.
Looking at the top of the case, we need to remove the spark plug cover:
I placed the hour meter in an approximate position where I’m planning to install it. Then I checked if there’s anything important underneath (or is there an empty, easily accessible space?) so that the control wire for the meter can be routed that way. It was an empty space – so safe to drill a hole for the wire. I’m using 3/32″ drill size, which is the exact diameter of the wire – will make for a snug fit:

Try to make sure any shavings from drilling fall on your hand underneath, and don’t make mess inside the unit.
Couple seconds of work and we’re ready to route the control wire through:
It’s much easier to insert it from the top and pull from the bottom, than to do the opposite…
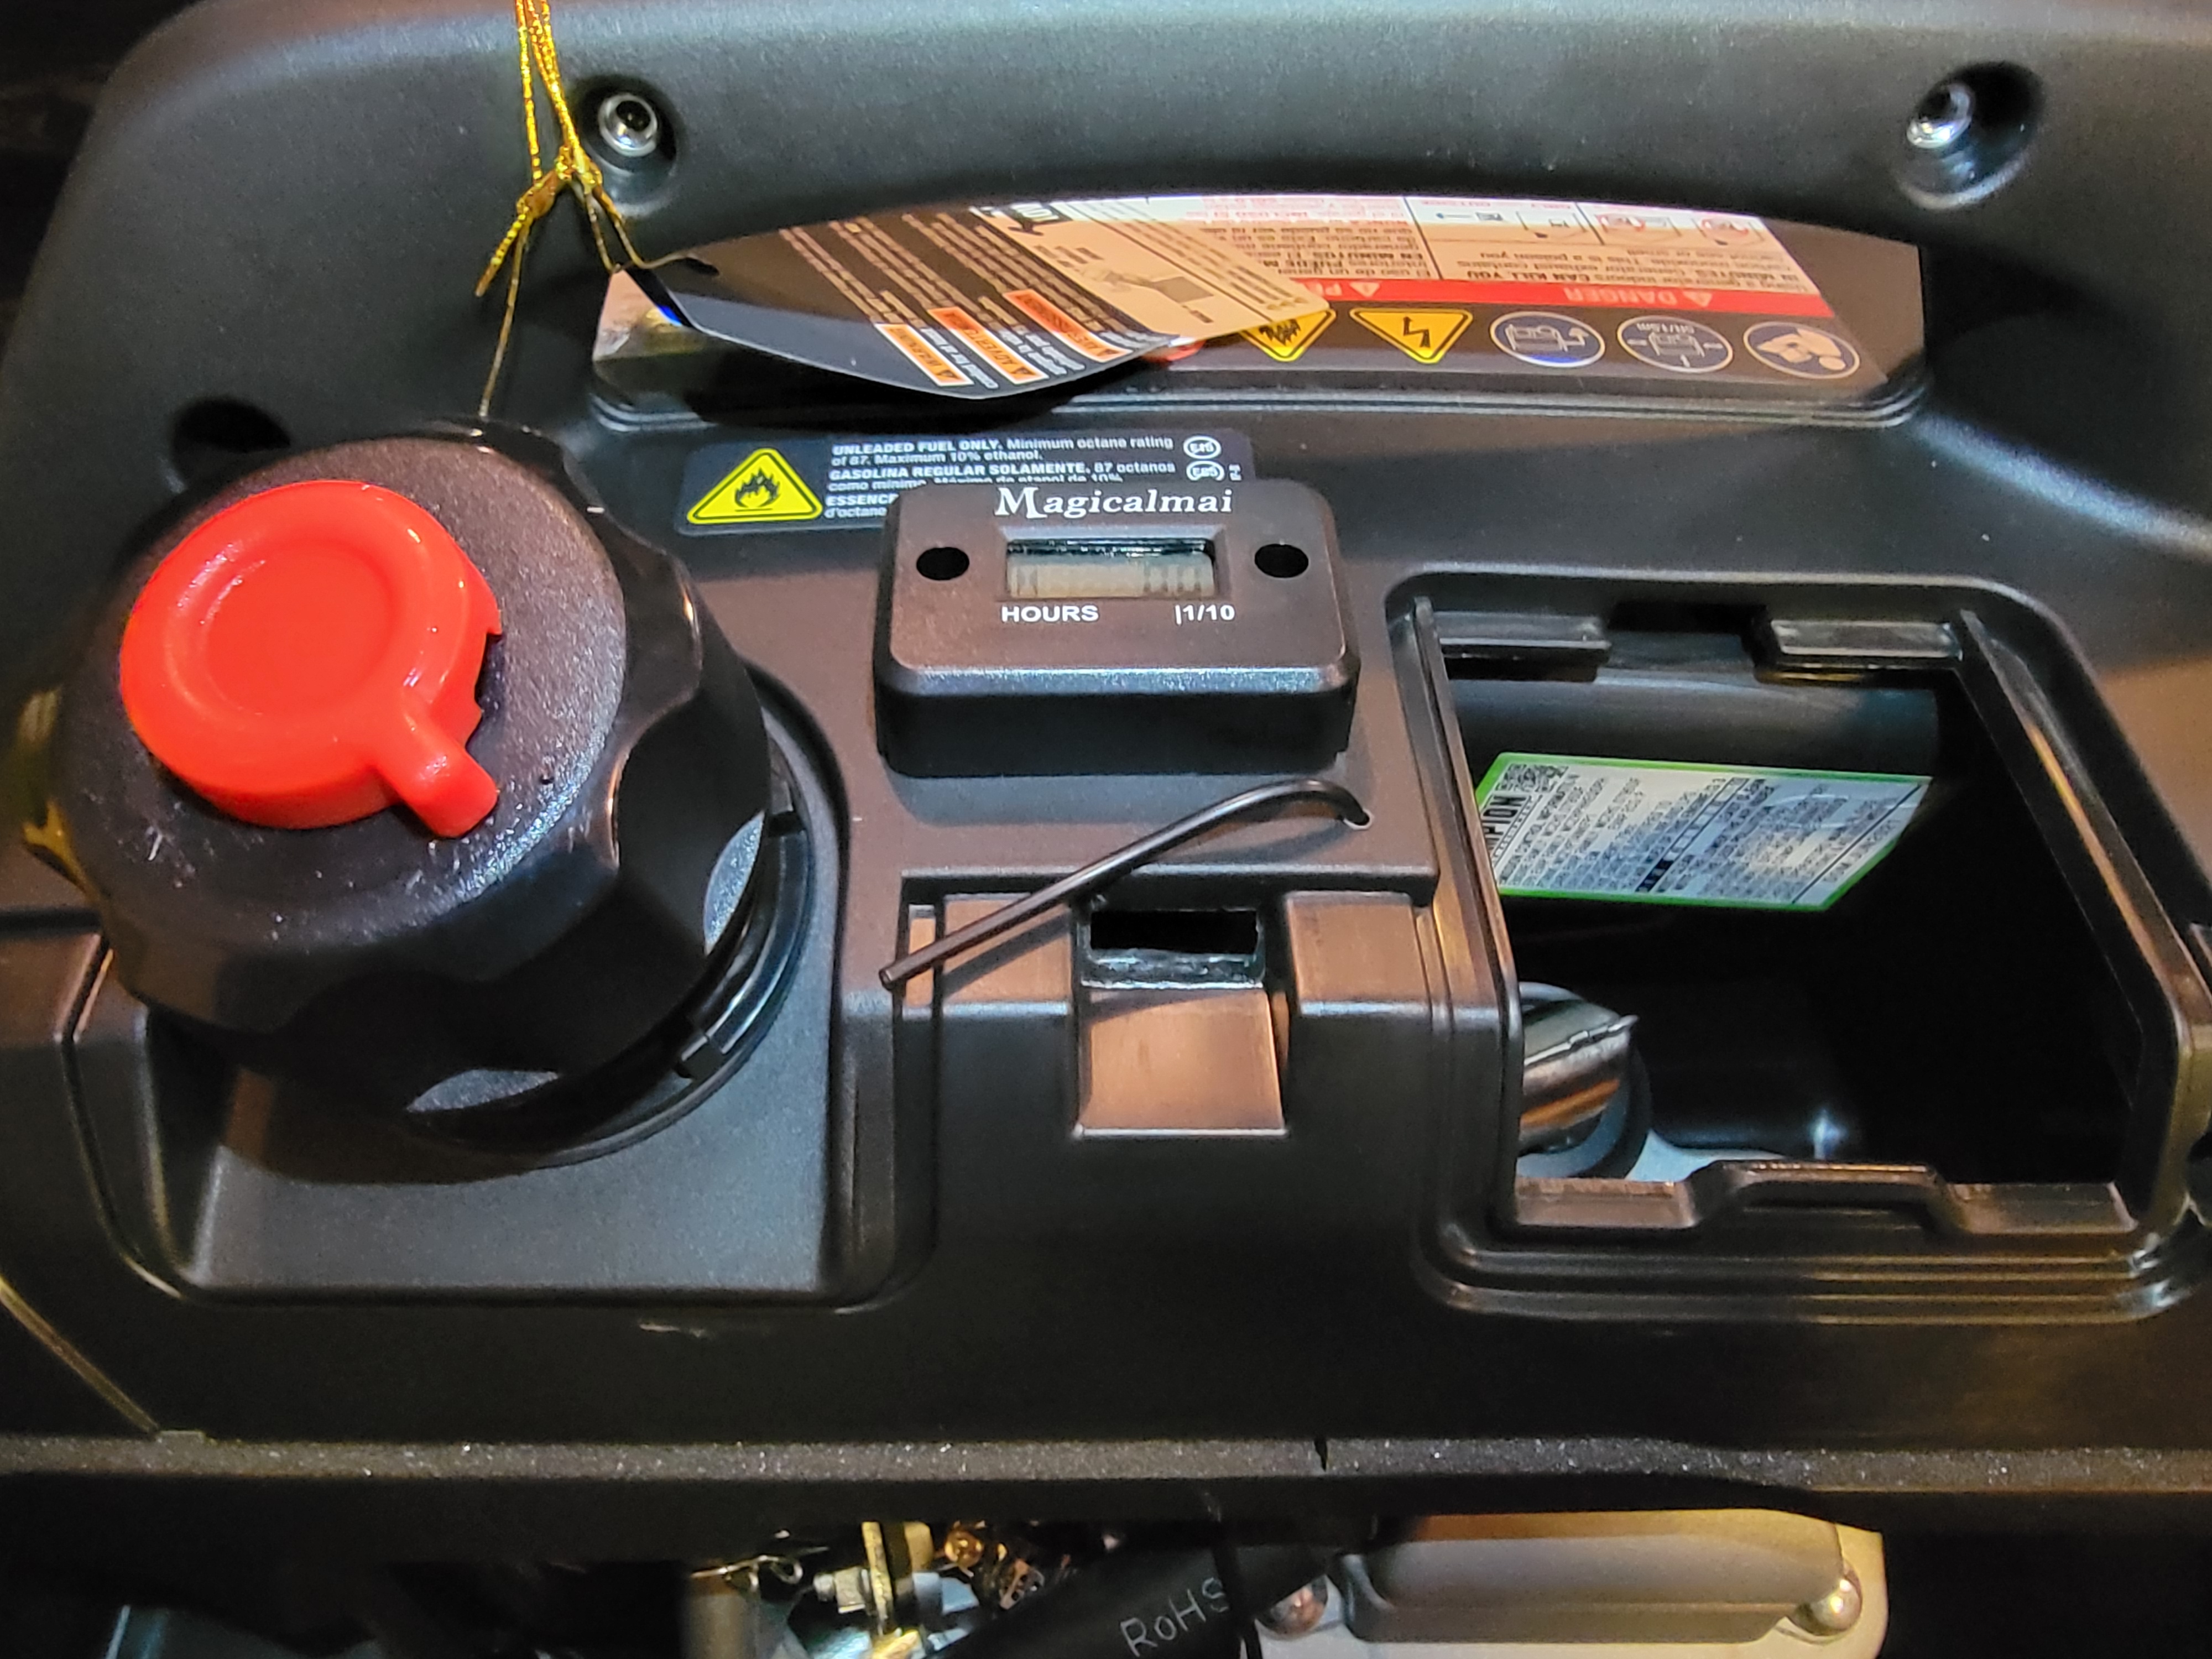
Last step is simply wrapping the control wire around the spark plug cable. Meter instructions mention wrapping it 5 times, I did 6 because why not 😉 Be sure to secure the cable with provided zip-ties. Then use a double-sided tape to stick the meter on top of the case (be sure the surfaces are clean and free of oil).
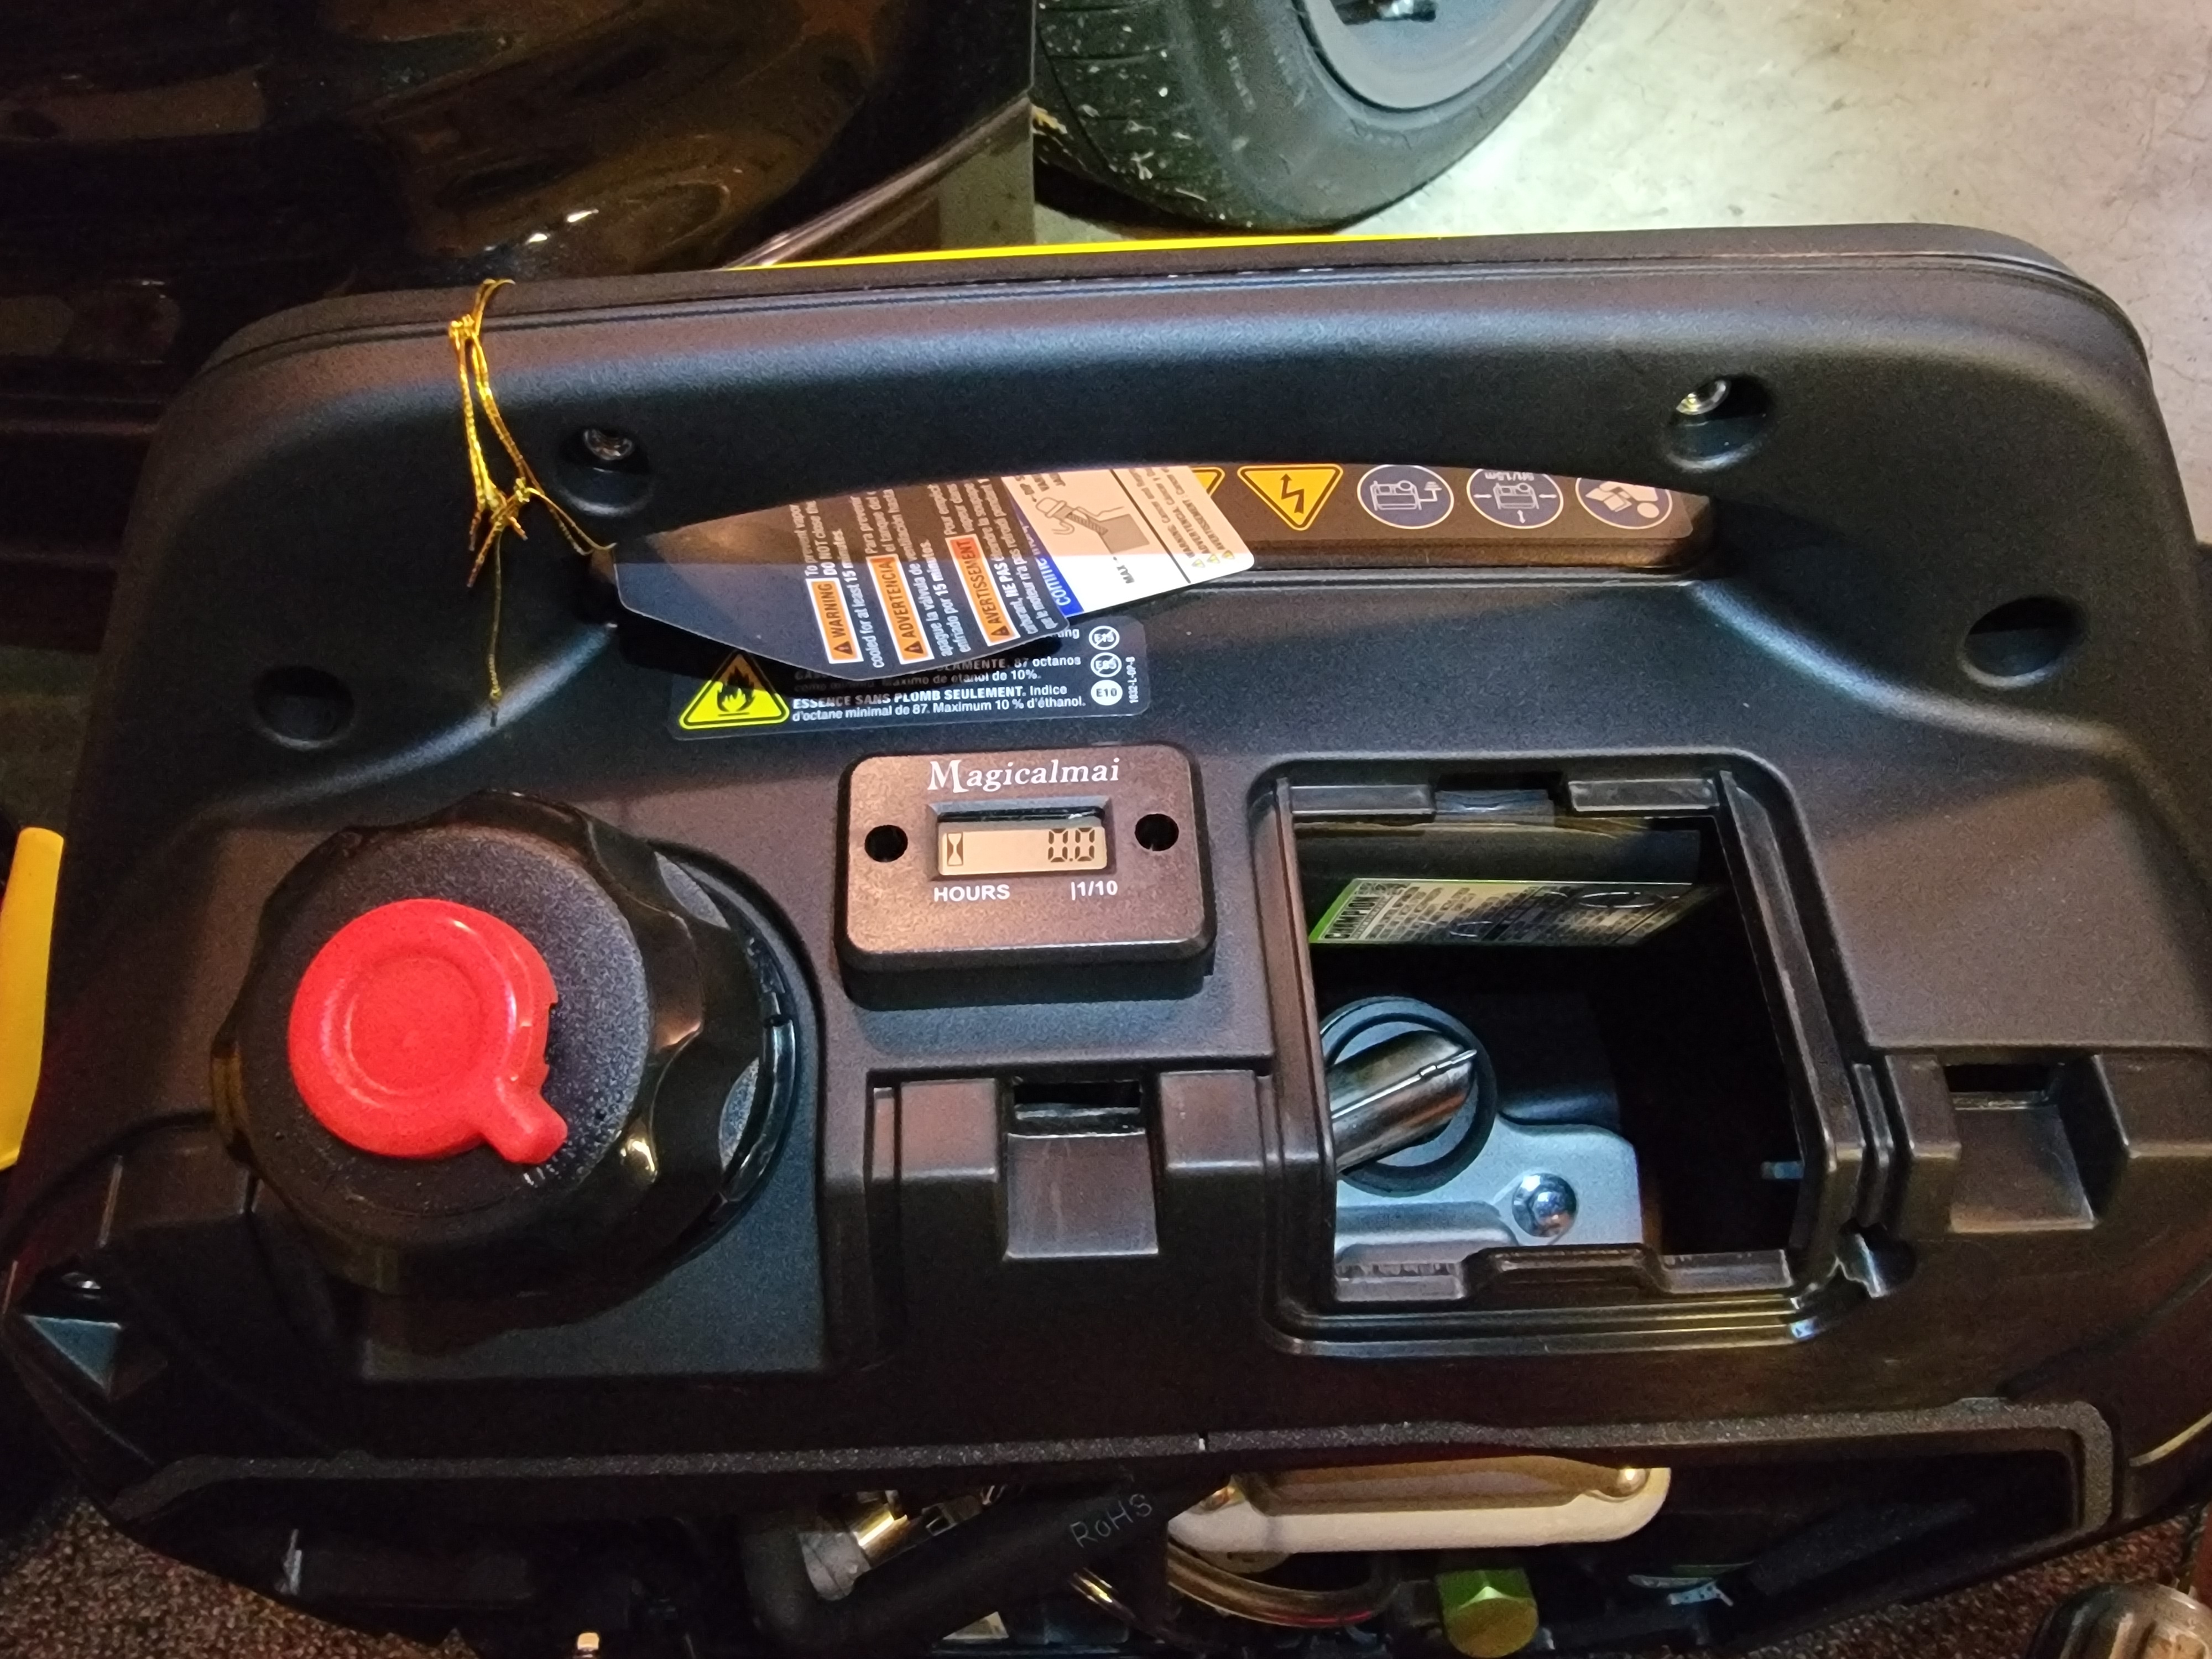
Screw back the side panel and and that’s it!
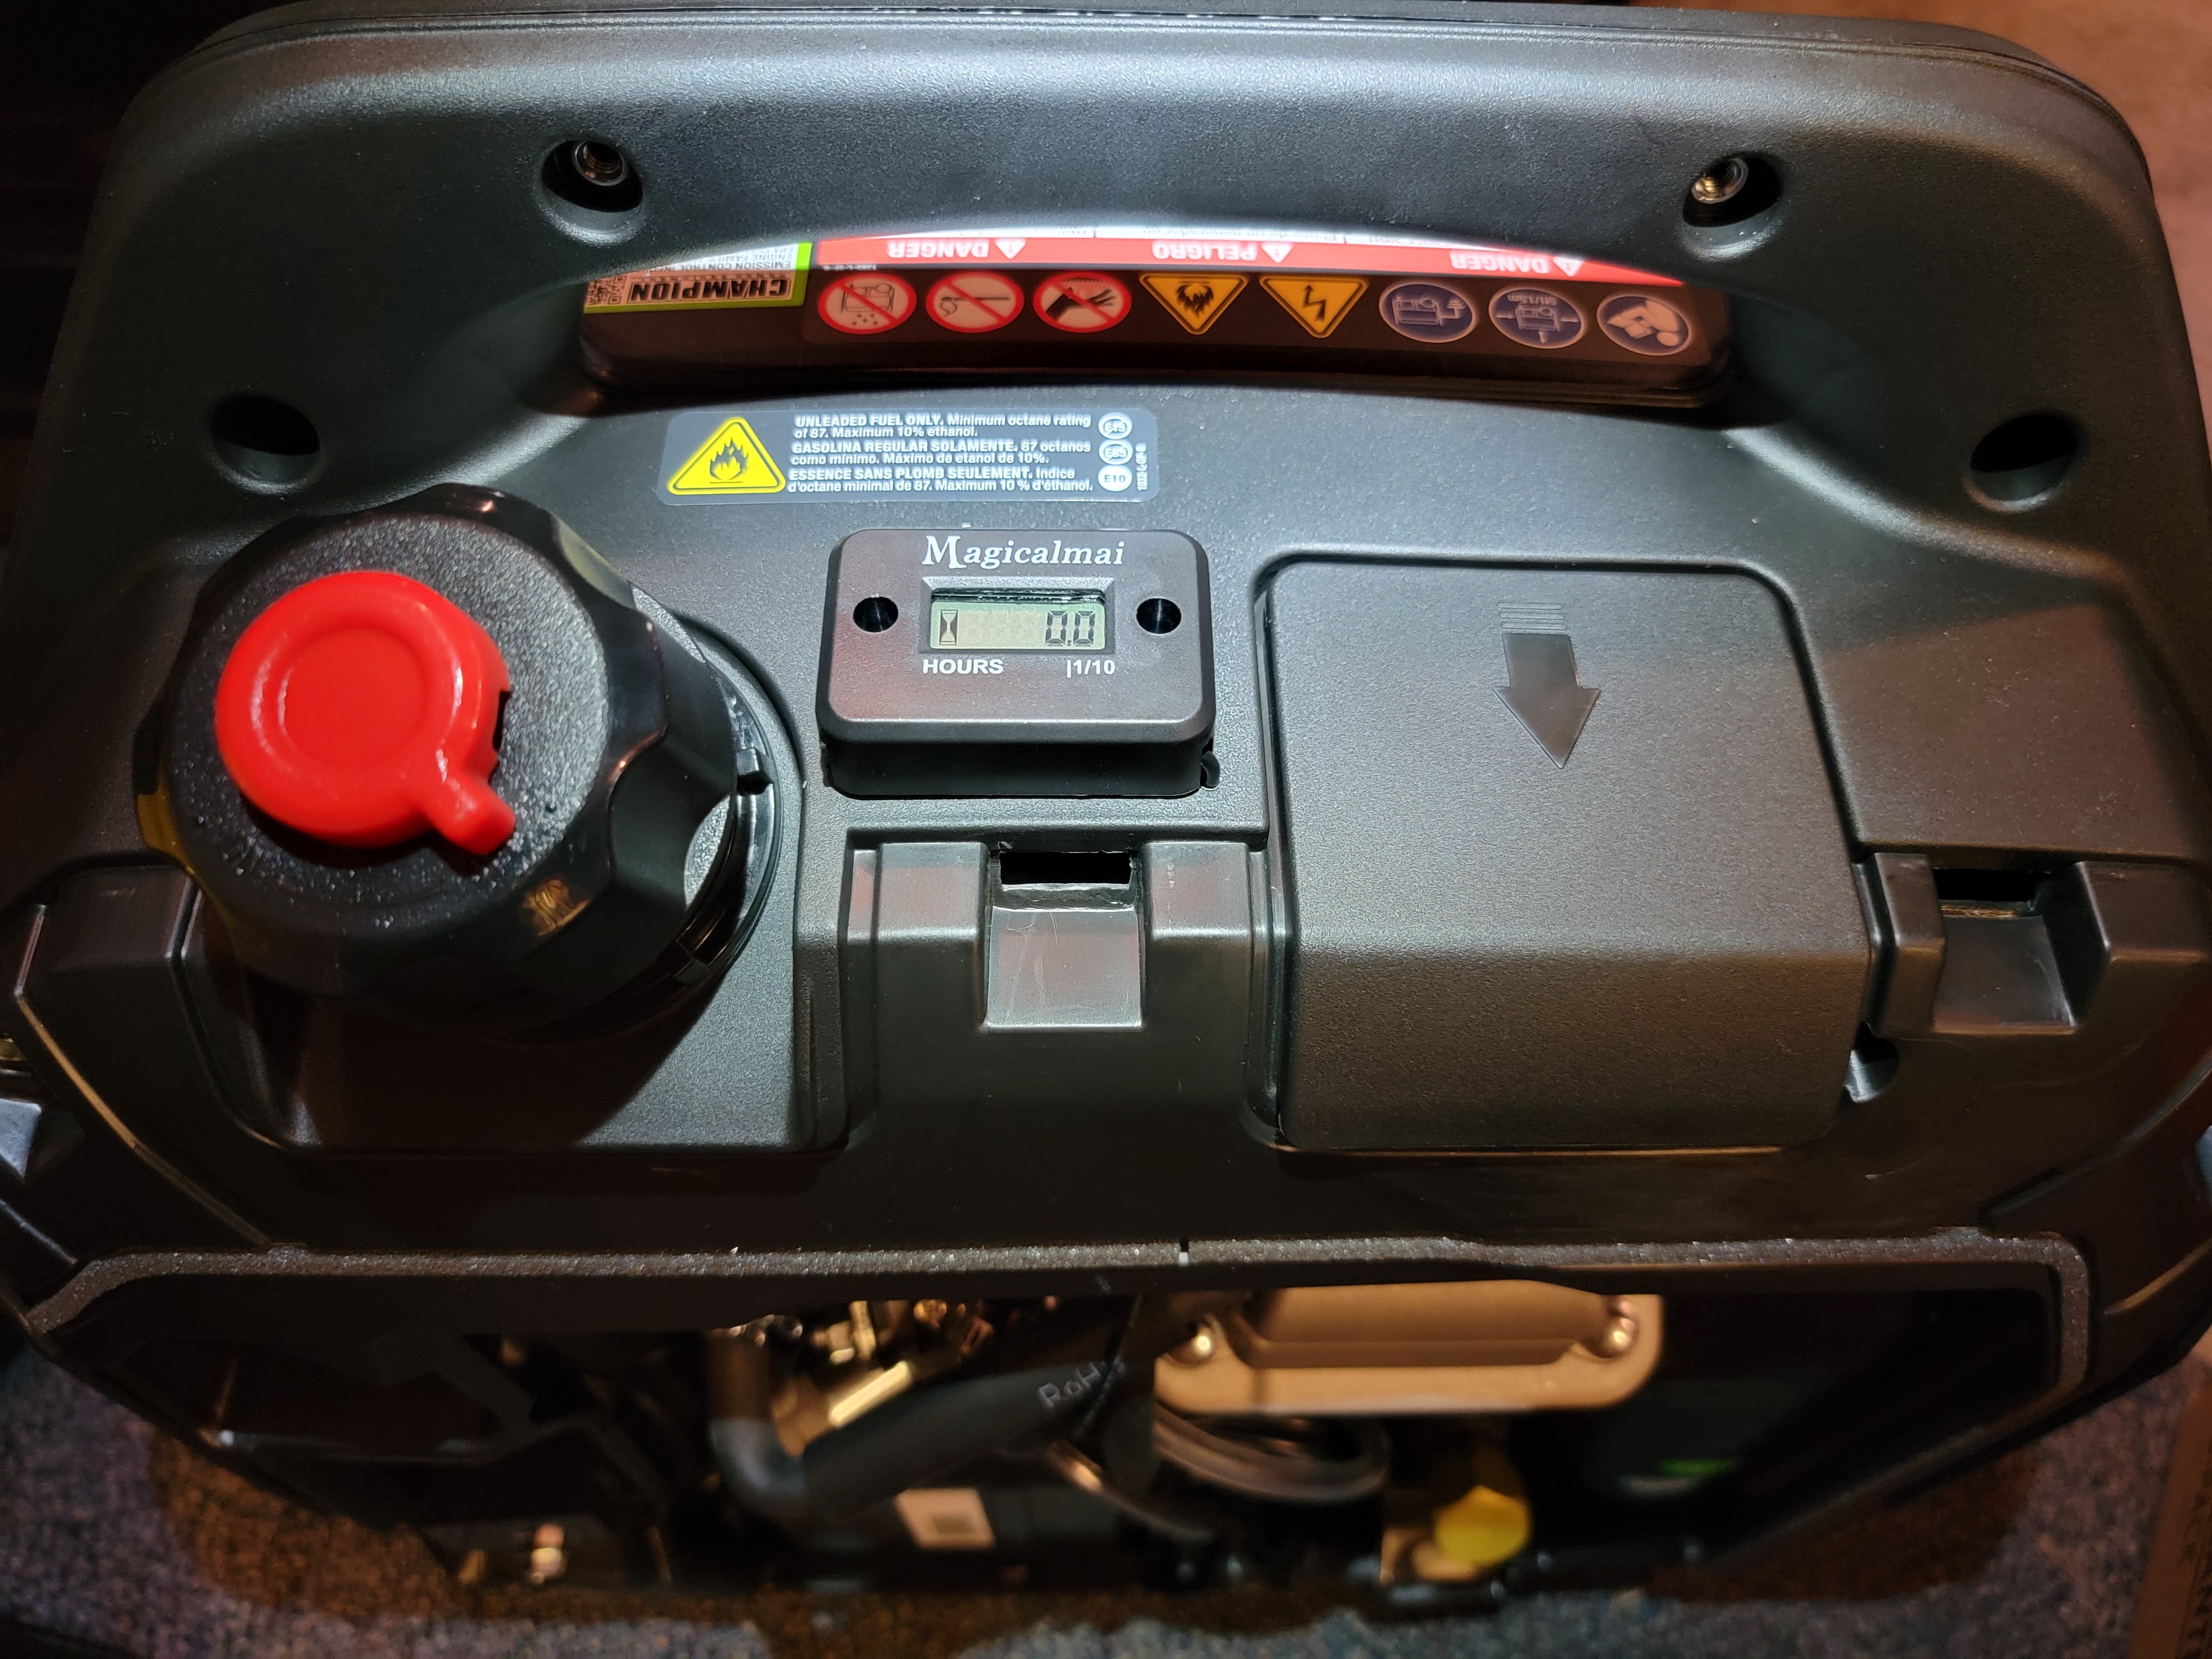
All done. Looks like it came like that way from the factory, doesn’t it? 😉
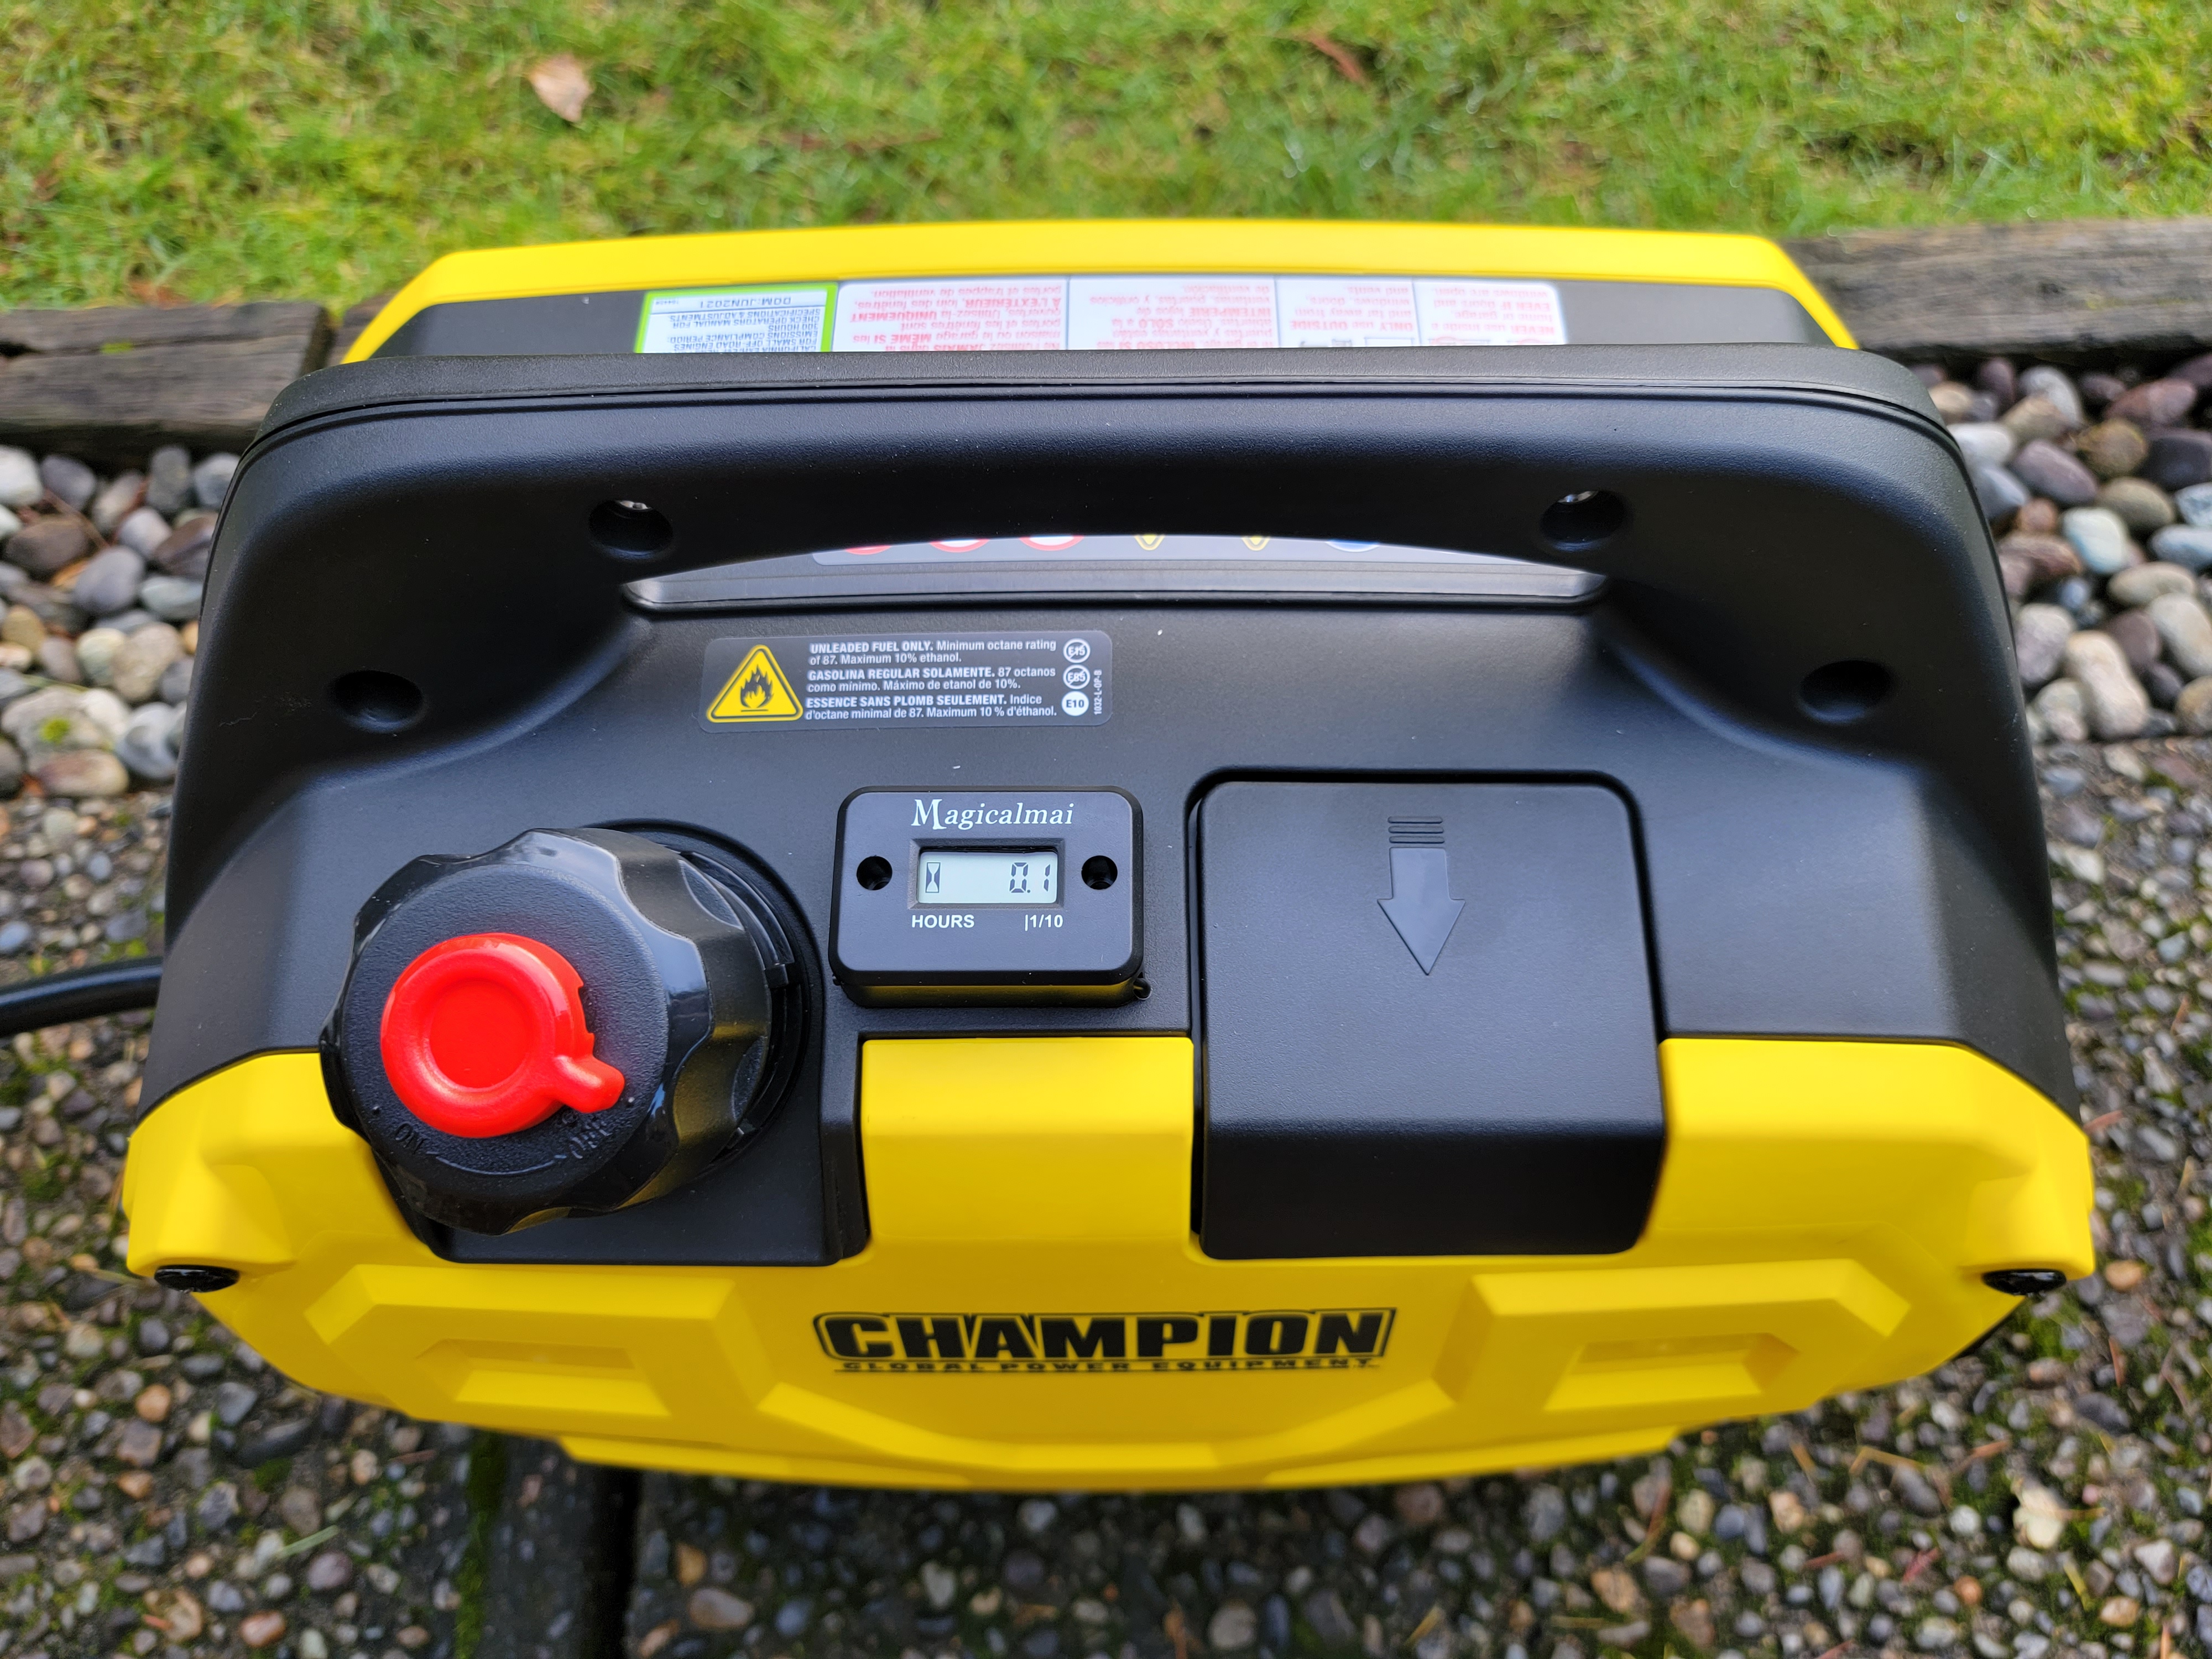
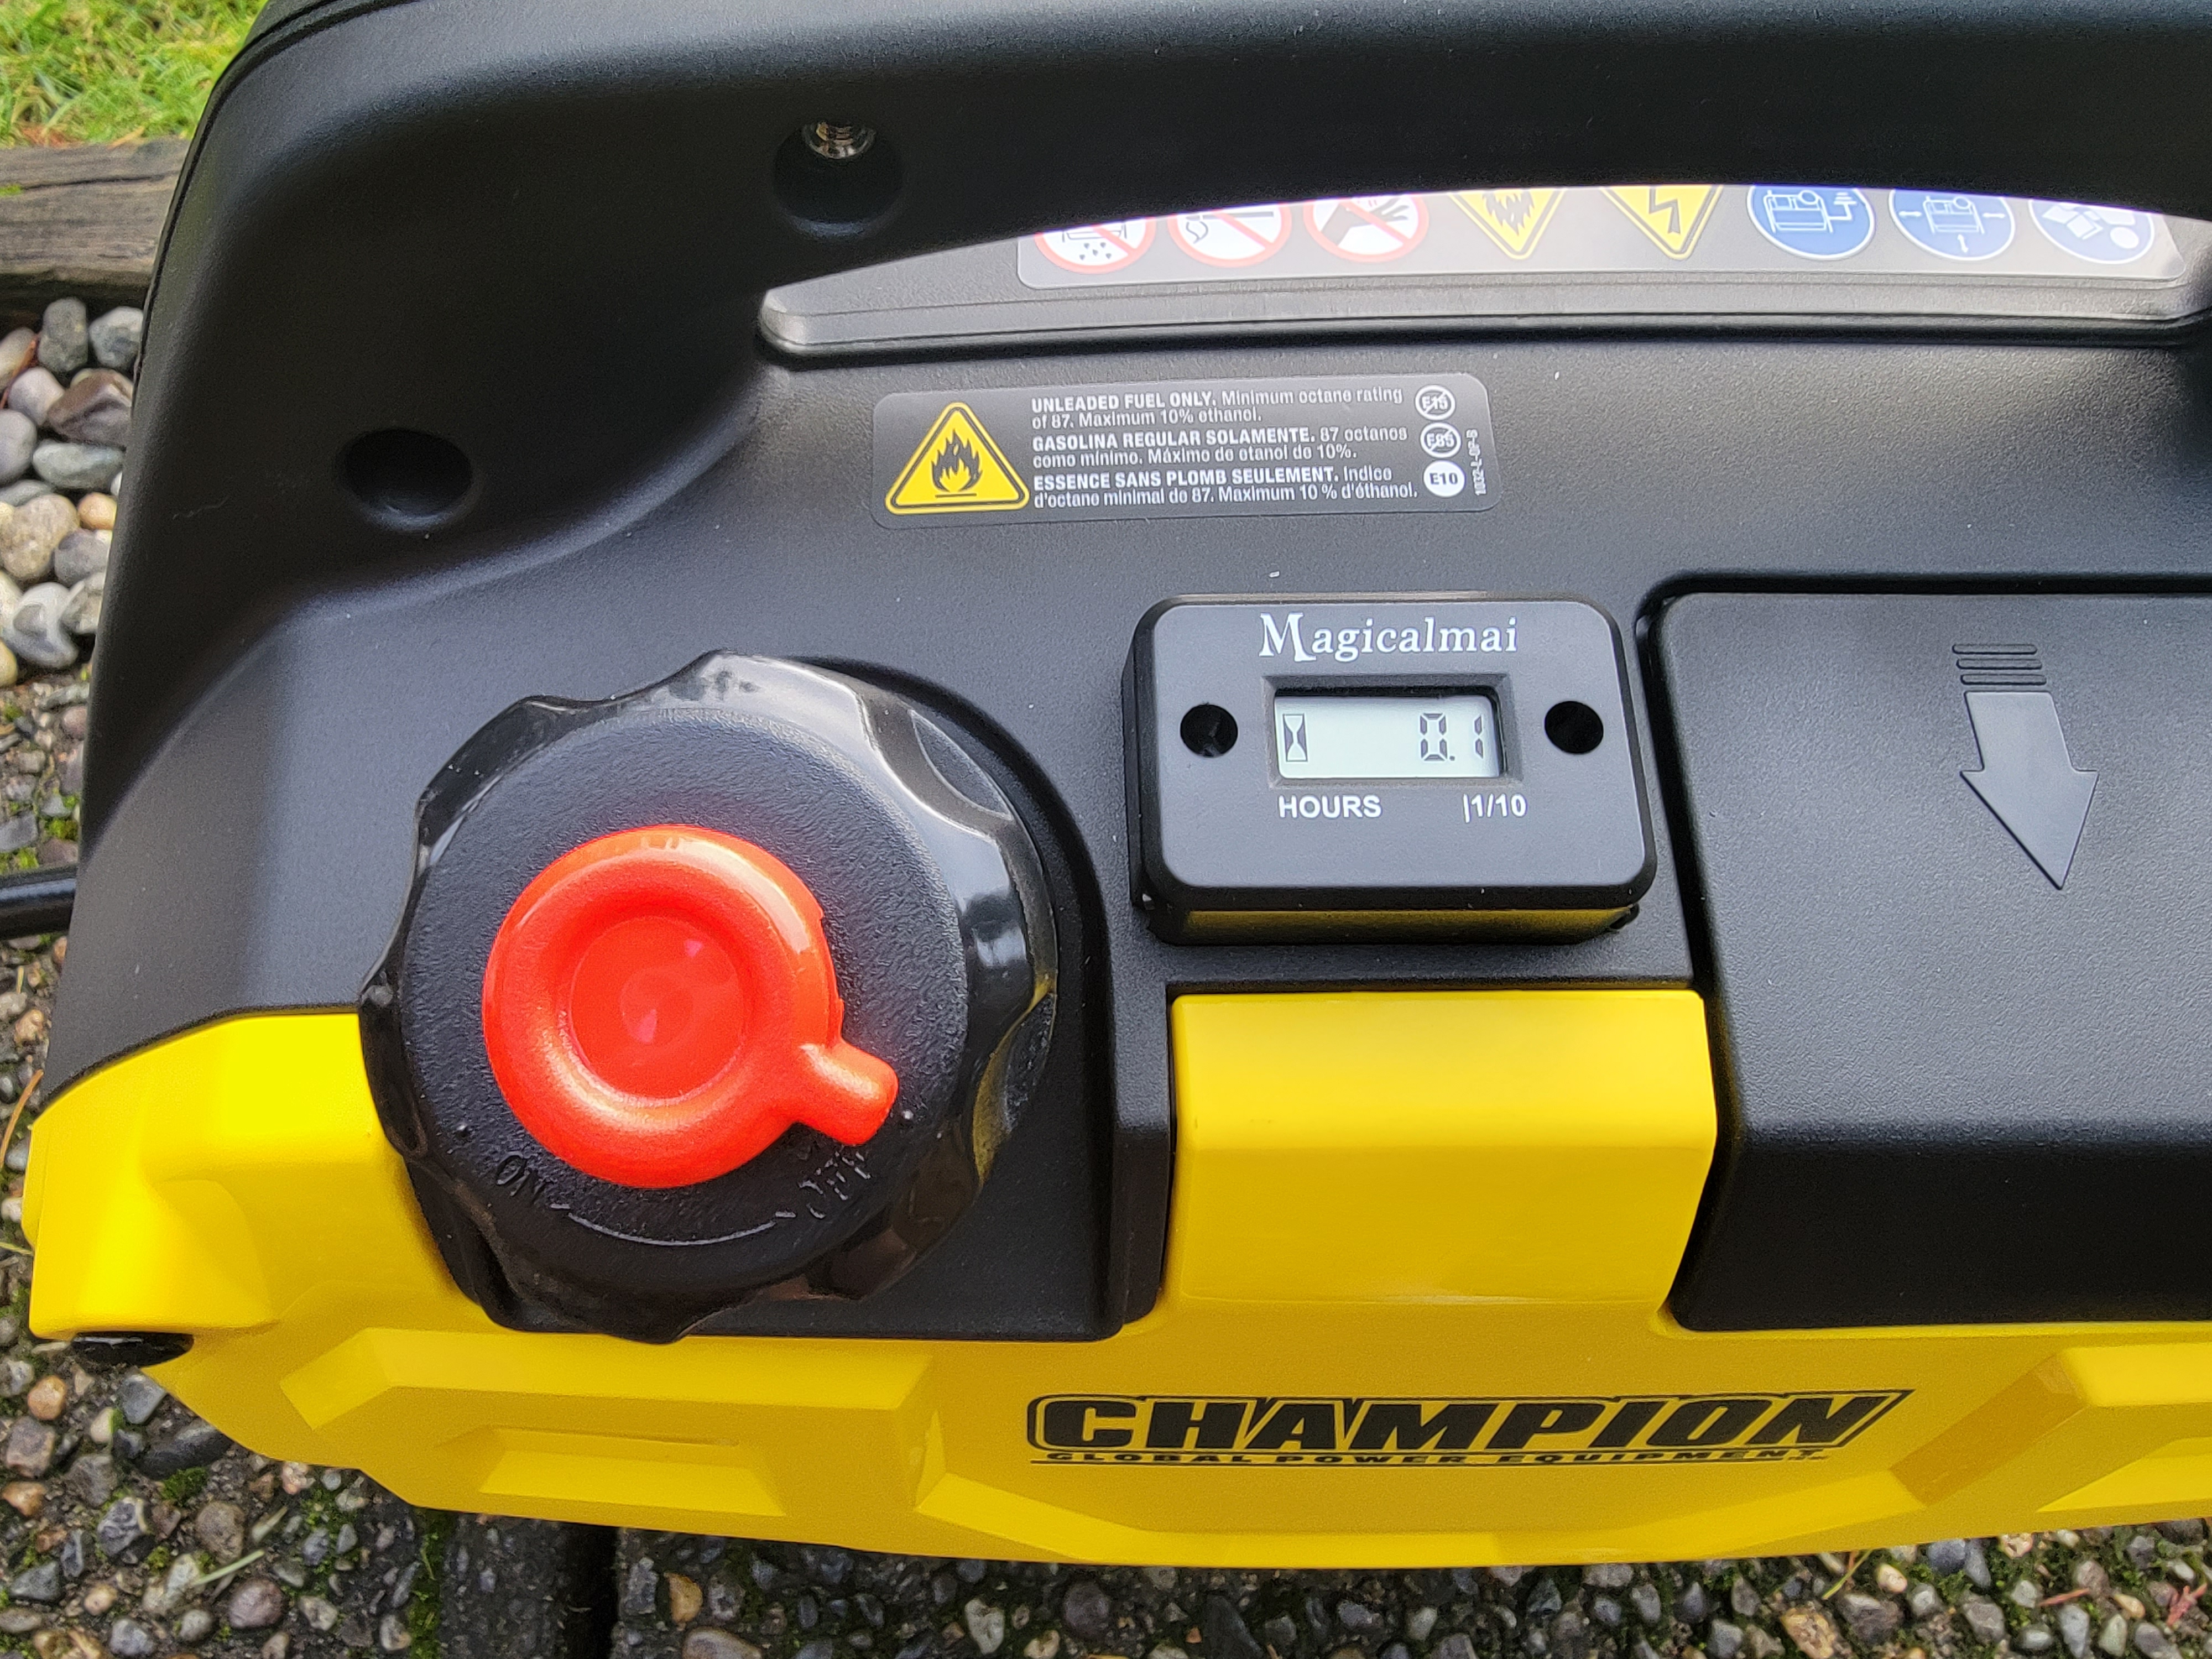
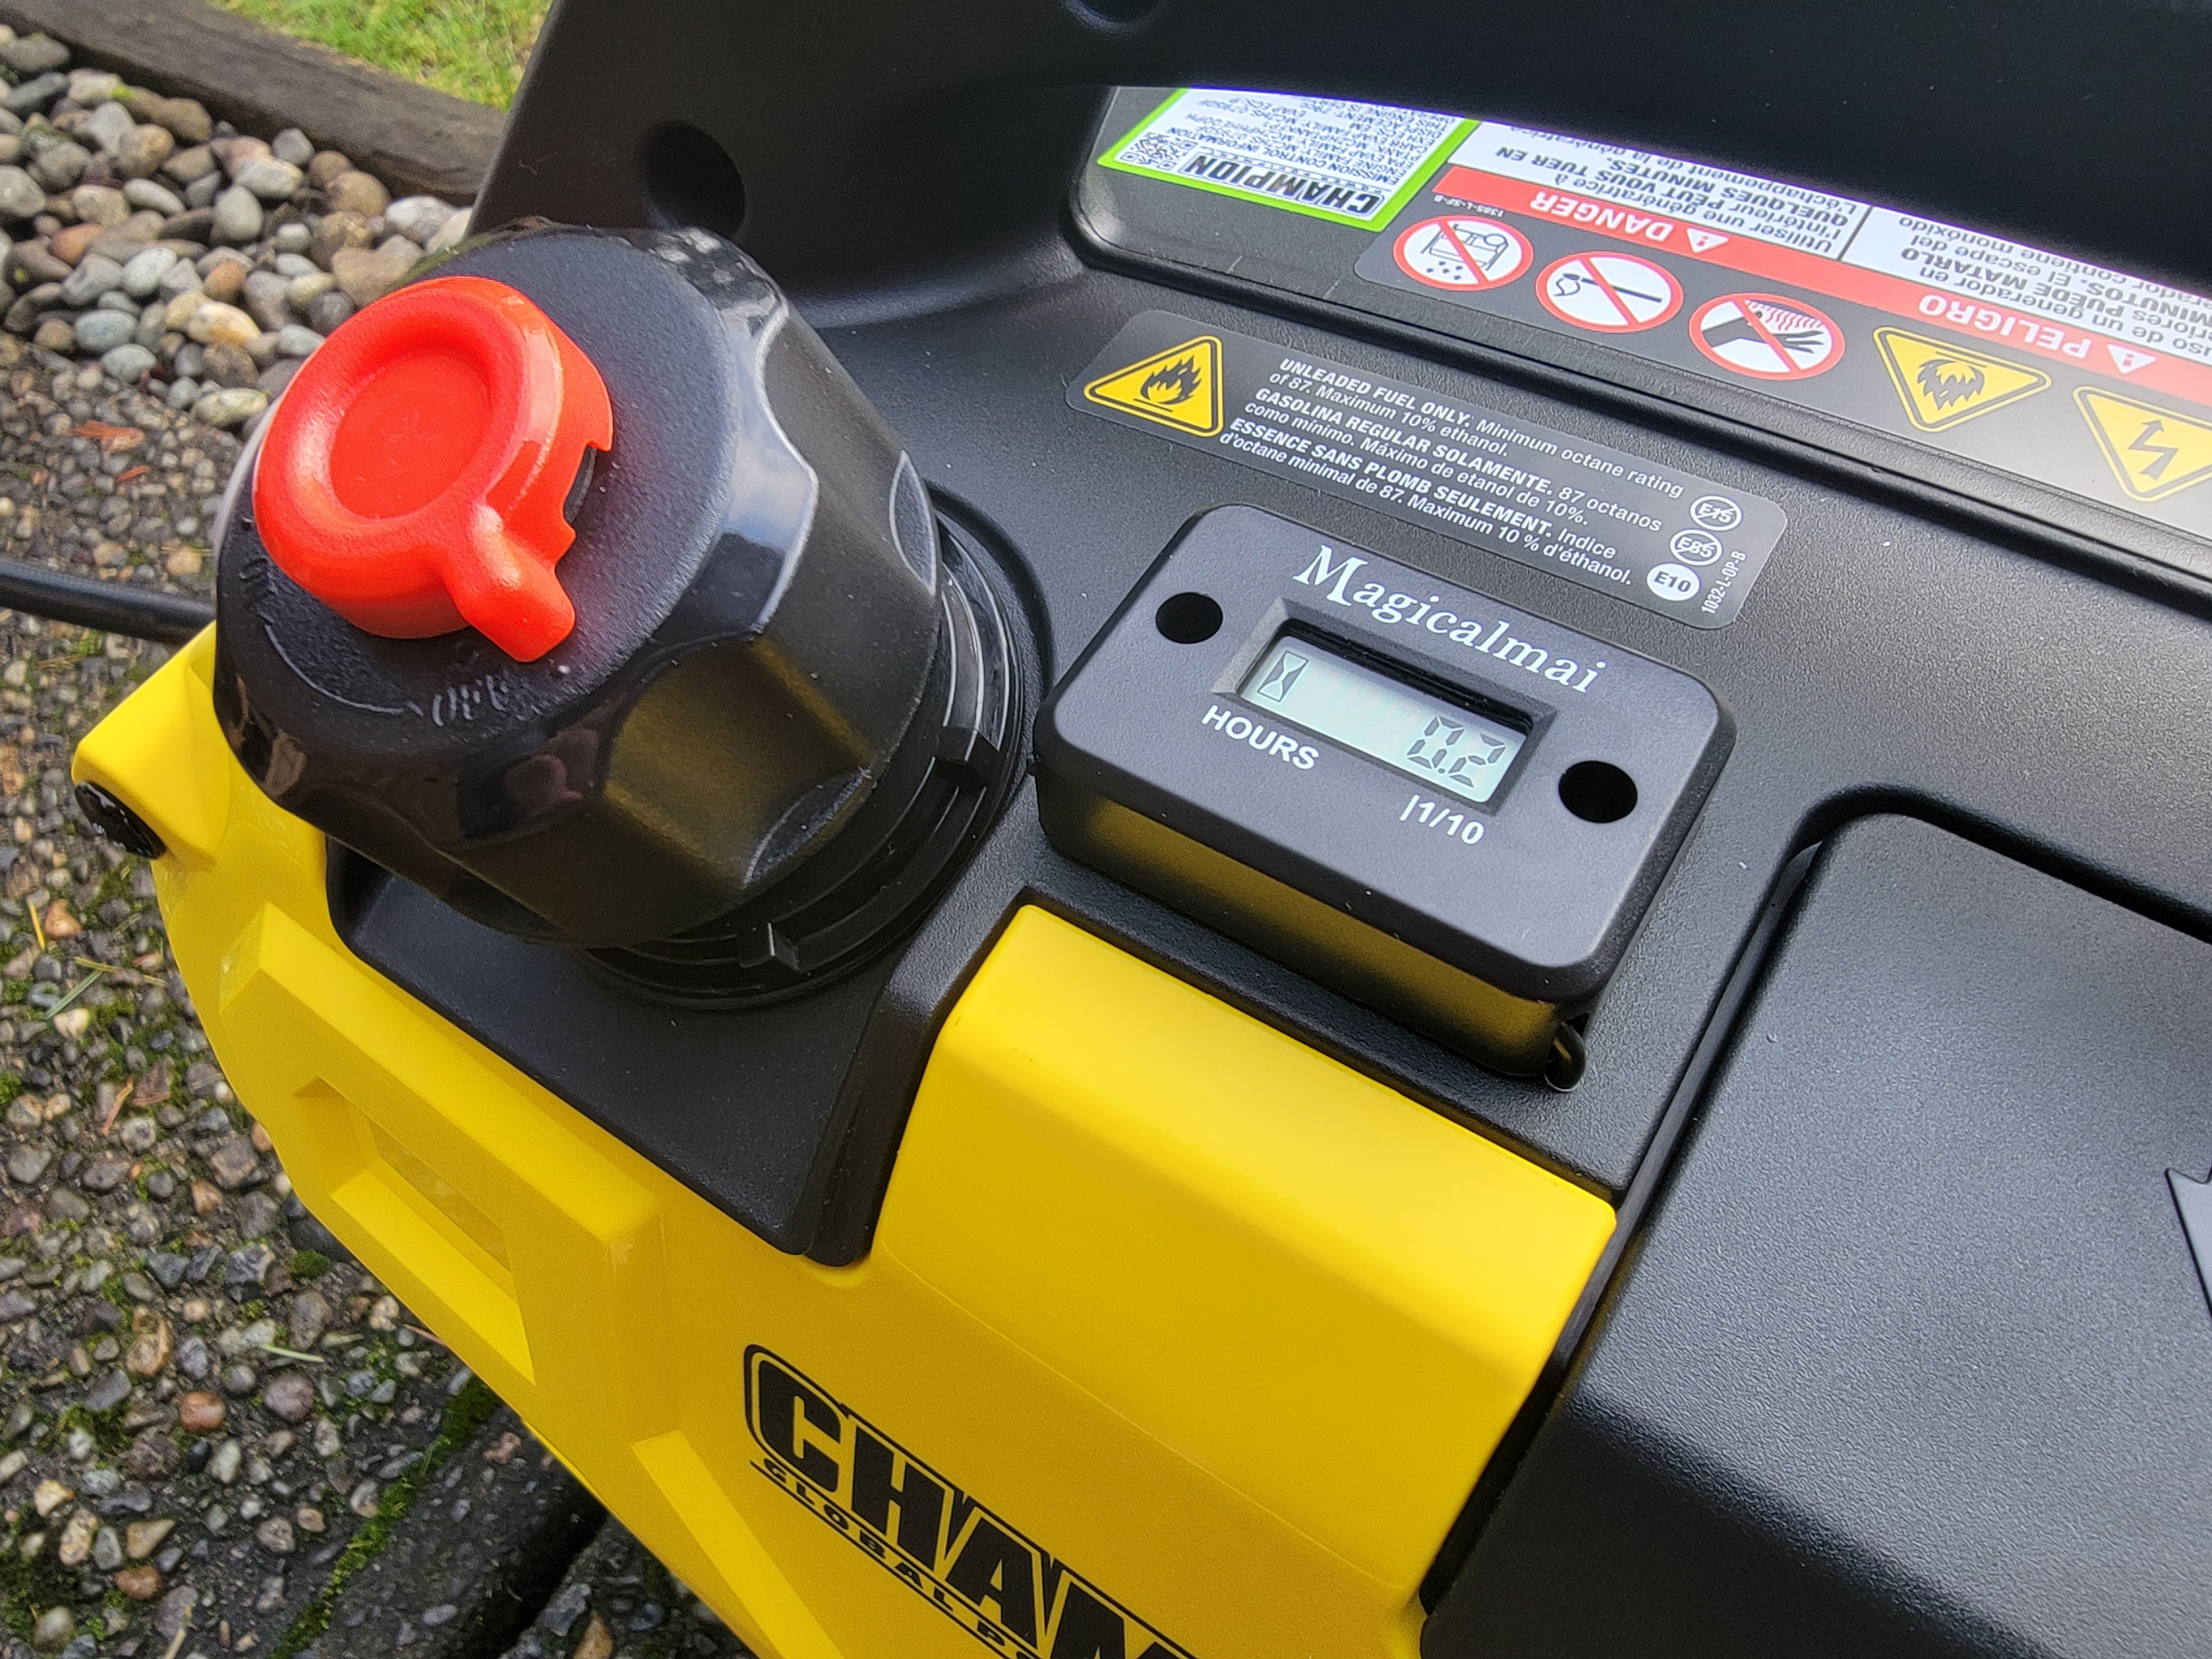
The model of hour meter I’m using shows an icon on the left side when it detects that the unit is running (based on power to the spark plug), and has a 1/10th of an hour resolution (decimal value will increment every 6 minutes), so I let it run for ~15 minutes to warm up and confirm everything is behaving properly. This does not conclude the break-in period however…
Demonstration from the first run
Here’s how things look and work 🙂

Generator or a large power bank?
There are large power banks available, in a similar form factor as portable generator (although usually smaller and lighter than generators). So why pick one over the other?
Generators can run for extended periods of time, and while noisy and need to be used outdoors, are a great way to provide power for longer.
Large power banks are great for both indoor (do not use generator indoors!) and outdoor use, for small camping trips, where you may want to have convenient access to electricity, in order to power a lamp, or charge other devices (phones, laptops, projector, etc).They can be handy during power outage as well, but the capacity, as well as power output (most commonly under 500 W) are usually the limiting factors.
As I was looking at different options, the Jackery Explorer 500 (518Wh, 500W) [$599.99, view on Amazon] and EF ECOFLOW RIVER Pro (720Wh, 700W) [$649, view on Amazon] caught my attention and look like solid choices.
So, as it often is in life – it’s all a matter of the specific case, in which you need extra power…
While I hope another power outage doesn’t come too soon (and doesn’t last long!), at least now I feel much better prepared 😉


Leave a Reply