

As I’m continuing with the racing adventures (🙂), I decided to add a bit more character to my helmet. Nothing too crazy, just some details to:
a) help folks see my name (there’s always so many great people on the track, I thought it could be helpful),
b) help us stay in touch/advertise my socials,
There’s a variety of options when it comes to decals, from purchasing sticker sheets (lots of those available on Amazon), through ordering common designs online (I ordered couple track outlines from https://www.trackdecals.com – will update this post once they arrive), to placing custom orders for your own designs.
But – I wanted to make them myself, considering the simple goal in my mind. And having a Cricut, it didn’t seem like a daunting task at all. Although I have to admit – a task that does require a certain degree of patience and precision.
Alright, let’s get to it!
Table of contents
- Helmet – blank canvas
- Vinyl cutter (Cricut)
- Designing and cutting out the decals
- Applying the decals
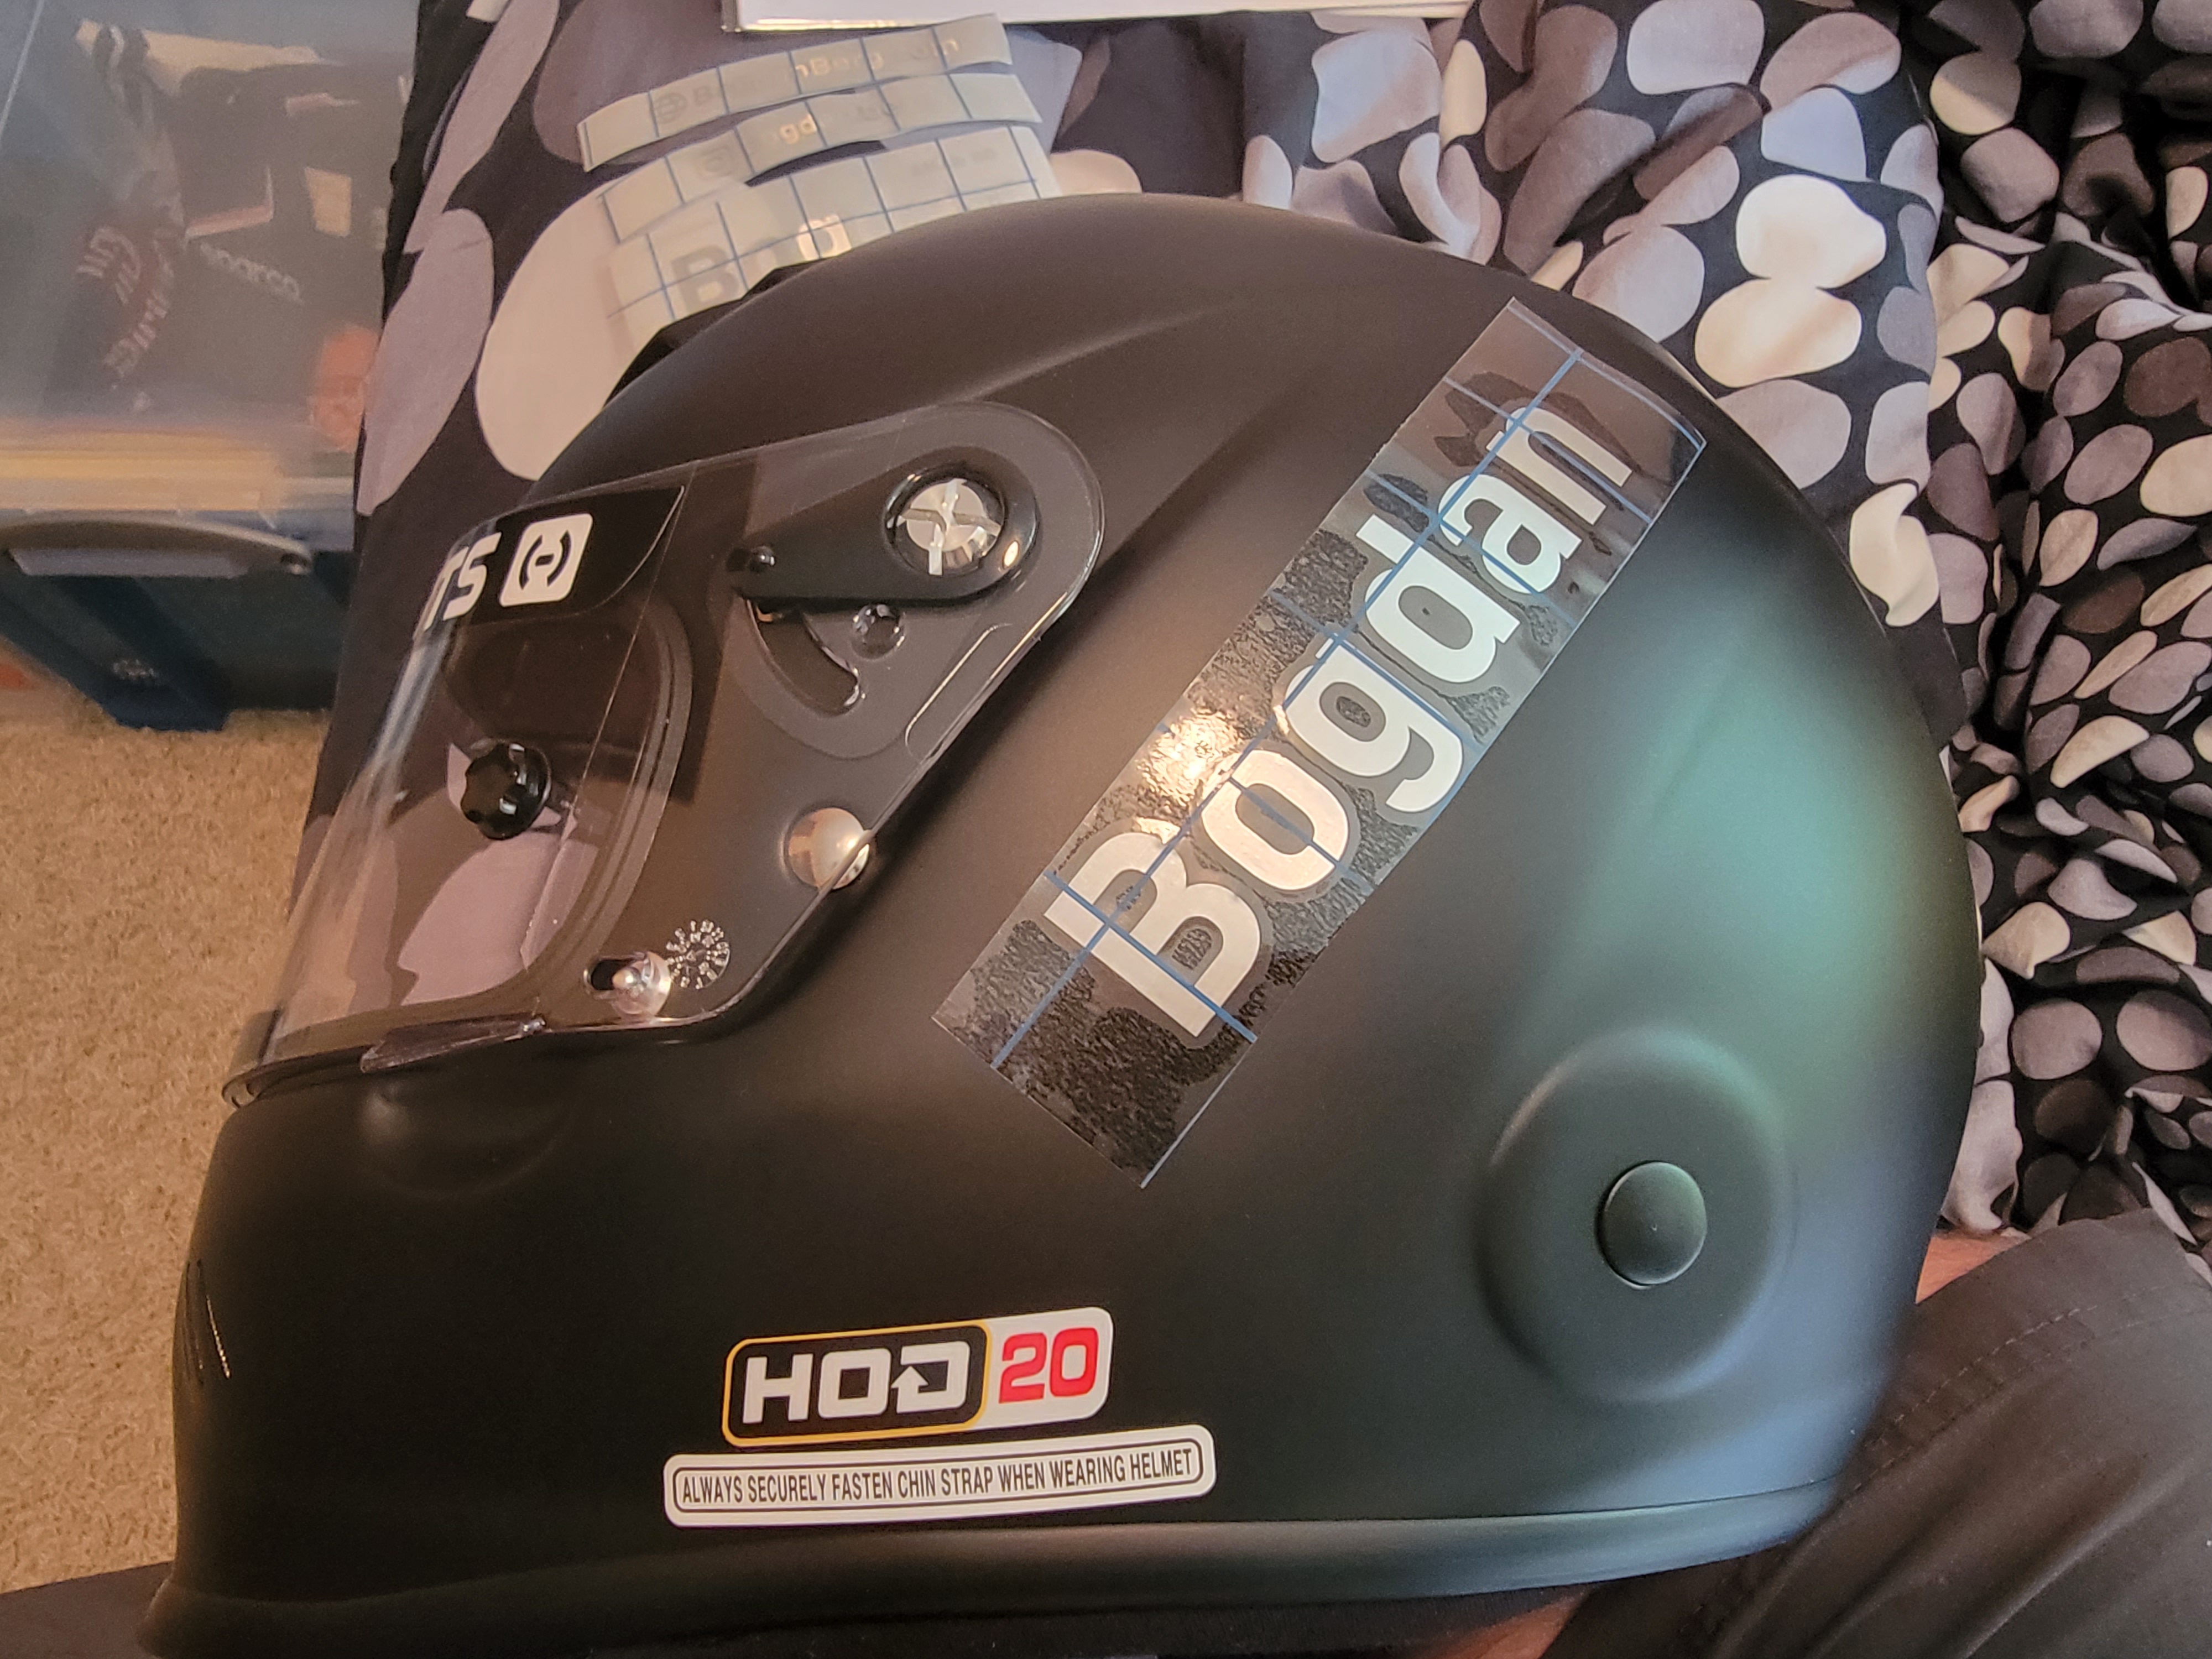
Helmet I’m using
This is the HJC H10 helmet, certified Snell SA 2020, very popular and affordable option. Sizing runs a bit small (I’d fit in a Large Bell helmets, but in this line, I’m using… 2XL.
Here’s our blank canvas:
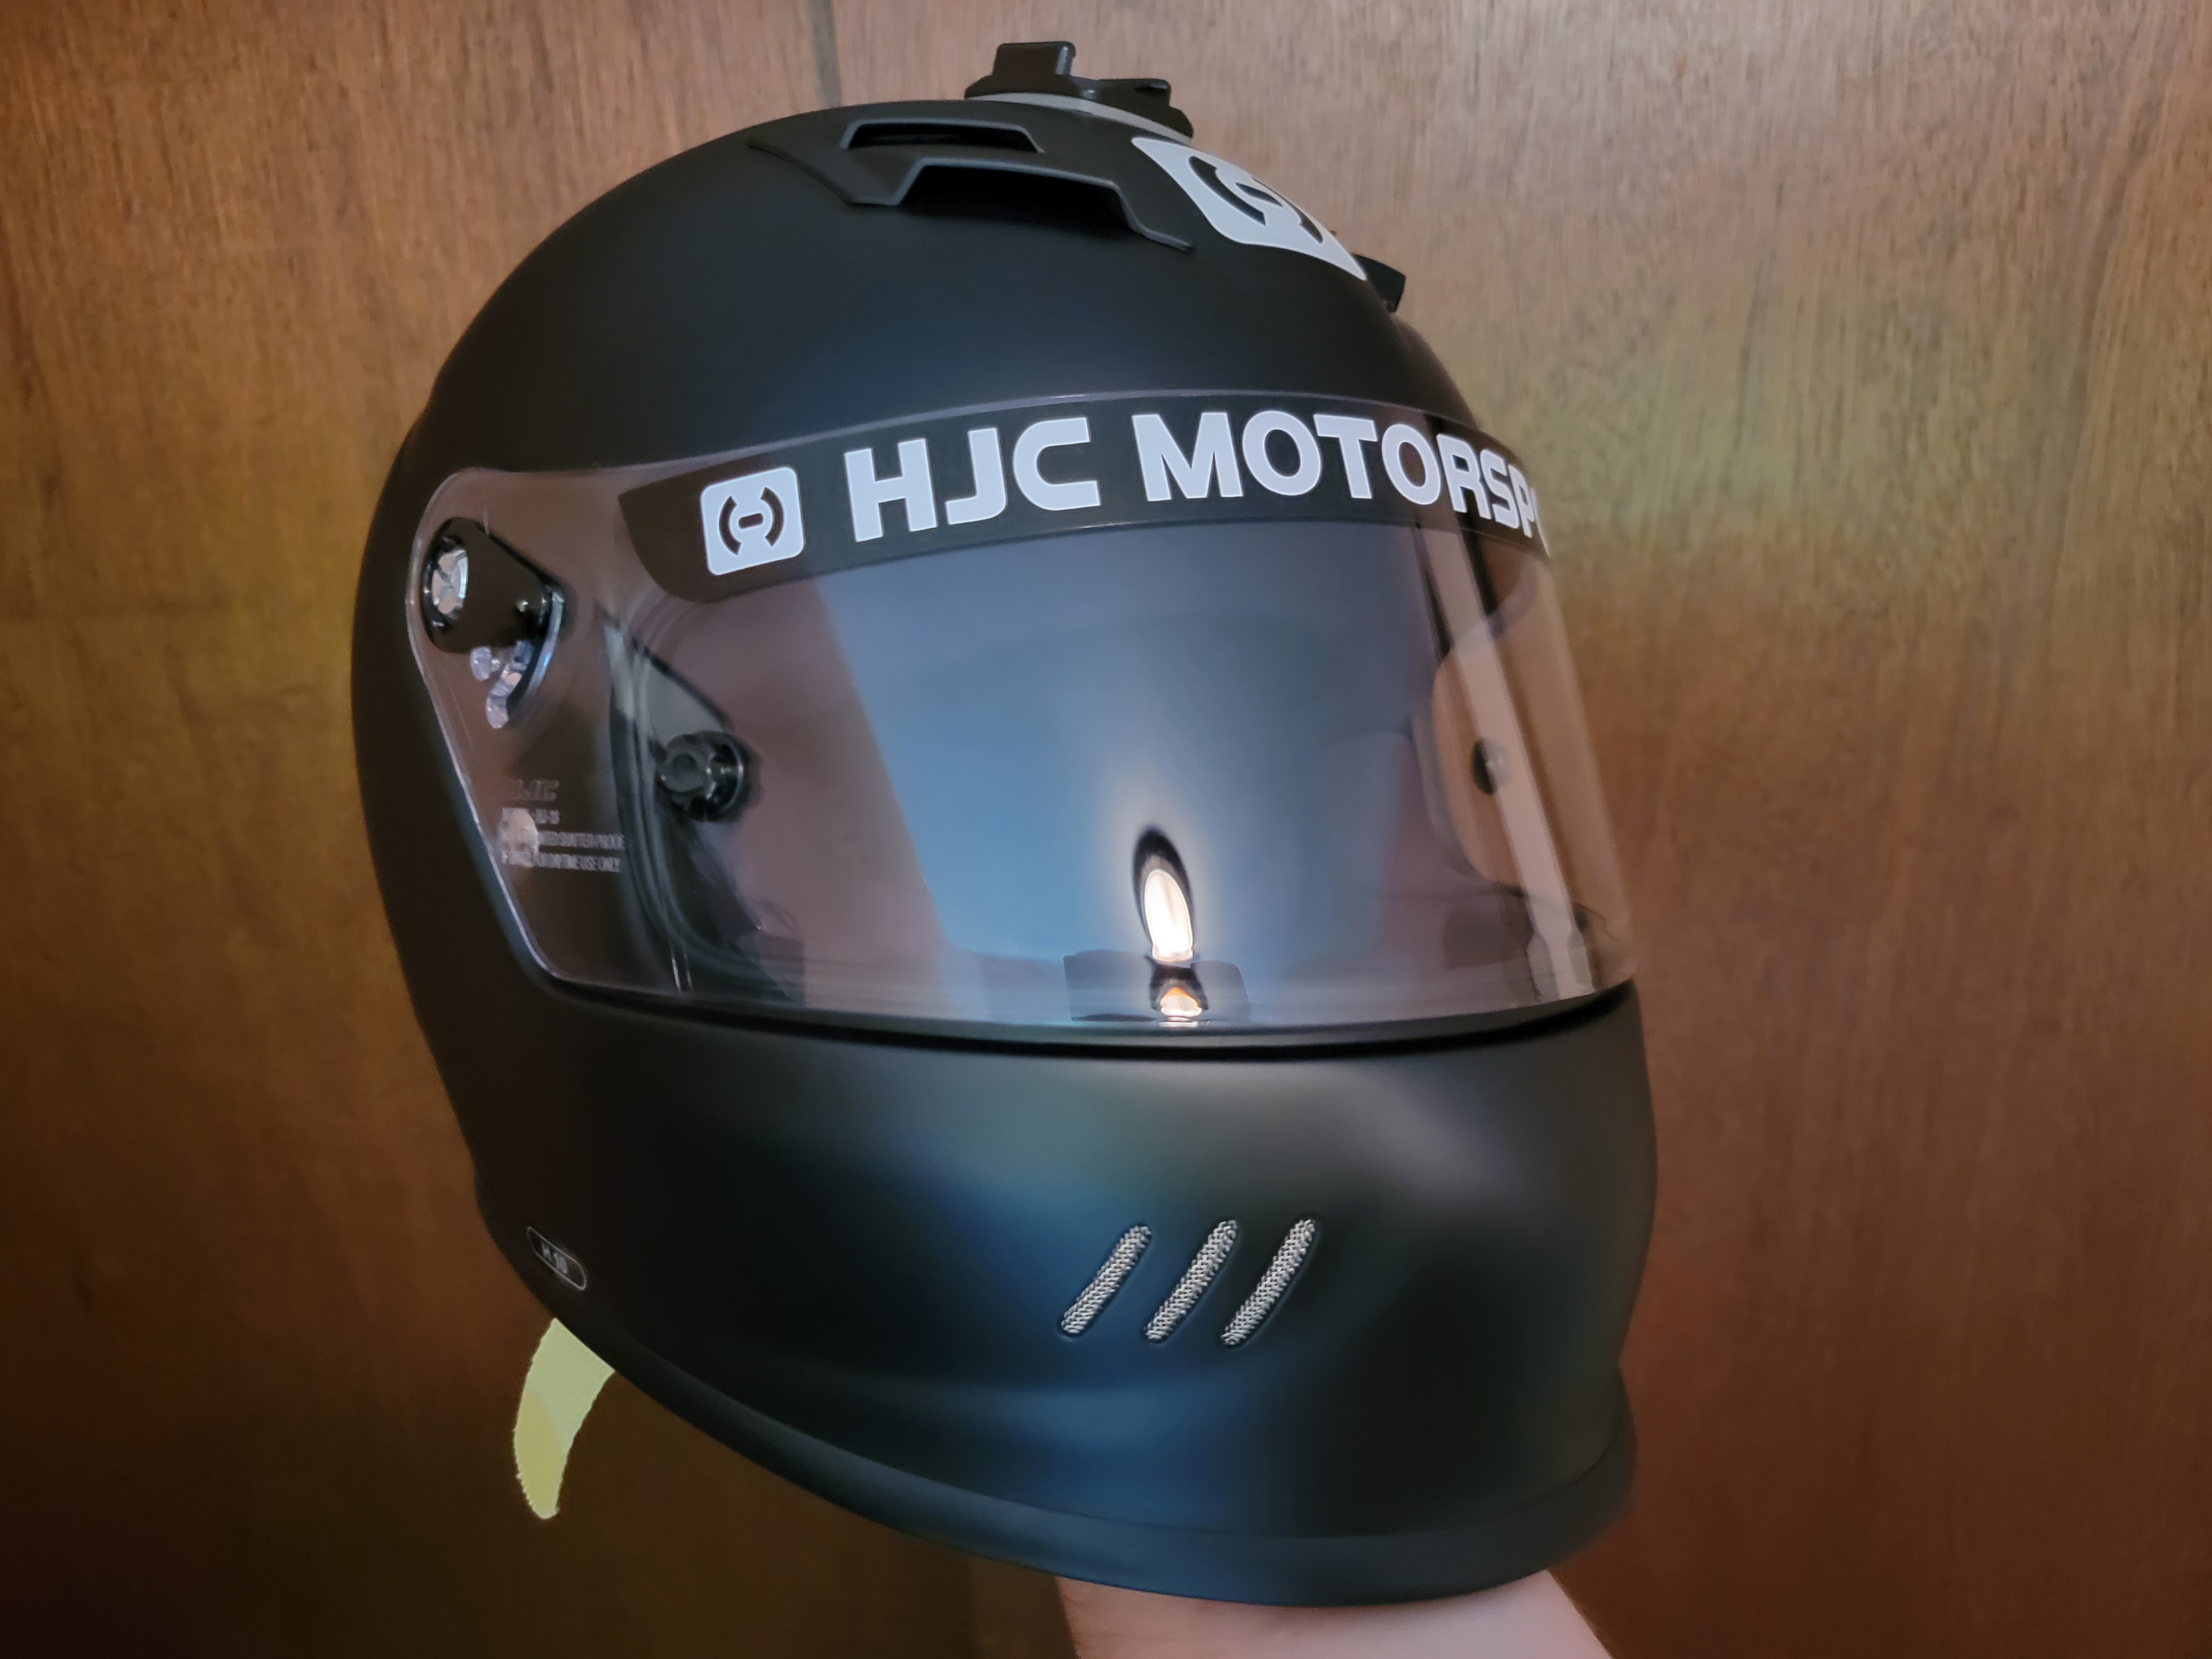
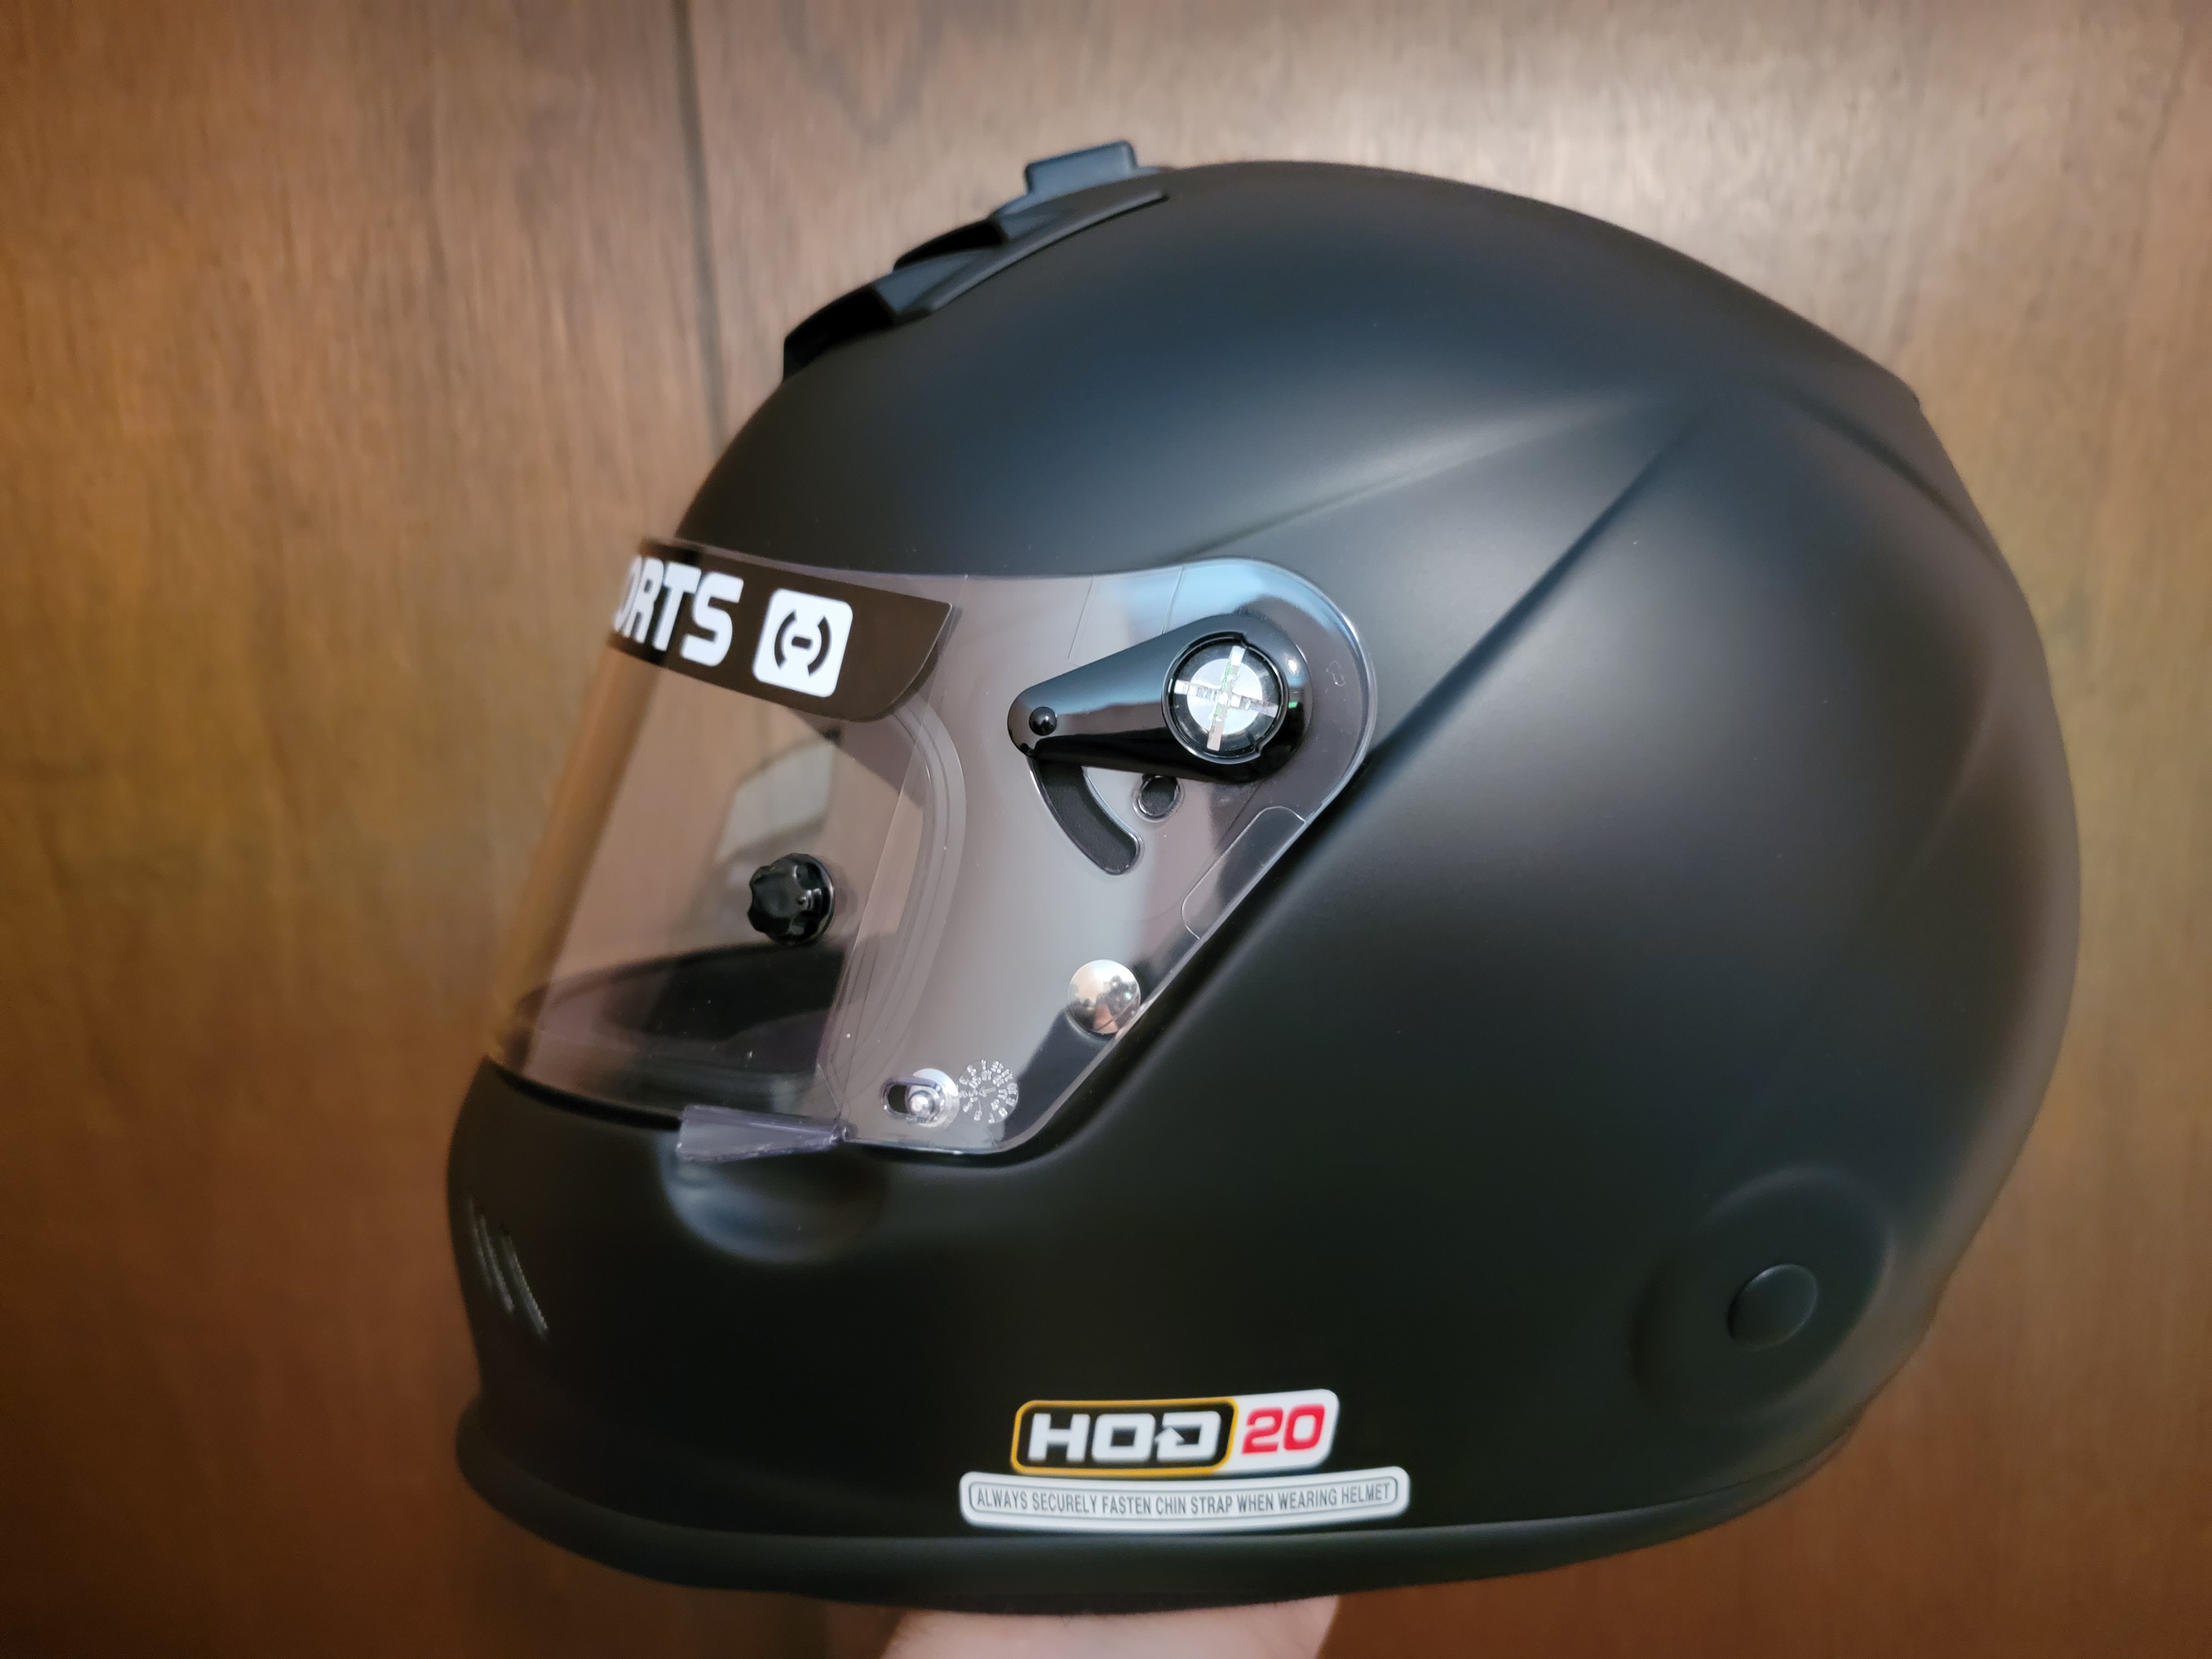
You’ll likely notice the “HOD 20” sticker – it’s to indicate that this helmet has been inspected/signed off by HOD (Hooked on Driving, https://www.hookedondriving.com) to help with check-in process for events they organize.
Machine for cutting the decals
As I mentioned in the introduction, I’m using a Cricut, specifically – Cricut Maker 3. (see on Amazon). Without going into much details, I’d rate the hardware 9/10 (sleek, robust, a bit on the noisier side, but capable), and software associated with that platform (Cricut Design Space) at maybe 5/10 (very limited, lacking in the usability department, and if you used any CAD tools, or even Photoshop, you’ll feel how “incomplete” the feature set feels).
But again – it’s a capable machine, so nothing should stop us from making the decals.
And I’m glad Cricut realized the ridiculous goof-up they made with the introduction of subscription limitations, and then backed off (here’s an article on the Verge with more details if you’re interested).
Let’s make the decals!
The design I made is very simple indeed:
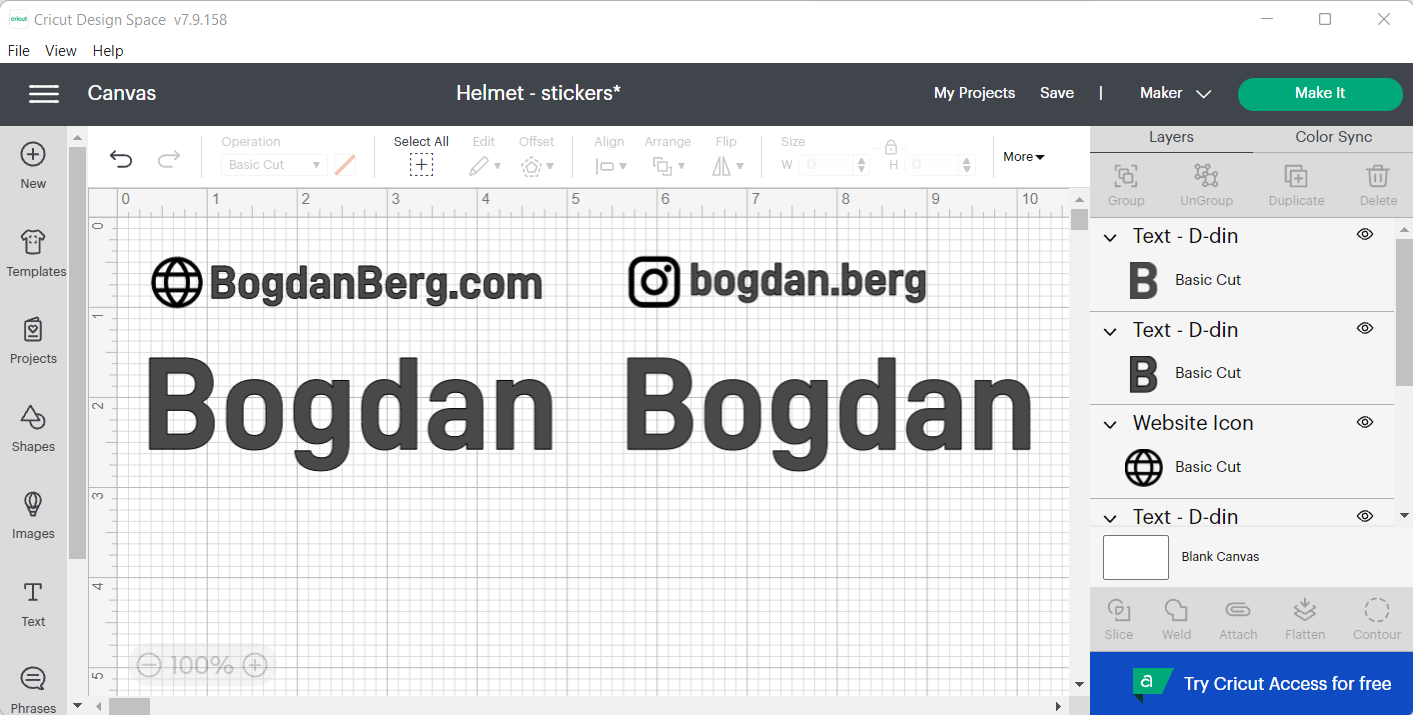
And here’s how Cricut dealt with the job:
Next step is preparing the vinyl cut-outs for application on helmet.
This is the step that requires patience and precision – weeding out the parts of vinyl that we don’t want. Inside of every B, o, g, d, a and e, as well as the insides of the icons I used. And the weeding tool is absolutely essential (see on Amazon, note that it can also be purchased in a kit).


Then we need to apply the transfer tape to help us move the pieces off of the backing while preserving their positions. And in 20-30 minutes we end up with something that looks like that:

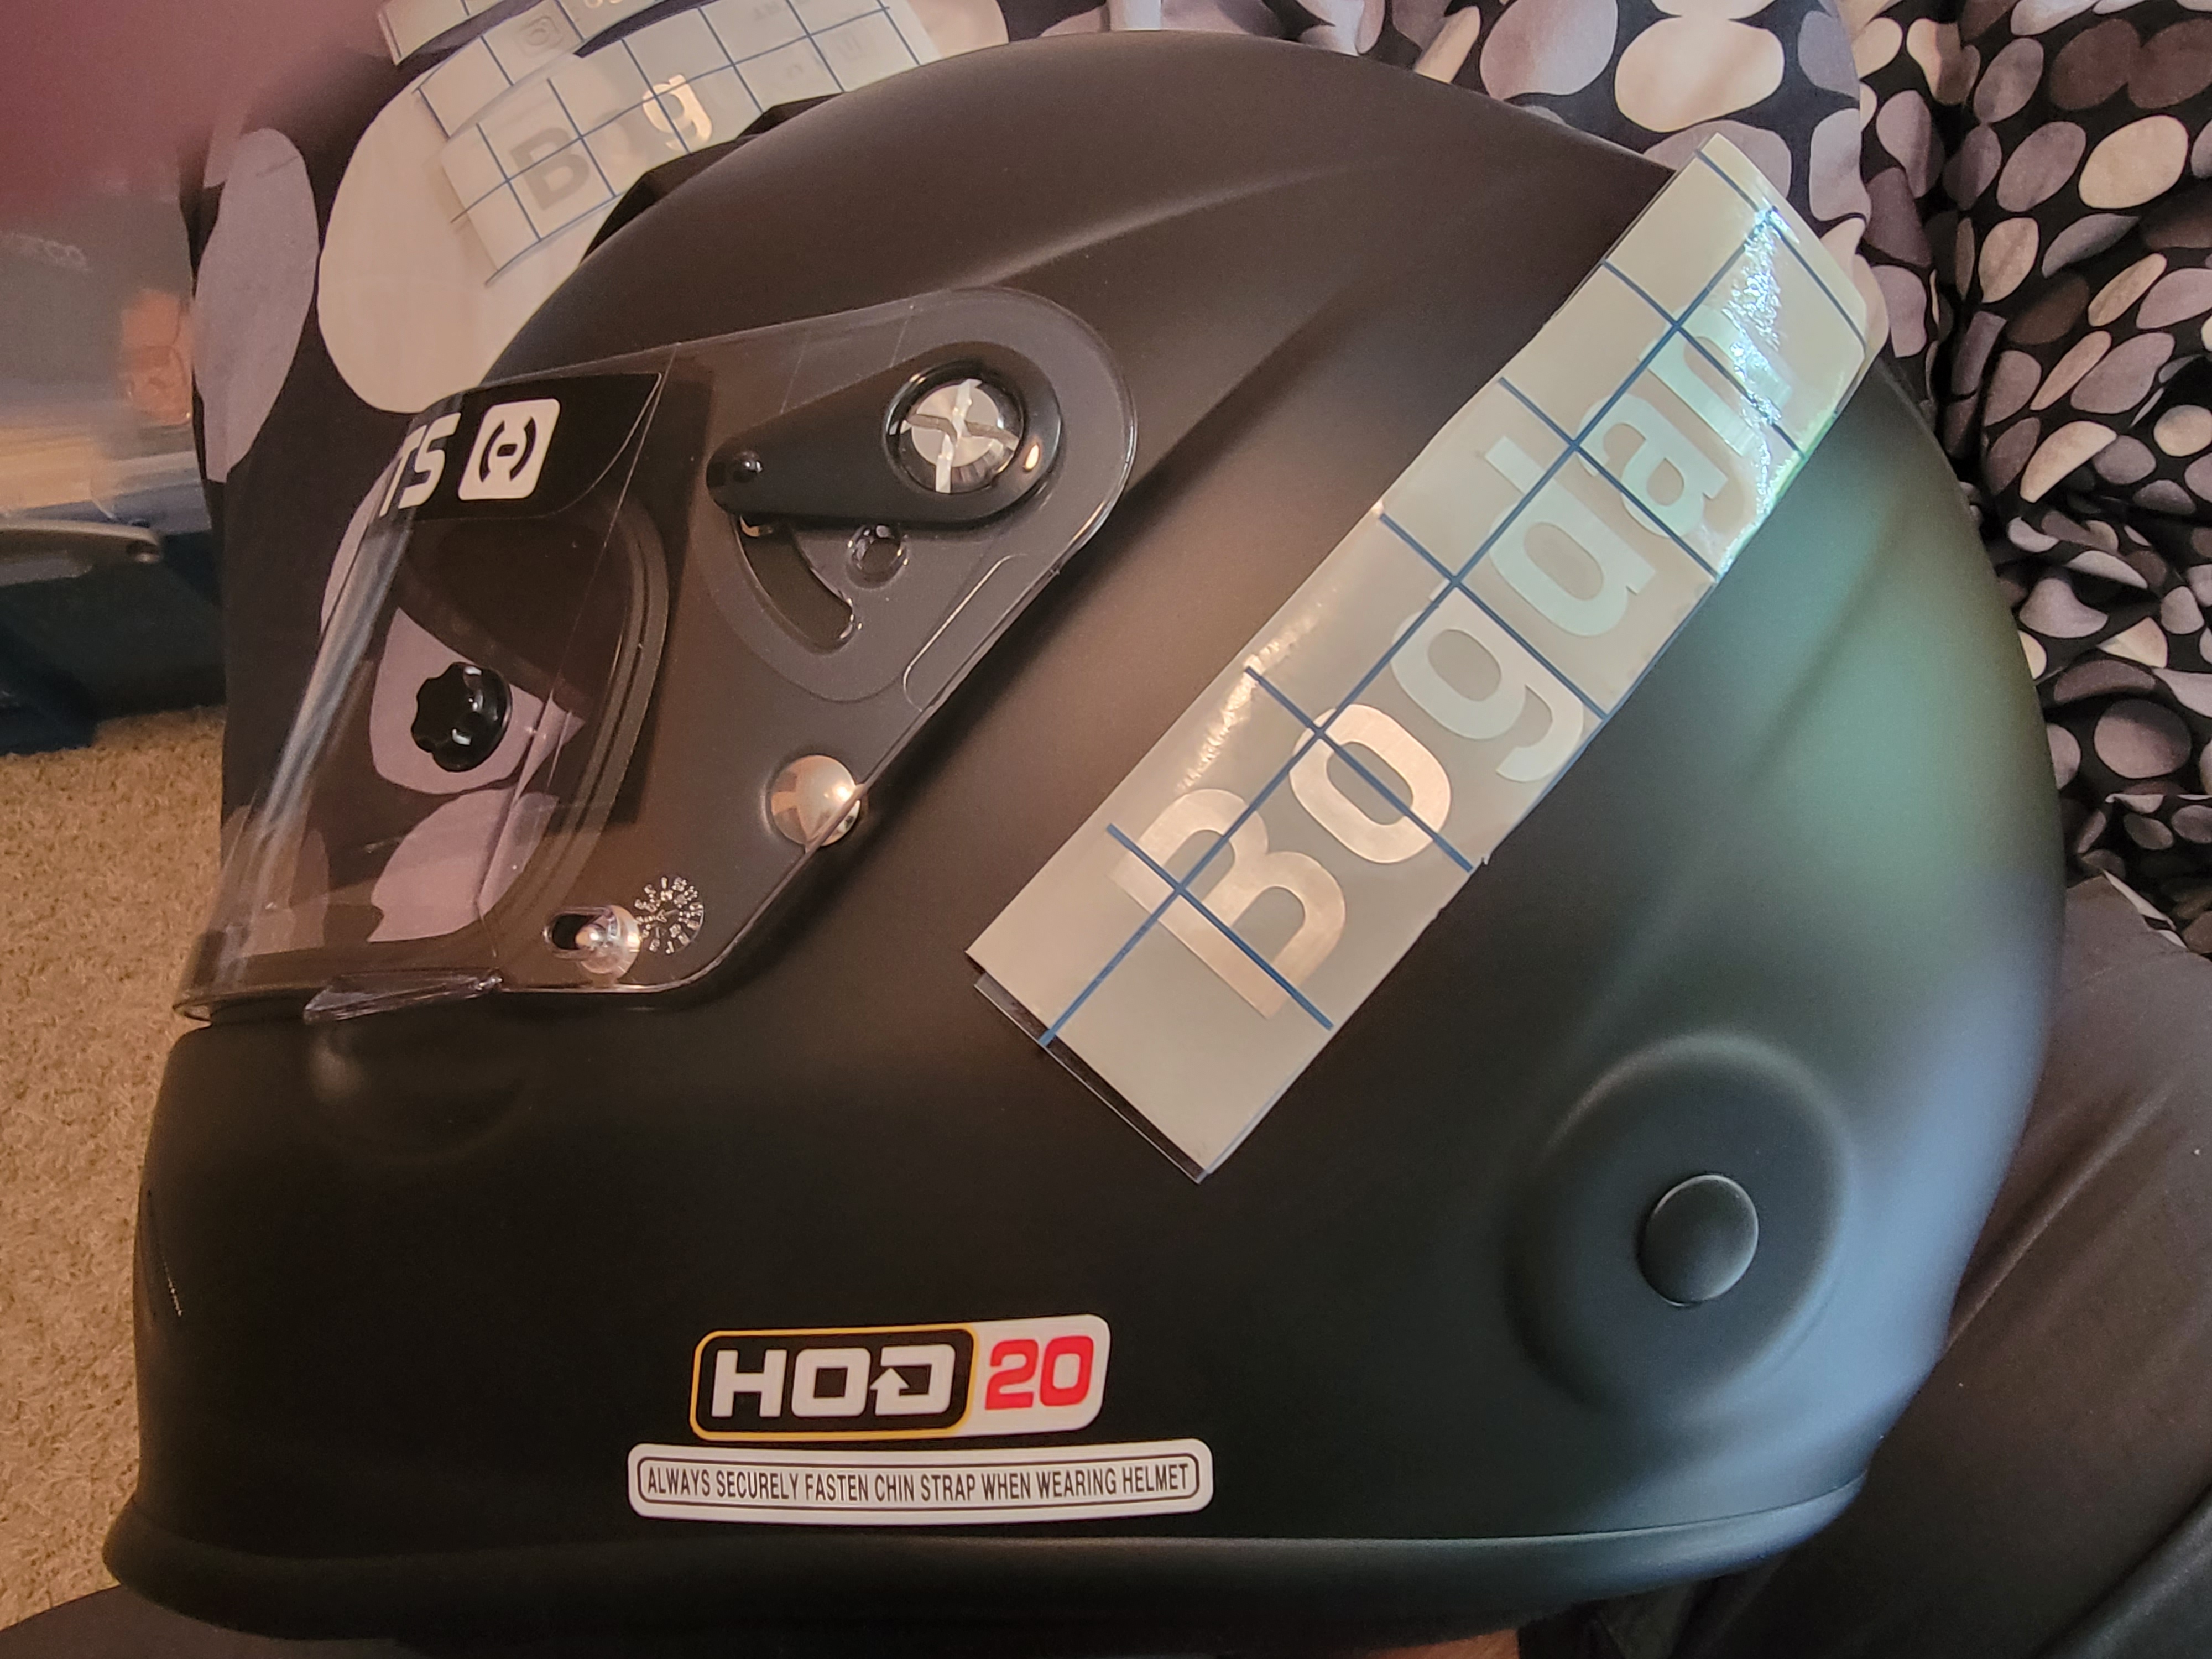
Applying the decals
Before you stick the vinyl, make sure the helmet is clean – use gentle cleaning solution (microfiber cloth dipped in water with a dab of Dawn is always a good choice), to ensure there’s no oils or any other grime on the surface, as that would affect the adhesion and we don’t want to accidentally lose any letters on the track;)
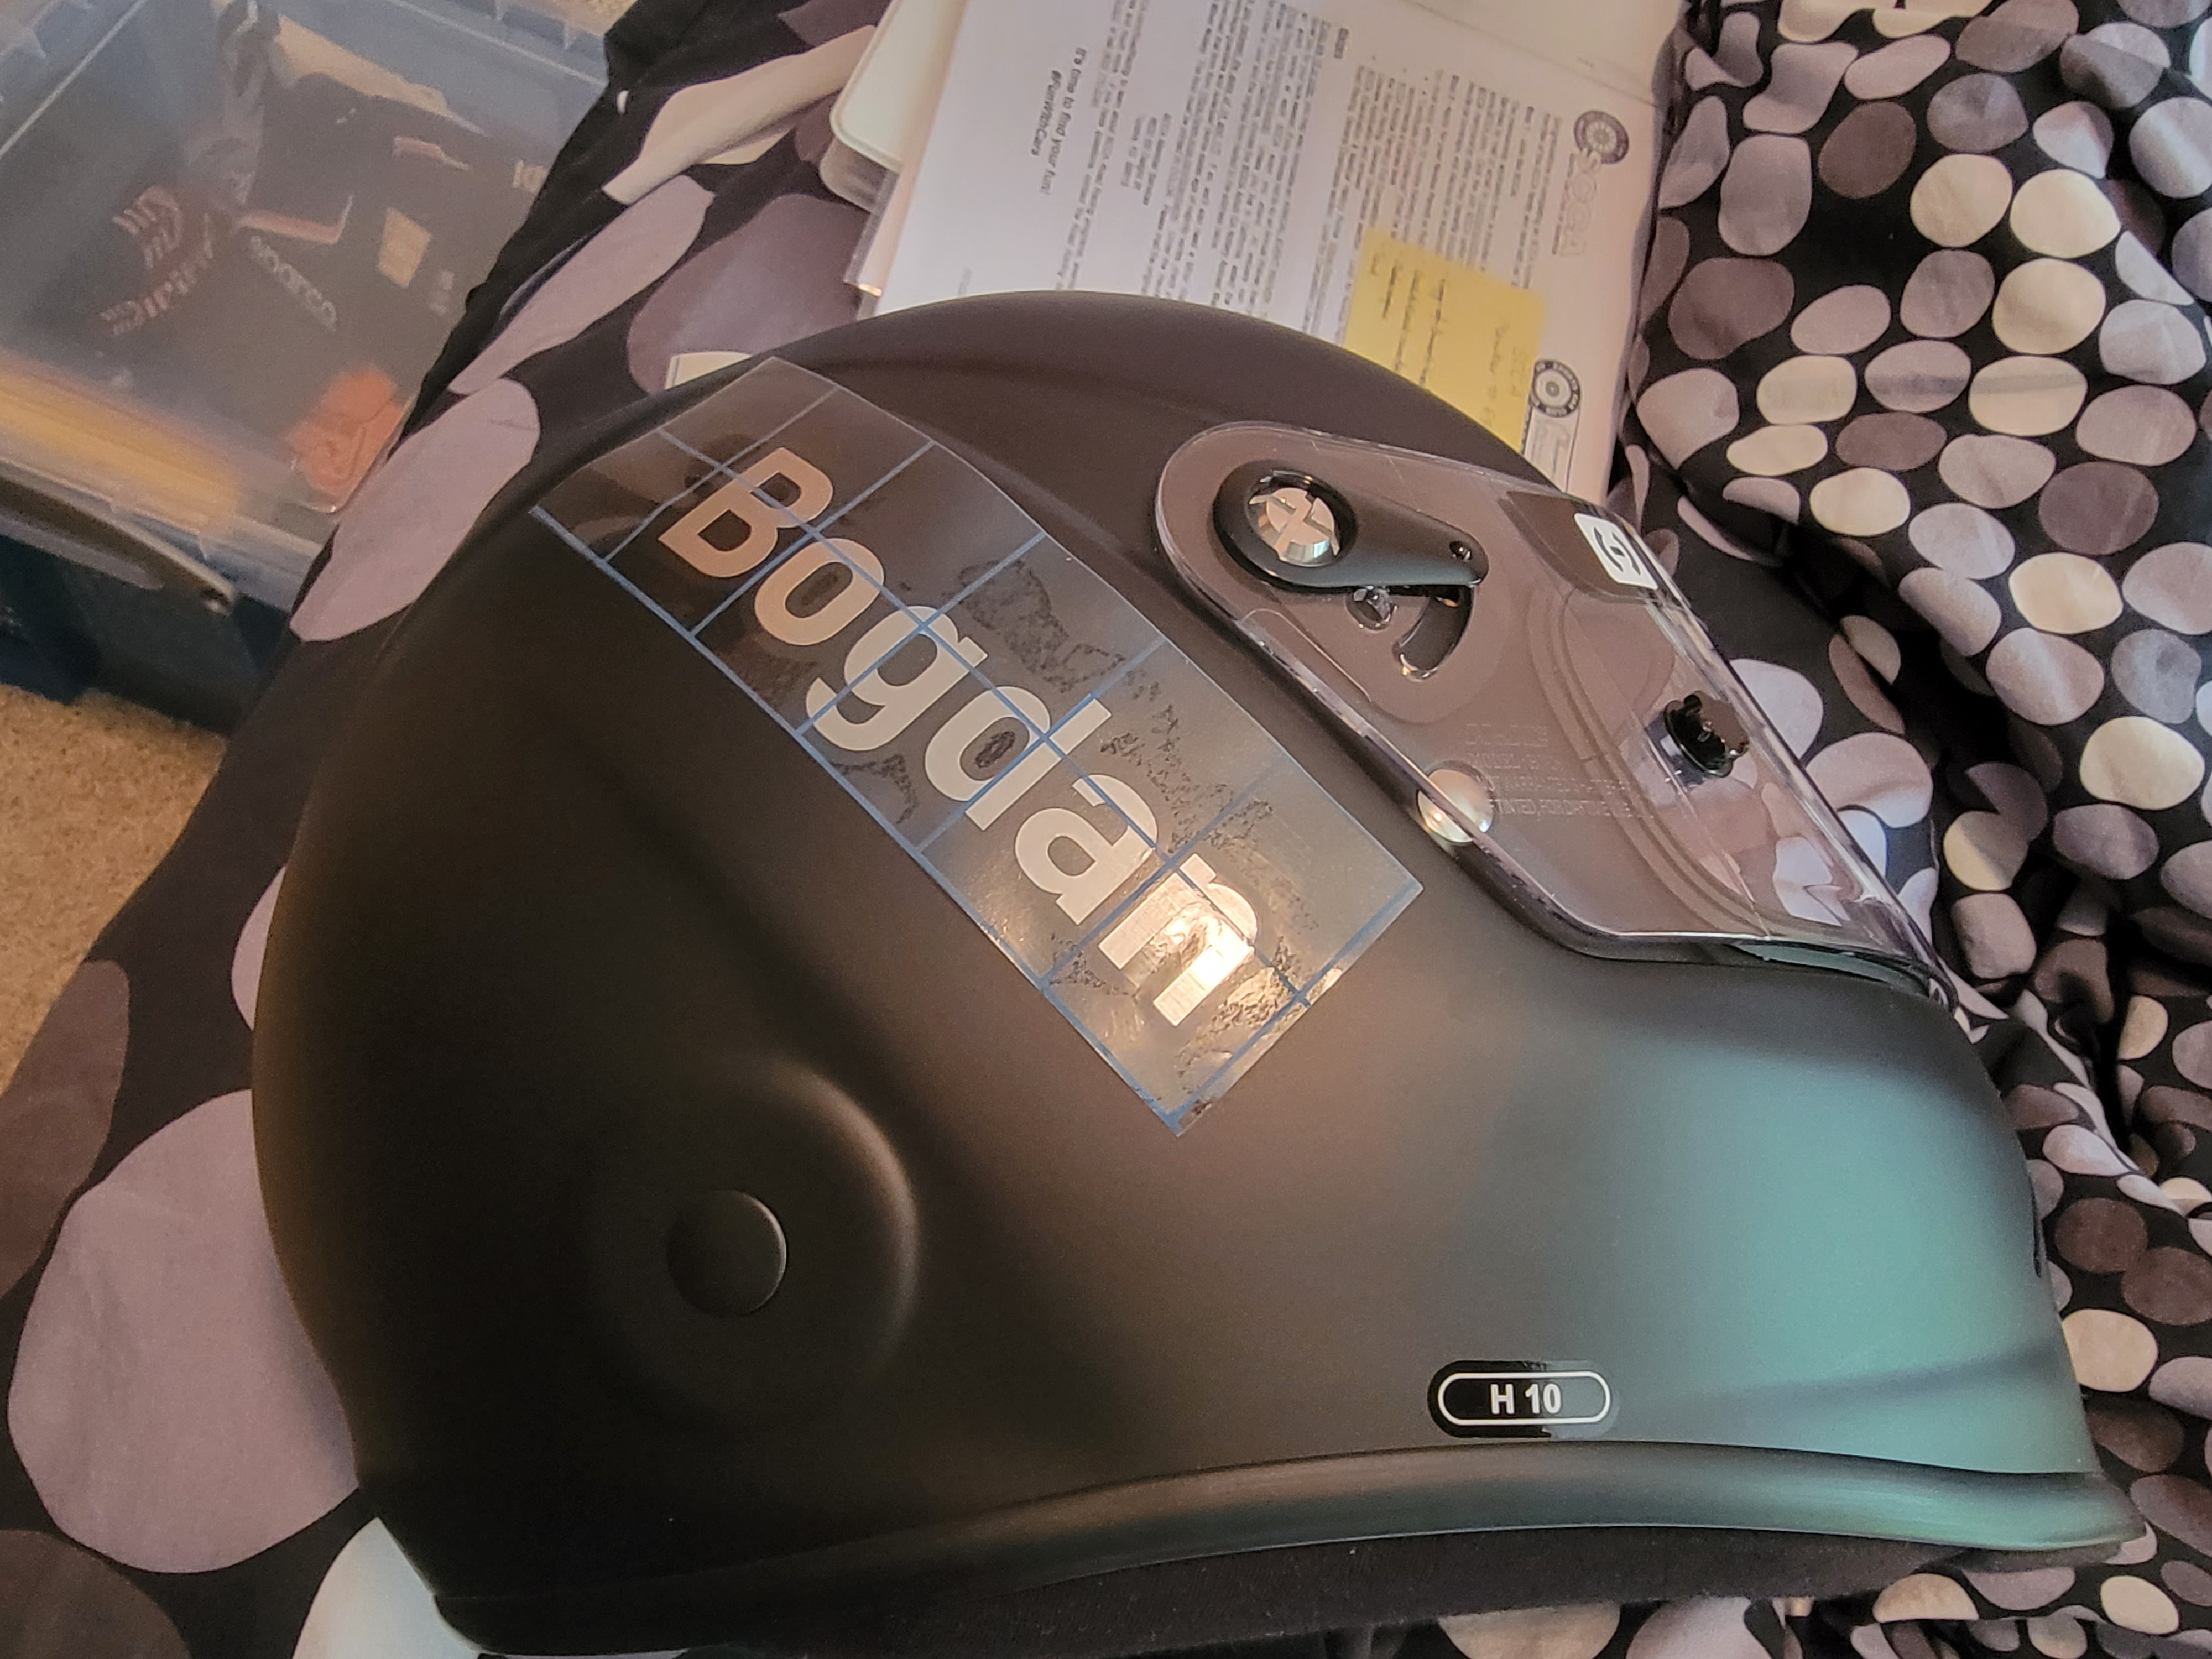
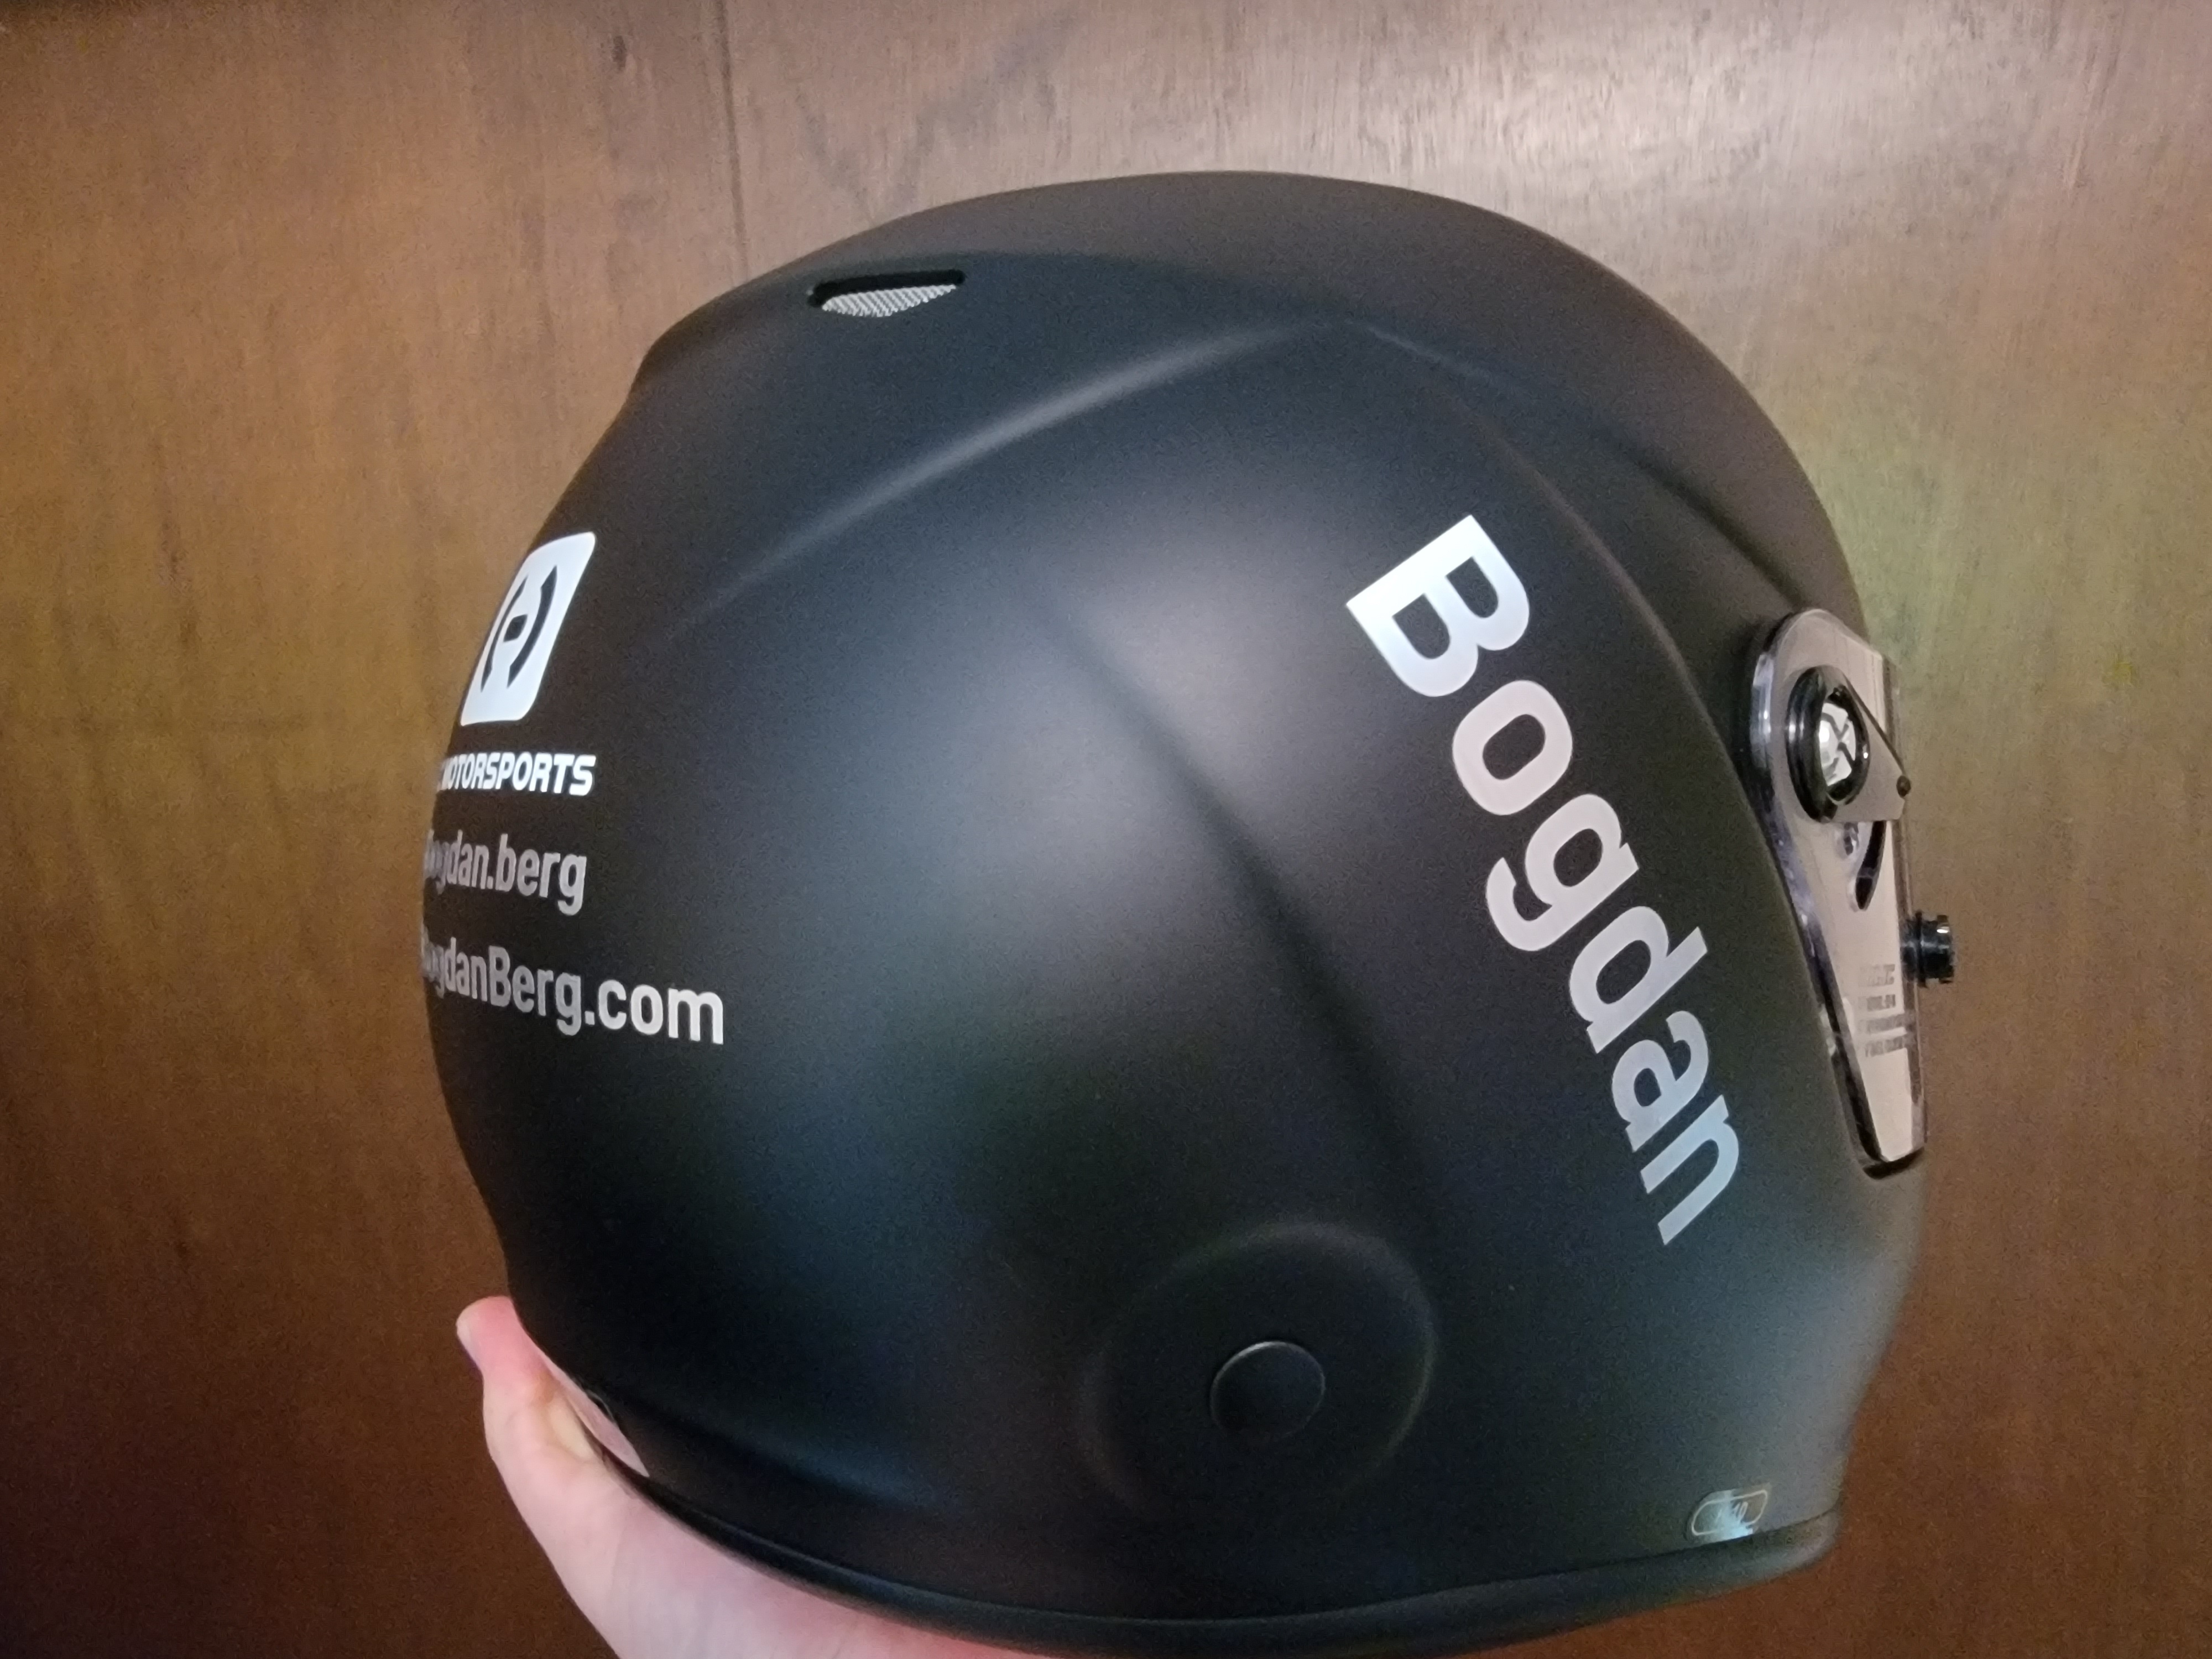
Next is a test fit, to see how the stickers will look like once applied, and to find reference points to use when sticking it on. Coincidentally, the HJC H10 helmet has raised sides which made for a perfect fit for name tag:
Same on the other side, because symmetry is beautiful 😉
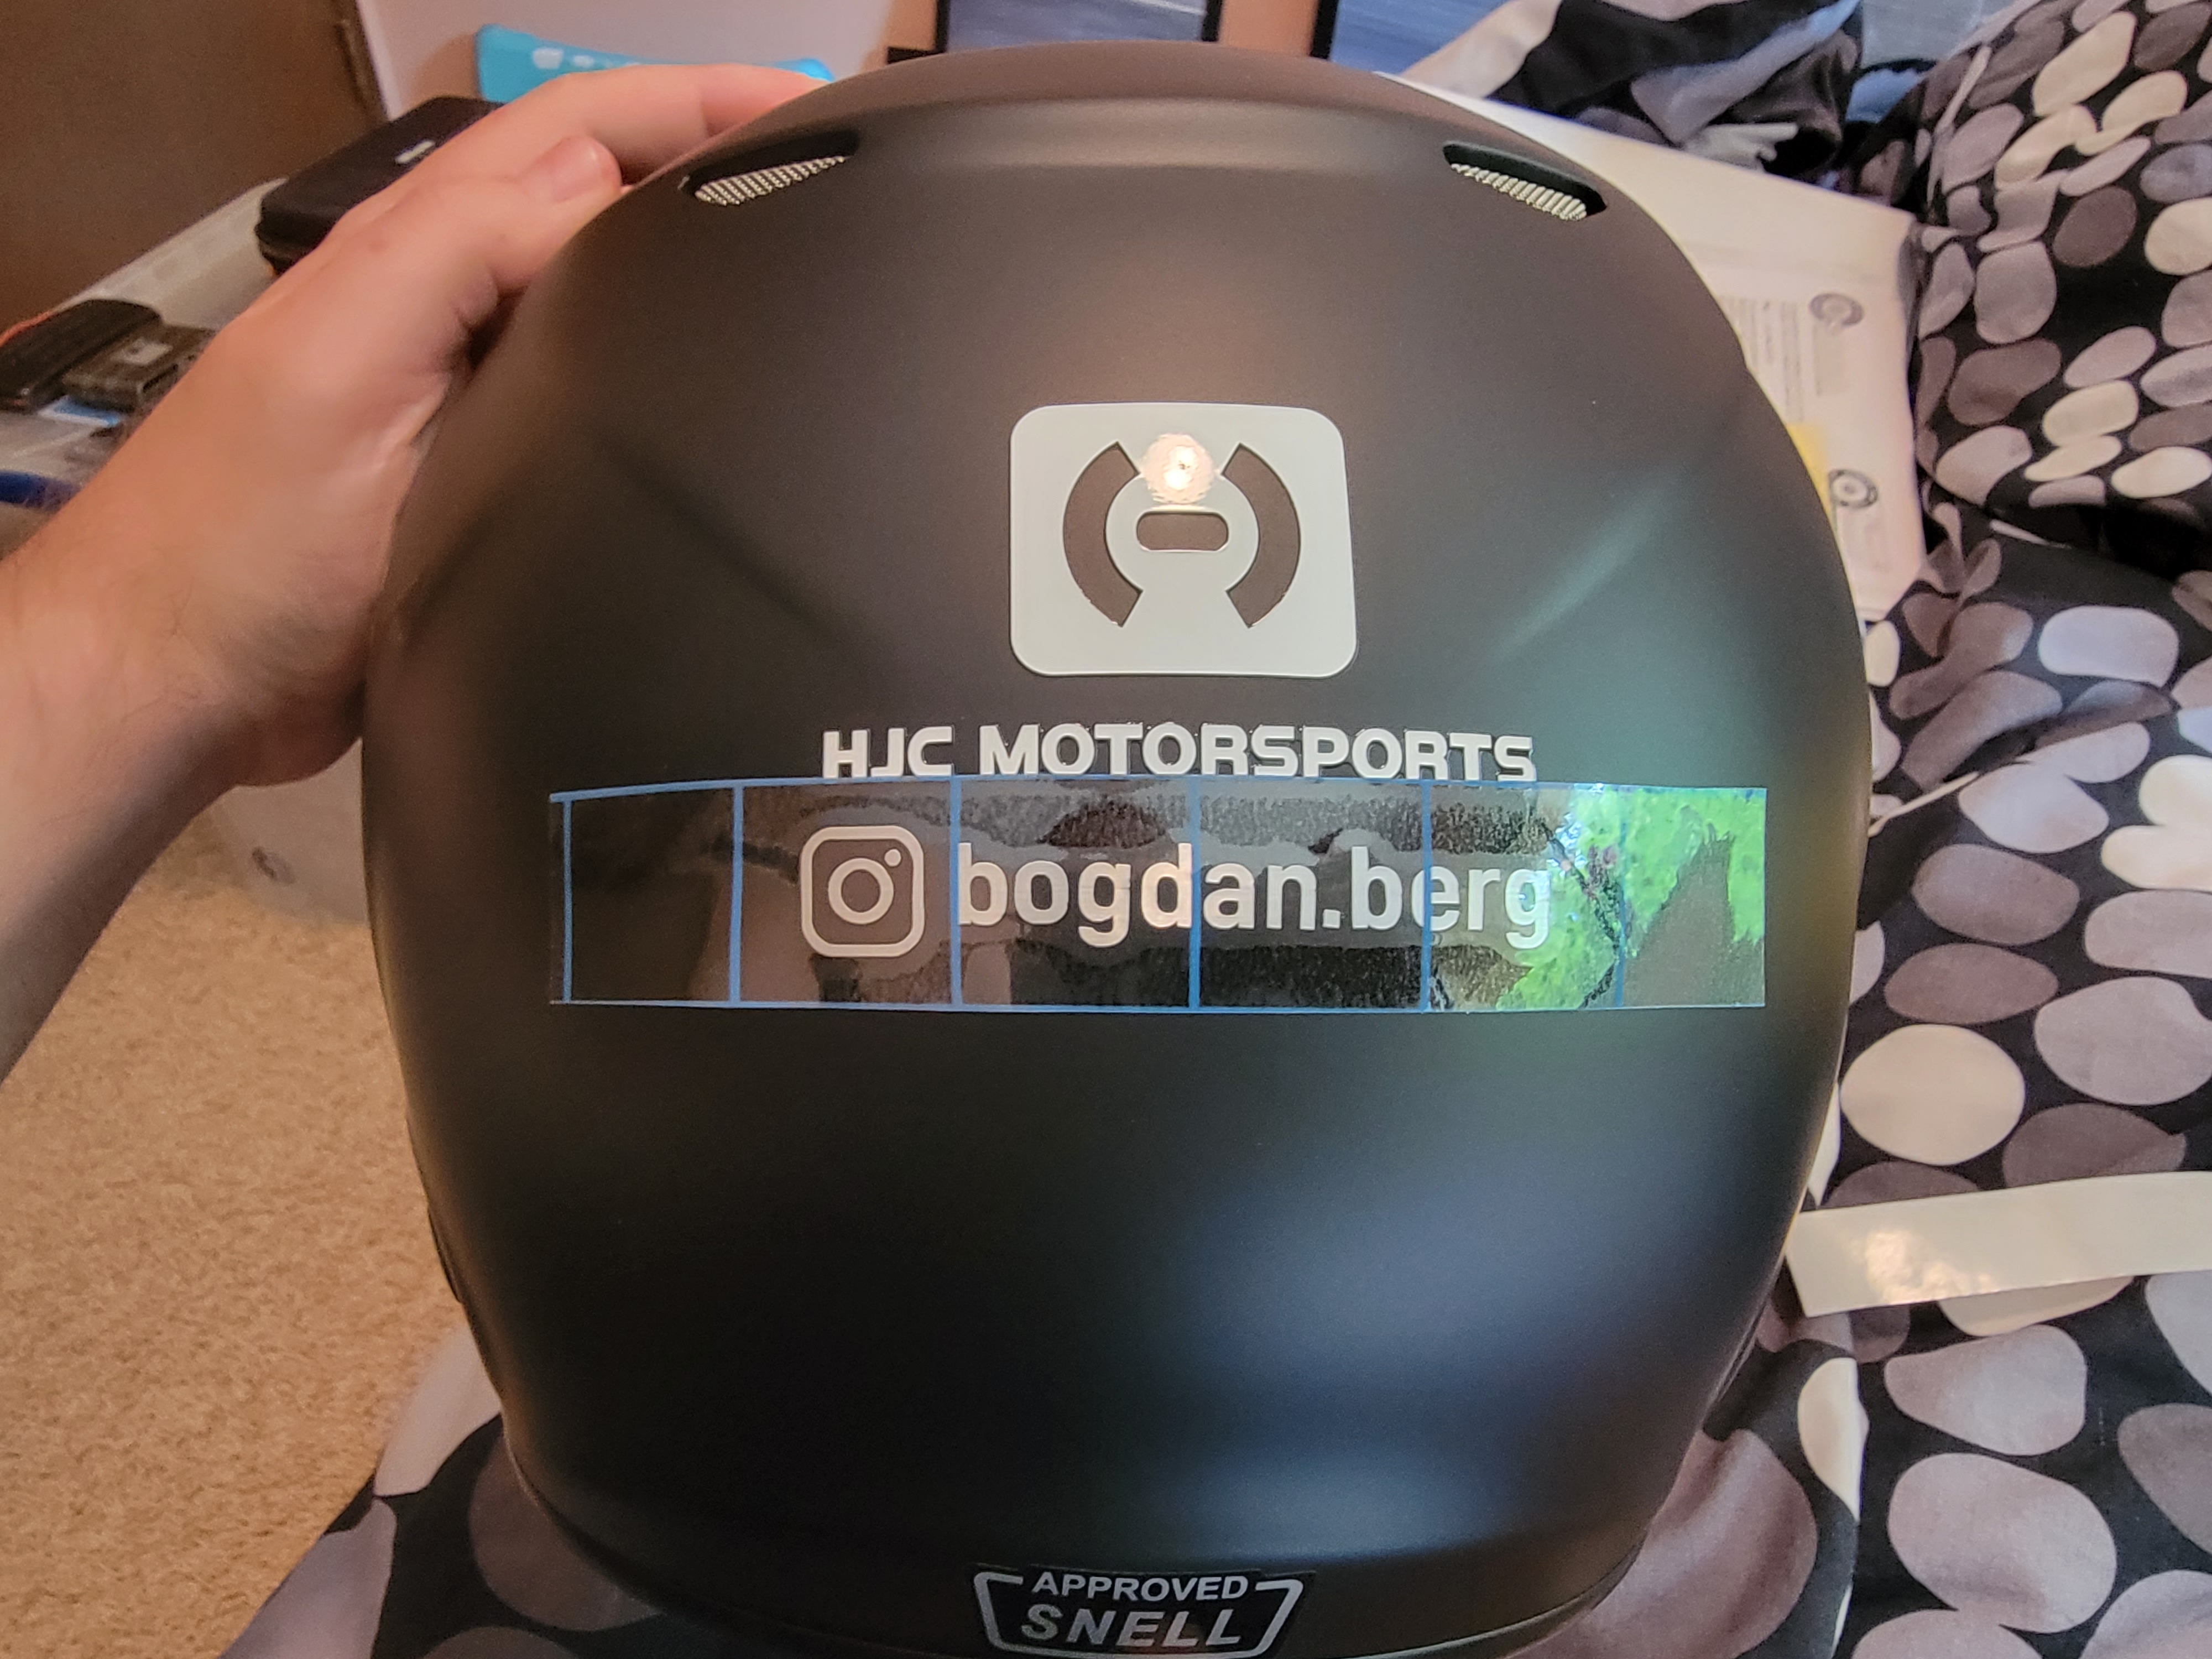
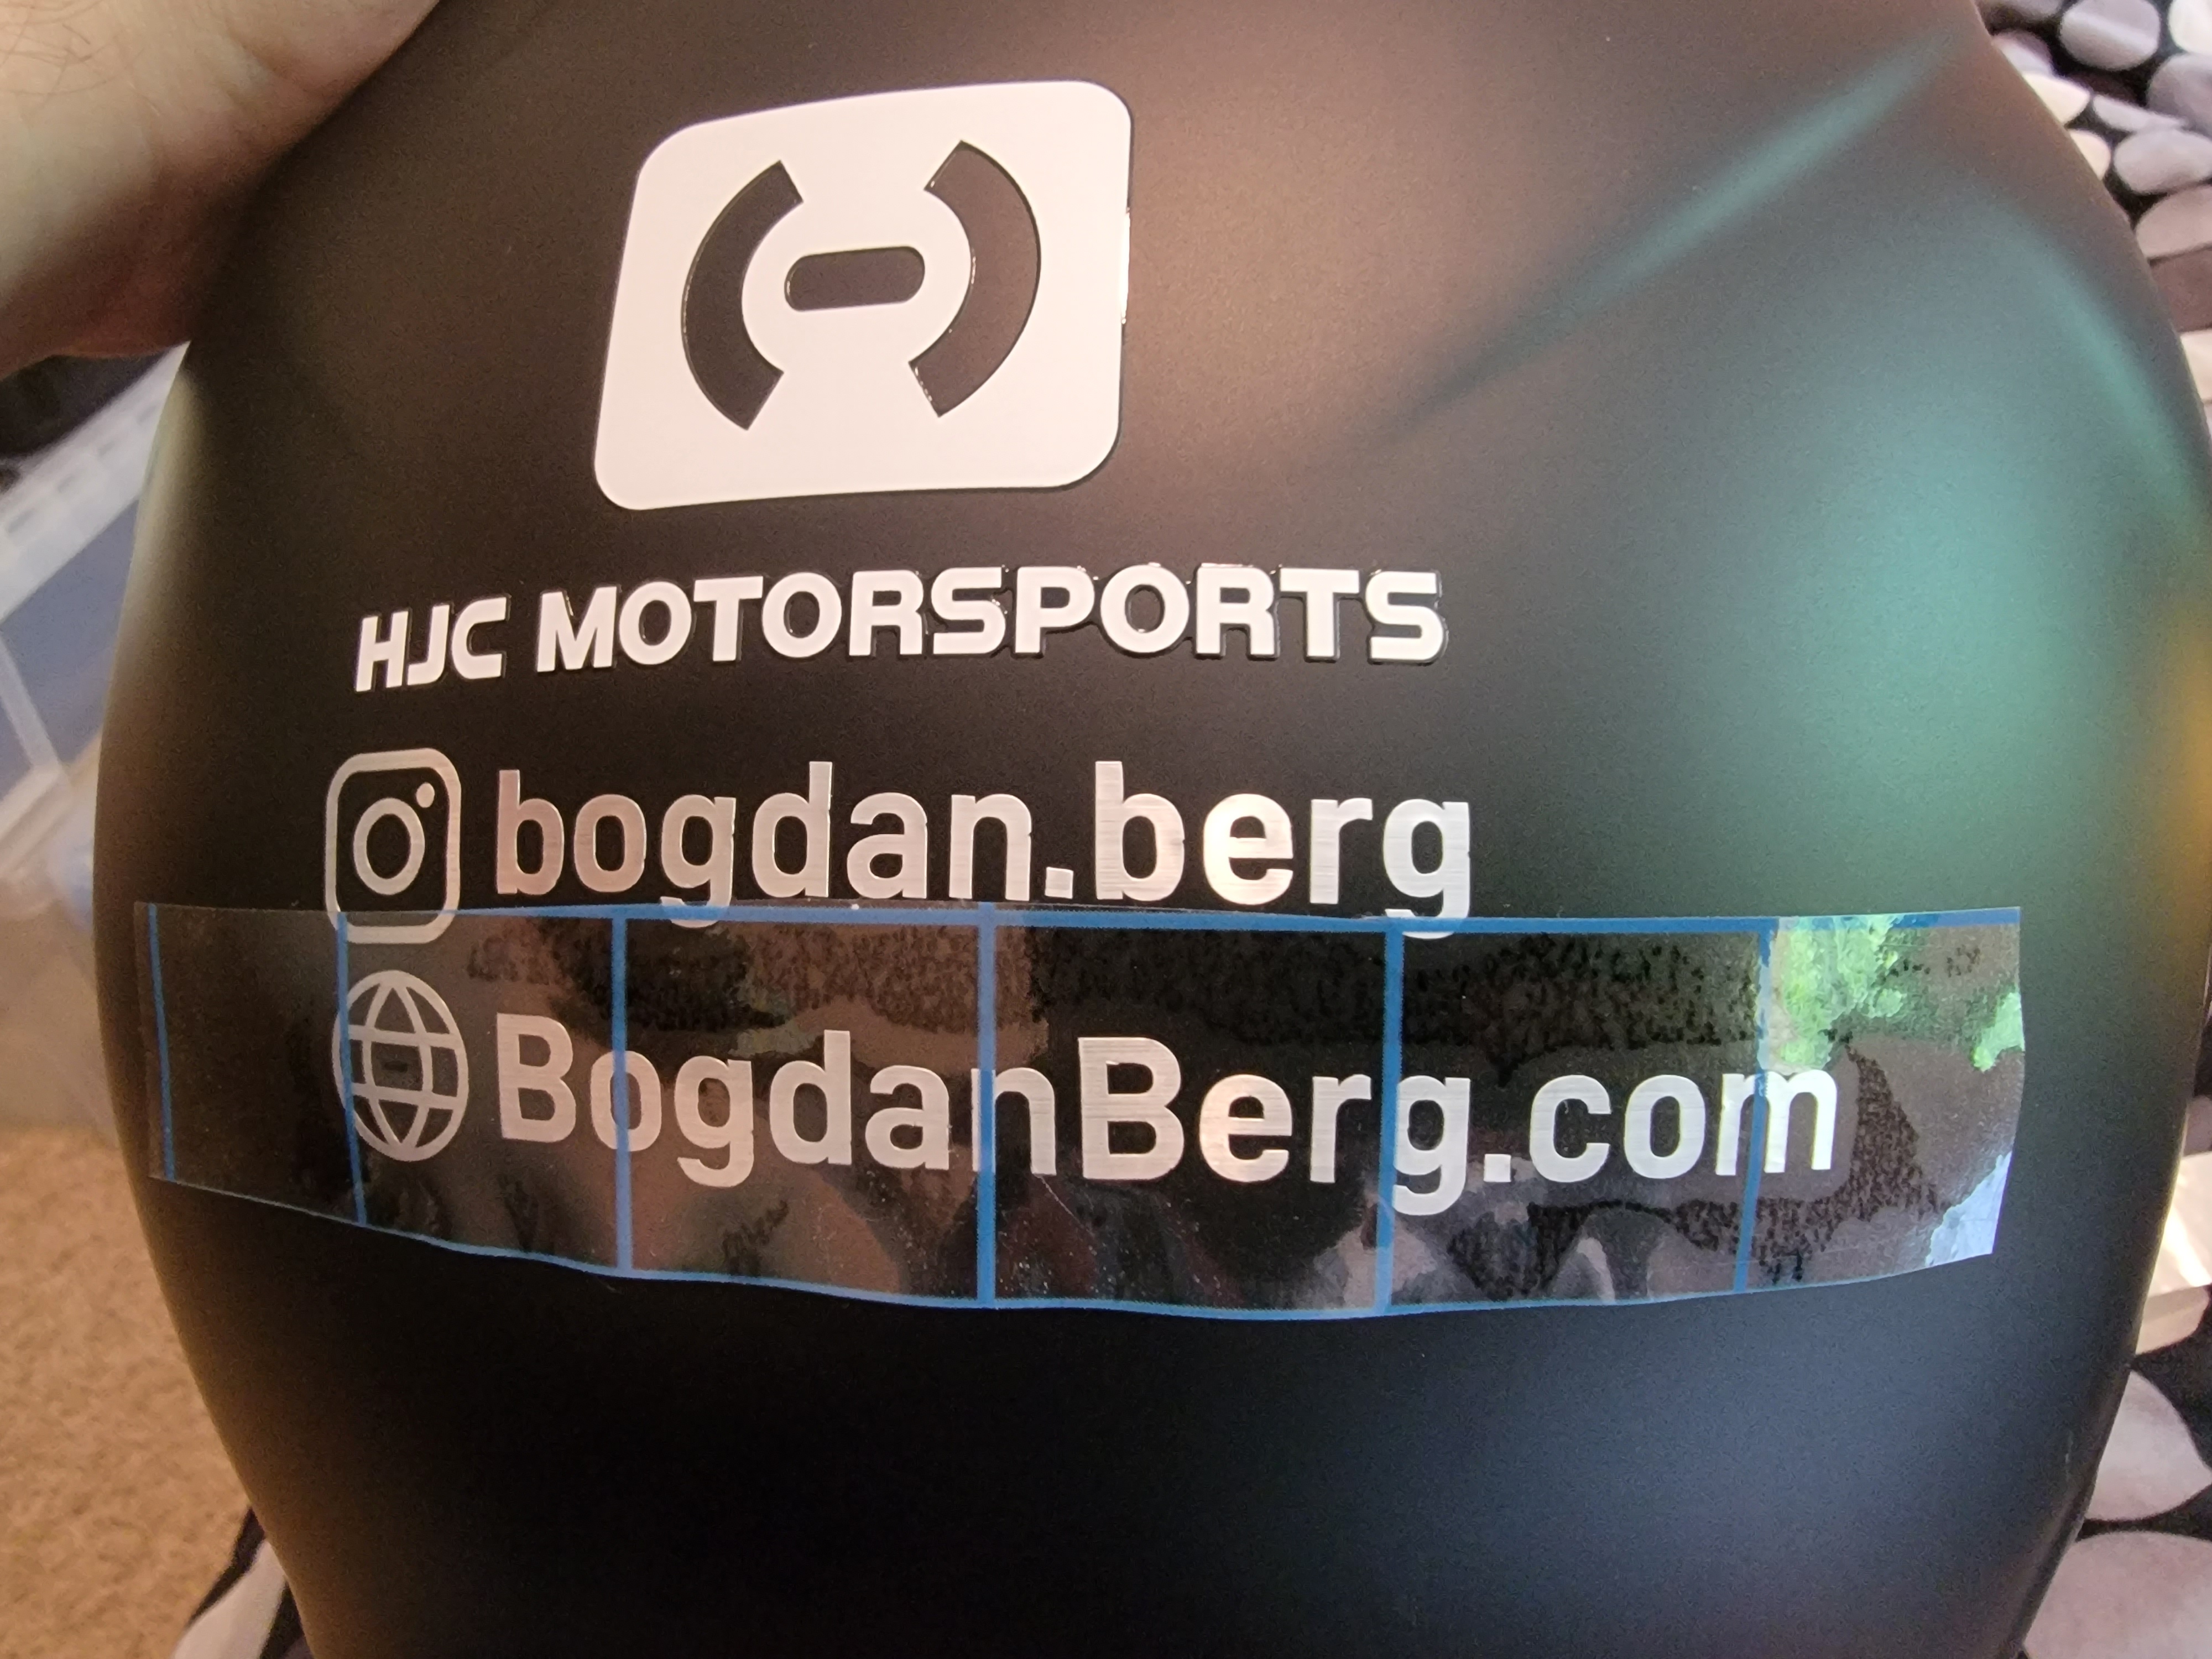
And I decided to put the aforementioned socials (URL for this blog, Instagram) on the back of the helmet:
Results:
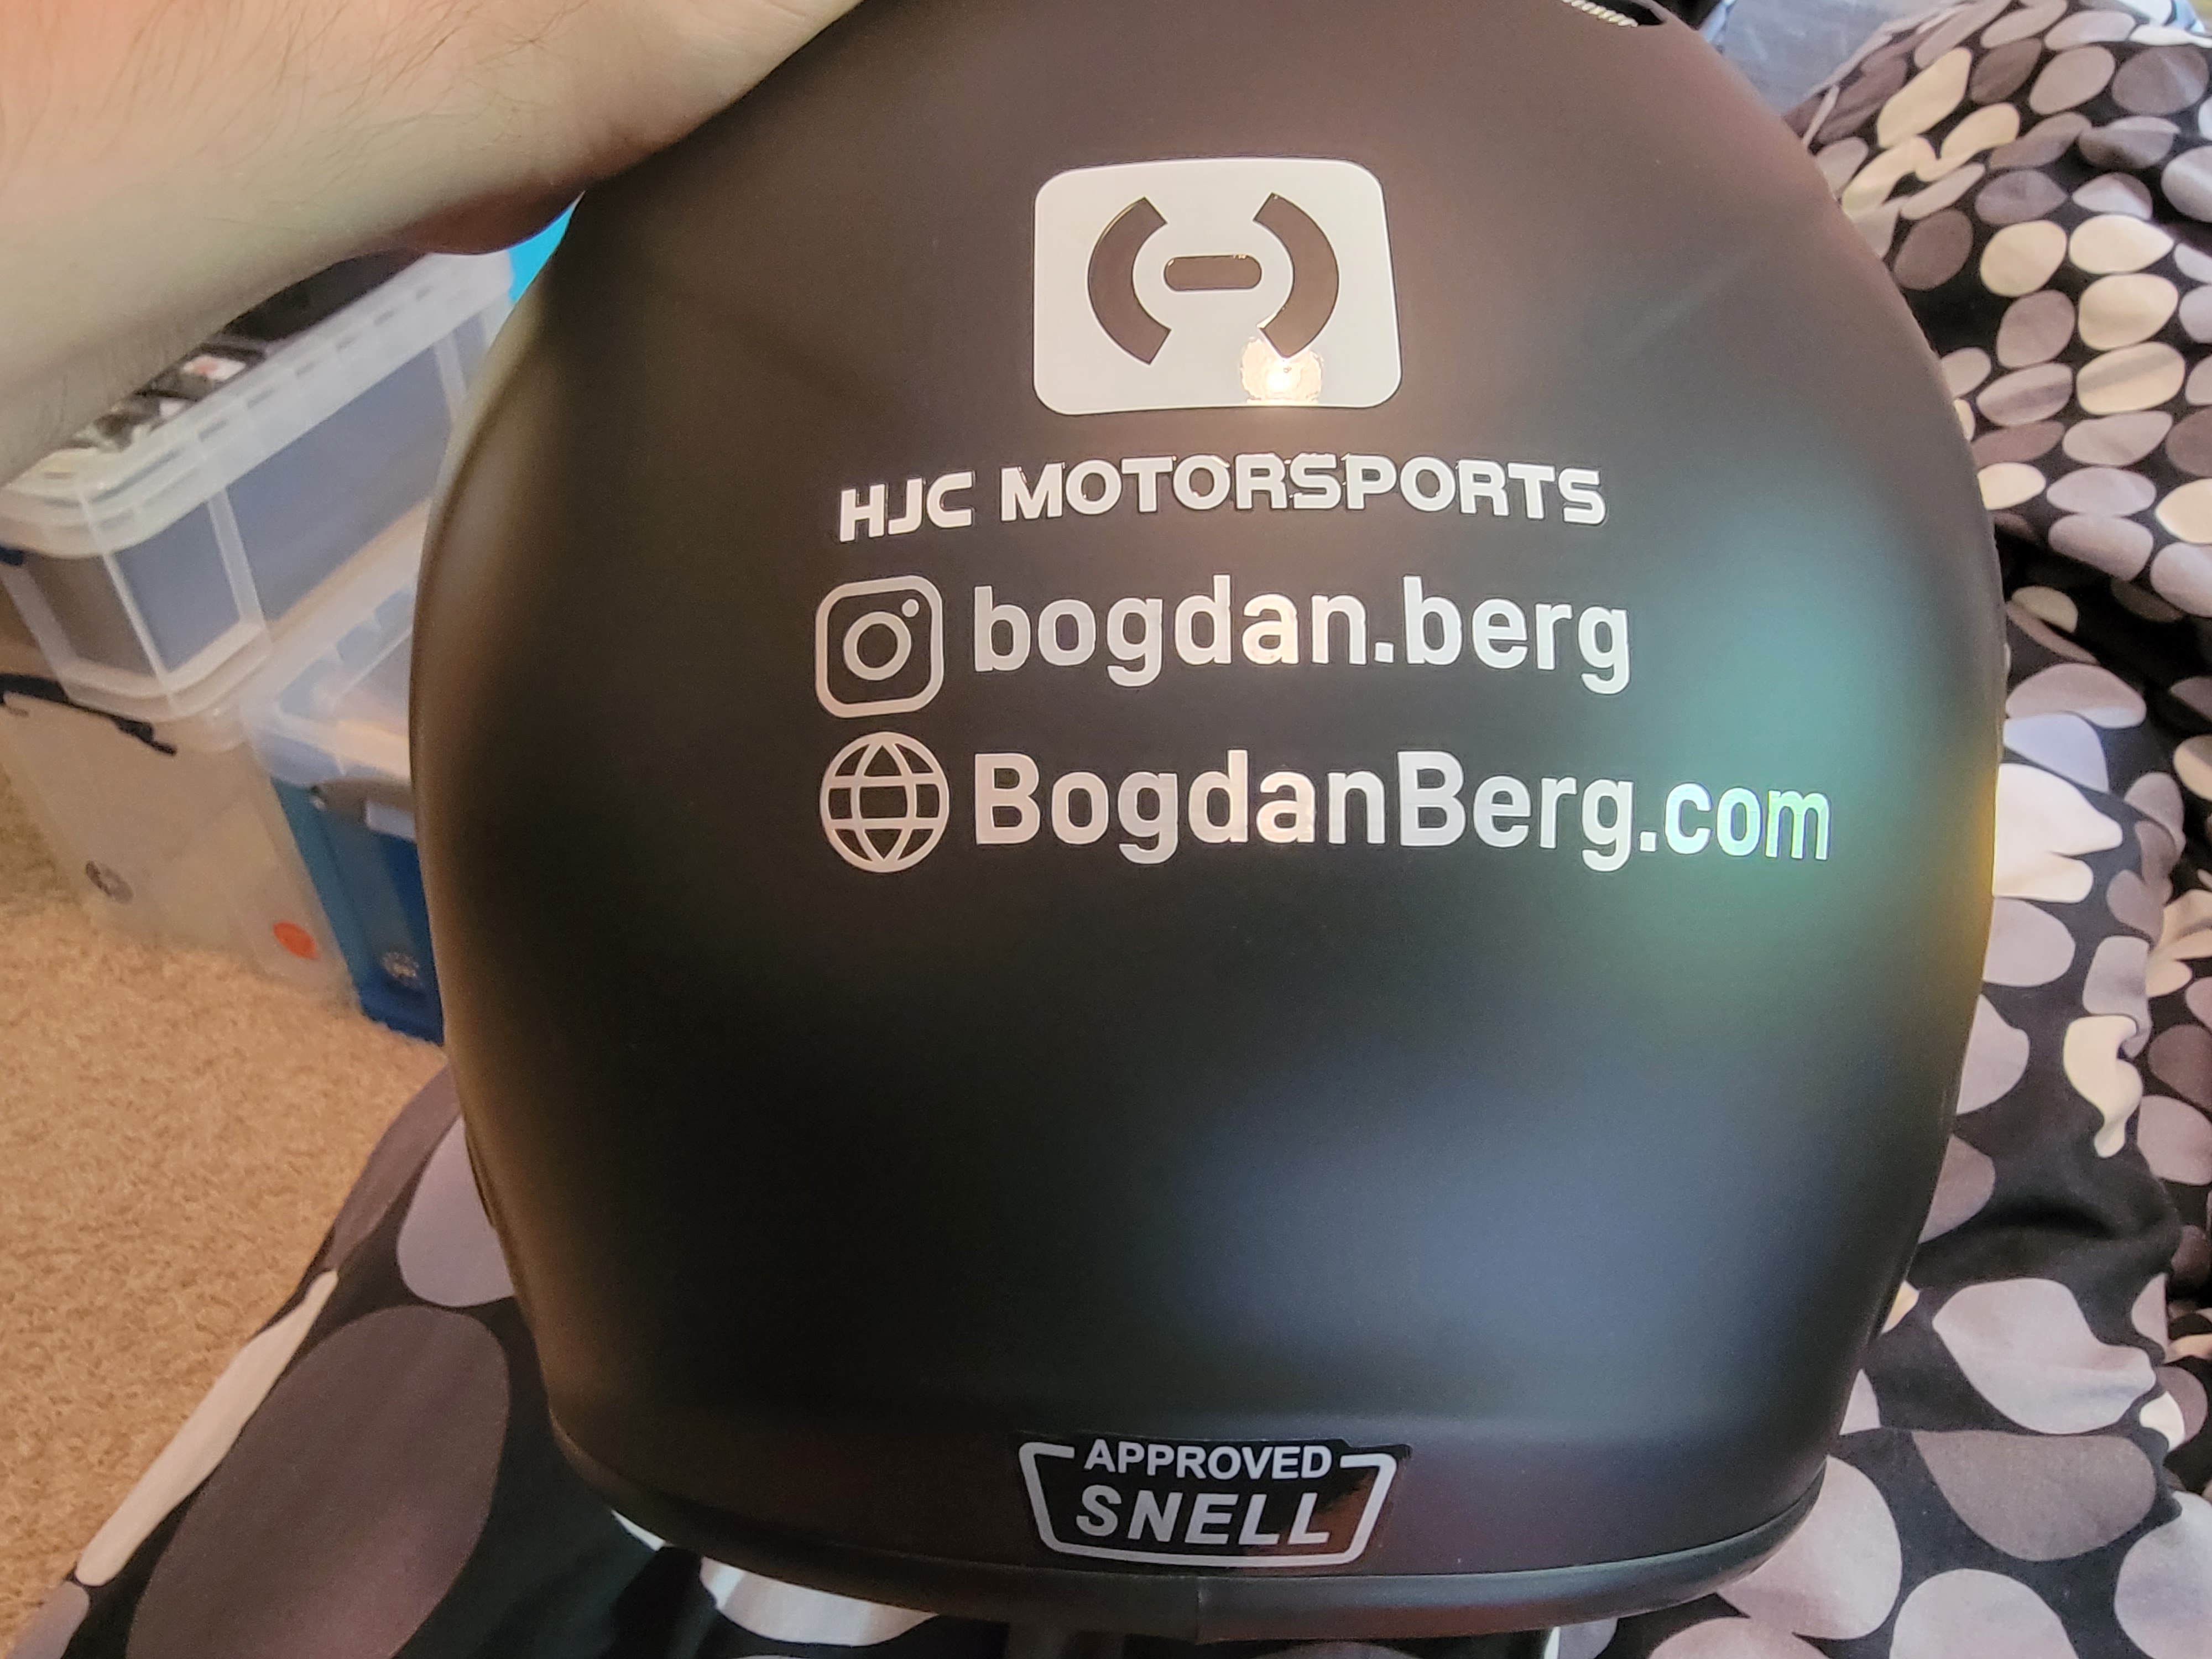

All in all, I’m happy how it turned out:

I think the choice of silver vinyl, instead of originally planned white, worked perfectly.
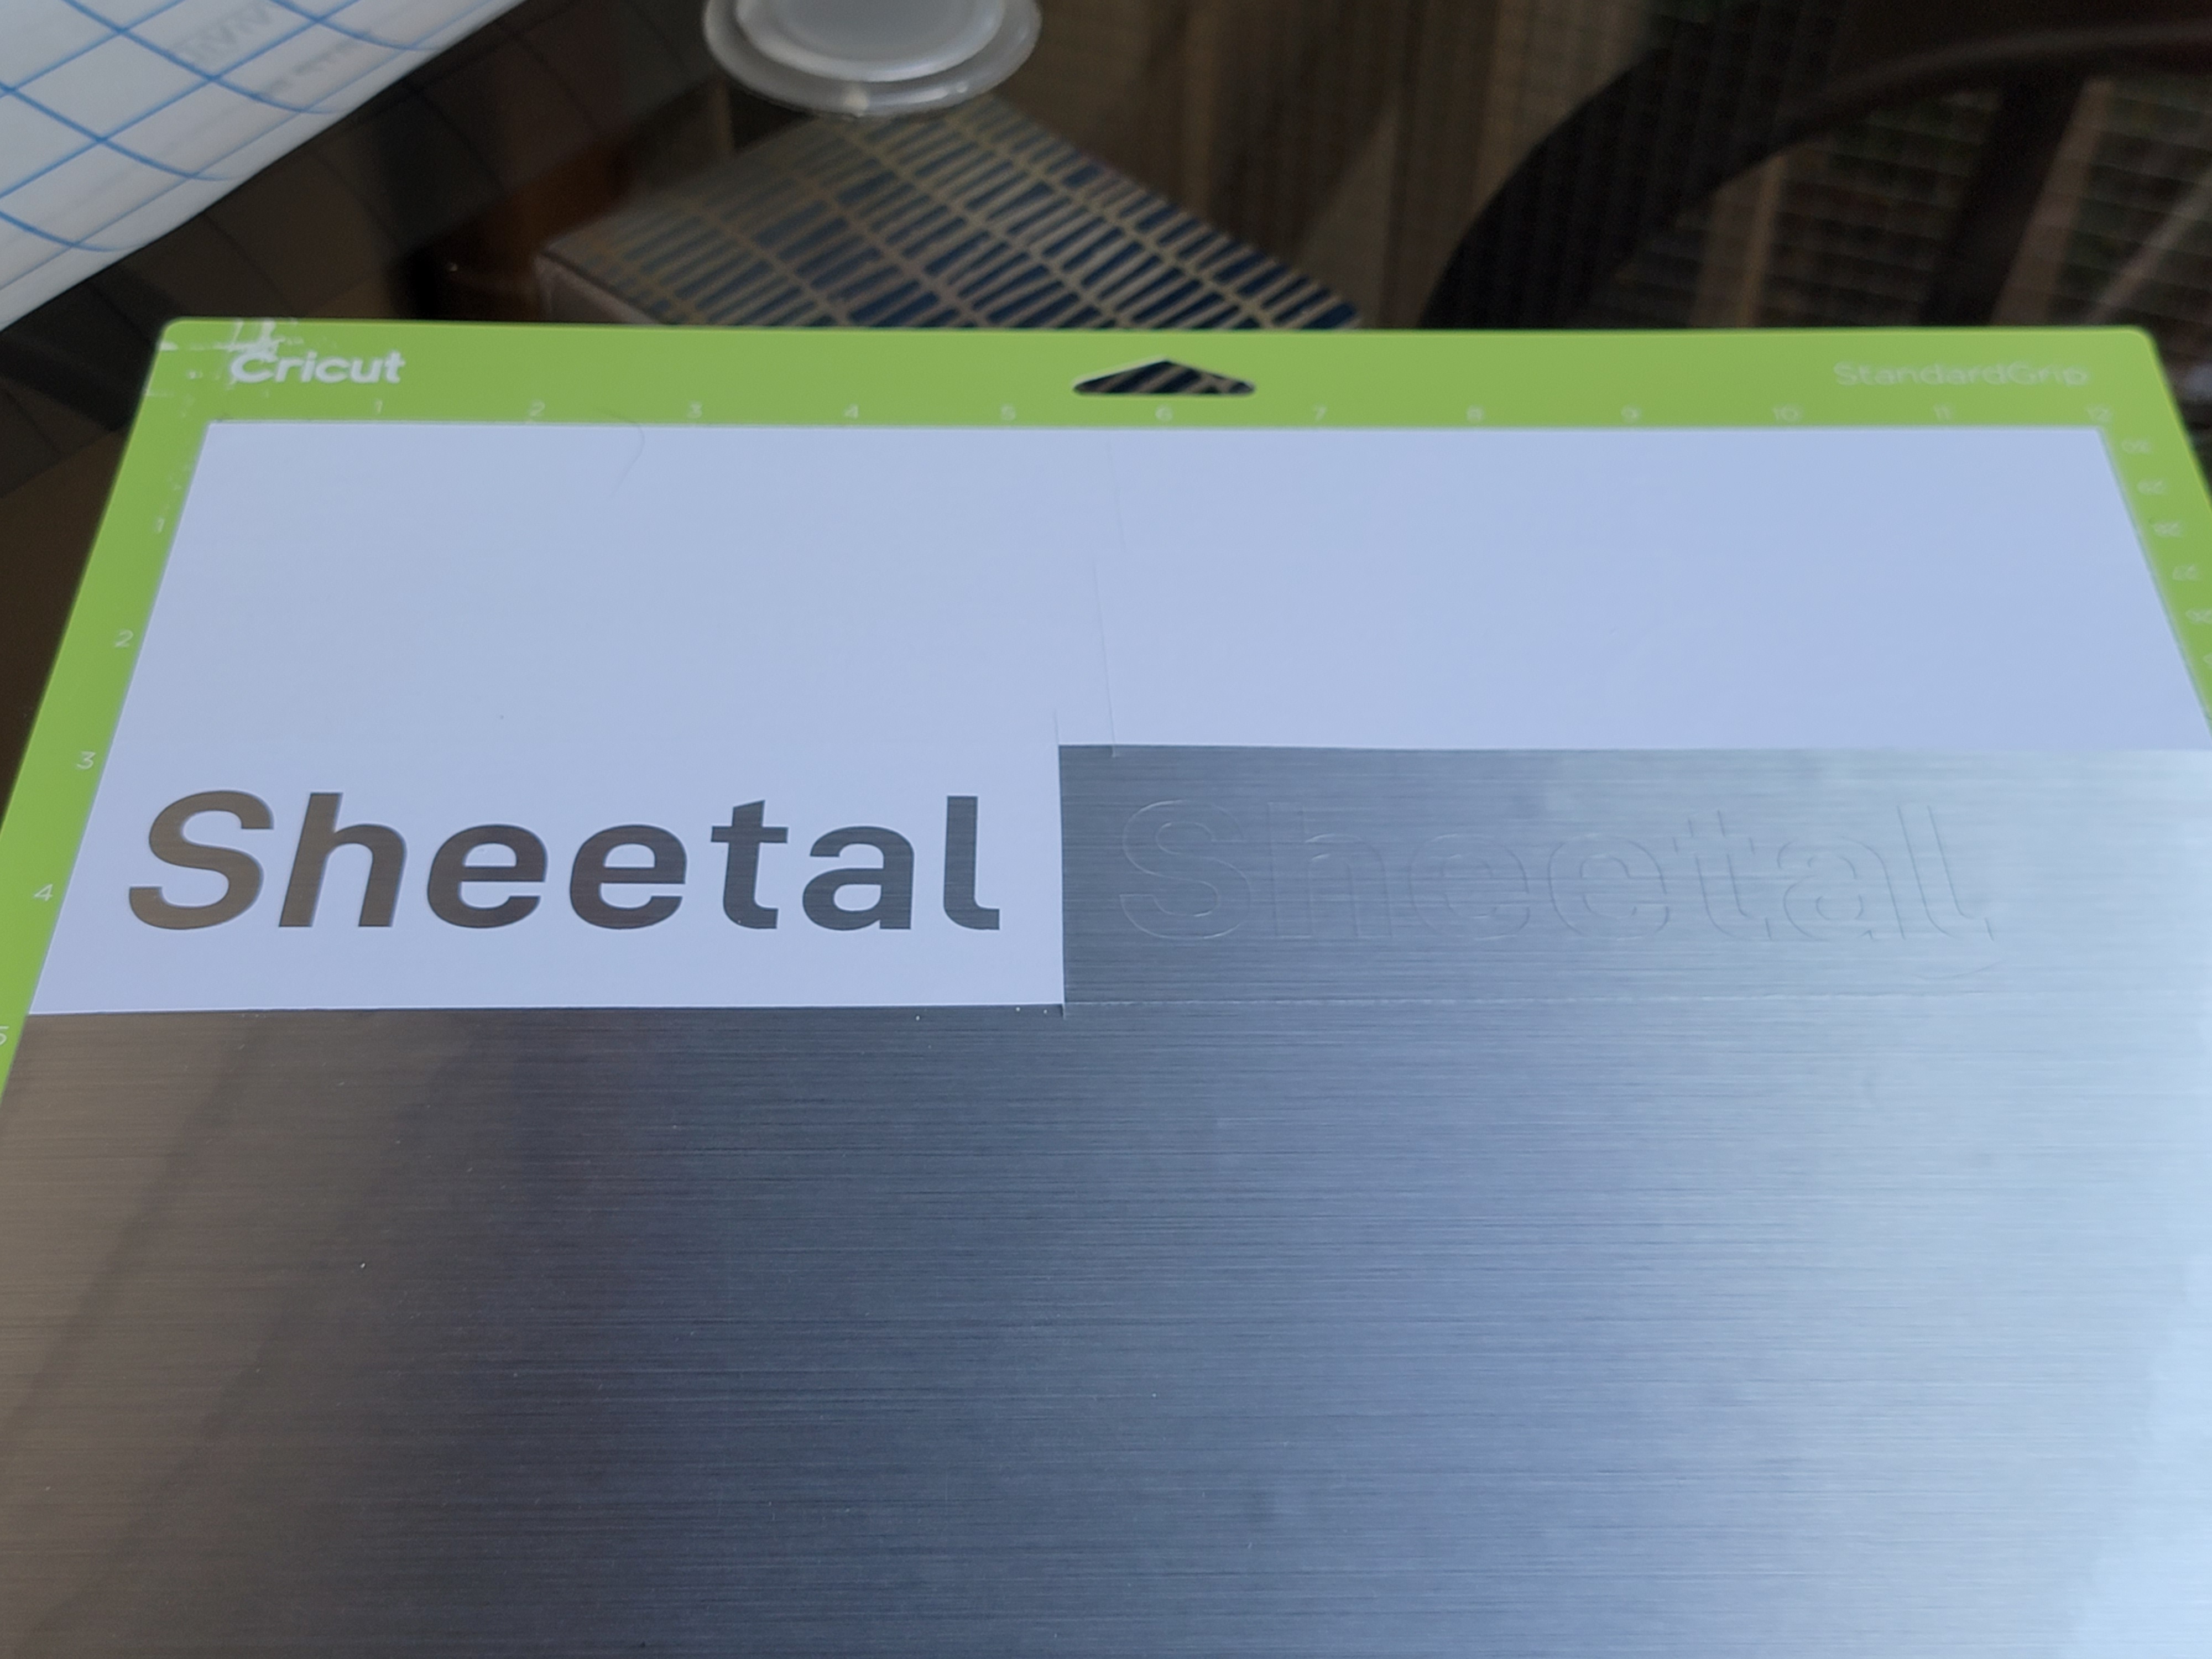
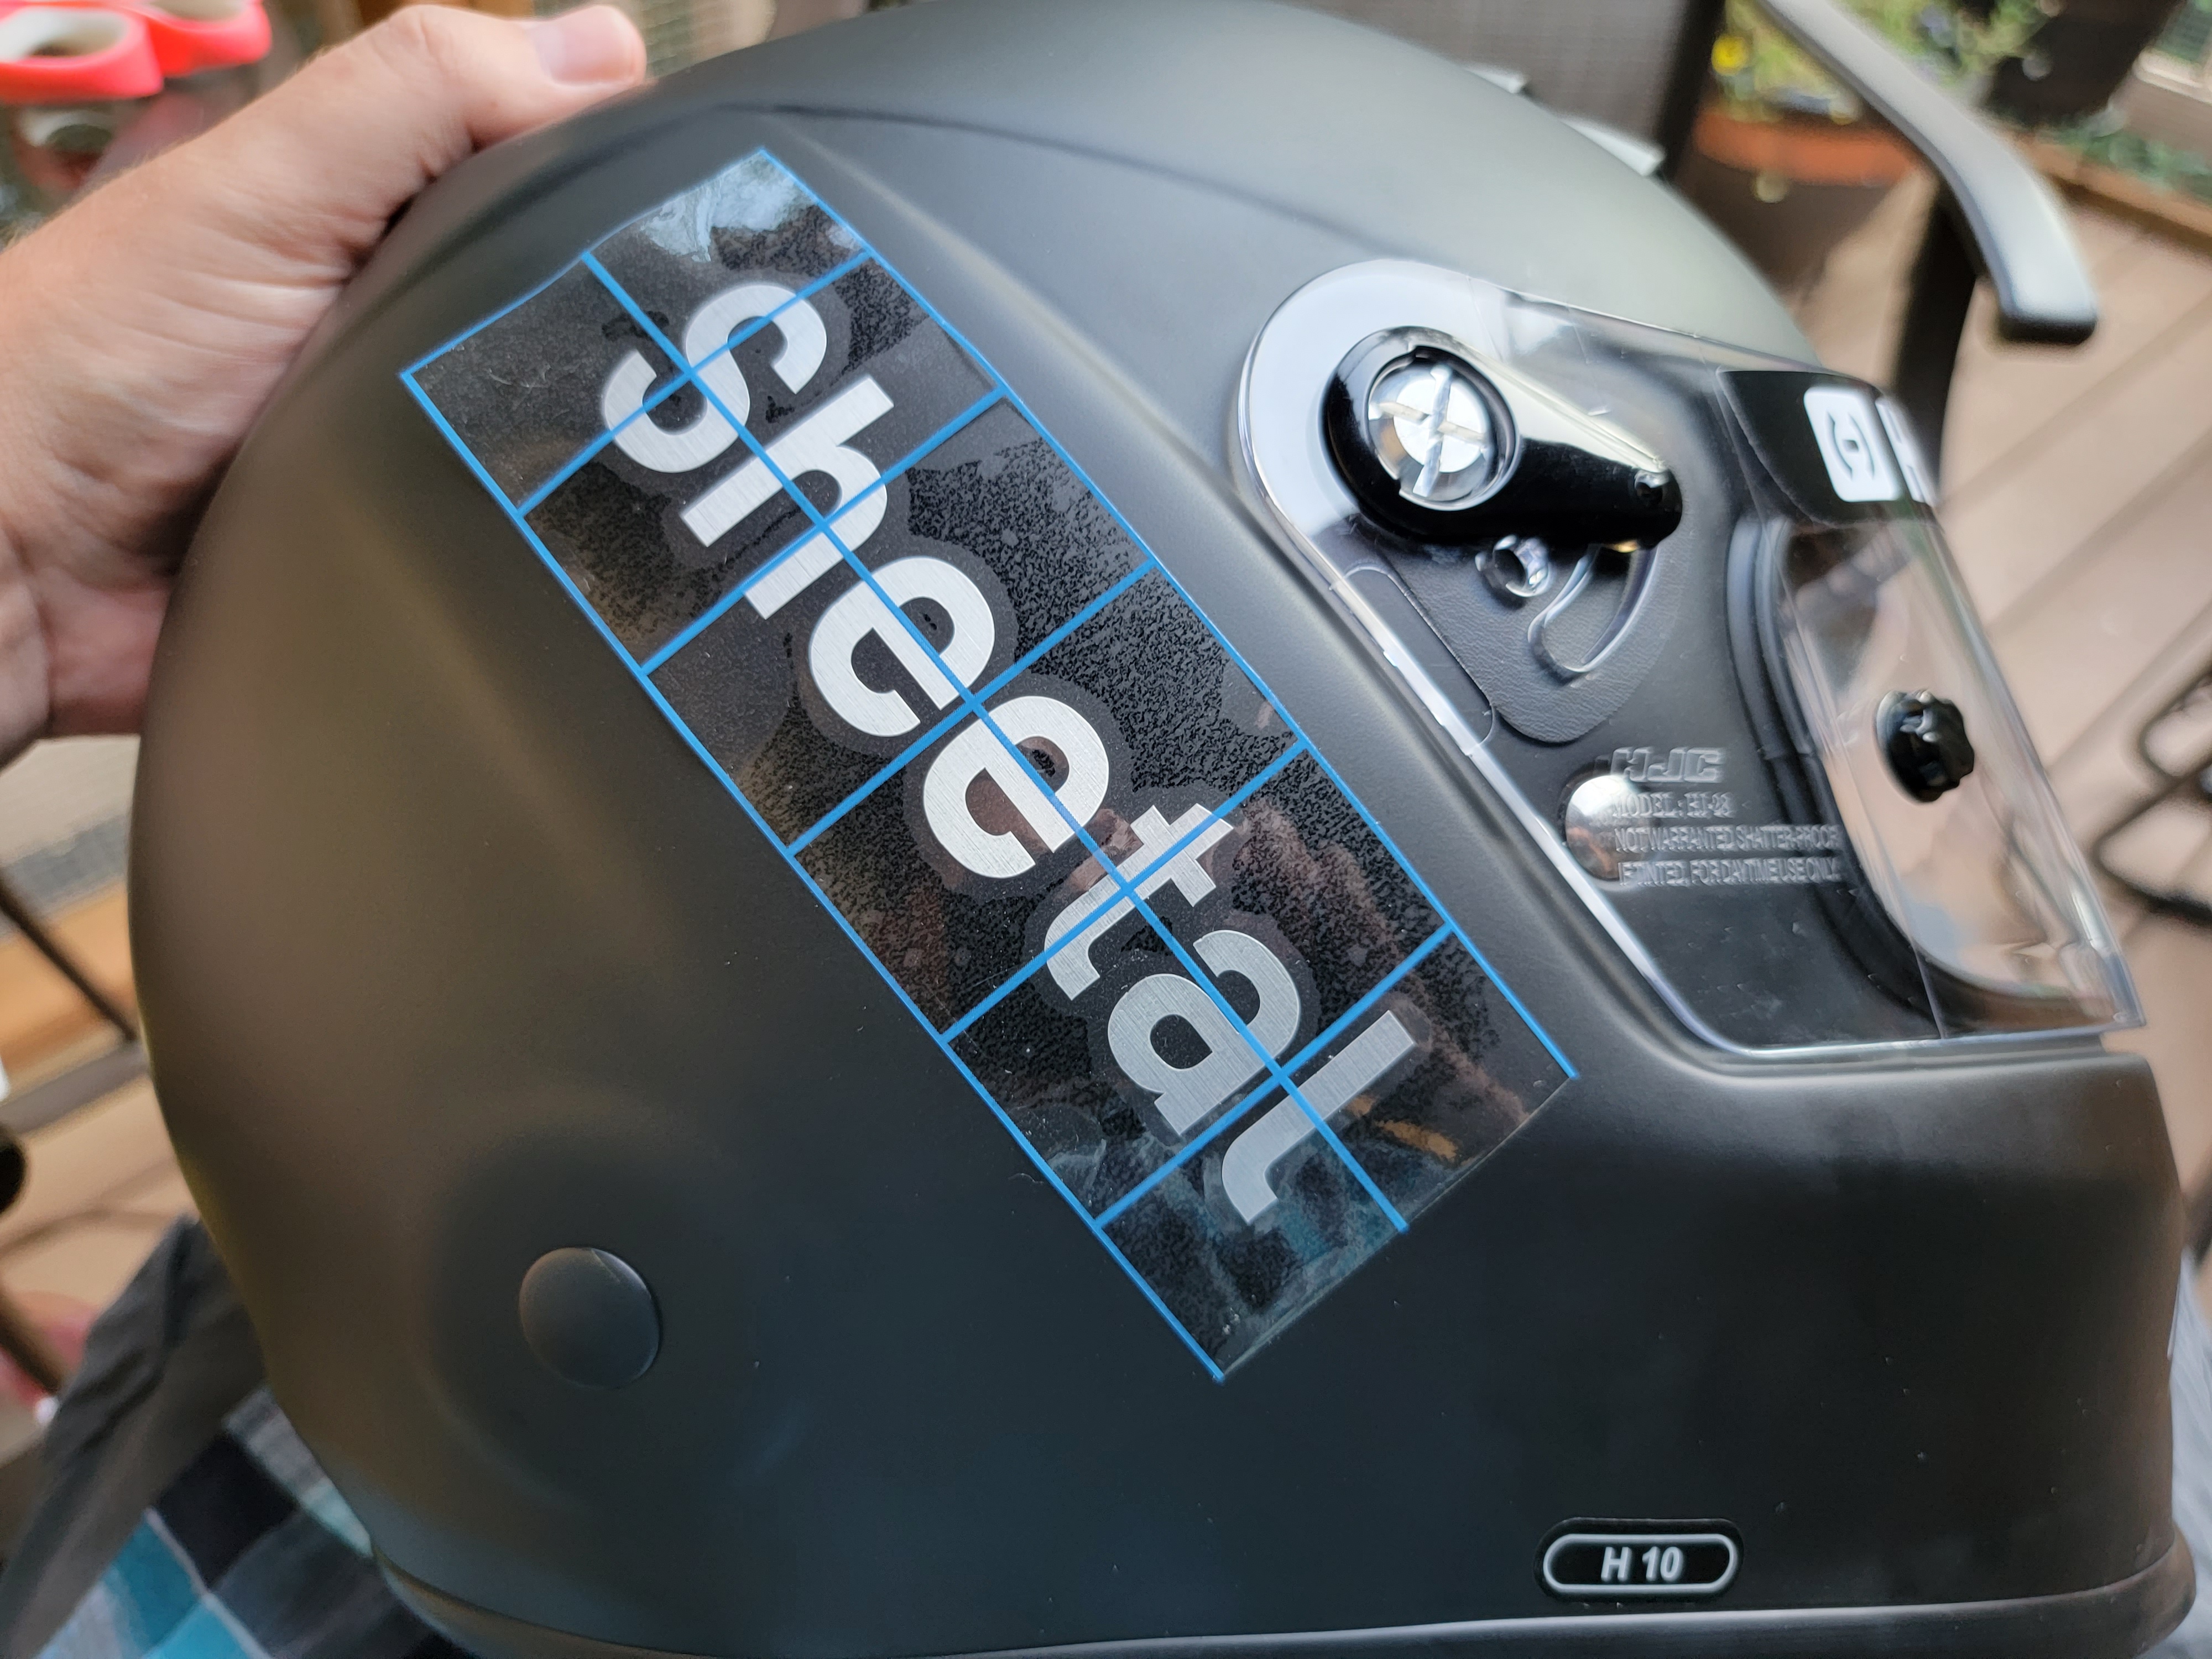
EDIT – August 2022:
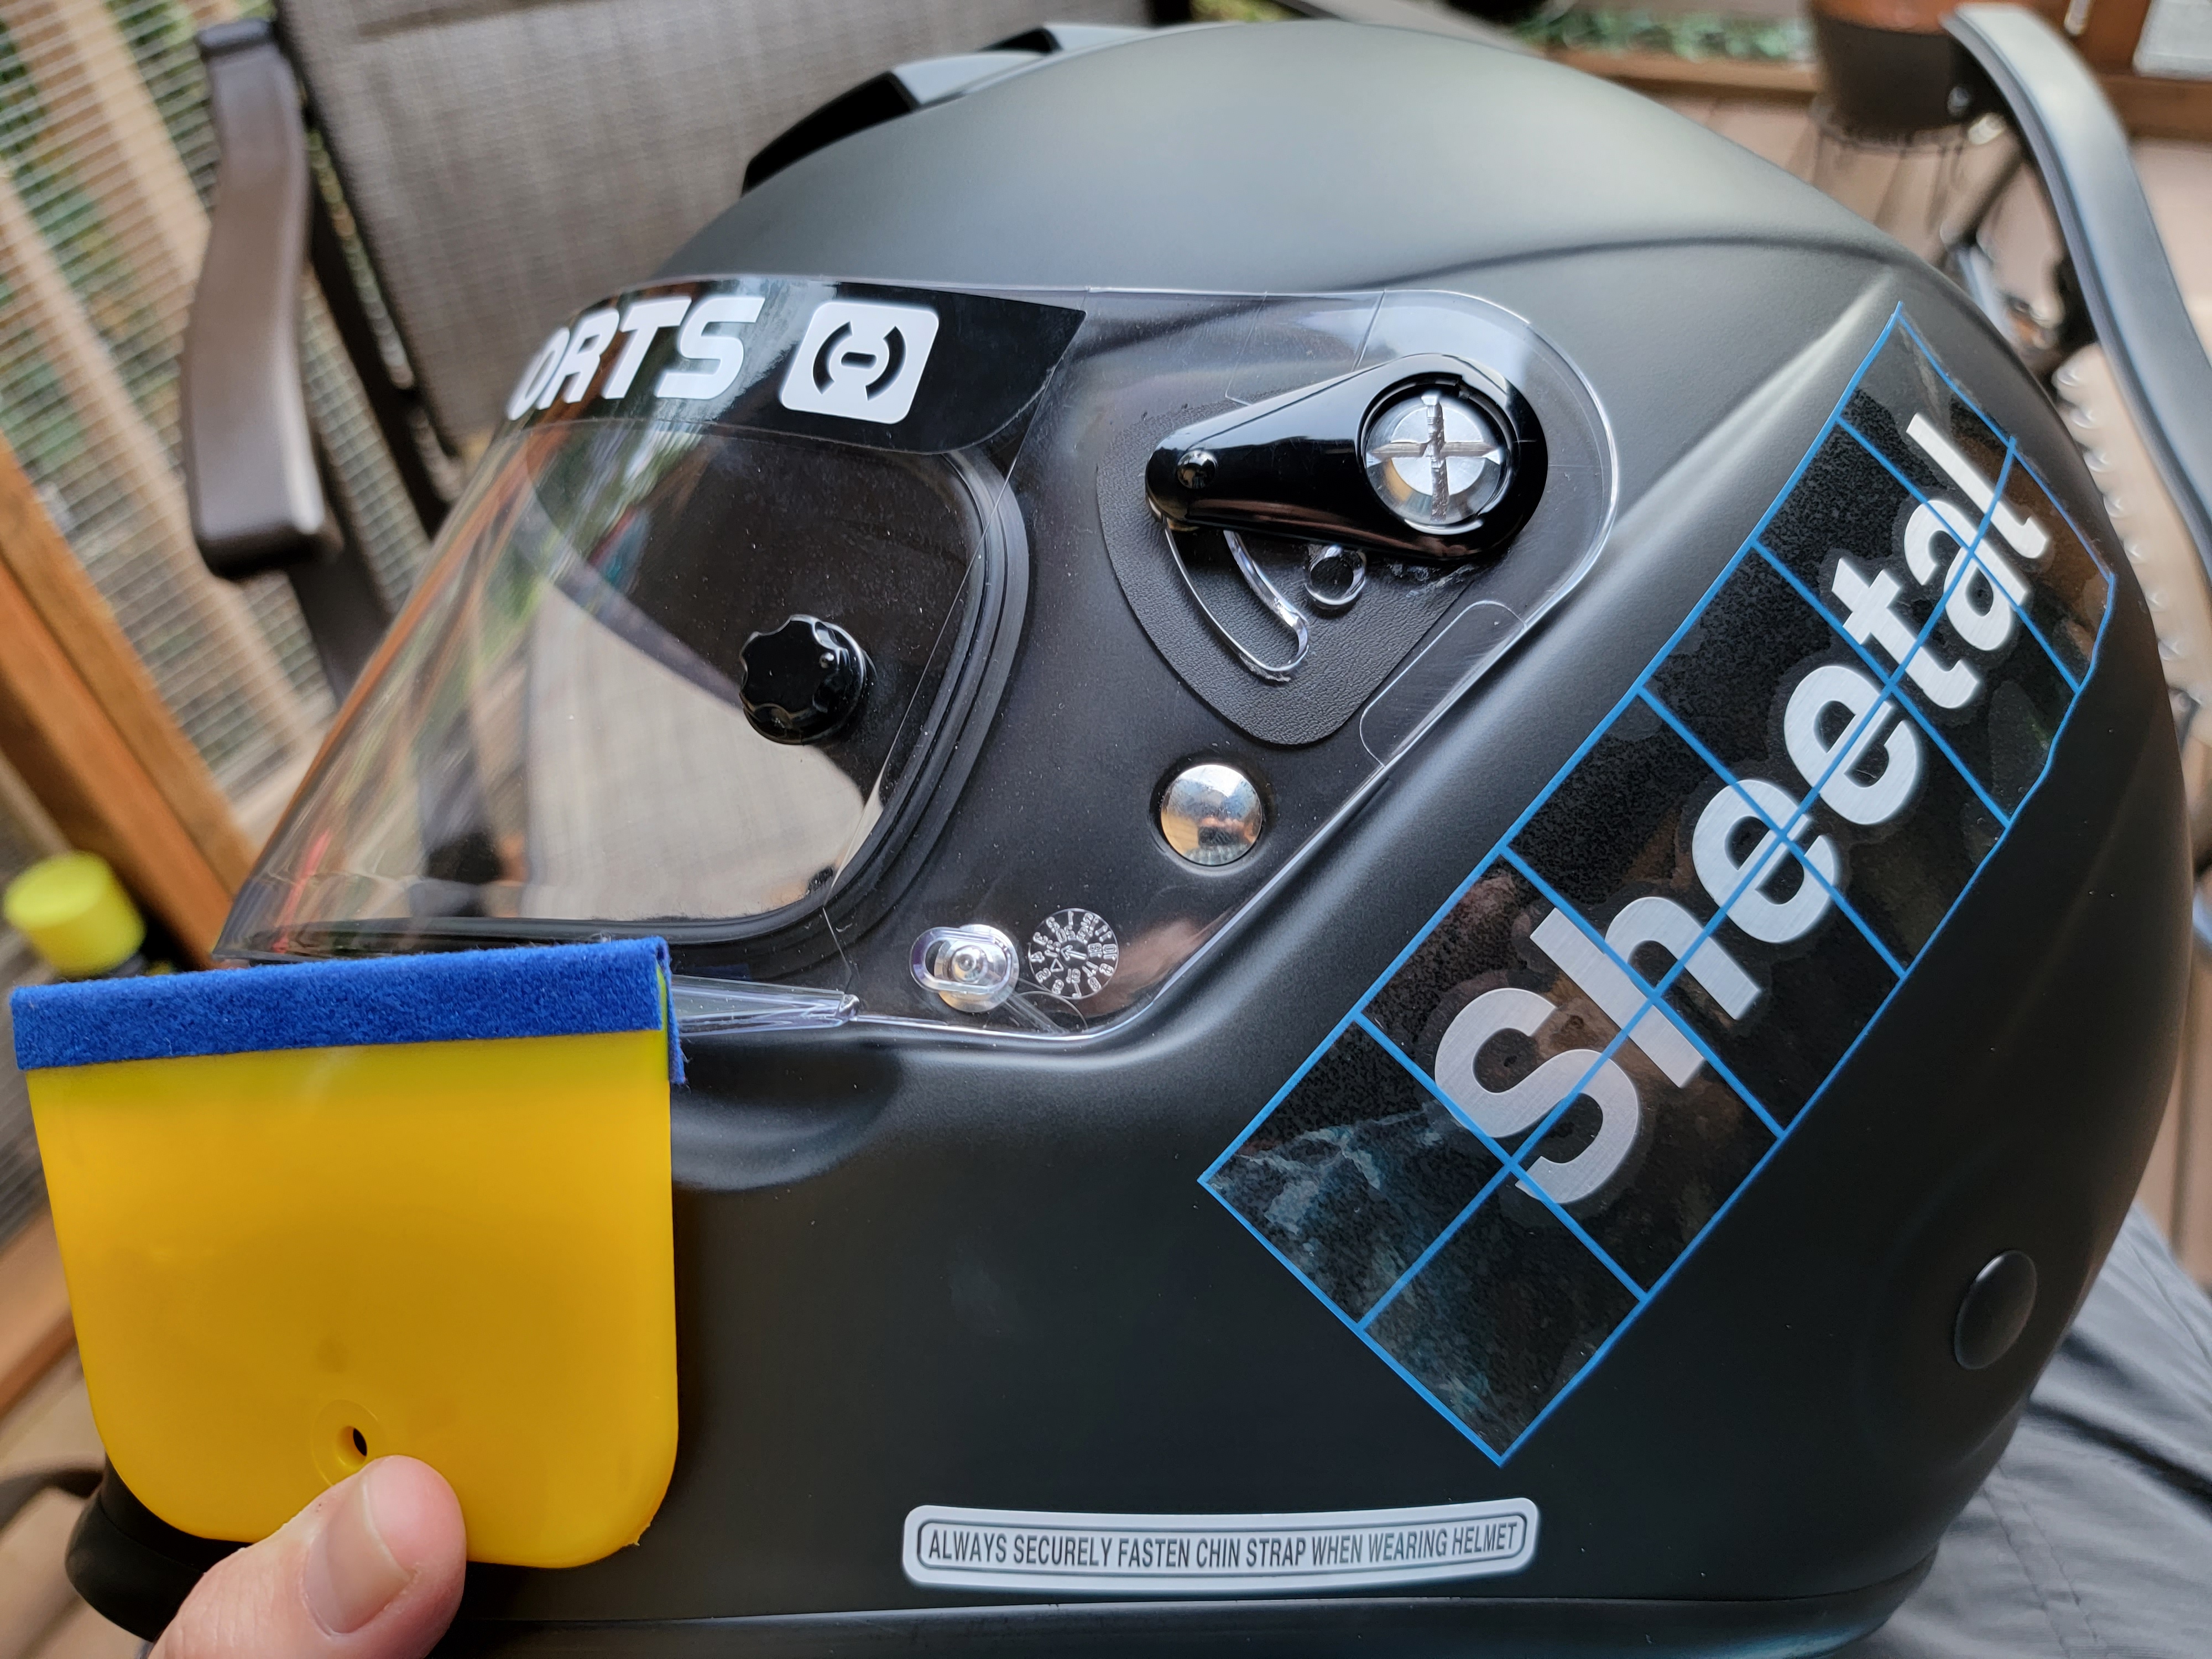
I made set of decals for Sheetal as well, as she has certainly earned the recognition through such steady improvement each track day! 🙂💖
Have you made/applied any decals?
Please share a photo in comments 😉


Leave a Reply