
I’ve seen some interesting projects online – a concept of a box with LEDs serving as a backlight to showcase design (or designs on multiple layers) shown on the front of the box. I decided to make one of those as a gift.
It’s quite simple, and here’s what you’ll need:
- Wooden box – you can make one yourself, or pick up one of the boxes available in craft stores (Michaels, Ben Franklin, any other store with art and craft supplies)
- Strip of white LEDs – I used the ones from RadioShack (although they’re quire overpriced). You can go with color LEDs too, maybe even with a remote to change the color (sets are available on Amazon), or use a microcontroler to control them and have most freedom (Arduino? 🙂 ). However, it may be easier to pick up LEDs for 5V or 9V to pair them to a battery [don’t forget on/off switch] for an ability to keep it in any location, without the need to have wire and power brick,
- Battery box, or a power supply, depending which route you want to go,
- Dimensionalal tape – foam tape, something like that,
- Printouts of designs you want to showcase – you can use 2-3 layers for very nice effect. The lower layers will show up slightly blurred, adding depth to the picture.
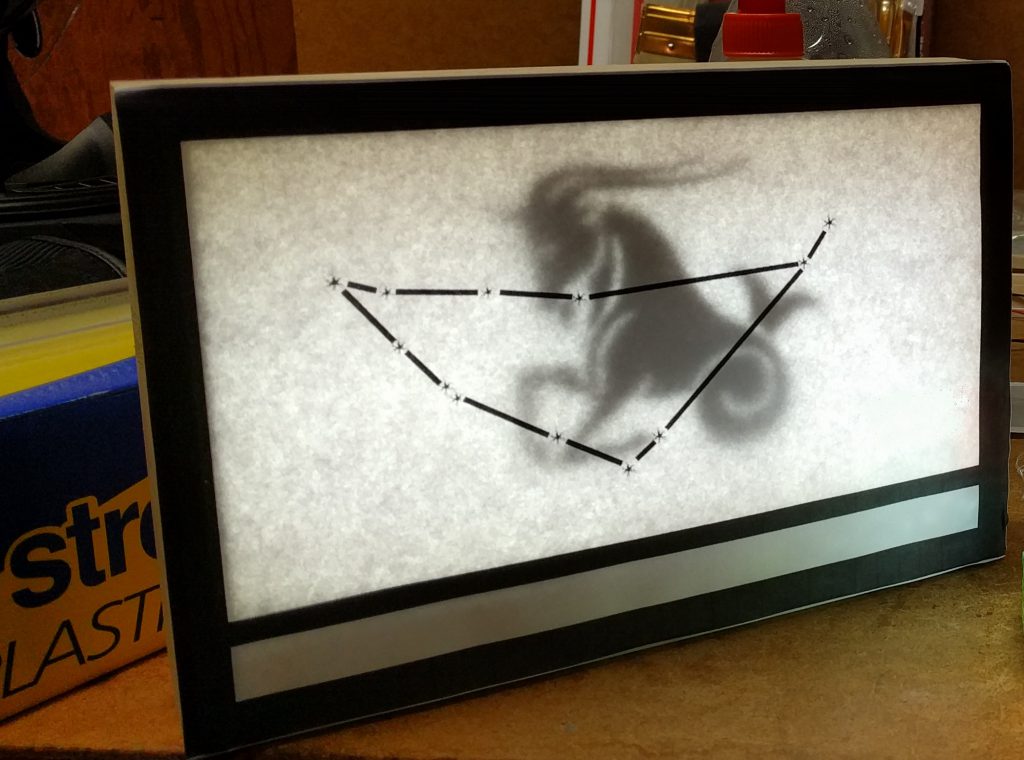
Assembly is very easy, just remember to space the LEDs evenly for best effect. In my case, I kept the batteries on the lower edge of the box, and then added a separator (just a small piece of wood, kind of like a tab in a drawer) to evenly cut off the light for a nice effect. It looks like an extra decorative frame, and this way we avoid he risk of the battery box casting some unwanted shadows. You could also add some text to fill in this space. See the photo below for reference.
When putting the layers with a design, make sure the layers are not simply pieces of paper one on top of another – we need some distance between them, to achieve the blurry effect.. This is where the foam tape comes into play – use a single layer of the tape all around the outline of the box, and then apply another layer on top of that. Repeat with next layer if desired. Try it out first, to make sure the number of layers is correct for the LEDs you have (to ensure that multiple layers of paper don’t make it all too dark…).
I think the end result turned out nice, and it may be a thoughtful and personal addition to the gifts you’ll give to your Valentine 🙂
Photo:


Leave a Reply