
Design
The physical dimensions of the play area were dictated by two factors:
- the size should be convenient for playing many board games, and as such be close to regular Chess board sizes
- since there will be many sensors and LEDs, I thought if there’s something that could make the design easier (“more convenient to finish” 🙂 ), and considering various LED strips available, I chose the one with pitch 1.28 inch, which provides nice spacing between cells (and having LEDs ready on the strip saves hours of re-soldering)
This decision is also important in context of the custom PCB I made to handle hall effect sensors per row in the board grid.
Another considerations when working on the design:
- place to store game pieces, preferably more than a single pocket, so we can separate pieces for different games, or at least white/black Chess pieces
- space for electronics, any buttons, switches, etc.
Once we move from the design to making cutting and assembling the pieces, it’s good to have the flexibility of selecting various materials and quickly update the design to account for their thickness (as there are many tabs and one piece needs to fit snugly in another).
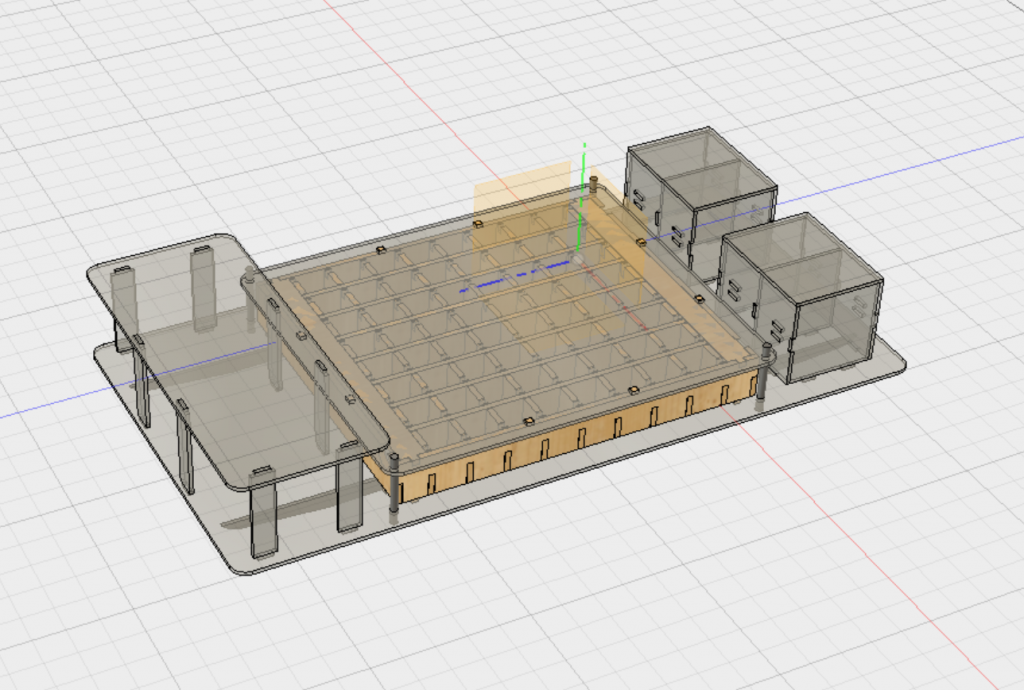
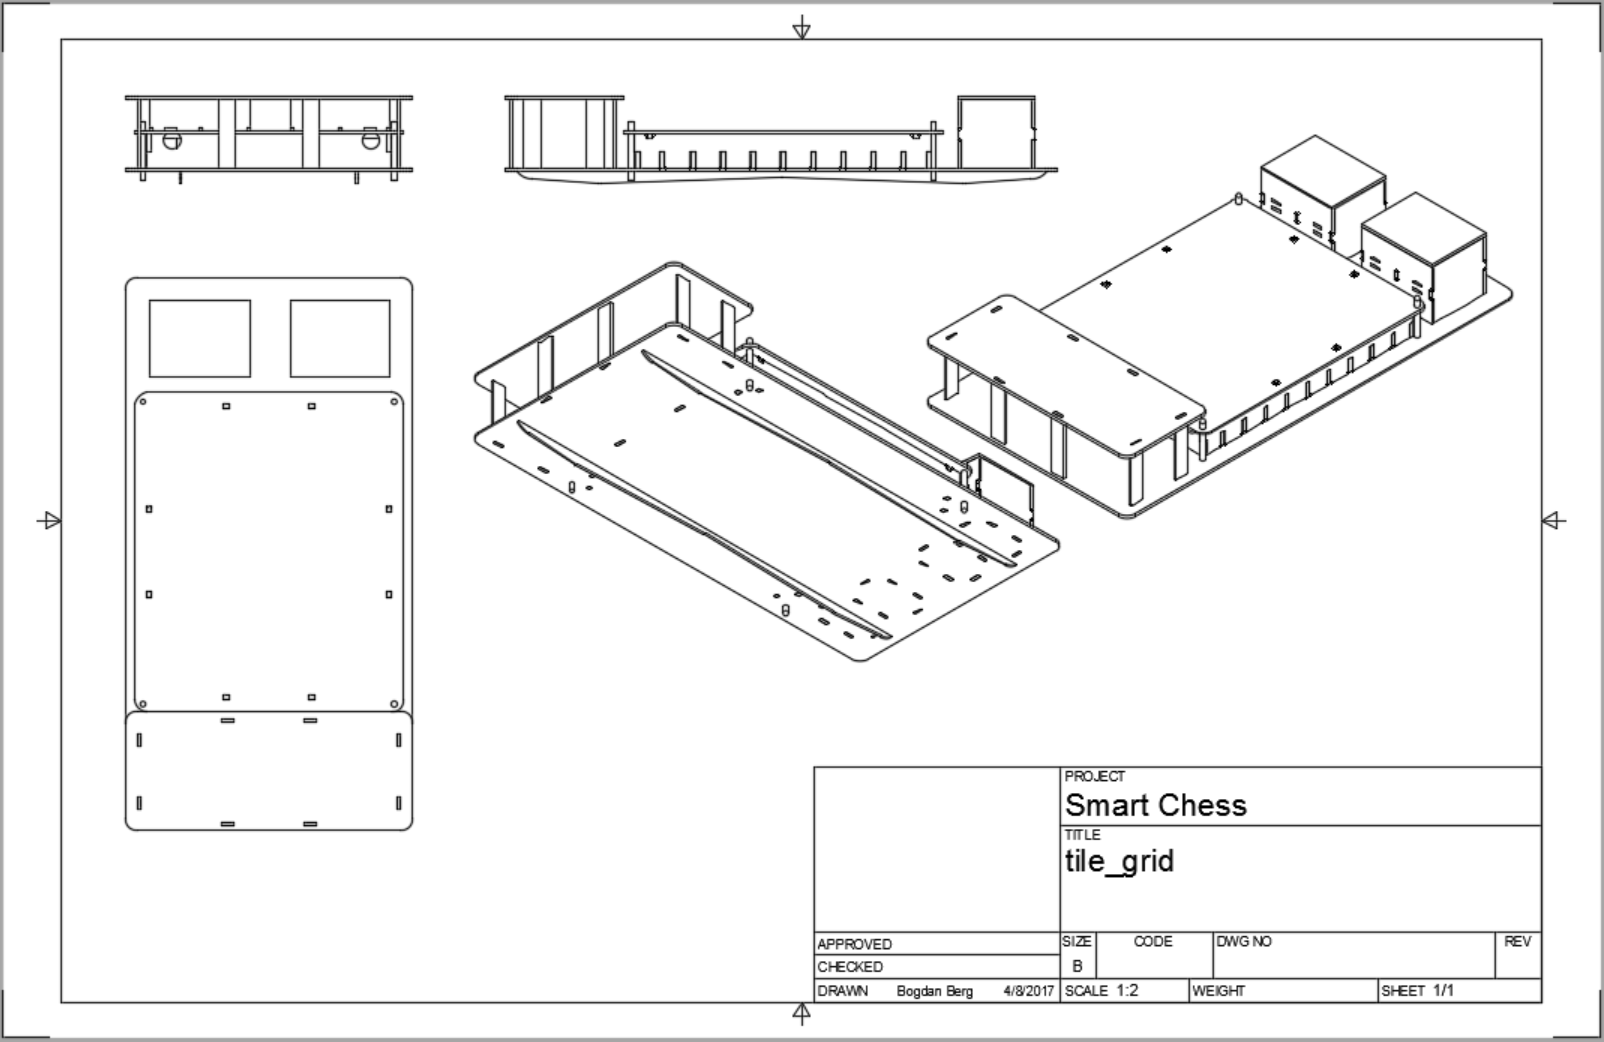
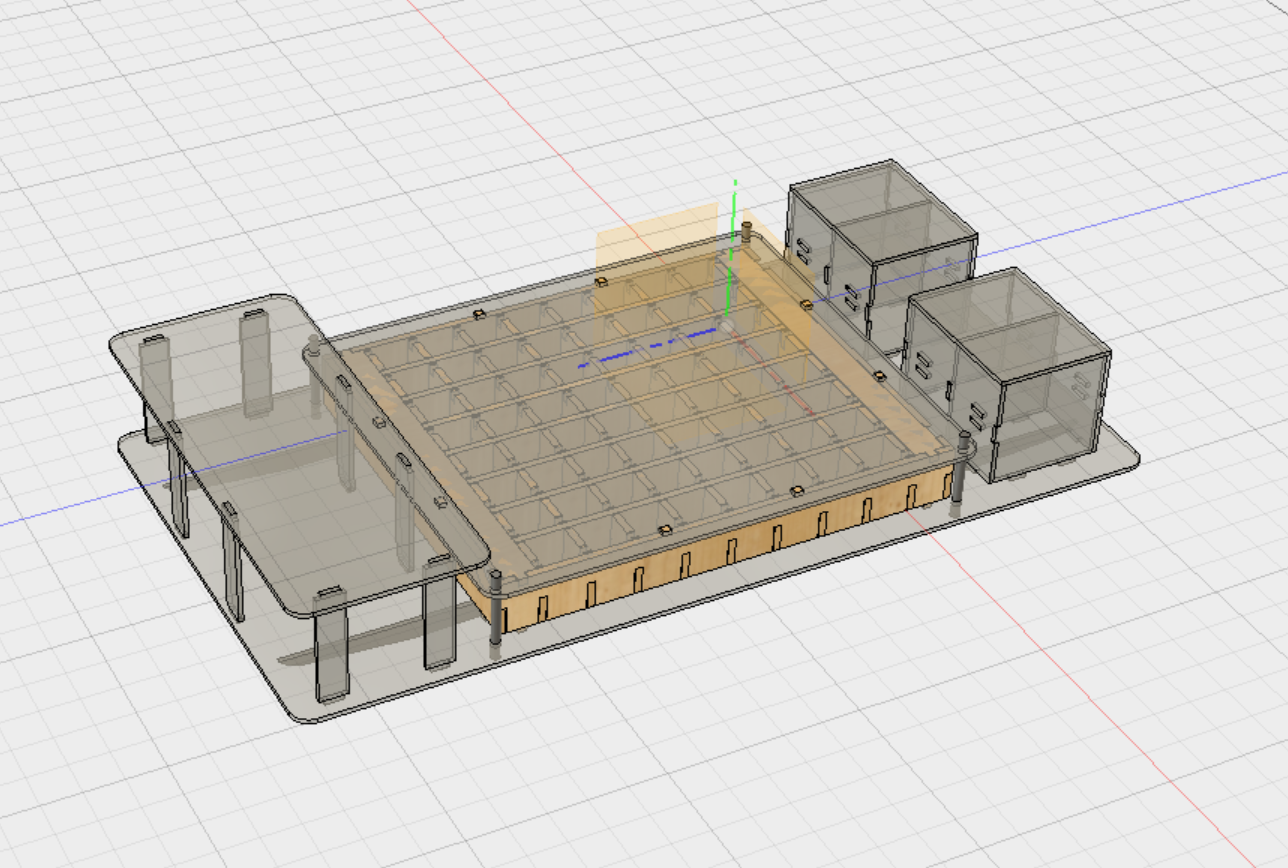
As such, I made the complete design (parametric) in Fusion 360.
Couple screenshots from the design in Fusion 360:
Parts list
- Acrylic – Buy from TAP Plastics
- 1/8 inch thick, extruded acrylic (cheaper than cast acrylic, and we won’t be etching that much to see any difference)
- Use sheet dimensions matching the bed size of your laser cutter (in my case, 24″ x 18″, and I ended up using 3-4 sheets, considering that I made some design changes in the process)
- Acrylic cement – Buy from TAP Plastics
- Smallest bottle you can buy will be more than enough
- Acrylic cement applicator – Buy from TAP Plastics
- I prefer smaller applicators (thinnest needle, smallest risk of dripping, etc.)
- Acrylic hinges – Buy from TAP Plastics
- We need 2 – one for each storage compartment
- Plywood
- I used 5mm thick plywood from Home Depot (sold as ‘underlayment’)
- You can get it in sheets 2′ x 4′ and even bigger – and get it cut to desired size in store
- Bolts and nuts – Buy on Amazon
- We only need the biggest bolts from this set (1/4″-20 x 2″), but the set has 2 of them, and we need 4 – so either we’d need to order 2 sets, or pick just the bolts needed i.e. from Home Depot (cheaper option 🙂 ). Those bolts are used to attach the top “lid” of the board to the base (and this is also how the internal grid is being kept together).
Assembly
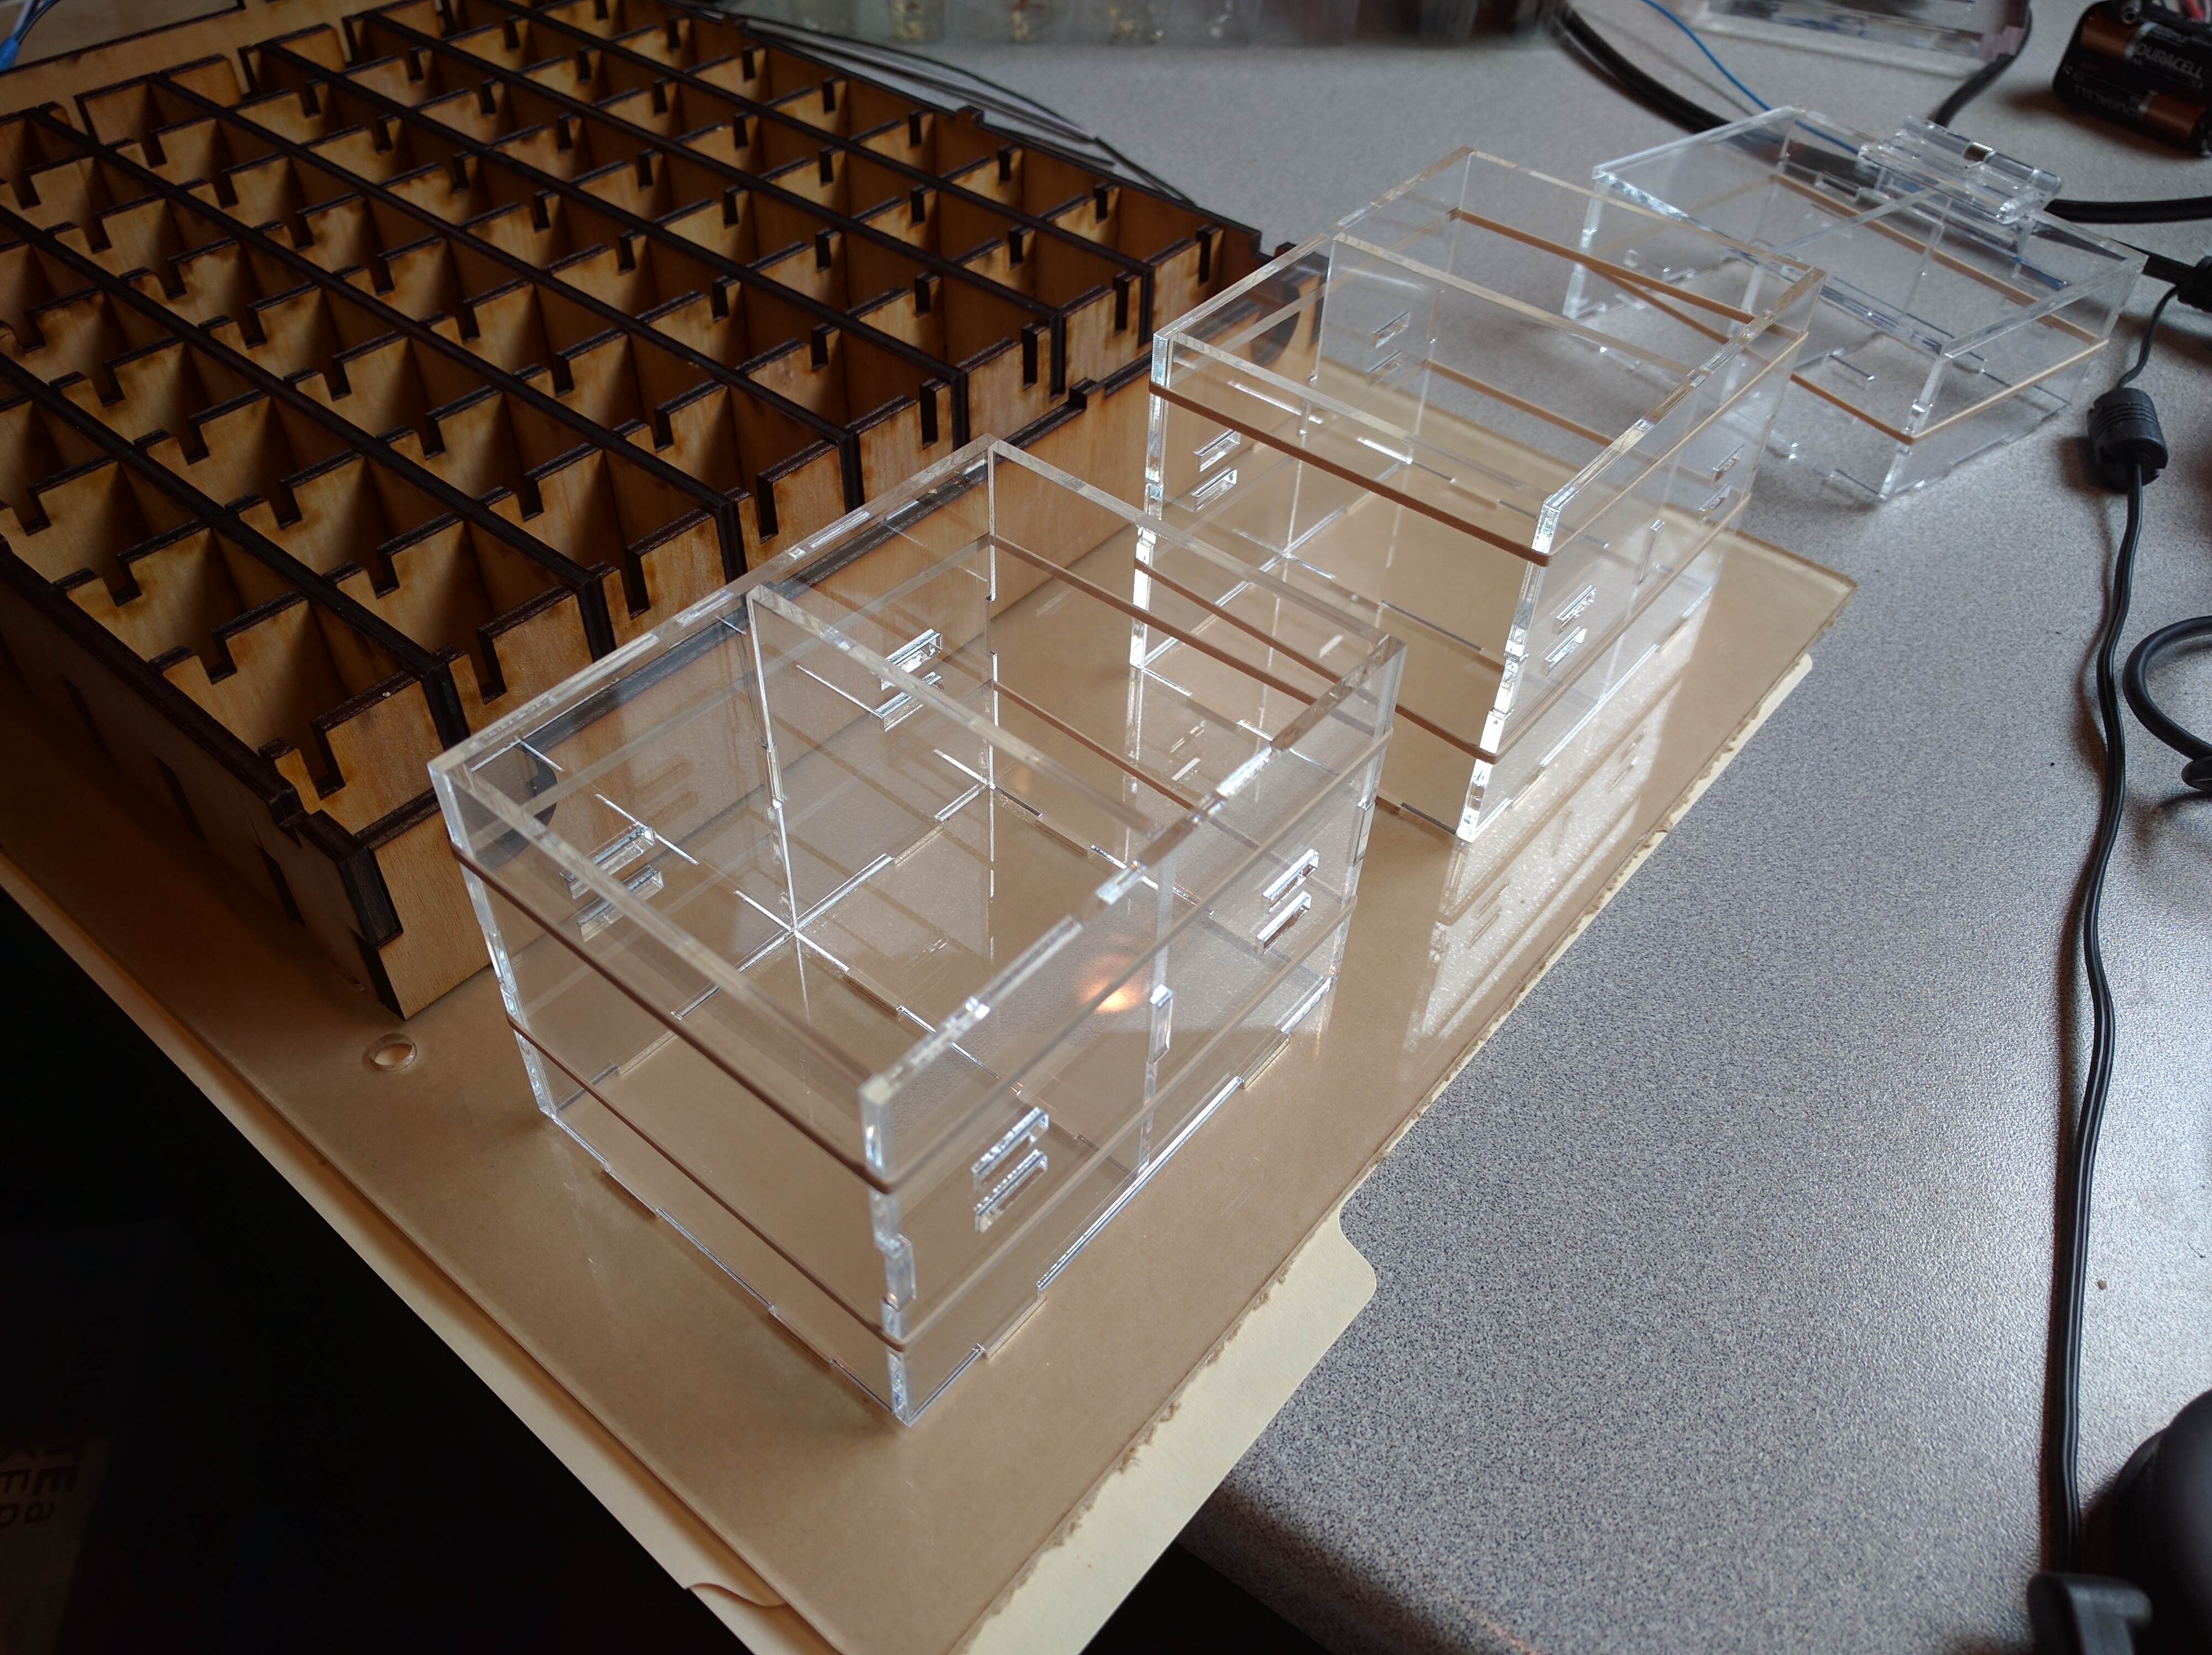
All pieces were cut on laser cutter, using 5mm plywood (underlayment) for the game board grid, and acrylic for base, storage compartment and protective case around electronic components:

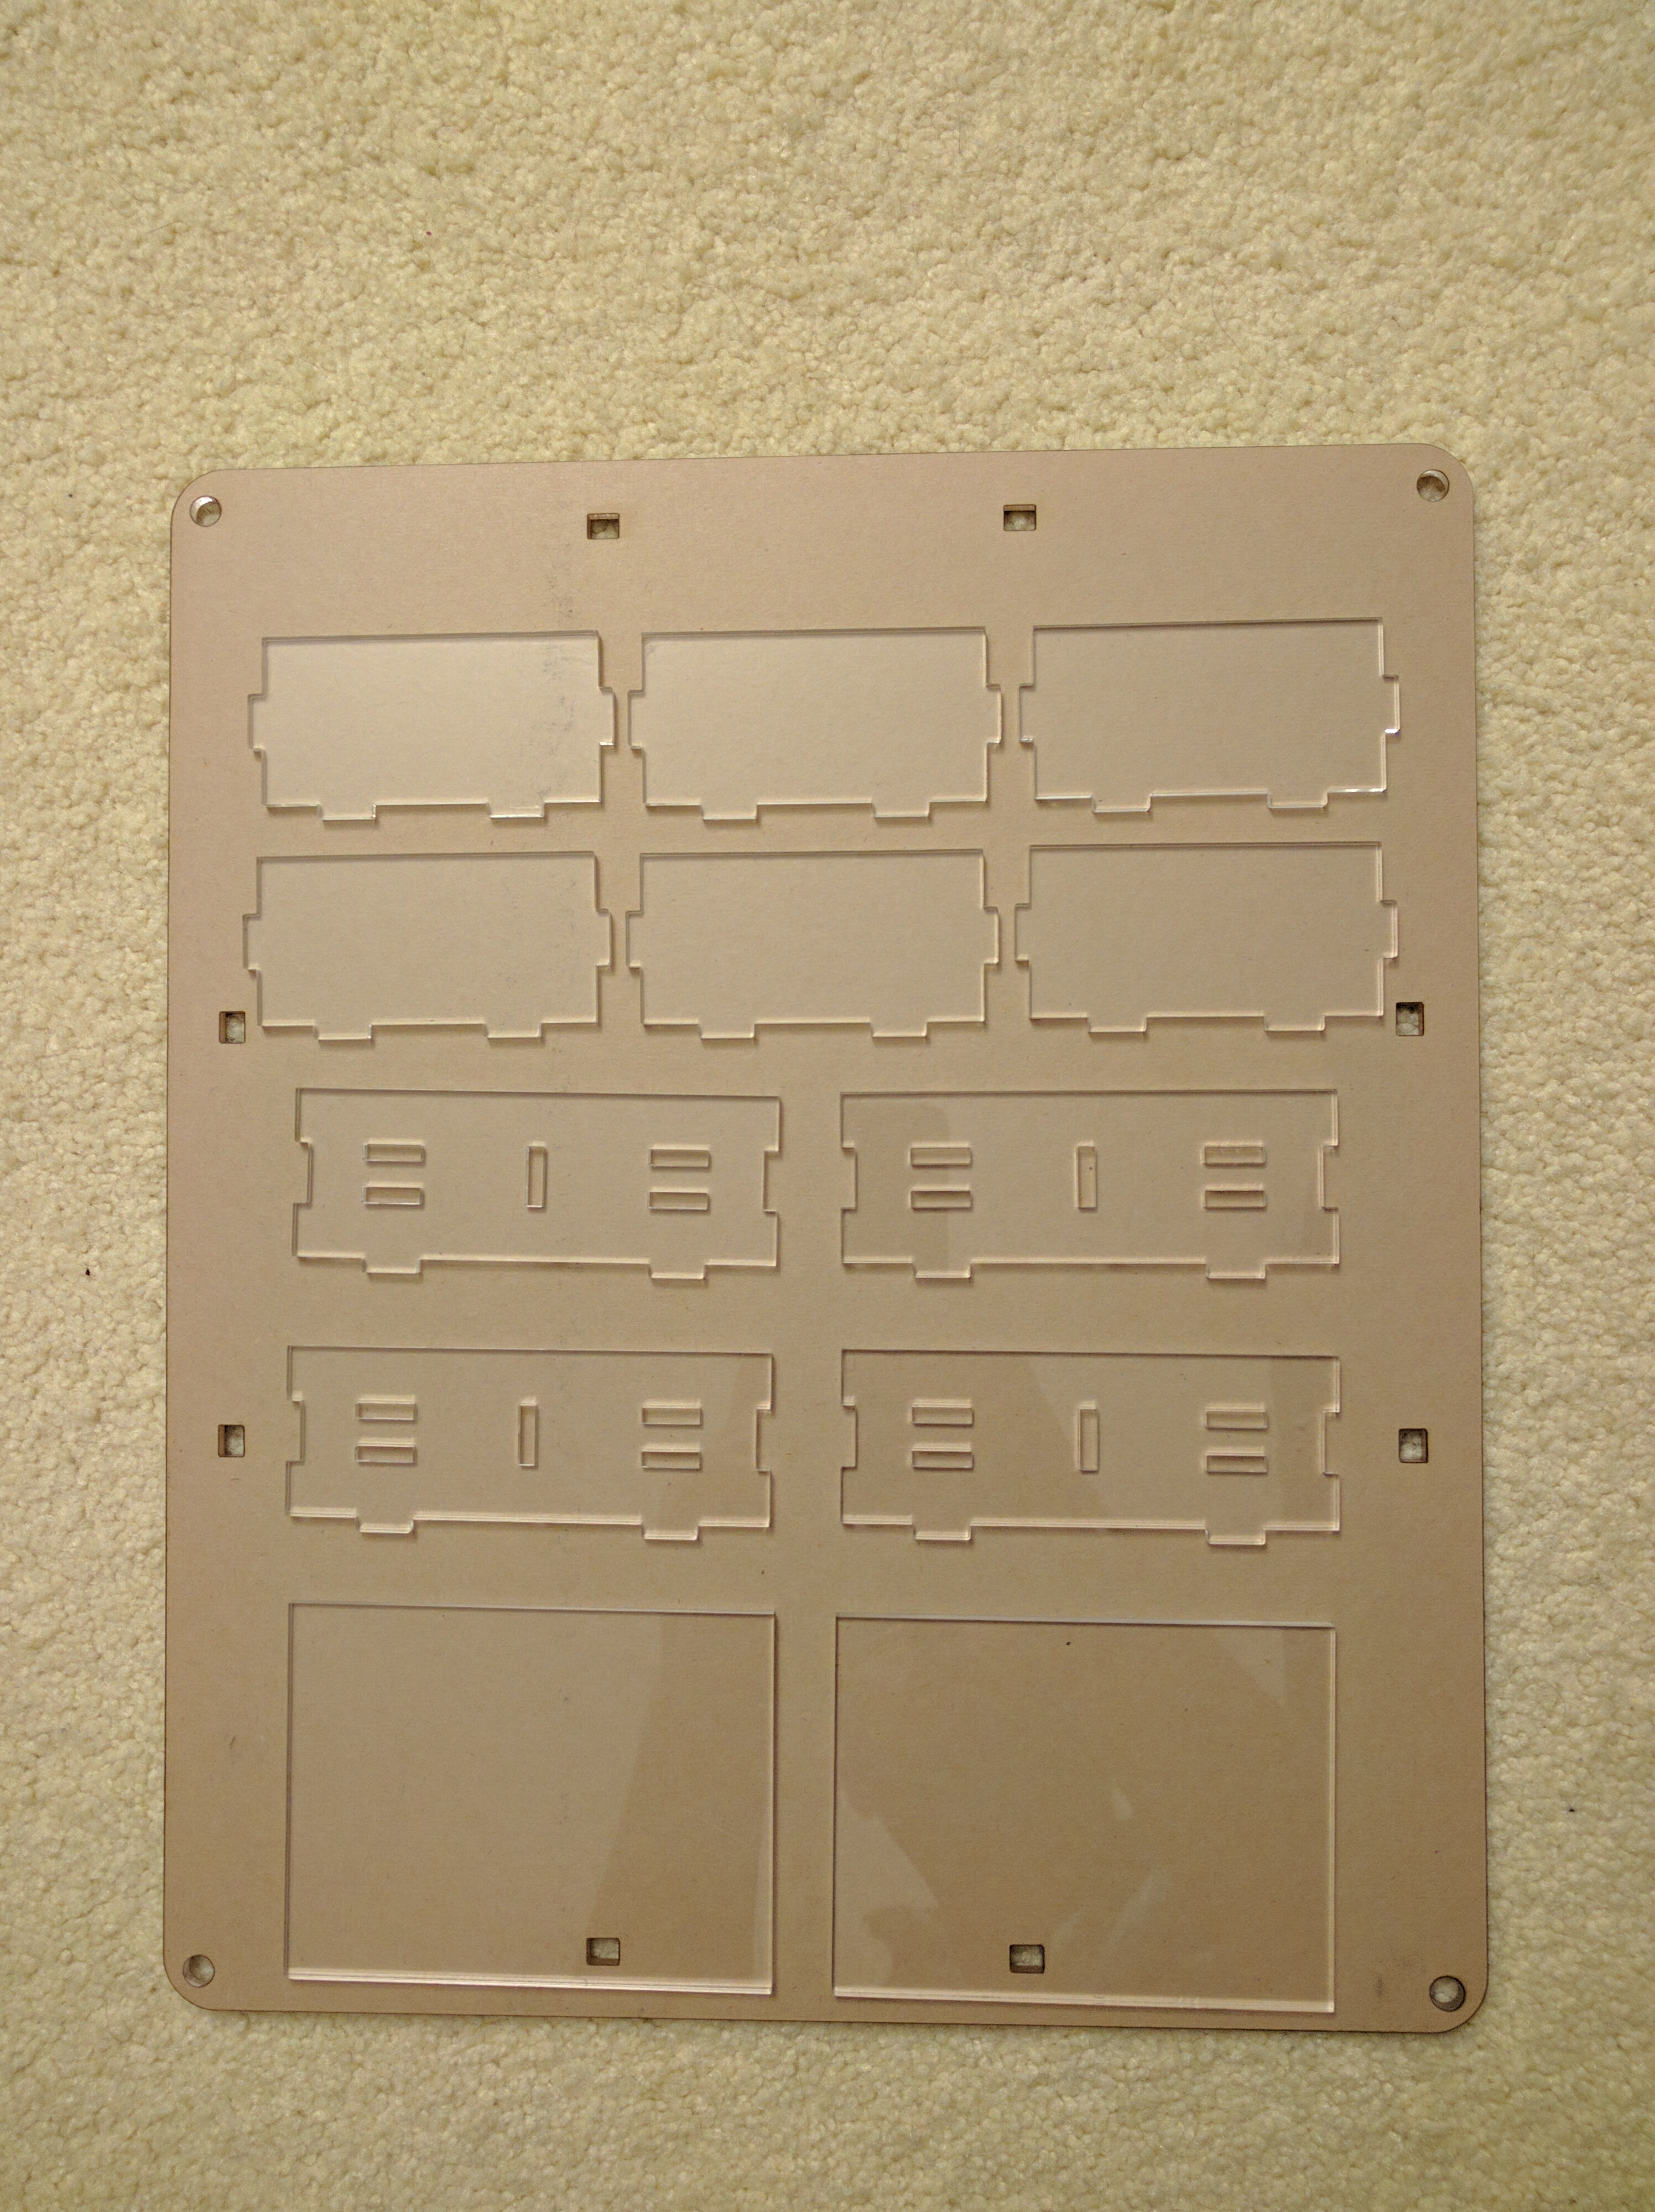
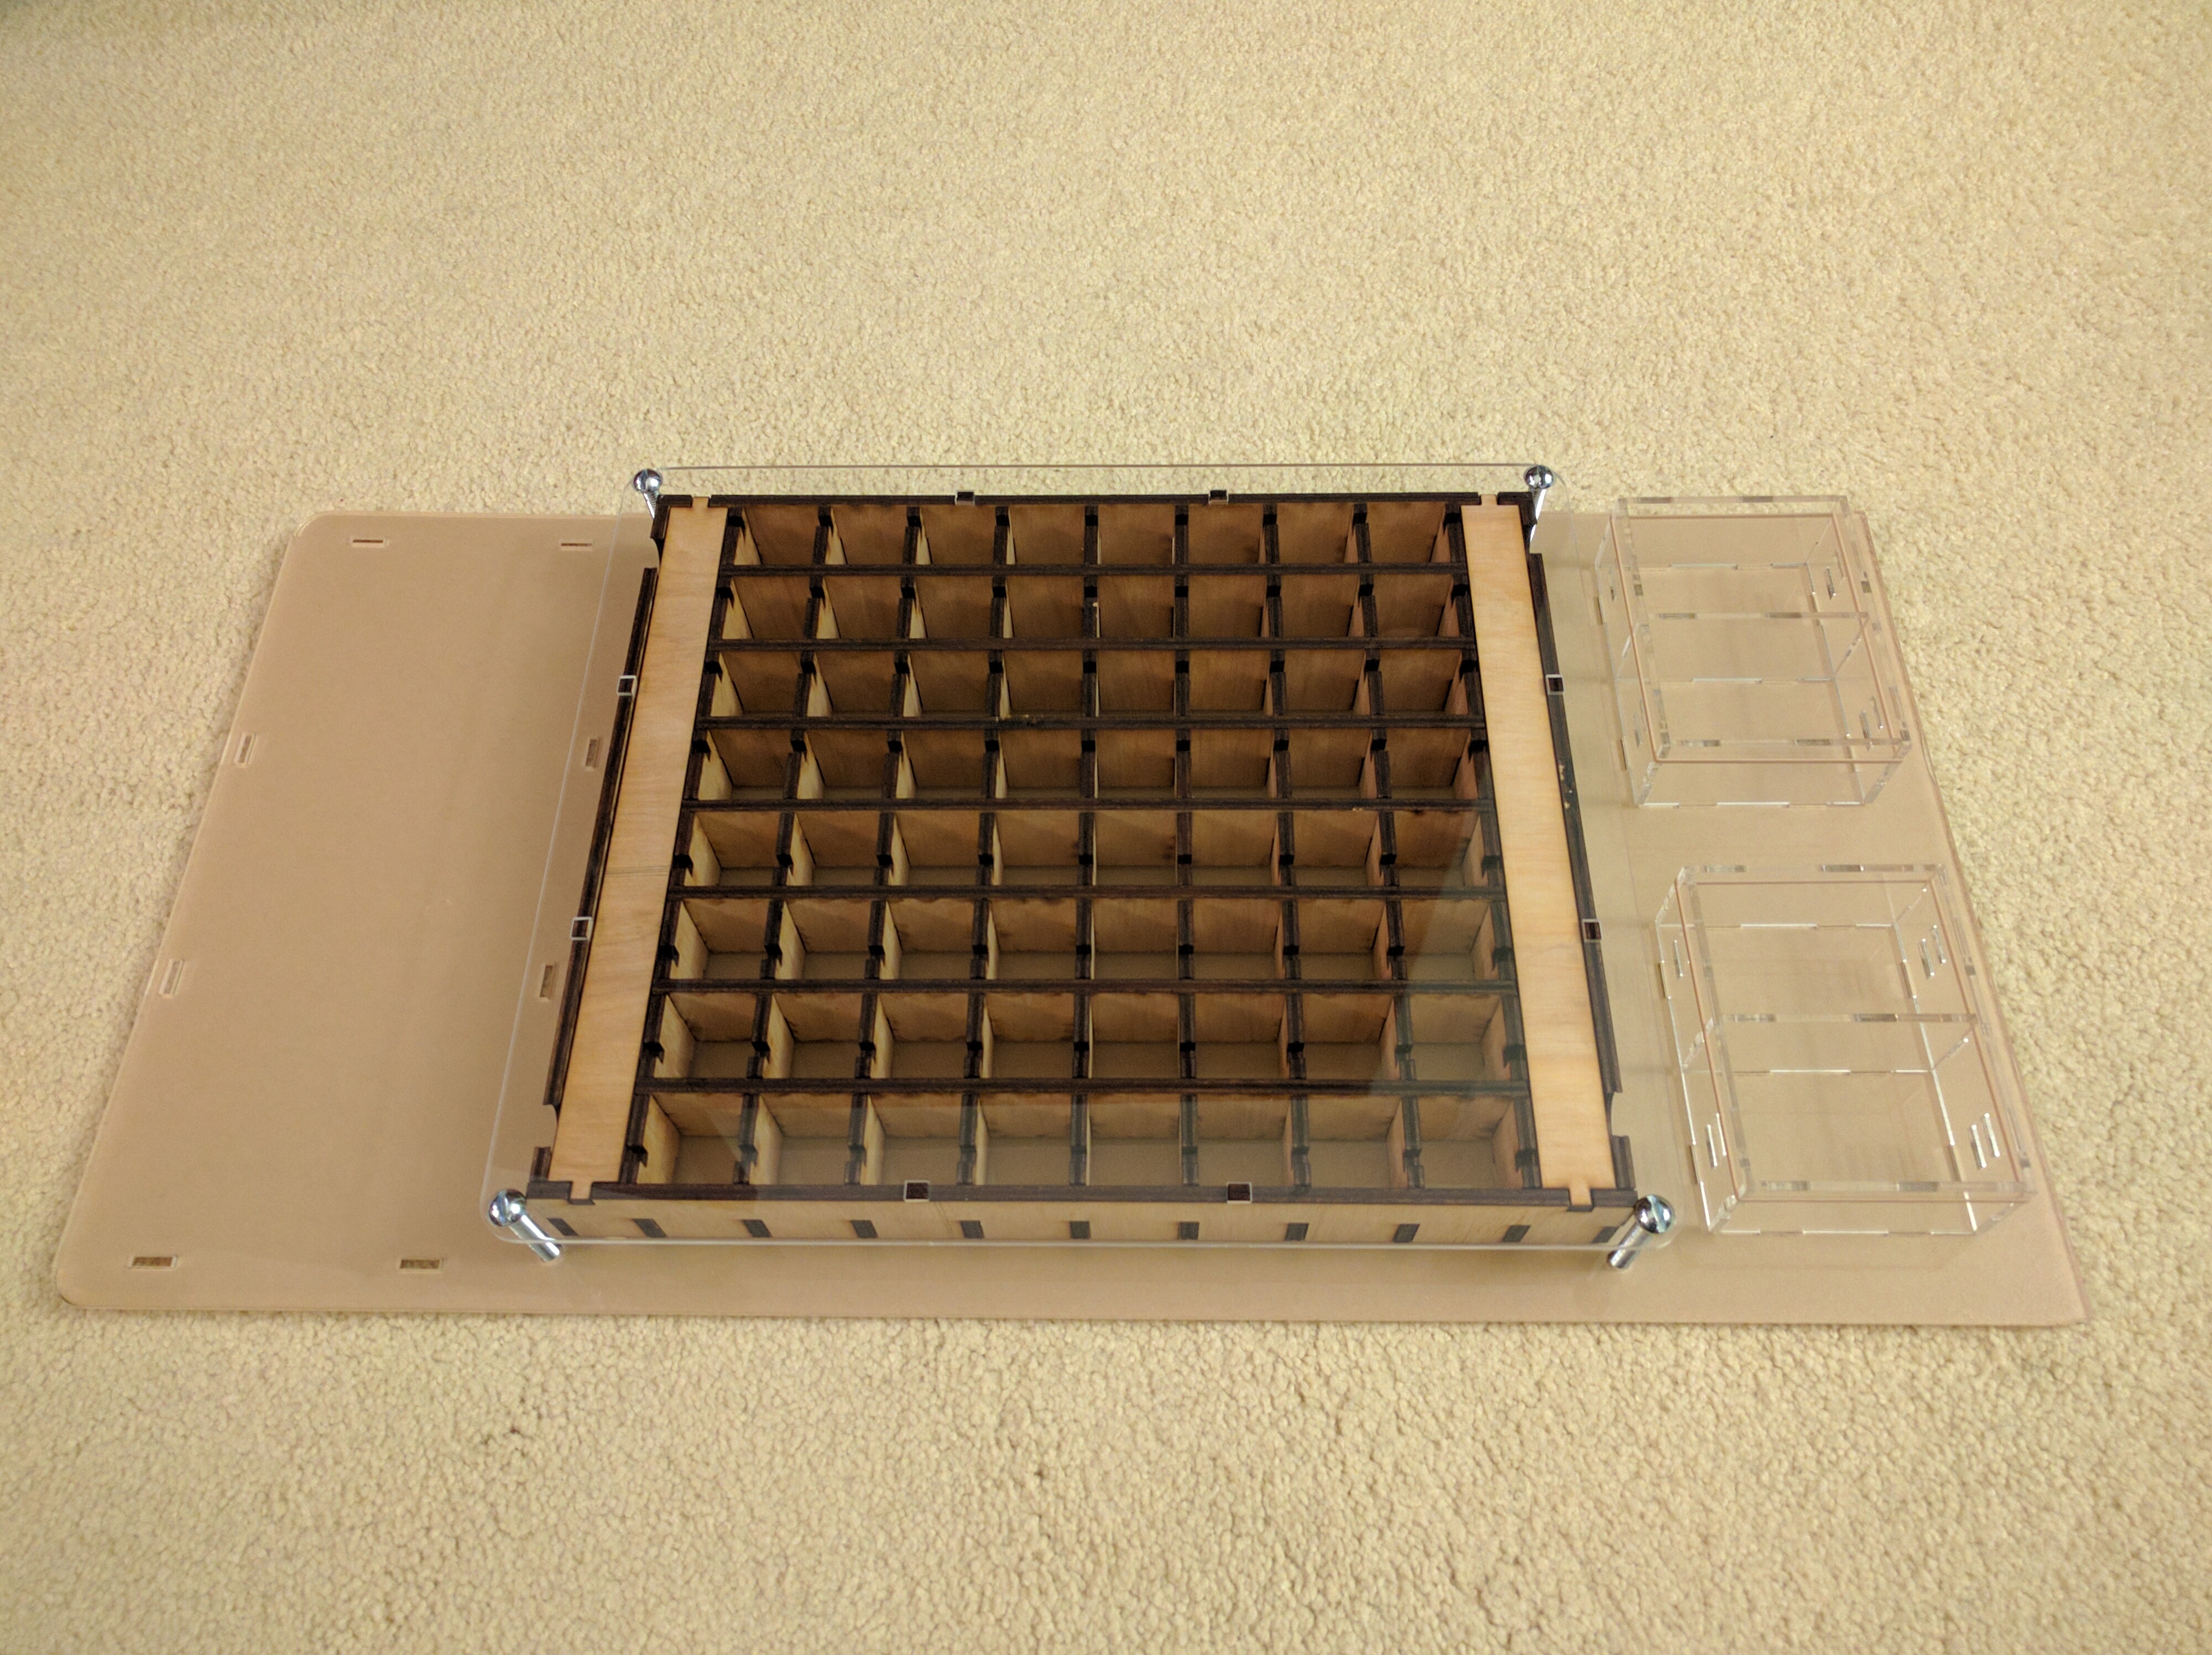
Thanks to the tabs, the wooden grid assembles very easily – everything simply snaps into place, and then locks in the holes in the base.
Thought for V2: instead of wood (plywood), why not use white acrylic? Could make for a bit more futuristic look.
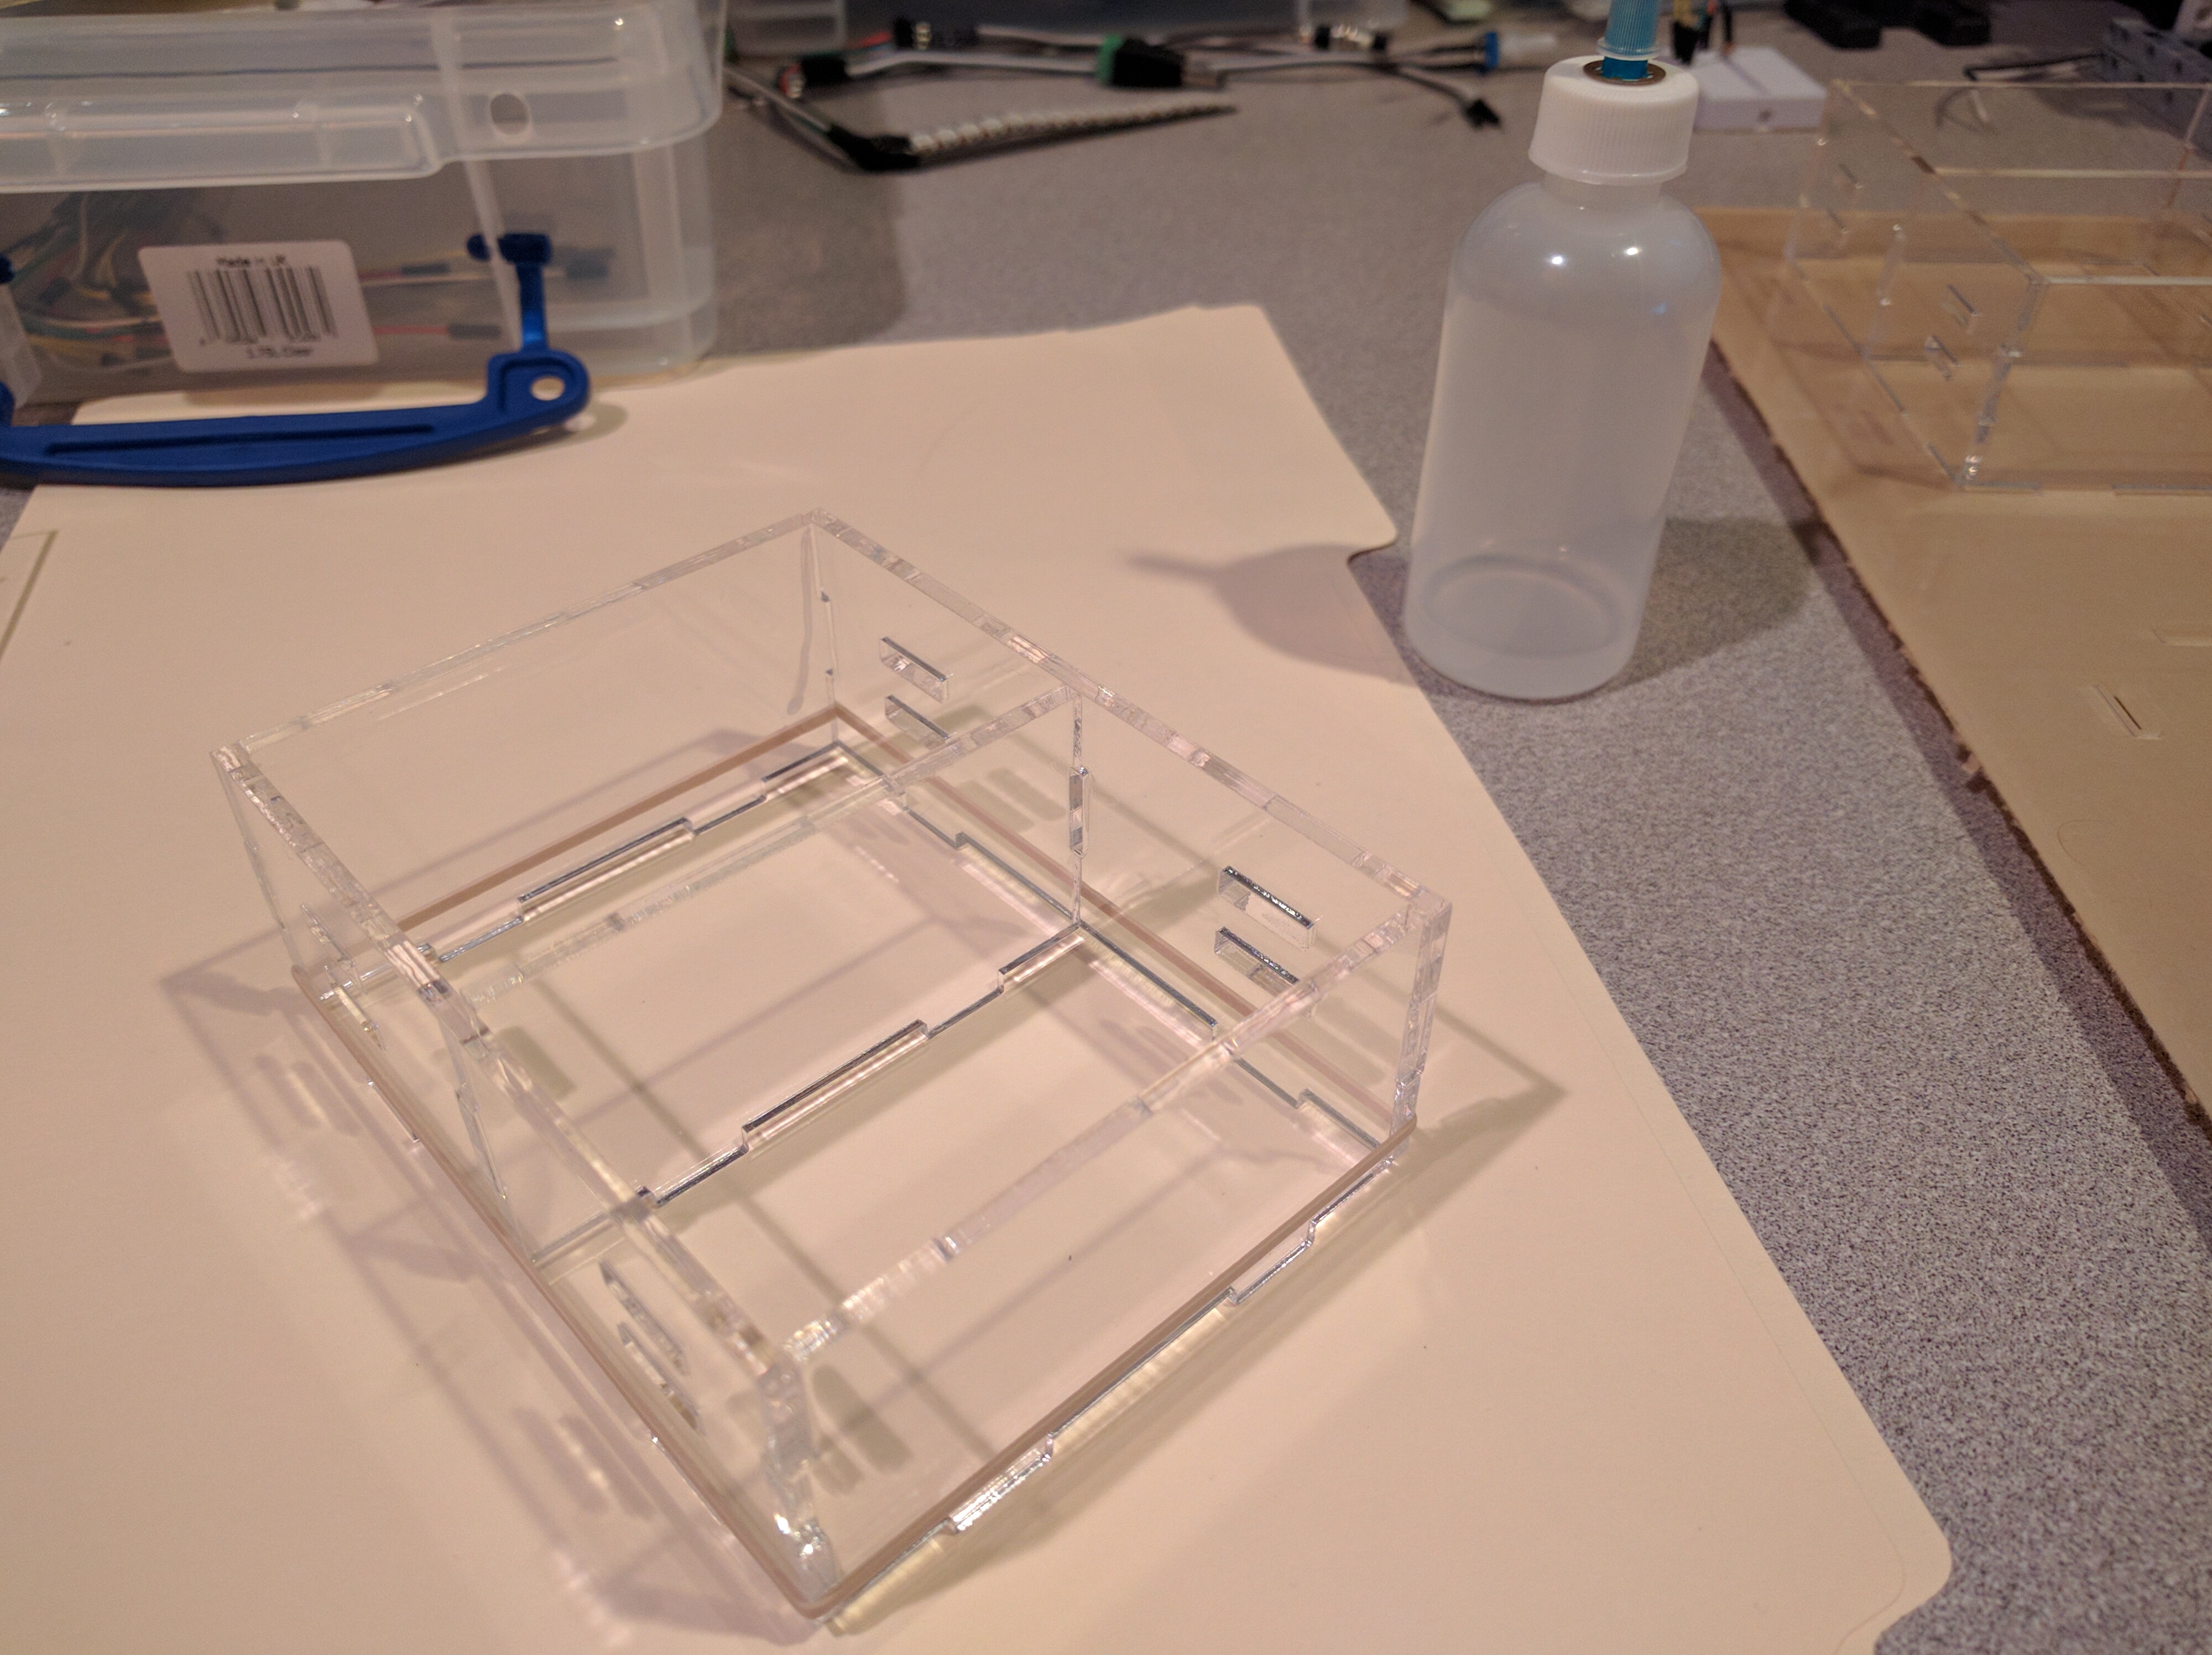
Gluing acrylic pieces (for the storage compartment) is very easy, I watched couple videos on YouTube and was ready to give it a go. It’s important to avoid spilling acrylic cement, as it will leave nasty marks. And if you spill, don’t wipe it – that will only make it worse.
Here’s a tip: squeeze the air from the applicator before applying the cement, and then as you flip the bottle and approach the spot, keep releasing the bottle so that it sucks the air back in and prevents any spillage.
It helps to use some rubber bands (or painters tape) to keep pieces together while gluing.
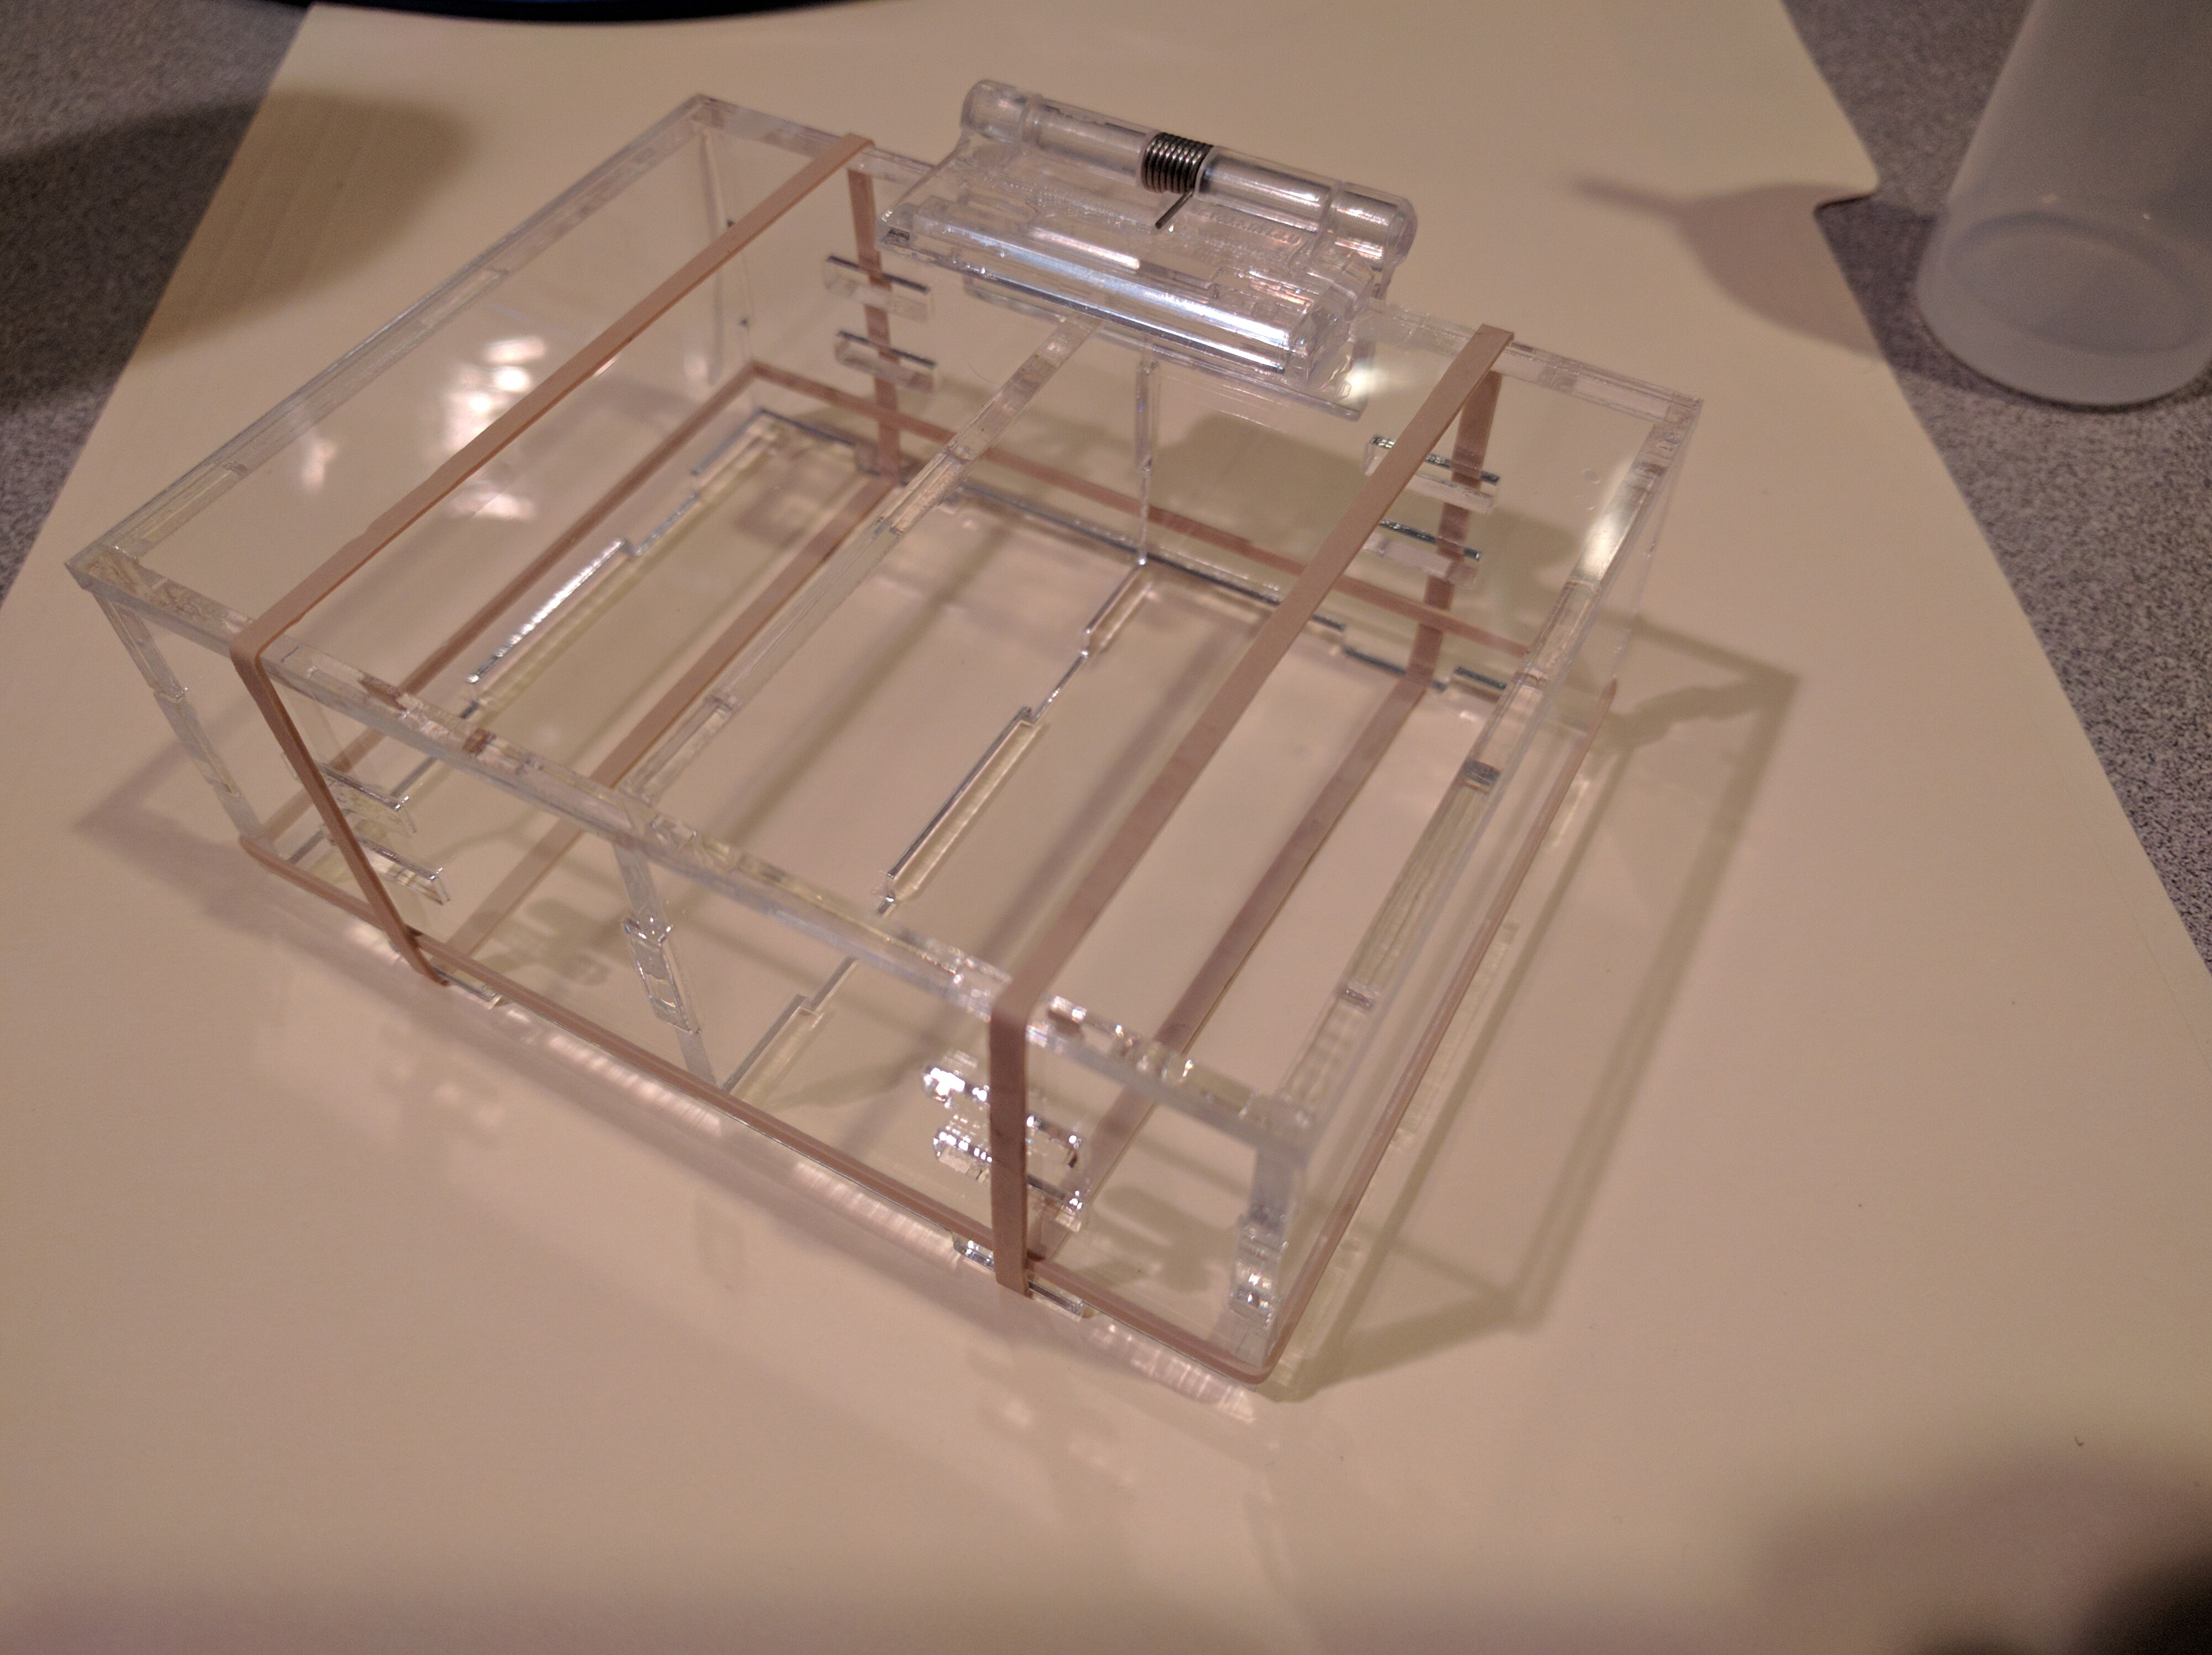
Note that in the end I increased (doubled) the height of the storage compartment as this size would barely fit all the game pieces.
I didn’t glue the protective pieces around electronics just yet – I want to have more free room to work on them first, and then put the cover and support beams.
Finished mechanical construction
And this is how it looks assembled:


Leave a Reply